
How Do You Plan a Safe Winter Hike Before Daylight Runs Out?
Plan for shorter daylight, colder stops, traction, and faster consequences.
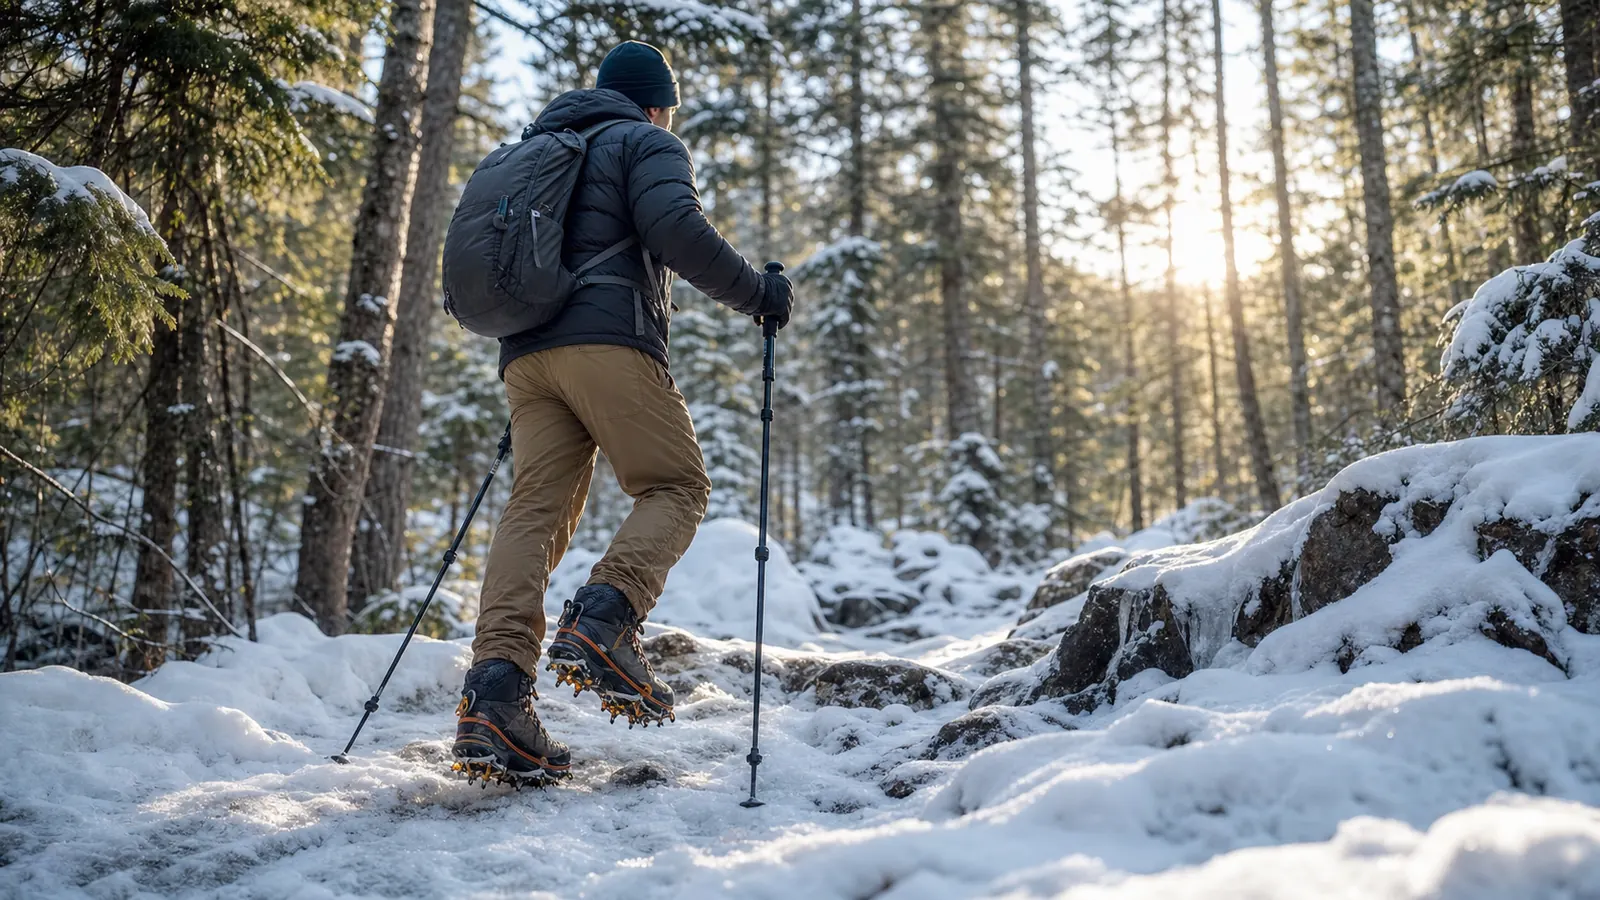
Winter hiking is not a normal hike with more clothing. Short daylight, cold stops, frozen water, ice, snow, and slower travel change how much route, pace, and delay you can safely accept.
Why does winter hiking need a different margin?
Winter changes daylight, footing, warmth, water, and help. A familiar trail can take longer when snow hides the tread, cold fingers slow simple tasks, or ice turns every step into a choice.
The goal is not to be tough. The goal is to keep choices simple while hands are cold and daylight is short.
Plan winter hikes shorter because the same mile can cost more time and heat.
| Winter factor | What changes | Safer first choice |
|---|---|---|
| Daylight | Short return window | Finish well before dark |
| Cold stops | Breaks chill people quickly | Carry warm stop layer |
| Footing | Ice and packed snow slow every step | Choose firm familiar tread |
| Sweat | Wet base layers cool during pauses | Vent before overheating |
| Decision-making | Cold hands and fatigue hide mistakes | Turn around early |
| Access | Snowy roads and closed gates delay the start | Recalculate the route before leaving the trailhead |
Use those changes to set the trip margin before packing equipment. The route, finish time, and exit choices control how much cold and delay the group can accept.
- Daylight budget
- Counts access delay, slower travel, return time, and a cold-weather buffer
- Dry warmth
- Venting protects the base layer and keeps stop insulation dry
- Surface match
- Footwear, traction, snowshoes, or a route change fit the actual snow and ice
- Usable fuel
- Water and food remain reachable and unfrozen
- Route confidence
- Map, landmarks, and exits still work when snow hides summer tread
- Exit threshold
- Cold hands, wet layers, slips, route doubt, and weather trigger early action
Start with a route you already understand from dry conditions. If winter is new to you, the hiking for beginners route rules still apply, but the distance should be smaller.
Build a daylight ledger from the trailhead backward
Count winter time from the latest trailhead finish, not from sunset or the summer app estimate.
Subtract the return estimate, a delay buffer, and any known slow section. Access delays at a snowy road or gate reduce the same budget.
Suppose the latest finish is 4:30 p.m., the return should take one hour and 40 minutes in winter conditions, and the route needs a 40-minute delay buffer. The turnaround time is 2:10 p.m.
If the car reaches the trailhead 25 minutes late, shorten the outward objective or move that turnaround earlier.
Check the first 20 minutes against the estimate. If packed snow makes the group 25 percent slower, apply that evidence to the return instead of assuming the pace will recover.
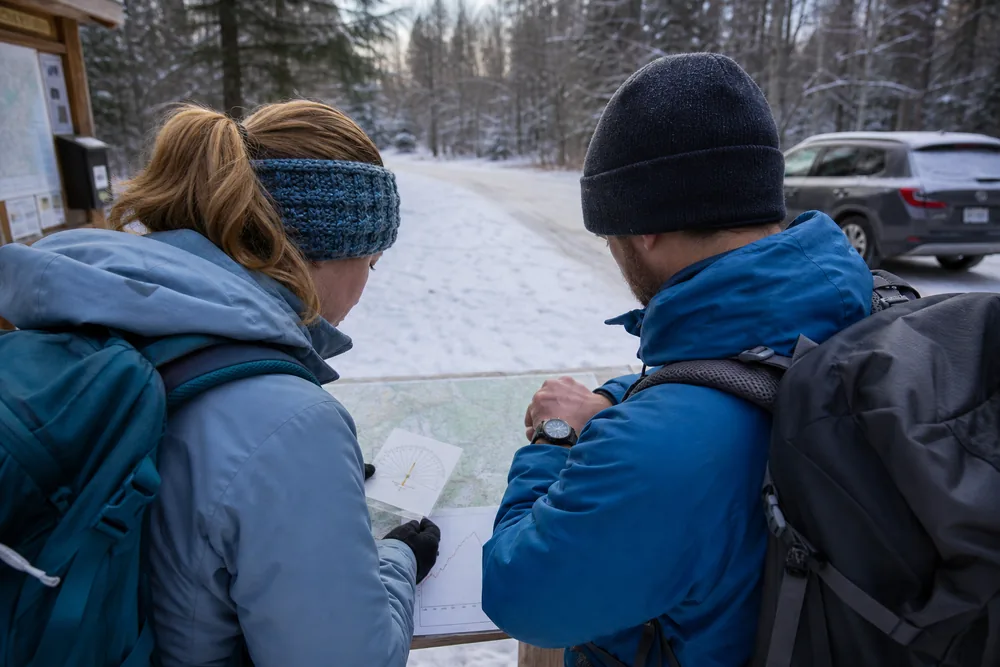
Recheck the ledger whenever access, pace, or a long stop spends time that the original plan reserved for the return.
Which winter routes are safest for a first attempt?
Reject routes that remove easy exits. A beginner winter route should have clear navigation, close turnaround options, limited exposure, and no avalanche terrain.
Out-and-back routes are useful because you can turn around at any time. Long loops can trap you into finishing the hard side after weather, daylight, or energy changes.
The best winter route lets you leave while the problem is still small.
| Route feature | Better winter pick | Save for later |
|---|---|---|
| Distance | Shorter than your summer comfort zone | Full-day mileage |
| Shape | Out-and-back or short loop | Long committed loop |
| Navigation | Signed and familiar | Faint trail under snow |
| Exposure | Forest, low wind, easy shelter | Open ridge or avalanche terrain |
| Exit | Close to trailhead or road | Remote basin or long descent |
| Avalanche exposure | Low-angle non-avalanche terrain | Steep loaded snow without specific training and current guidance |
Trip planning habits start before you go: sunrise, sunset, forecast timing, road access, and whether the trailhead itself can be reached safely.
Winter route notes should stay close to the map, not buried behind a gear checklist. A cold hand that cannot use a phone is a route problem, not just a comfort problem.
Choose the winter route for the exit, not only for the view.
Winter route rule
A long remote winter effort starts to resemble hiking and trekking planning more than a short day plan.
Snow on a slope can move the route beyond ordinary winter hiking.
Check the land manager and local avalanche center when the region has avalanche terrain. Without specific education, current guidance, and the required equipment, choose non-avalanche terrain instead of using a slope angle or old track as a guarantee.
Frozen lakes and streams are another separate decision. Do not assume a white surface is a bridge.
Use an established route that stays off uncertain ice unless the managing authority has opened or verified a crossing.
How do you stay warm without soaking your base layer?
Warmth starts with staying dry. Dress so you can vent early, slow down, and warm up again fast.
Begin slightly cool if the trail starts uphill. Open zippers, slow down, or remove a hat before your base layer gets wet.
Staying dry is warmer than wearing every layer at once.
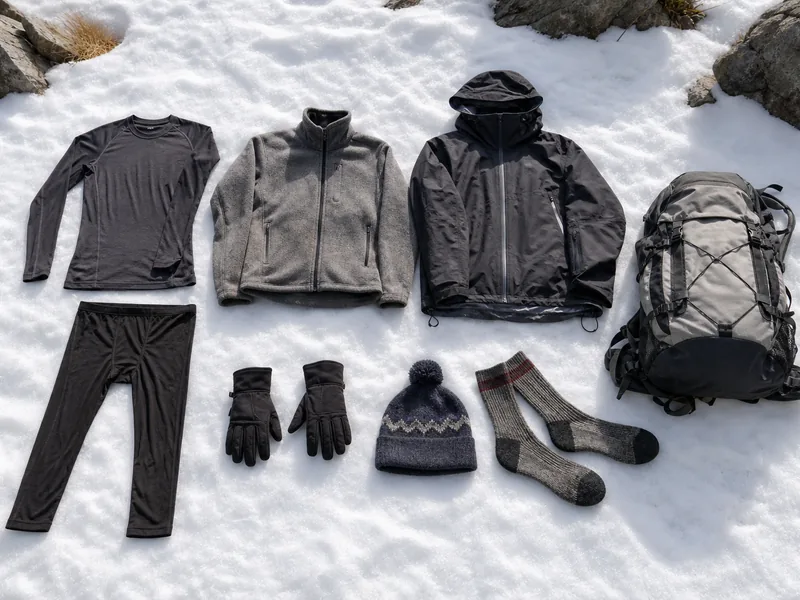
Base layer
Moves sweat away from skin.
Midlayer
Adds warmth while still breathing.
Shell
Blocks wind, snow, or wet brush.
Hands
Thin gloves for movement, warmer pair for stops.
Head
Hat or buff that can come off before overheating.
Legs
Ventable pants and a dry lower layer protect movement without trapping sweat.
Cold rain or wet snow makes hypothermia response relevant before the trip. Wet and tired hikers can lose judgment before they realize how cold they are.
Cold stress connects with water, navigation, and turnaround choices across cold-weather safety planning.
What gear do you need for winter hiking?
Start with the normal hiking packing list, then add winter margin for light, warmth, traction, water, and delays.
Water can freeze in a hose. Bottles carried upside down or inside the pack are often easier to manage than a drinking tube in deep cold.
Winter pack space should protect your ability to stay warm, see, move, and drink.
A winter water carry plan still starts with time and effort, but you also need to keep the water drinkable.
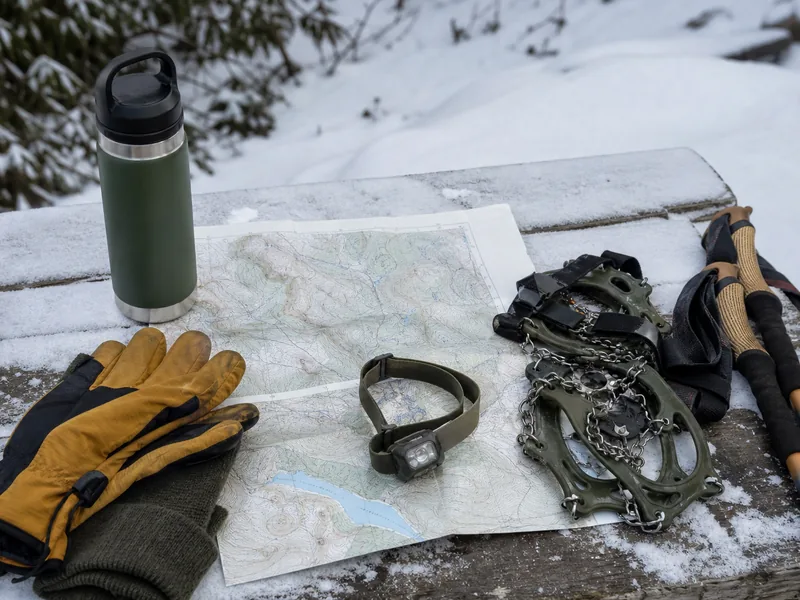
- Headlamp with fresh battery or backup battery.
- Warm layer for stops.
- Shell for wind, snow, or wet brush.
- Gloves plus a warmer backup pair.
- Traction device matched to trail conditions.
- Water carried so it stays drinkable.
- High-energy snacks that will not freeze into a brick.
- Sit pad or insulation for cold breaks.
- Emergency shelter and paper route backup.
Cold weather can hide thirst, so keep the bottle visible instead of waiting for strong thirst.
A heavier winter kit also changes comfort. Recheck backpack fit after adding traction, layers, and extra water.
Run a glove test before departure. Turn on the headlamp, open the map, fit the traction, reach the shell, and operate the communication device while wearing the gloves used for movement.
Store spare batteries and the phone where deep cold and moisture are less likely to drain or damage them.
How do you keep water and food usable below freezing?
Cold weather turns simple fuel into a handling problem. A frozen bite, stiff wrapper, or iced bottle can make people eat and drink less right when the body needs steady energy.
Carry bottles inside the pack or upside down so the cap freezes last. Keep one snack in a pocket where body heat helps, and choose food you can chew with gloves on.
Winter food and water should work with cold hands, not only on the kitchen counter.
| Problem | Better winter habit | Why it helps |
|---|---|---|
| Frozen bottle cap | Carry bottle upside down or insulated | The drinking end stays usable longer |
| Icy hydration hose | Use bottles in deep cold | Tubes freeze faster than people expect |
| Hard snack | Pack softer high-energy food | Eating stays possible with cold hands |
| Long cold break | Use a sit pad and warm layer first | Fuel works better when the body is not chilling |
| Hidden thirst | Schedule small drinks | Cold reduces thirst cues |
| Frozen filter | Keep it from freezing or carry a suitable backup | Ice can damage treatment media |
This section stays separate from a normal hiking packing list because winter changes whether the item remains usable, not just whether it is present.
Pack the first drink and snack for early use, not only for emergencies.
Winter hikers often delay both because stopping feels cold. Short planned sips and quick bites keep the body working before the group has to make a bigger stop.
How should you move on snow and ice?
Snow and ice make balance the main job. Short steps, flat foot placement, and steady poles can matter more than speed.
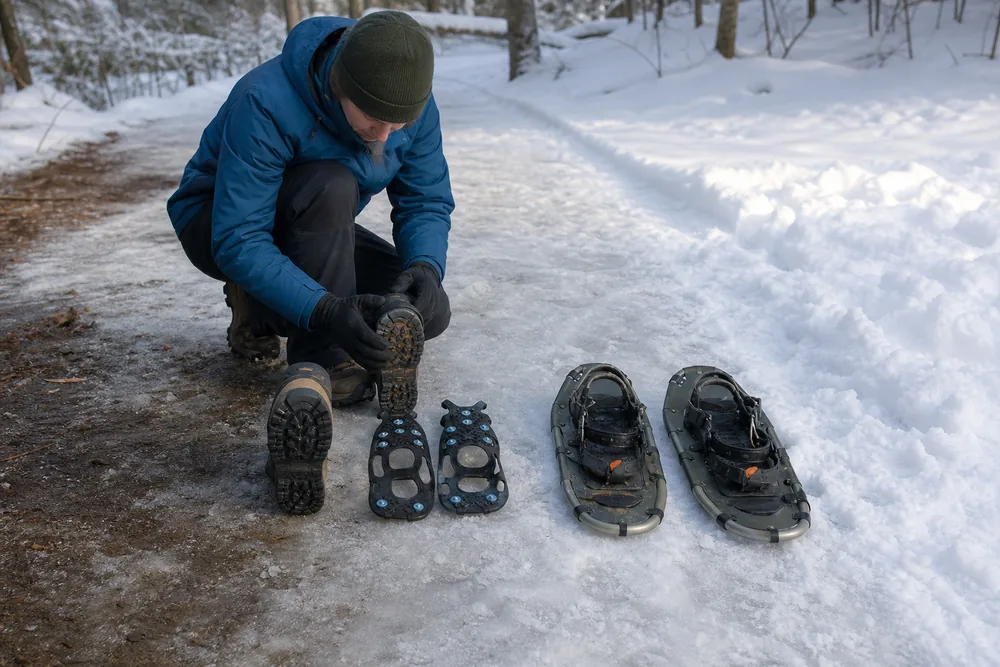
Traction devices help only when they match the surface. Microspikes suit firm packed snow and icy trails, while deep unconsolidated snow may call for snowshoes.
Move like slipping is possible before slipping proves it.
| Surface | Better tool | Field note |
|---|---|---|
| Packed icy trail | Microspikes | Keep steps short and flat |
| Loose shallow snow | Boots with good tread | Expect slower pace |
| Deep soft snow | Snowshoes where allowed and useful | Plan for much slower travel |
| Hard steep snow | Skills and tools beyond beginner hiking | Choose another route |
| Frozen stream edge | Avoid when unsure | Thin ice can fail without warning |
| Fresh snow over ice | Use traction and test each step | Grip can change without a visible warning |
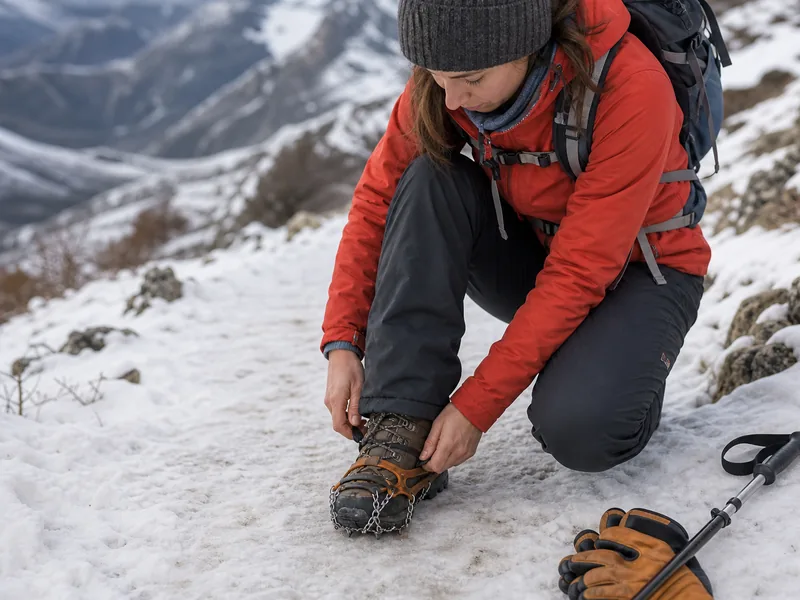
Fit the device to the exact boot at home, then practice putting it on with gloves.
At the trailhead, inspect the chain, elastomer, straps, and alignment under the sole. Stop after the first few minutes to confirm it has not twisted or loosened.
Use the surface, not the calendar, to choose the tool. A trail can move from soft snow to packed ice and bare rock in one mile.
If the carried tool does not support the hardest unavoidable surface, change the route rather than forcing the tool to do a different job.
Deep snow changes more than traction. The first person must lift and place every step through unbroken snow, while the people behind use a firmer track and spend less energy.
Rotate the lead before one hiker is exhausted. Choose a safe, obvious stopping point, bring the whole group together, and make the handoff without sending the new leader past an uncertain edge or buried obstacle.
Do not treat an old boot track as proof of the route. It may lead toward a viewpoint, a wrong drainage, a buried lake edge, or conditions that have changed since it was made.
Fresh snow can hide rocks, holes, roots, stream edges, and the firm summer tread. Test uncertain steps with a pole when that is appropriate, keep enough spacing to stop after a collapse, and avoid bunching where one slip could involve several people.
Compare actual progress with the daylight ledger after the first sustained snowy segment. If forty minutes of trail breaking covers the distance budgeted for twenty minutes, use the slower pace for the return calculation.
That evidence can remove the summit or far junction even when everyone still feels strong. The return usually repeats the surface, and cooling, fading light, or new snow may make it slower rather than faster.
When buried tread makes the map and ground disagree, stop at the last confirmed point. Backtracking a short known segment protects more daylight than searching forward for a trail that may not reappear.
Snow depth can veto the distance. Turn around while the group can still follow its own route, share trail-breaking work, and reach easier ground before dark.
Winter fatigue can also make navigation sloppy. Refresh compass skills if snow may hide trail edges or junctions.
Snow, cold hands, and low visibility can make normal trail habits less automatic, which puts outdoor navigation skills back into the winter plan.
A winter break has to be short and sheltered
Winter breaks should be short, planned, and dry. Stop where wind is lower, add a warm layer before you chill, eat or drink with gloves managed, then start moving before the group gets stiff.
The mistake is waiting until someone is already cold to organize the break. Cold fingers make every buckle, wrapper, phone, and zipper slower.
In winter, a good break protects heat before comfort drops.
- Choose a sheltered stop before the group is cold.
- Add insulation before eating or checking the map.
- Keep gloves, snacks, and bottle access simple.
- Avoid sitting directly on snow or cold rock.
- Restart while speech, hands, and balance still feel normal.
If someone becomes wet, confused, clumsy, or unusually quiet, treat the stop as a safety check. Early warming matters before hypothermia symptoms look dramatic.
Keep map checks short too.
Decide the next small landmark before gloves come off, then move again. A long standing debate can chill the group faster than a slow walking pace.
Plan hand tasks before they are urgent. Adjust poles, open snacks, and check traction in sheltered spots while fingers still work.
Cold hands turn simple repairs into slow repairs.
Check hand function before leaving the sheltered stop. Ask each person to touch the thumb to every fingertip, open the pack buckle used for warm layers, and hold a bottle without dropping it.
A glove can feel warm while fine movement is already fading. Fumbling twice with a familiar zipper or needing another person to finish a simple buckle is a reason to warm the hands and reassess the route.
Warm hands against the body under dry insulation. Replace a wet glove with the dry backup, add food and a warm drink when the person is alert and able to swallow, then recheck the same task.
Do not rub numb skin or place it against intense heat.
Restart only when normal movement, clear speech, steady balance, and the ability to manage essential gear return. Walking may create heat, but it does not correct wet insulation, worsening numbness, or confused behavior.
If function does not return after the planned correction, take the known exit while the group can still navigate and move together. A break has failed when it consumes warmth without restoring the ability to travel.
Use the same function test twice. The comparison shows whether the group recovered or is losing capacity despite the stop.
Road access quietly shortens the hike before you start
Roads, gates, parking lots, and trailhead snow can spend the margin before the route starts. A delayed drive or icy parking area means the original turnaround time may already be wrong.
Check access as part of the route, not as an errand before the route. Winter plans fail when the group treats the trailhead as guaranteed and then starts late, cold, or frustrated.
The winter hike starts at access because daylight and warmth are already being used.
Snowy road
Leave more drive time or choose a lower trailhead.
Closed gate
Use the closure as the turnaround, not a puzzle to solve.
Icy parking
Put traction on before the first steps feel risky.
Late arrival
Shorten the route before leaving the car.
Windy trailhead
Add shell and warm layer before hands get cold.
Do a second check after the first ten minutes. If the group is already cold, sweating, slipping, or stopping often, the route is giving better information than the plan did at home.
Winter rewards early corrections. Vent before sweat soaks in, fit traction before the icy traverse, and use the mapped shorter option when access has already spent the start-time buffer.
When should you turn around on a winter hike?
Turn back when cold, footing, weather, or daylight starts reducing your choices. Winter does not reward waiting until the situation feels serious.
Small signs matter. Numb hands, a wet base layer, slow speech, repeated slipping, or water freezing faster than expected all tell you the day is changing.
In winter, a good turnaround often feels early. That is why it works.
Use three response levels.
Repair in place when one person needs a dry glove, a venting change, food, or a traction adjustment and the issue resolves quickly. Exit on the known route when wet layers, numb fingers, repeated slips, freezing water, slow pace, or route doubt continues.
Follow the hiking safety response and seek emergency help for suspected hypothermia or frostbite, inability to walk, or a lost route that cannot be safely retraced.
The National Weather Service lists warning signs of hypothermia such as uncontrollable shivering, memory loss, disorientation, incoherence, slurred speech, drowsiness, and exhaustion.
Frostbite warning signs include numbness and skin that looks pale, white, gray-yellow, or waxy. Those signs need prompt shelter, professional medical help, and a response beyond finishing the hike.
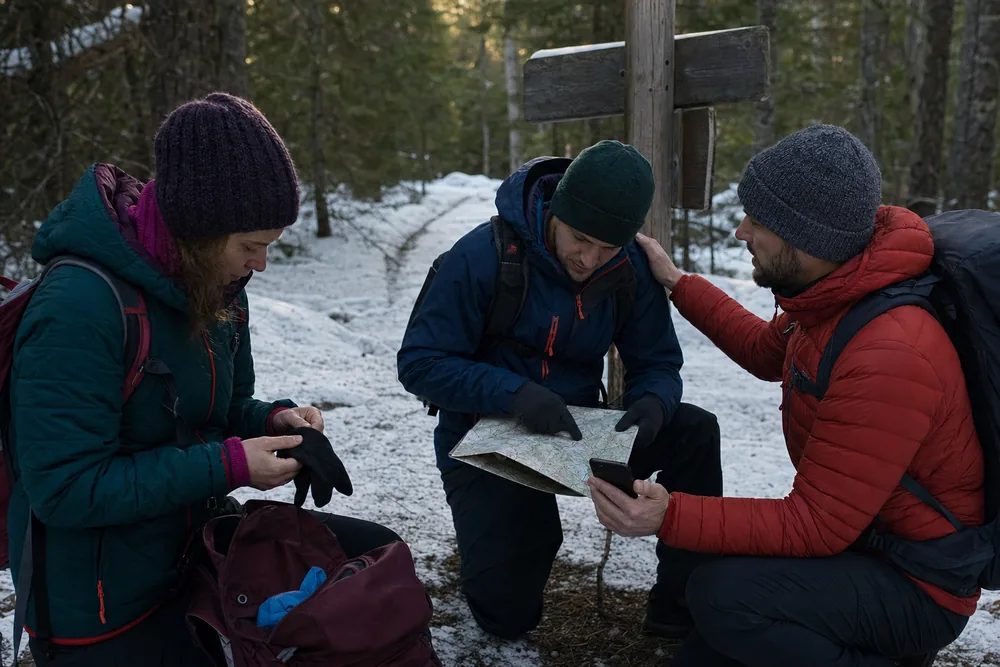
- Check timeCompare current location to daylight left.
- Check warmthAsk if anyone is wet, shivering, or losing hand function.
- Check footingCount slips before they become a fall.
- Check routeBacktrack early if snow hides the tread.
- Choose exitShorten the route while the group can still move well.
Do not use one temperature as a universal cutoff. Wind, wet clothing, duration, exertion, shelter, age, health, and the group's experience all change the exposure.
Follow official forecasts and warnings, then choose the conservative route or stay indoors when conditions exceed the group's plan.
If your winter goals grow longer, train with the real pack and footwear. Day hike training tests pacing before cold and snow make the test harsher.
The NPS Winter Hiking Tips support the route, traction, navigation, water, and turnaround guidance used here. The National Weather Service cold safety guide provides the cold-exposure warning signs.
Step by stepPractical steps
- Choose a short familiar route outside terrain that requires avalanche or mountaineering training.
- Calculate the turnaround from the trailhead finish, winter return time, delay buffer, and access delay.
- Vent layers before sweating and keep stop insulation and spare gloves dry.
- Pack and test light, warmth, shelter, navigation, traction, water, food, and communication with gloves on.
- Match boots, traction, snowshoes, or a route change to the actual surface.
- Repair small issues quickly, exit when they continue, and seek help for serious cold or self-exit problems.
AnswersQuestions readers ask
Is winter hiking safe for beginners?
It can be when the route is short, familiar, well-marked, easy to exit, and outside avalanche or technical terrain. A beginner should reject remote loops, exposed ridges, uncertain ice, and routes hidden by snow.
What should I wear for winter hiking?
Use a moisture-managing base layer, adjustable midlayer, wind or weather shell, warm socks, gloves, and a removable hat. Carry dry stop insulation and spare gloves, then vent before the base layer becomes wet.
Do I need microspikes for winter hiking?
Use trail traction when it fits the boot and the firm packed snow or ice underfoot.
It does not replace snowshoes in deep snow or the skills and tools required on steep hard snow. Change routes when the carried tool does not fit the hardest unavoidable surface.
How much water should I carry in winter?
Estimate from time, effort, conditions, and reliable refill options rather than a universal volume. Protect bottles from freezing, schedule small drinks, and keep a filter from freezing because ice may damage its treatment media.
When should I turn around on a winter hike?
Exit when wet layers, numb fingers, repeated slips, freezing water, slow pace, or route doubt continues after a quick repair. Do not wait until someone is confused, has slurred speech, loses coordination, or cannot safely walk out.
How do I keep water from freezing on a winter hike?
Use insulated bottles, carry them inside the pack or upside down so the cap freezes last, and choose bottles over exposed hydration hoses in deep cold. Keep water treatment equipment from freezing and carry a suitable backup.
Which cold signs require emergency help?
Suspected hypothermia or frostbite needs prompt shelter and professional medical help. Warning signs include uncontrollable shivering, confusion, incoherence, slurred speech, drowsiness, exhaustion, numbness, or pale and waxy skin.