
Hiking Fitness Training for Climbs, Descents, and Longer Days
Build the walking base, climbing legs, pack tolerance, and recovery habits that make hikes feel controlled.
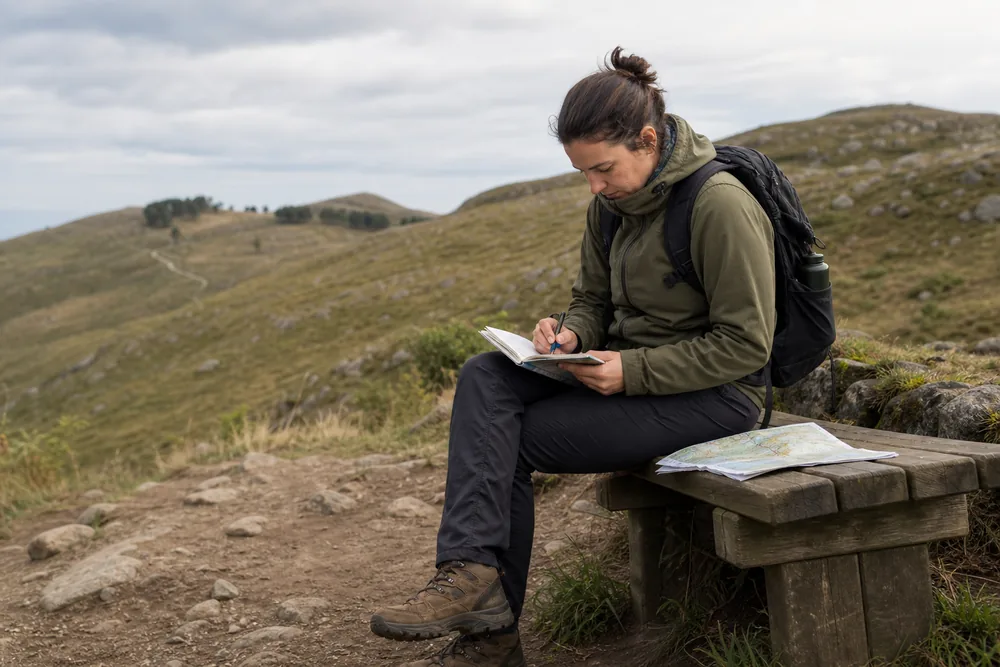
Hiking fitness training should match the trail you want to finish, not a generic workout plan. Build steady walking first, add hills next, then practice pack weight, descents, and recovery in a way your joints can absorb.
How should the target hike shape your training?
Start with the trail, not the workout calendar. Hiking fitness training works best when it answers how long you need to walk, how much you need to climb, what you carry, and how fast you recover.
A flat local path, a steep day hike, and a loaded weekend route ask for different stress. The same weekly plan cannot prepare all three equally well.
Train the missing demand instead of adding random hard work.
- Write the target hikeNote expected hours, climb, rough footing, pack weight, and weather.
- Name the weakest demandPick the one thing that would stop you first.
- Train that demand twiceUse one focused session and one easier rehearsal each week.
- Hold the rest steadyDo not raise mileage, climb, load, and pace together.
- Retest on similar groundRepeat a smaller version before making the next jump.
Name the hike in simple terms before choosing workouts. Write down expected hours, total climb, steepest descent, roughest footing, normal pack weight, and likely weather.
Those six facts tell you whether the week needs more walking time, more hill control, more load practice, or more recovery.
The first plan should also name what not to train yet.
If your feet ache after two hours, heavy pack work can wait. If descents make your knees loud, speed work can wait.
If hot weather wrecks your pace, the first fix is route timing and water, not harder intervals.
| Target hike demand | Training priority | Watch this signal |
|---|---|---|
| Long easy mileage | More time on feet | Feet and hips stay comfortable late |
| Steep climb | Short hill work | Breathing settles after each repeat |
| Long descent | Controlled lowering | Knees track cleanly downhill |
| Loaded daypack | Easy pack walks | Stride stays normal under the load |
| Hot or cold route | Lower effort ceiling | Pace changes before weather becomes the problem |
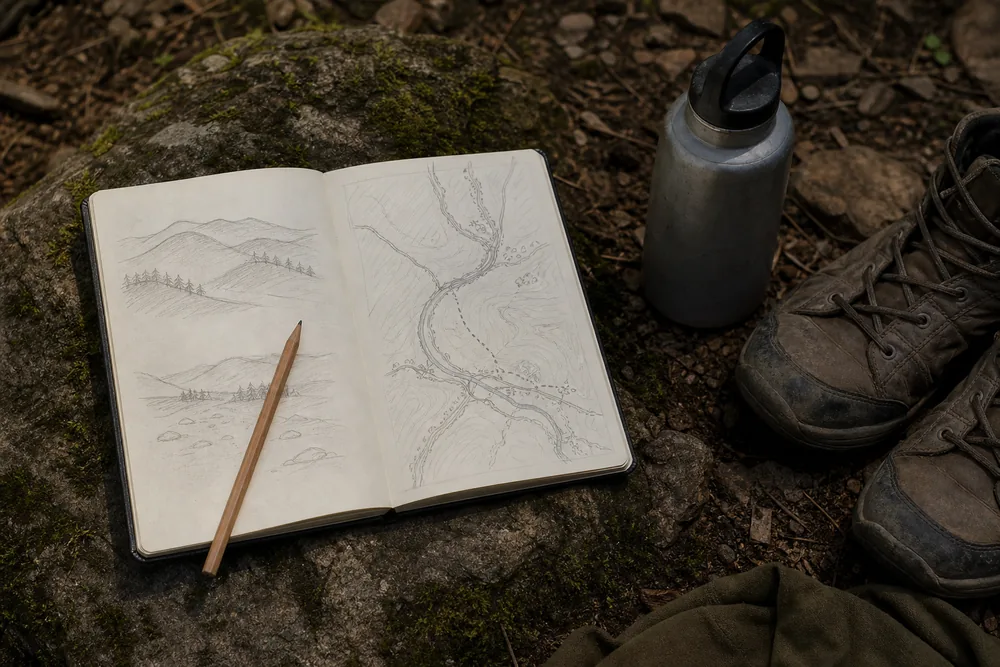
If the route is still vague, the hiking trail choice checks help turn distance, climb, footing, and exits into training targets. A route with rough footing may need balance and descent control before it needs more mileage.
Build repeatable walking time before harder workouts
The first fitness layer is repeatable walking time. Before hill repeats, loaded packs, or speed work, your body needs to handle the number of hours your target hike may take.
This sounds plain because it is plain. It also solves the problem most new hikers feel in hour three: tired feet, tight calves, stiff hips, and lower-back fatigue that no single gym lift fixes.
Start with walks you can repeat even in a busy week. Three 30-minute walks usually beat one long push that leaves you sore enough to skip the next session.
Repeatable beats impressive during the first month.
Keep the first two weeks almost boring.
Wear the shoes and socks you actually hike in, carry a small bottle, and note when posture changes. If your shoulders rise, your stride shortens, or one foot starts slapping the ground, the body is already asking for a slower build.
Beginner routes still have a job here. A short hike from the first-hike basics gives fast feedback about shoes, socks, water, pack comfort, and pacing while the training cost stays low.
Use a simple walking floor before you chase harder sessions: two or three repeatable walks, one longer easy day, and one note about feet, knees, hips, or back comfort. Hold that pattern for at least a week before adding more time.
How should you add hill training?
Bring in hills after flat walking feels stable. Hills train calves, glutes, breathing control, and uphill rhythm, but they also raise load on Achilles tendons and knees.
Use short climbs first.
A neighborhood hill, stairs, stadium steps, or treadmill incline can work if the effort stays controlled. You are teaching repeatable climbing, not proving how hard you can suffer for ten minutes.
The best first hill session is short enough that you could do it again in a week. If your calves feel sharp the next morning or your knees complain on stairs, the dose was too high.
Hills are dosage, not punishment.
Separate climb work from speed. A steady hill repeat should let you keep foot placement clean and breathing controlled.
If you turn every climb into a race, you train panic pace instead of trail climbing.
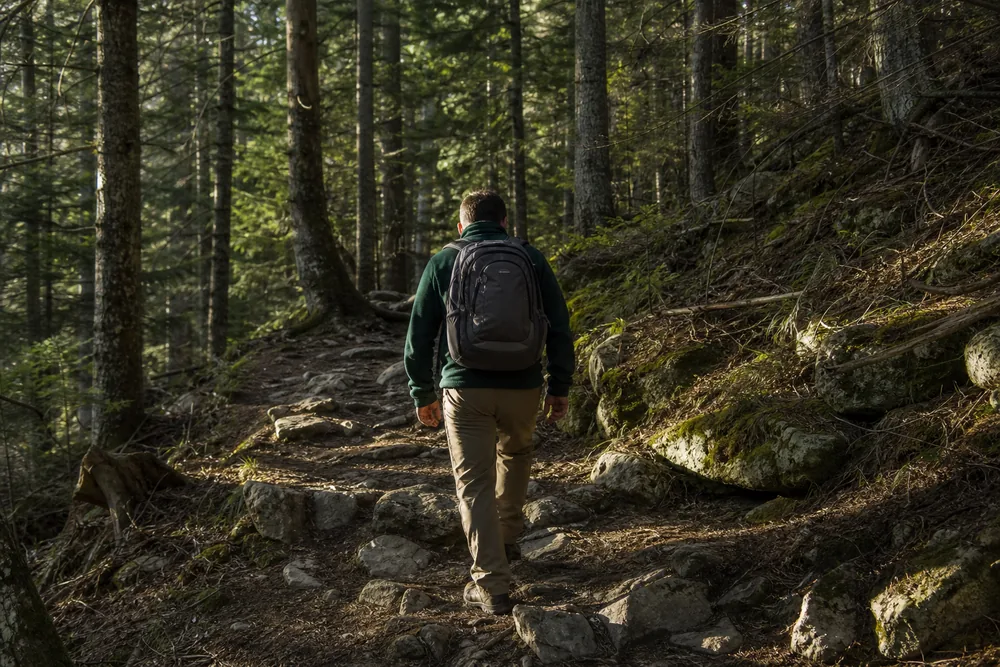
Cold, wet, or hot climbs should stay separate from normal fitness progression. A hard climb in winter hiking, rain, or heat asks for lower effort because footing, clothing, water, and chill change the risk.
If a hill workout feels too easy, add one repeat before you make every repeat harder.
More repeats build the hiking skill of steady climbing. A faster pace often changes the workout into a breathing test and hides whether your calves, feet, and knees are adapting.
Why should you train downhill before a steep hike?
Many hikers train for the climb and then hurt on the way down. Descents ask your quads to brake every step while your toes, knees, and hips absorb small impacts for a long time.
Downhill control should feel quiet. If you slap your feet, lean back hard, or rush because braking feels tiring, your legs are not ready for steeper or longer descents.
Train this with low step-downs, easy downhill walks, and slow trail descents where you can choose clean foot placements. The goal is not deep soreness.
The goal is control you can repeat after you are already tired.
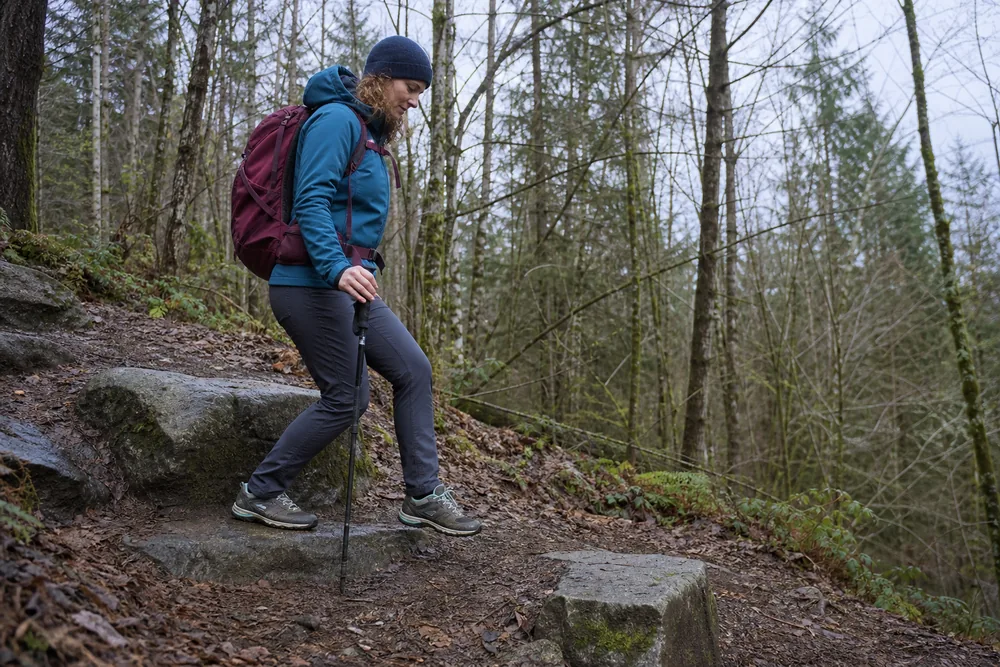
One practical test is a relaxed downhill after a normal walk.
If your steps get loud, your toes jam forward, or you start reaching for each foot placement, stop calling that route easy. Your climbing engine may be fine while your braking strength still needs work.
Step-downs
Teach one leg to lower the body without knee collapse.
Easy descents
Build braking tolerance without a steep trail.
Uneven dirt
Train foot placement and ankle attention.
Trekking poles
Reduce braking load only when they match your stride.
Short stride
Keeps the foot under you instead of reaching downhill.
Rough descent training is not the same as trying to hike faster. The speed-focused page belongs after control is reliable because faster hiking still depends on clean foot placement.
Which strength exercises support hiking?
The exercise demands of hiking include repeated stepping, climbing, descending, and carrying. Useful strength work trains legs to step up, hips to stabilize, calves to push, and trunk muscles to resist pack sway.
Two short sessions per week can be enough for most hikers. You do not need maximal lifting if the goal is a controlled day hike.
You need movements that make walking, climbing, descending, and carrying feel less fragile.
Strength supports control when the trail gets steep, rocky, or tiring.
Keep most sets easy enough to finish with clean form. Hiking rewards repeatable legs more than one dramatic gym number.
A set that leaves you wobbling may look hard, but it can steal the next walk and hide whether the plan is working.
| Trail problem | Strength drill | Keep it practical |
|---|---|---|
| Long climbs | Step-ups | Use a height that lets the knee track straight |
| Downhill fatigue | Split squats | Move slowly and stop before wobbling |
| Calf burn | Calf raises | Build volume gradually |
| Pack sway | Farmer carries | Walk tall without shrugging |
| Uneven footing | Balance reaches | Touch a wall if form breaks |
Strength sessions should not steal the next walk. If a workout makes you skip the trail, it was too expensive for the hiking goal.
Put strength after an easy day or far enough from the long walk that soreness does not change your stride. Hiking fitness depends on practicing normal movement often.
A strong set of legs that only works when fresh will not help much on the last descent.
When should you start training with a pack?
Pack training belongs after walking feels repeatable. Start with the real items you carry on day hikes: water, shell, snacks, first aid, light, navigation, and the layers the forecast requires.
Do not add weight just to make training look serious. Sudden load can change stride, rub hips, irritate knees, and make downhill steps sloppy before it builds useful fitness.
Check fit before adding mileage with a load. A clean backpack fit keeps weight close and stable so training stress goes into walking, not fighting the pack.
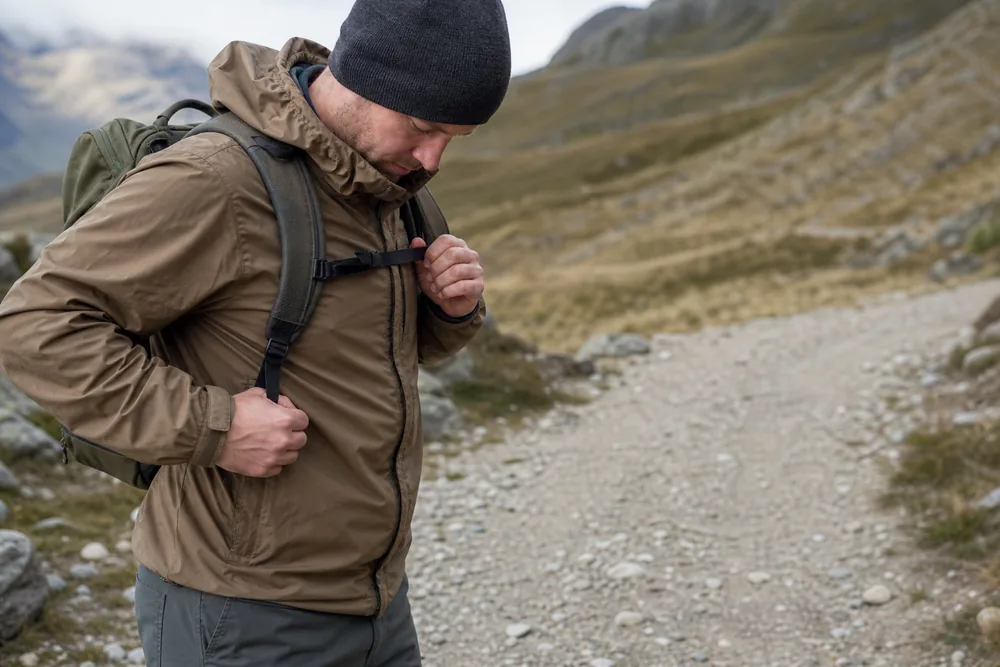
The pack should match the route. A training walk built around a real hiking packing list teaches bottle access, snack timing, layer changes, and shoulder comfort better than random heavy objects.
Practice trail habits while the load is light.
Drink without stopping for ten minutes, eat a snack while standing, put on a shell, and restart after a short break. These small actions decide whether a longer hike feels smooth or constantly interrupted.
This rehearsal works because the pack carries real day hike essentials instead of a training weight. If the checklist items are hard to reach during training, they will be harder to reach when weather or fatigue is involved.
What should a four-week hiking plan include?
A simple four-week block should have one longer walk, one hill or strength focus, two easy movement days, and recovery. The plan should feel like a ramp, not a staircase with missing steps.
Week one proves the starting point.
Week two adds a little time or climb. Week three repeats harder work with better control.
Week four backs off slightly so the body absorbs the training.
Recovery is training because it lets the next week work.
Missed days do not require punishment. If you skip a session, return to the plan at the next easy point instead of stacking two hard sessions together.
Consistency over several weeks matters more than rescuing one imperfect week.
When the week feels too easy, raise the smallest useful variable.
Add 10 to 15 minutes to the long walk, add one hill repeat, or add a few pounds only if the pack still rides cleanly. Do not raise time, climb, and load in the same week.
| Week | Main job | Trail-style session | Keep easy |
|---|---|---|---|
| 1 | Find baseline | 60 minute easy walk | Two 30 minute walks |
| 2 | Add climb | 4 short hill repeats | Two easy walks |
| 3 | Extend time | 90 minute walk with gentle hills | One short strength session |
| 4 | Absorb | 60 to 75 minute relaxed walk | Extra sleep and mobility |
This block fits general fitness building. A dated objective with known distance and climb changes the plan, because the work can then match one route instead of general capacity.
Heat changes the block.
If the hard session falls during hot weather, lower effort and increase water margin rather than treating heat as extra toughness. The hot-weather hiking plan explains when heat should shorten the day.
Raise only one thing at a time: time, climb, pack weight, speed, or rough footing.
Training field rule
How should a rehearsal hike test your plan?
A rehearsal hike should prove that the parts of your plan work together. It should finish with enough reserve to notice foot comfort, downhill control, food timing, pack fit, and recovery instead of turning into one more exhausting workout.
Scale the rehearsal below the goal without pretending one percentage fits everyone. For a six-hour route with 800 meters of climbing, a four-hour walk with about 500 meters on similar footing can test the main demands while leaving a smaller recovery cost.
Use the same shoes, socks, poles, pack position, water access, and food pattern planned for the goal. Random training weight cannot show whether the real jacket, bottles, snacks, light, and first-aid items are easy to reach.
Begin at the pace you expect to hold after the first hour, not the pace that feels exciting at the trailhead. An early pace planning mistake can make hour one feel easy while hiding whether the same effort leaves control for the final descent.
Record when breathing, stride, or conversation first changes and whether a short easy section restores control.
Set a turnaround time before starting. A hiking safety margin keeps the return inside the time, weather, water, and leg control you already tested.
A rehearsal has done its job when the chosen evidence appears, even if the summit or far end of the route remains ahead.
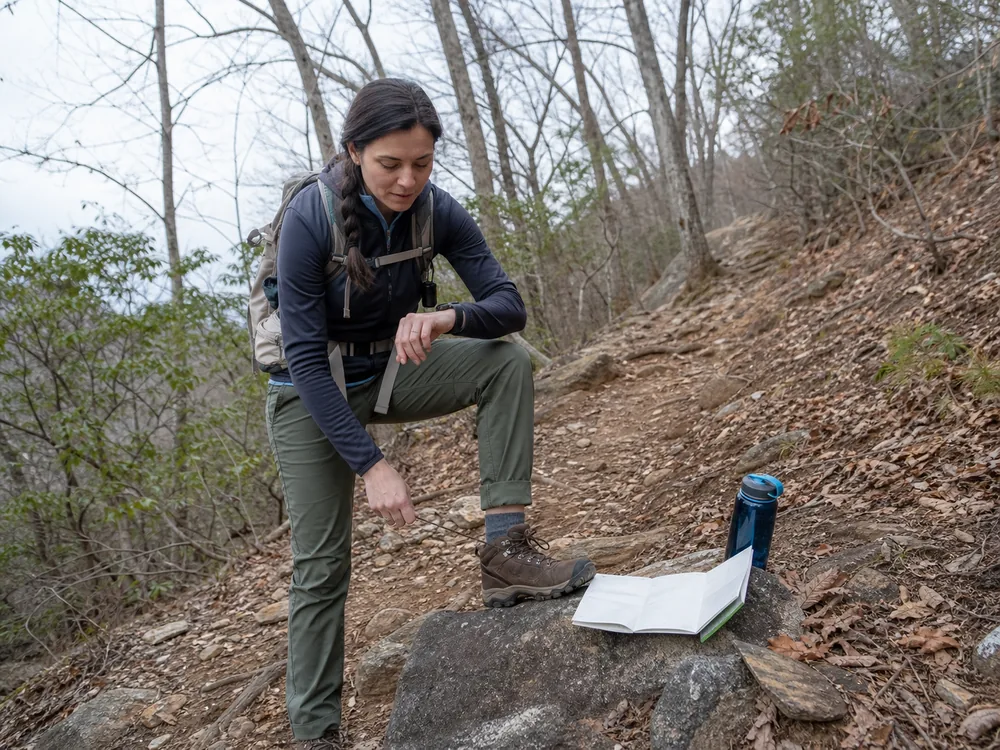
Write notes before driving home. Record hot spots, toe pressure, knee control on descents, water used, food eaten, shoulder comfort, and the point when attention began to fade.
Check again that evening and the next morning. Normal tiredness that clears is different from discomfort that changes your walk, interrupts sleep, or remains strong enough to alter daily movement.
Make one useful adjustment. Shorten the goal, reduce pack clutter, change sock or lacing practice, add recovery, or repeat descent work, but do not rebuild the entire plan from one imperfect day.
Keep the last days before the goal familiar. A hard new workout cannot create fitness in time, but it can carry soreness or fatigue onto the trail.
Match the most important terrain feature when the full route is unavailable. Stairs can test sustained climbing and a local dirt loop can test foot placement, but neither proves comfort on a long rocky descent unless that demand appears somewhere in the rehearsal.
Record the weather instead of treating it as background. A cool rehearsal does not prove the same pace in heat, and a dry path does not prove balance on wet roots or snow.
If the rehearsal misses a major route demand, reduce the goal or schedule a separate controlled check. Confidence should come from the parts you actually tested, not from distance alone.
Finish with evidence, not exhaustion so the rehearsal improves the real hike.
How do recovery notes change the next week?
Training is working when the same route feels calmer. Breathing settles sooner, feet stay comfortable longer, and descents feel deliberate instead of rushed.
Watch recovery more than pride. If every harder session needs several days before you feel normal, the plan is rising too fast.
If easy walks feel better and hill work stops making you sore, the plan can take one small step up.
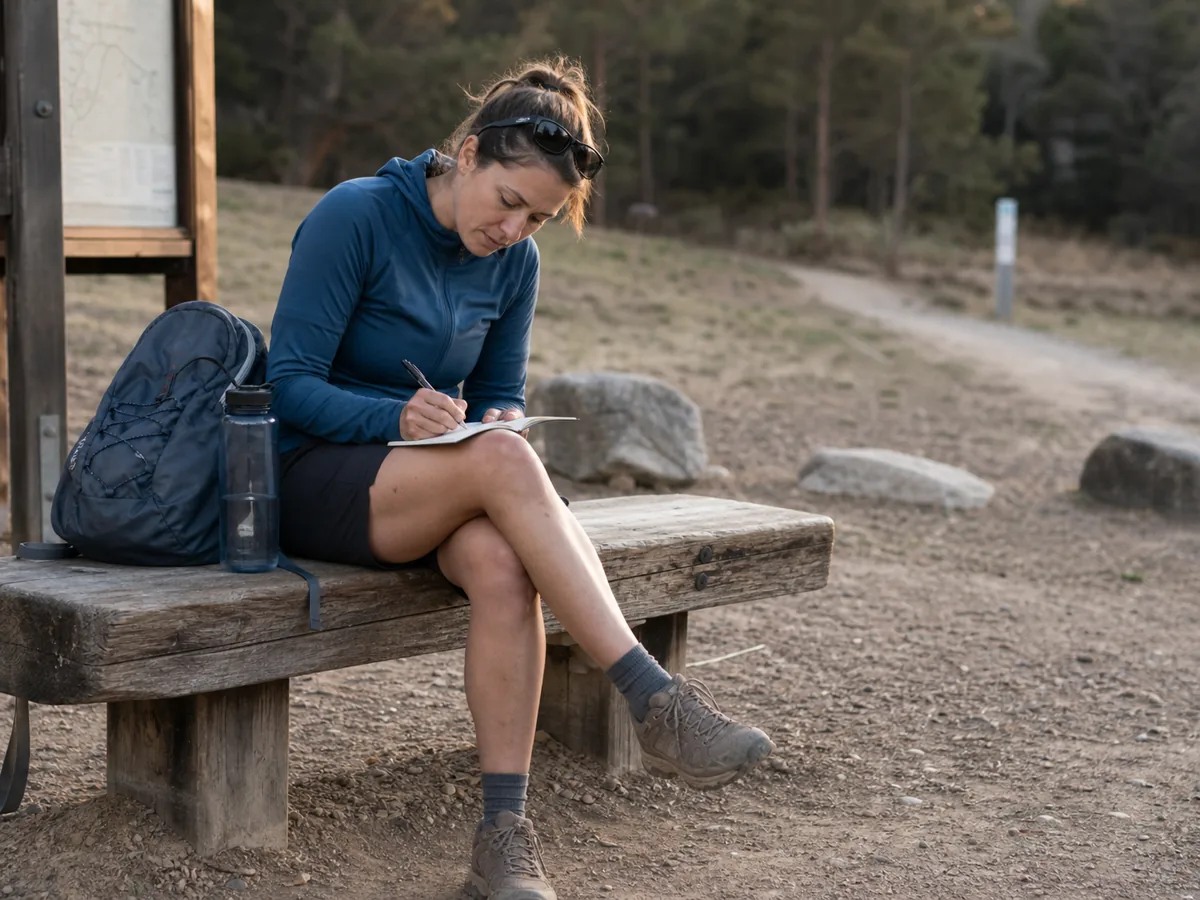
Recovery notes should be specific.
Write down where discomfort started, how long it lasted, whether it changed your stride, and what helped. "Knees hurt" is less useful than "front of right knee ached on downhill after 70 minutes and felt normal two days later."
Better control is progress even before speed improves.
- You finish easy walks with normal posture.
- You recover from hill sessions by the next day or two.
- You can eat and drink while moving without feeling clumsy.
- Your feet have fewer hot spots on the same distance.
- Your downhill steps stay quiet and deliberate.
- You can carry your normal daypack without shoulder pain.
- You know what to change next week: time, climb, load, or rest.
Water and food belong in training notes too. A simple water carry plan shows whether thirst, heat, or refill timing is affecting effort more than fitness.
If the same issue appears three sessions in a row, change the plan instead of hoping the next hike will feel different. Shorten the long walk, flatten the hill day, remove pack weight, or add a rest day.
Good training gives you more choices on trail, not fewer.
Good notes also protect confidence.
A hard week can feel like failure when it is only too much climb, too much heat, or too little sleep. Naming the cause lets you adjust the next week instead of dropping the whole plan.
Sources
The CDC explains adult aerobic and muscle-strengthening activity targets: CDC adult physical activity guidance. The American College of Sports Medicine describes gradual progression and recovery principles for exercise programming: ACSM exercise guidance.
Step by stepPractical steps
- Build repeatable walking time first.
- Add short hills only after flat walking feels stable.
- Use simple strength work for legs, hips, calves, and trunk.
- Train with real pack weight slowly.
- Use recovery as a sign that the plan is sized correctly.
AnswersQuestions readers ask
How long does it take to get fit for hiking?
Many beginners feel a difference after four consistent weeks, but longer or steeper hikes may need eight to twelve weeks of gradual training.
Can I train for hiking without mountains?
Yes. Use brisk walks, stairs, treadmill incline, step-ups, and loaded walks to train the main demands.
Should I hike or go to the gym?
Use both if you can. Hiking builds time on feet and trail skill, while gym work can strengthen legs, hips, calves, and trunk.
How heavy should my training pack be?
Start with your normal day-hike load. Add weight only after that feels comfortable and does not change your stride.
What is the biggest hiking training mistake?
Adding distance, climb, speed, and pack weight at the same time. Change one stress at a time.