
Can You Hike Faster Without Losing a Sustainable Pace?
Move more efficiently by smoothing your pace, stride, breaks, pack setup, and route decisions.
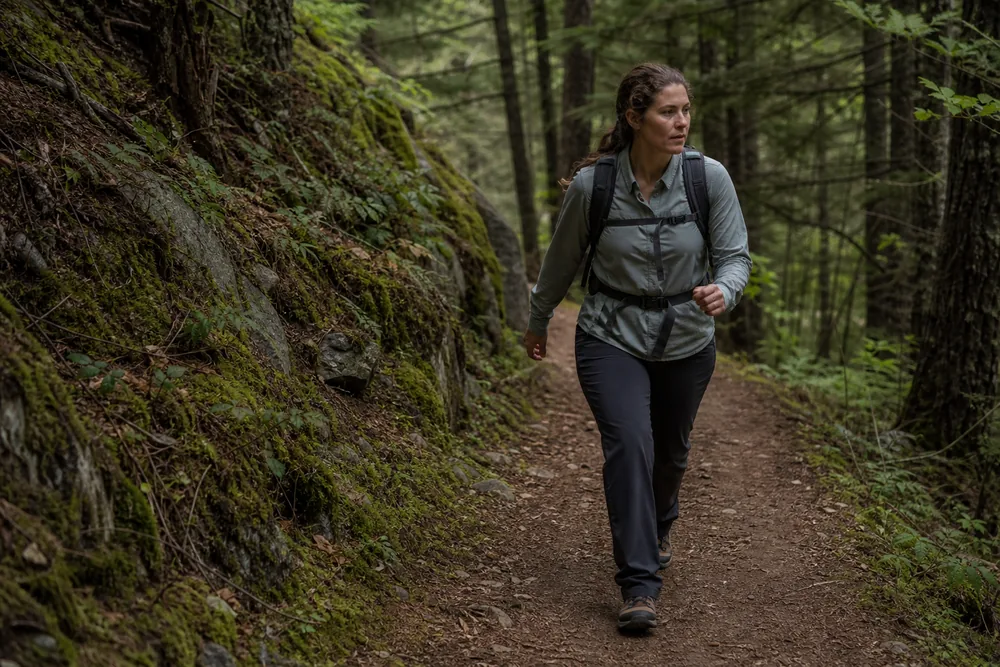
To hike faster, measure where elapsed time disappears before adding effort. Separate moving time from stopped time, compare climbs and descents, fix one limiter, and keep only the gains that leave normal footing, navigation, water, and judgment for the return.
The lost minutes are rarely where hikers think
Hiking faster means reducing total elapsed time while keeping footing, navigation, fueling, and the return under control. One average pace hides the reason a day takes longer.
Separate three clocks first.
Moving time counts actual walking. Stopped time counts every pause.
Elapsed time includes both, plus any timer behavior that the device handles differently.
Then divide moving time by terrain.
Mark the main climb, smooth traverse, rough section, descent, junctions, and final mile. A slower climb and a 22-minute lunch need different fixes.
Diagnose before pushing so effort goes to the right problem.
The useful speed gain is the one you can repeat after the last climb, not the one that wins the first mile.
Trail pacing rule
| Time leak | Evidence in the log | First change to test |
|---|---|---|
| Fast start | First split is quick, then pace drops and stops grow | Begin 10 to 15 minutes easier |
| Long transitions | Water, snack, map, and layer stops each open the pack | Put common items within reach and combine jobs |
| Uphill surge | Strong climb bursts end in full recovery stops | Shorten steps and lower effort before breathing breaks |
| Downhill braking | Loud feet, toe pressure, knee fatigue, and cautious restarts | Reduce step length and practice on a gentle grade |
| Rough-ground hesitation | Repeated full stops before roots or rock | Look two to three steps ahead and choose a line early |
| Group stretch | Front hikers wait at every junction | Set one pace and regroup before turns |
Do not assume the slowest split needs more fitness. A navigation pause, buried shell, loose pack, or missed snack can cost more time than a small gain in walking speed.
The common hiking mistakes become pace leaks when a rushed start, late water, poor route choice, or ignored foot problem forces a longer correction later.
If breathing or legs limit every terrain split, build capacity through hiking fitness training before adding speed practice on rough ground.
How do you build a repeatable hiking pace log?
Choose one familiar route where the tread, junctions, climb, descent, and exit are already known. Use a similar pack, start time, and weather window on each test.
Mark four to six gates that correspond to terrain changes rather than arbitrary miles. Good gates include the end of the warm-up, base and top of the main climb, start and end of rough tread, and trailhead finish.
Record the time at each gate, every stop longer than a quick sip, the reason for the stop, breathing, water used, and any foot or pack issue. The notes matter because a watch cannot tell whether a slow split came from loose rock or a buried snack.
One route becomes a lab when the variables stay controlled.
| Log field | What to record | What it can reveal |
|---|---|---|
| Elapsed time | Start to finish | The total result the day must improve |
| Moving time | Time the device identifies as walking | Whether walking pace changed |
| Stopped time | Total pause time plus long individual stops | Transition and break cost |
| Climb split | Base to top with effort note | Uphill capacity or surge pattern |
| Descent split | Top to bottom with foot and knee note | Braking, line choice, or confidence limit |
| Rough split | Entry to exit on technical tread | Foot placement and vision limit |
| Final split | Last gate to trailhead | Whether the early pace survived the return |
Consider a three-hour hike with 2 hours 28 minutes moving and 32 minutes stopped.
If 18 stopped minutes came from four pack-opening transitions, faster walking is not the first target. Reducing those transitions to two organized stops could save more time without raising effort.
Another log may show only 12 minutes stopped, but the descent takes 20 minutes longer than a previous comfortable attempt. That points to step control, fatigue, surface, or footwear rather than break design.
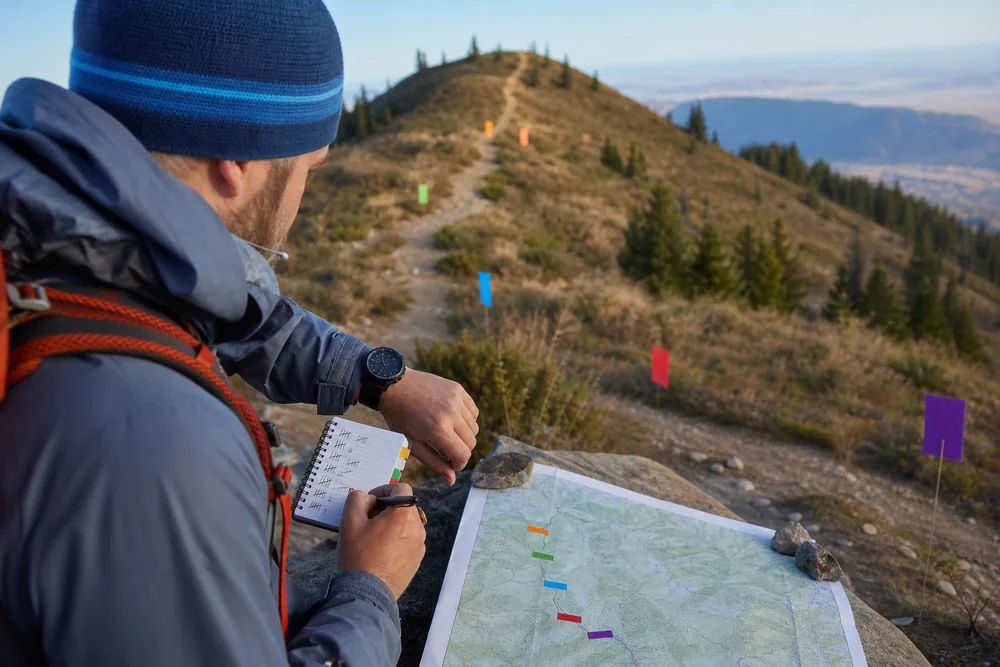
Change one variable on the next test.
Shorten transitions, hold back in the first split, adjust pack fit, practice the climb, or rehearse a gentle descent. Keep everything else close enough that the result means something.
A useful test route comes from the trail choice process, not from whatever trail is closest. Weather, water, light, and turnaround facts stay comparable between tests when a day hike plan records them each time.
Your real pace is the one that survives the return
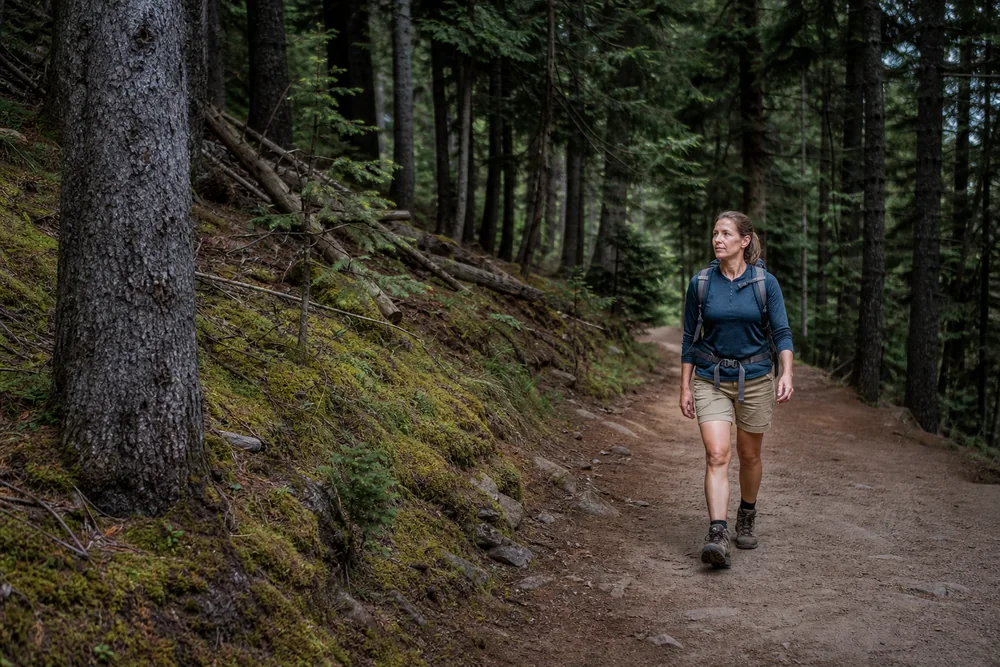
Start the first 10 to 15 minutes below the pace you hope to hold. Let breathing settle, loosen shoulders, check shoe comfort, and confirm that the pack moves with your torso.
Use conversation as a field check. Full sentences usually indicate an easy sustainable effort.
Short broken phrases on moderate ground mean the pace is borrowing from later miles.
A strong first split can feel efficient while it creates a long stop after the first climb.
Compare the time gained in the opening with the time spent recovering. If recovery costs more, lower the early ceiling.
Save pace for later instead of proving it early.
- Warm up below targetUse 10 to 15 minutes for breathing, shoes, pack, and temperature.
- Check conversationHold full sentences on easy ground and back off when moderate terrain breaks speech.
- Reach the first climb calmAvoid carrying an early breathing spike into the hill.
- Drink and eat on scheduleUse small planned amounts before thirst or low energy forces a long stop.
- Recheck after the climbLower the day pace if breathing and legs do not settle while walking.
- Protect the final hourKeep enough attention and leg control for the return terrain.
Moving slower for five minutes can be faster than sitting for ten. Use a moving reset on smooth ground when effort is too high, then return to the planned ceiling after breathing normalizes.
A newer hiker should first make the beginner pace checks routine. Speed work adds load to feet, judgment, and transitions, so basic route control must already be stable.
How can you walk faster on flat trail without overstriding?
Smooth terrain is the safest place to test a small speed gain because footing and grade demand less attention. Raise cadence slightly before lengthening the stride, then keep the foot landing close enough that the body does not brake against each step.
Start with a familiar five-minute segment. Walk at the normal sustainable pace, note time and breathing, then repeat on another day with a modestly quicker rhythm and the same pack.
Keep the torso tall and shoulders loose. Leaning forward from the waist can push the pack away from the body and turn a flat section into repeated braking through the hips and feet.
Let the arms swing naturally beside the body. Large cross-body swings rotate the torso and can make a loose pack move more, while clenched hands add tension without moving the feet faster.
Listen to the landing. Foot slap, scuffing, or a shoe reaching far ahead usually means the pace has exceeded quiet placement even though the surface is easy.
Do not turn the test into a run unless running with the load, footwear, and terrain is already part of your training. A few running steps can change impact, pack movement, and recovery more than the saved seconds suggest.
Keep navigation active. Flat roads, forest tracks, and broad trails can encourage automatic movement, so confirm junctions and route changes before the faster rhythm carries the group past them.
Use the end of the segment as evidence. Breathing should settle while walking, foot placement should remain quiet, and the next climb or rough section should begin without a recovery stop.
Compare total elapsed time, not only the five-minute split. A faster flat segment has no value when it creates an extra layer stop, pack adjustment, or long pause at the next rise.
In a group, the test pace belongs to the person who can maintain it with normal footing and conversation. Faster hikers can take shorter steps or move behind the pace setter instead of stretching the group between junctions.
Flat speed must carry forward. Keep the gain only when the next terrain block starts with the same control and no new stop.
How can you climb faster without surging?
Shorten the step before adding effort. Place the foot under the body, keep the torso tall enough to breathe, relax the hands, and let cadence rise only as much as the grade allows.
Long uphill lunges feel strong but increase the work of each step. A smaller repeatable step helps the legs keep moving when the slope changes.
Downshift before breathing becomes ragged. On a rolling route, a few controlled seconds at the base of each rise can prevent a full stop near the top.
Climb without the surge that steals time later.
Step length
Shorten as grade rises so the foot stays close to the body.
Cadence
Use a repeatable rhythm rather than chasing one universal step rate.
Posture
Keep shoulders low and enough space through the torso for breathing.
Hands
Relax fists and pole grips so upper-body tension does not spread.
Eyes
Read several steps ahead and choose the next stable landing.
Grade change
Downshift before the steep pitch forces a stop.
Trekking poles may reduce how hard a steep climb feels, but the effect is not a promise of faster speed. In a 2019 uphill walking study of 14 mountain-running athletes, poles produced small energy savings on some very steep grades and lower perceived effort on several grades.
That study used short treadmill trials and trained participants. Test poles on a familiar climb before relying on them.
A random plant, tight grip, or poor pole length can add work instead of smoothing rhythm.
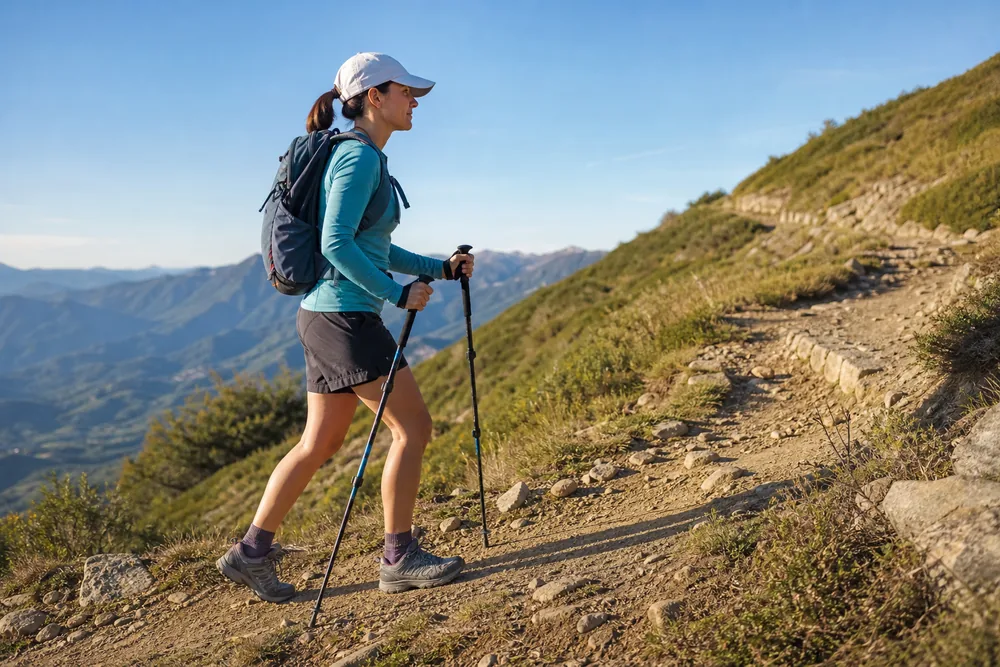
Practice one climb at a controlled effort.
Mark the base and top, record whether a full stop was needed, and note if the next split remained normal. A faster climb that slows the following mile is not yet a useful gain.
Pack fit becomes more visible uphill because a loose load pulls backward as the torso leans. Fix the carry system before treating shoulder strain as a leg-fitness problem.
How can you descend faster without losing control?
A descent is not free speed. Gravity raises walking speed while the legs absorb load, the toes move forward in the shoe, and each rushed landing leaves less time to read loose or wet ground.
Reduce step length before braking becomes loud. A graded-walking study found that speed, step length, and cadence all changed joint loading, with step-length effects especially strong downhill.
Keep the foot landing close to the body. Look two or three steps ahead, choose a line, place the foot quietly, then move the eyes forward again.
Quiet feet protect pace because they reduce slips, toe hits, and recovery stops.
| Downhill signal | What it suggests | Faster controlled change |
|---|---|---|
| Foot slap | Step reaches too far or lands stiffly | Shorten the step and soften the landing |
| Toe pressure | Foot slides forward in the shoe | Recheck lacing, socks, and stride length |
| Repeated braking | Speed exceeds line-reading ability | Lower pace before the rough pitch |
| Eyes fixed at toes | The next obstacle arrives late | Scan several steps ahead, then confirm the landing |
| Pole plants cross the feet | Pole rhythm is fighting balance | Widen the plant and slow until timing is automatic |
| Knee or joint pain | Current load or speed is not tolerable | Stop the speed test and exit conservatively |
Poles can shift some downhill load when technique is practiced.
A mountain-walking trial of 37 active adults found lower perceived effort on ascent and lower several post-hike muscle-damage measures with poles. The result does not mean poles remove fall risk or make every descent faster.
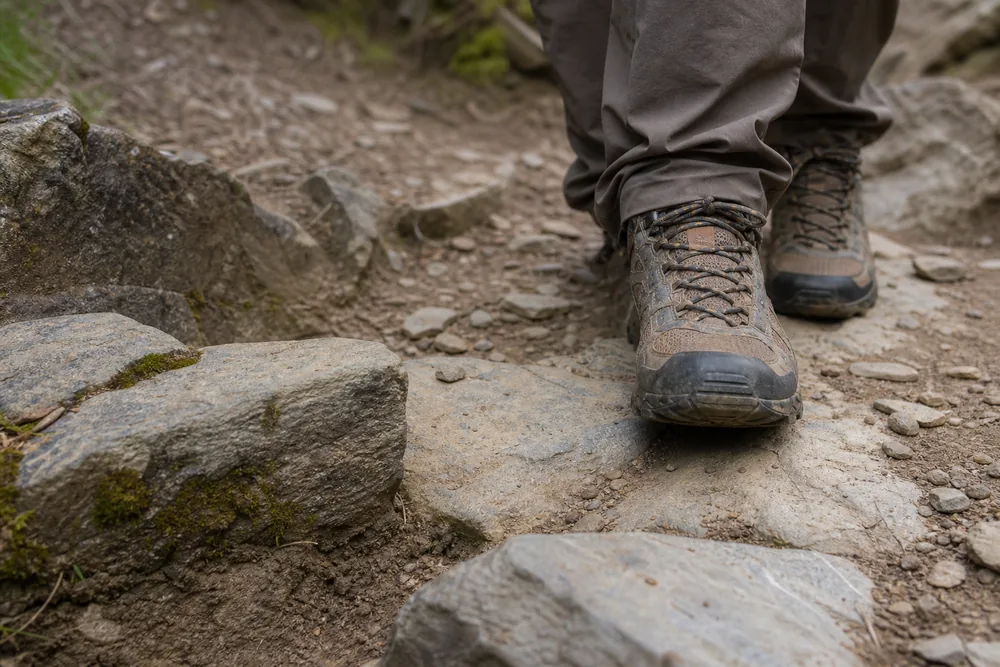
Build descent tolerance gradually. One study in untrained young men found that a small downhill exposure one week before a longer bout reduced later muscle-damage measures.
Treat that as support for gradual practice, not a universal five-minute prescription.
Use a gentle known slope for short practice.
Walk down with quiet feet, return easily, and stop before form or comfort degrades. Increase duration on a later week rather than choosing a steeper surface at the same time.
Wet rock, mud, snow, and loose gravel cap the test pace. Rain hiking decisions and winter surface choices control the speed before a dry-trail split does.
Passing also needs room and consent. Normal trail passing manners beat crowding a slower person onto unstable ground to protect a time goal.
How can shorter transitions reduce hiking time?
Stopped time is not wasted when the stop solves the right problem. It becomes a stop tax when the group opens packs repeatedly, forgets one job, or has no cue to restart.
Name the stop before taking it.
A micro stop handles one quick need. A utility stop combines food, water, map, layers, and sunscreen.
A real rest handles a meal, foot care, or a group reset.
Every stop needs an exit as well as a reason.
| Stop type | Best use | Restart cue |
|---|---|---|
| Micro stop | Quick sip, layer zip, one breath check | The single task is complete |
| Utility stop | Snack, water, map, sunscreen, simple adjustment | Each person confirms ready |
| Real rest | Meal, blister care, weather wait, group reset | Treatment or planned time ends |
| Moving reset | Effort is too high on safe smooth tread | Conversation and posture normalize |
| Unexpected stop | Wrong turn, pain, gear failure, new hazard | A clear route or response is chosen |
Combine needs at predictable gates. A group can drink, eat, check the map, and adjust clothing once at the top of a climb instead of repeating four separate pauses.
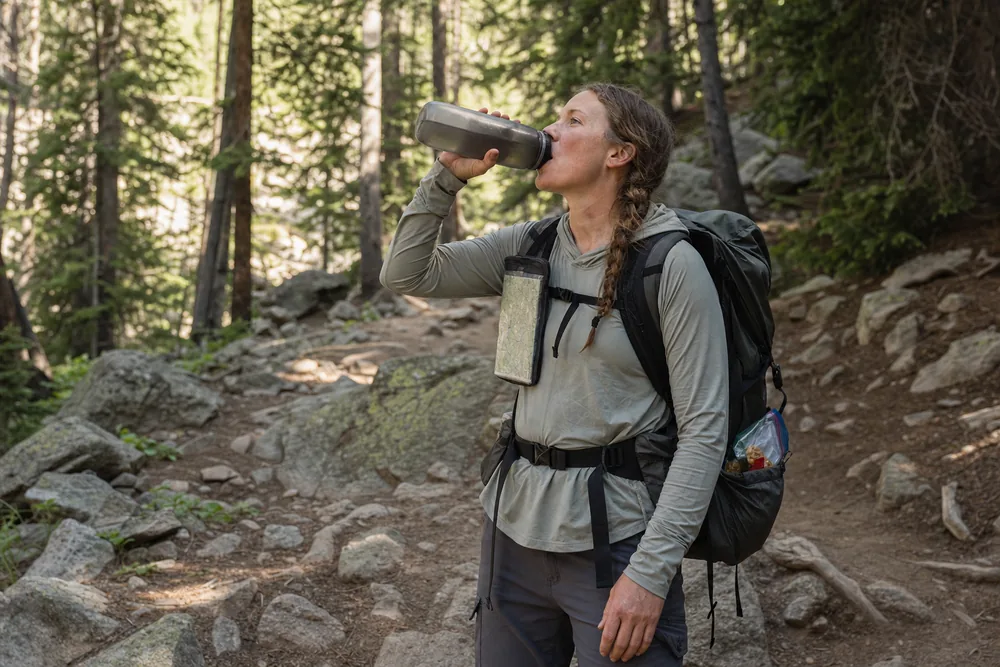
Keep the pack on for a micro stop. Remove it when doing so improves a real task, such as foot care or a longer layer change.
Saving seconds while treating a hot spot poorly can cost the whole descent.
Groups should restart together.
Before leaving, count people, secure loose items, name the next gate, and confirm the direction. The fastest person walking away early only creates another wait.
How do pack fit and access affect hiking speed?
A lighter pack can help, but stability and access come first. A loose load pulls, bounces, and changes stride even when the scale number looks reasonable.
Set the hip belt where the pack design intends, remove slack without crushing the shoulders, and use load-lifter straps only enough to bring the upper load closer. Recheck after water or food changes the load.
Keep water, food, shell, map, phone, sunglasses, and blister care reachable. An item that requires a full unpack every hour creates transition time even when it weighs almost nothing.
Fix movement before ounces so the first change is visible in the split.
- Stop side-to-side bounce before raising pace.
- Keep dense items close to the back instead of far from the body.
- Secure bottles and poles so they do not slap or swing.
- Reach water and a small snack without emptying the pack.
- Place the shell and map where weather or a junction can be handled quickly.
- Remove duplicates and route-irrelevant comfort items first.
- Keep water, light, navigation, first aid, food, weather layers, and delay protection.
The hiking packing list separates core systems from optional items. A water carry plan should change the amount before speed goals do.
If the load pulls or rubs, correct backpack fit on the familiar route. Compare bounce, shoulder pressure, and transition time before cutting another item.
Train the limiter that costs you the most time
Use the split log to choose training.
A slow final hour points toward aerobic duration. A climb that forces repeated stops points toward uphill capacity.
A cautious descent points toward technique and gradual downhill exposure.
The federal Physical Activity Guidelines tell adults to build toward 150 to 300 minutes of moderate aerobic activity each week plus muscle-strengthening work on at least two days. Inactive adults should start with small amounts and progress over time.
Those numbers support general health and fitness.
They are not a guarantee of a specific trail speed. Match practice to the route and your current recovery.
Train the measured limiter instead of making every walk hard.
| Measured limiter | One weekly practice | Progression rule |
|---|---|---|
| Final-hour fade | Two or three easy walks of 30 to 60 minutes | Add time gradually while conversation stays normal |
| Climb stops | Four to six repeats of 60 to 120 seconds on a familiar moderate hill | Add one repeat before making the hill steeper |
| Downhill hesitation | Five to ten controlled minutes on a gentle known descent | Add duration on a later week, not speed and steepness together |
| Rough-tread pauses | Short technique block on easy roots or rocks | Stop when foot placement becomes noisy |
| Pack transitions | Rehearse drink, snack, map, and shell access at walking gates | Remove one unnecessary pack opening |
| Strength gap | Two nonconsecutive days for legs, hips, calves, and trunk | Increase load only while form and recovery stay normal |
A hill repeat should finish with enough control to walk down easily. Use the descent as recovery and technique, not as another hard interval.
Strength work can include step-ups, split squats, calf raises, hip hinges, and loaded carries when those movements fit your ability. Choose a version you can perform with stable form and no sharp pain.
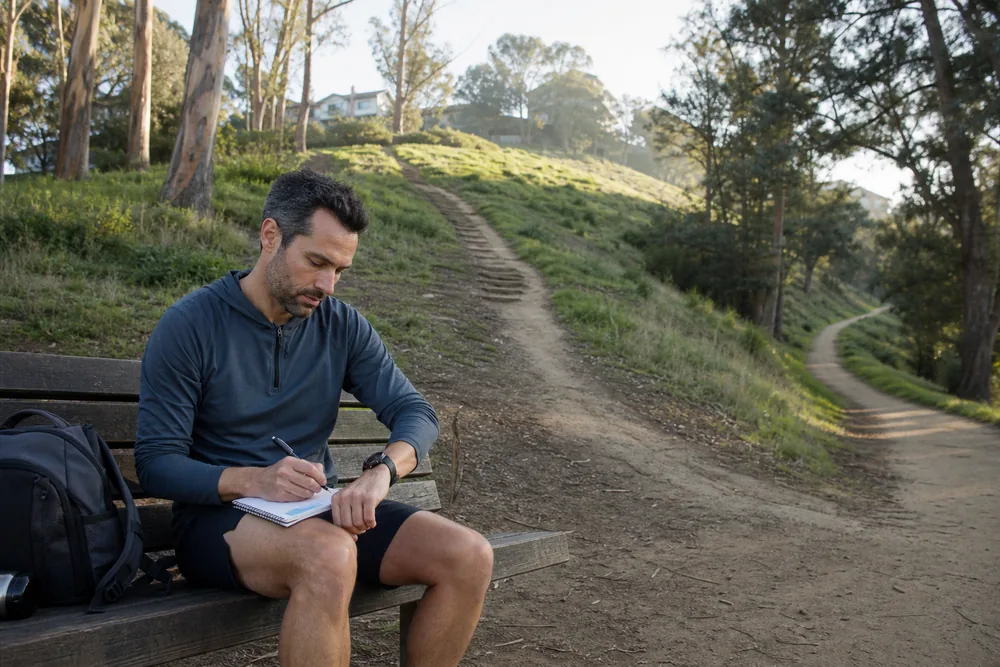
Leave easy days easy. Do not place a hard hill session, long hike, and demanding strength day back to back when the legs are not used to that load.
Repeat the same field route after enough practice to expect a change. One good day may come from weather, sleep, or trail conditions, so look for a gain that appears again.
How should you retest hiking speed safely?
Return to the familiar route with a similar pack and a similar conditions window. Change only the technique or transition you practiced.
Compare the intended split first, then check the rest of the day. A shorter climb is useful only if the descent, final mile, water reserve, and stopped time remain normal.
Keep the change when it improves elapsed time without noisier feet, extra navigation pauses, abnormal pain, group separation, or a longer recovery stop.
Control validates speed after the watch records it.
- Use the same start and finish gates.
- Keep pack load and route direction comparable.
- Change one technique, transition, or training result.
- Record moving time and stopped time separately.
- Check the climb, descent, rough section, and final hour.
- Finish with normal judgment, foot control, water, and group cohesion.
- Repeat the result before changing another variable.
The hiking safety checks still control weather, navigation, condition, and turnaround decisions. On exposed hot routes, the heat hiking plan may replace speed with an earlier start or shorter objective.
Group speed belongs to the person with the least margin. Hiking with kids and hiking with a dog change stride, breaks, heat limits, and the decision to continue.
Retest success at the trailhead. The watch should show a cleaner split, but the body and route should also show quiet feet, clear decisions, enough supplies, and a normal return.
If one variable improves twice, keep it and select the next largest leak. The process stops when the remaining gain would require less control than the route allows.
The National Park Service Hike Smart guidance supports a talk-capable pace, purposeful breaks, time and distance checks, group control, food, water, and early turnarounds.
Step by stepPractical steps
- Record elapsed, moving, and stopped time on one familiar route.
- Mark climb, descent, rough-ground, transition, and final-hour gates.
- Choose the largest time leak and change only one variable.
- Start 10 to 15 minutes below target effort and protect the return.
- Use short repeatable uphill steps and controlled downhill landings.
- Train the measured limiter with gradual aerobic, hill, descent, or strength work.
- Retest under similar load and conditions, then keep only gains that preserve control.
AnswersQuestions readers ask
How can I hike faster without getting tired?
Start below target effort, shorten uphill steps, reduce unnecessary stopped time, and train the split that fades. The useful pace is the one that survives the final hour without a long recovery stop.
What should I measure before trying to hike faster?
Record elapsed time, moving time, stopped time, climb and descent splits, rough-ground pauses, transition reasons, and the final mile on one familiar route. One average pace cannot show which problem to fix.
What is a good fast hiking pace?
There is no universal number. A useful pace still allows clear speech on moderate ground, chosen foot placement, normal navigation, enough food and water, and controlled movement through the return.
Do trekking poles make you hike faster?
Poles can lower perceived effort on some steep climbs and reduce some downhill loading when technique is practiced. Studies do not show that every hiker will move faster, so test them on familiar terrain.
How should I walk faster uphill?
Shorten the step, land close to the body, relax the shoulders and hands, and downshift before breathing becomes ragged. A repeatable cadence usually saves more time than surging and stopping.
How should I hike faster downhill?
Use shorter quiet steps, scan several landings ahead, lower speed before rough or wet pitches, and practice on a gentle known descent. Stop the speed test if pain, slipping, or foot control worsens.
Should I carry less to hike faster?
Remove duplicates and items with no job on that route, but fix pack stability and access first. Keep water, light, navigation, food, first aid, weather protection, and the systems needed for delay.