
How Do You Hike in the Rain Without Losing Warmth or Footing?
Stay dry enough, keep footing honest, and turn around before wet turns into cold.
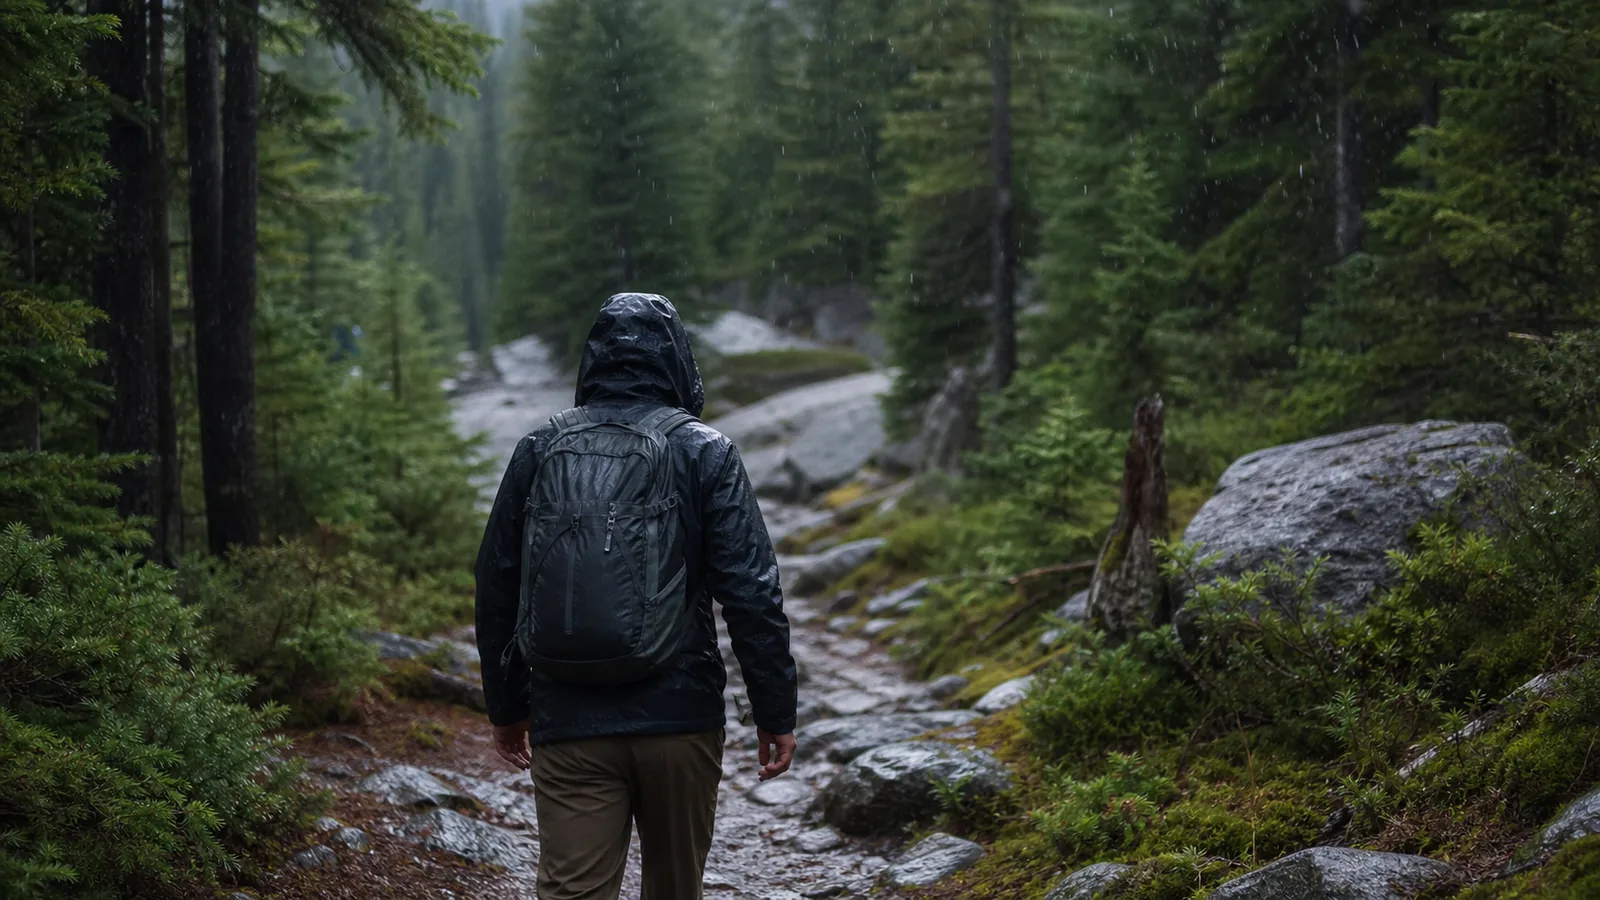
A rain hike is reasonable only when the route remains easy to leave after footing, water, visibility, and body temperature change. Classify the storm, shorten the dry-weather plan, protect one warm layer, and cancel when thunder, floodwater, or cold wind removes a normal exit.
Should you hike in the rain, shorten the route, or cancel?
Light rain does not automatically cancel a hike.
Go only when the route has simple navigation, forgiving footing, easy exits, and no crossing that can trap the group. Shorten when rain mainly adds slower travel, colder stops, or poor visibility.
Cancel when the weather creates a hazard that a shorter distance cannot remove.
A waterproof jacket does not solve thunder on a ridge, a flood warning in a canyon, or fast water across the only return. Check the route against the forecast instead of asking whether the jacket can keep up.
Classify the consequence before choosing the mileage.
- Reasonable rain
- Mild conditions, forgiving footing, familiar navigation, several exits, and no flood exposure
- Shorten
- Slower footing, colder stops, lower visibility, or a group that is taking longer than planned
- Change route
- Exposed terrain, steep mud, a committed loop, or a crossing that controls the return
- Cancel
- Thunder, flood warning, freezing rain, closed access, or fast water on the route
- Dry reserve
- Protected warm layer, navigation, light, first aid, and communication
- Exit test
- Every person can still use hands, walk normally, answer clearly, and reach shelter
The matrix below matches the route to the weather instead of forcing a dry-weather plan into a wet day.
| Weather and route | Decision | Why |
|---|---|---|
| Light rain, mild air, familiar low trail, several exits | Go shorter | The group can test layers and footing without depending on one long return |
| Steady rain, colder wind, muddy tread, slower group | Shorten or change route | More time outside increases wet and cold exposure |
| Thunder heard from the trailhead | Cancel exposed hiking | Lightning can strike beyond the visible rain shaft |
| Flood watch near gullies, washes, or unbridged streams | Choose another area | Distant rain can raise water where the group is walking |
| Freezing rain, ice, or wet snow without suitable traction and warm layers | Cancel | A shell does not correct unstable footing or rapid cooling |
| One bridge or ford controls the return | Reject the route | Water can change after the outbound crossing |
The National Park Service advises hikers to seek shelter at the first sound of thunder.
If you can hear it, lightning is close enough to strike. A vehicle or substantial building is the useful shelter.
A lone tree, rock overhang, open shelter, ridge, wet area, or metal fence is not a reason to continue.
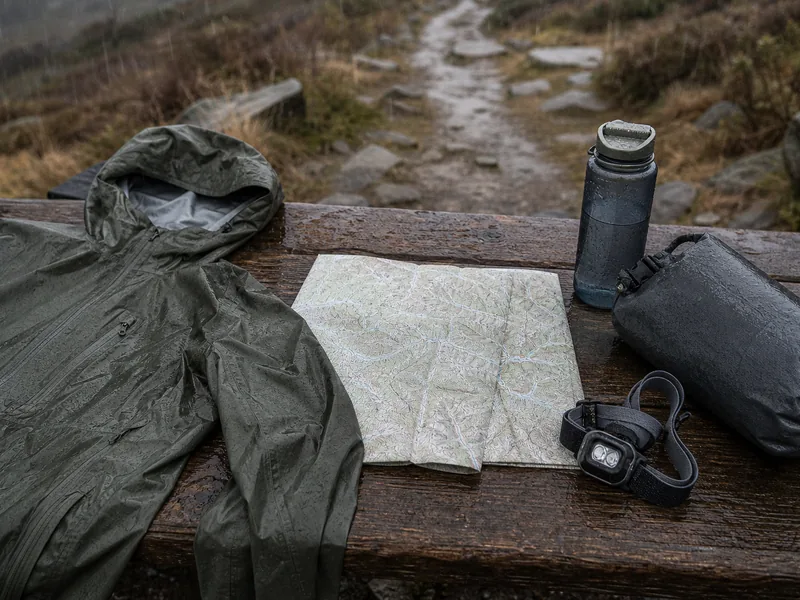
Work through two routes. A three-mile signed out-and-back stays below tree line and can reverse at any point.
A three-mile loop crosses a creek late, runs along a steep side slope, and has one exit. The mileage matches, but the loop asks the creek and slope to stay usable after more rain.
The out-and-back is the safer choice, and staying home is the right call when it still leaves too much exposure.
A dry-weather route baseline sets the difficulty you already handle without wind or mud.
In rain, lower the difficulty one more step. Familiar does not mean safe when a new closure, fallen tree, bridge problem, or water warning changes the route, so check current official notices before leaving.
How should rain change the return route?
Your route plan should work backward from the farthest point to shelter. It must still work if the pace slows, the temperature drops, a phone becomes hard to use, and a creek rises between the outbound and return crossings.
An out-and-back usually gives more decision points than a committed loop.
It is not automatically safer. An out-and-back that descends across a creek can place rising water between the group and the car.
Mark every bridge, ford, gully, steep side slope, exposed section, and junction that the group must use twice.
The wet return needs a plan before you take the first step.
- Route shape
- Prefer an out-and-back or short loop with several early exits
- Commitment
- Avoid a segment that becomes mandatory after the weather worsens
- Water
- Reject a route where one unbridged crossing controls the return
- Terrain
- Keep away from flood-prone gullies, unstable banks, steep mud, and exposed slick rock
- Navigation
- Use clear junctions that remain readable in fog and heavy rain
- Time
- Add wet-footing, layer, map, and group delays before setting the turnaround
- Shelter
- Know the shortest path to a vehicle or substantial building when thunder is possible
Two exits give you options when the map allows them.
One is the normal return. The other is a shorter signed route that does not add a crossing or road walk beside fast traffic.
A dotted line on an old map is not an exit until current information shows that it is open and usable.
Rain also changes the road and trailhead. Low-water road crossings, soft shoulders, locked seasonal gates, and falling branches can remove the vehicle exit.
A trail can remain walkable while the drive out becomes the larger problem.
Your turnaround should come from daylight and route state, not distance alone.
If the dry plan normally turns at 3:00 p.m., a wet version may need to turn earlier because the descent, map checks, and clothing changes all take longer. Start time, turnaround, light, and the overdue plan belong in one day hike plan that everyone has seen.
Your outside contact needs to know that the route is weather-dependent. Give that person the shorter option, planned exit, vehicle location, and overdue time.
If you switch routes before starting, send the new route while service is available.
Stay dry enough without trapping sweat
The goal is dry enough to stay warm and keep essential items working.
A shell blocks rain and wind, but it also slows the escape of sweat. A hiker who climbs hard with every vent closed can soak the base layer from inside.
You should start slightly cool.
Put the shell on before the clothing is soaked, then open pit zips, front zip, or pockets designed as vents when effort rises. Slow the climb if the inside of the shell feels clammy.
Close vents before wind, a stop, or a descent removes the heat that the climb was producing.
One dry reserve matters during a cold stop or the exit.
- Dress before soakingPut the shell on while the base layer is still warm and mostly dry.
- Vent at the first climbOpen the useful vents and lower effort before sweat runs inside the jacket.
- Check cuffs and neckWater often enters through open wrists, a loose hood, or a collar channel.
- Protect the warm layerSeal it inside a pack liner or dry bag rather than trusting the pack cover alone.
- Keep hands functionalUse gloves that still let you operate zips, map protection, food, and a phone.
- Change the wet layer only under coverKeep rain out of the pack while the dry layer is exposed.
- Recheck before a long descentAdd warmth before effort falls and wind reaches wet clothing.
A pack cover protects the outside but can leave the harness, bottom, and back panel exposed. A liner protects the contents even when water reaches the fabric.
Put insulation, phone, map backup, first aid, and the headlamp in their own protected layer inside the liner.
Do not let a dry shirt become a routine comfort change halfway through a warm hike.
It is the backup for a cold stop, an injury delay, or the drive home. If the backup is already damp at the trailhead, fix the packing system or shorten the route.
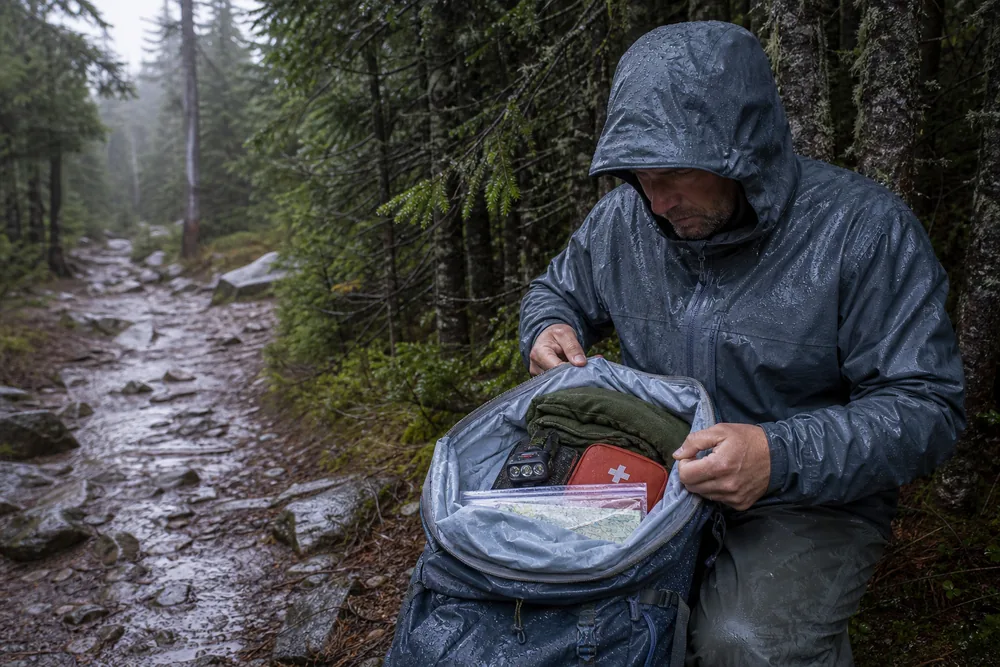
Cotton holds water and dries slowly, so choose a base layer and insulation that keep working when damp. Fabric choice cannot rescue a route that keeps the group wet for hours.
Duration, wind, temperature, effort, and exit distance still control the exposure.
Rain pants are useful in cold wind, brush, and sustained rain.
In mild rain on an easy route, they may trap enough sweat to become uncomfortable. Test the combination close to home.
Freezing rain and wet snow move the day into winter traction choices and a stricter layer plan.
How should you move on mud, roots, rock, and wet wood?
Wet surfaces fail in different ways.
Mud slides or hides holes. Roots and logs become slick along their length.
Smooth rock loses grip where water, algae, paint, or polish covers it. Leaves hide loose stones and roots.
A technique that works on one surface can be poor on the next.
Shorten the step before the foot lands.
Your weight should stay over your feet instead of reaching downhill. Place the whole foot when the surface allows it, load it gradually, and keep enough space to stop before the next hazard.
Match the step to the surface instead of chasing dry-trail pace.
| Surface | Main problem | Movement change | Route signal |
|---|---|---|---|
| Firm mud | Sliding and trail widening | Use the durable center with short flat steps | Continue at a slower pace |
| Deep mud | Hidden holes and trapped feet | Probe the depth and avoid unstable banks | Turn back if the tread disappears |
| Roots and logs | Very low grip along the grain | Cross close to a right angle without twisting | Avoid a steep root ladder |
| Smooth rock | Water and polish reduce friction | Test before full weight and avoid long reaches | Reject exposed slabs |
| Wet leaves | Hide rocks, roots, and holes | Shorten stride and keep the foot under the body | Slow enough to read each landing |
| Wood bridge or boardwalk | Film can make the deck act like ice | Walk straight with flat feet and no sudden turn | Use the handrail when present |
| Painted rock or metal | Coating can become sharply slick | Step flat and centered | Do not jump onto it |
| Steep side slope | A small slip has a large consequence | Keep three points of contact where practical | Choose another route |
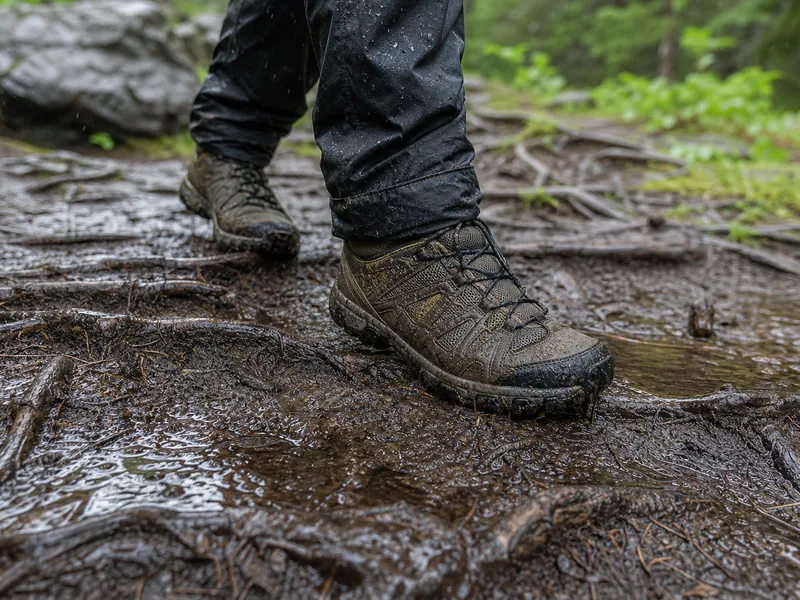
Count repeated slips as evidence.
One unexpected slide may reveal a patch. Several slides mean the footwear, pace, fatigue, or surface is outside the current margin.
The speed test ends when the surface prevents a controlled stop. You then need to decide whether that surface continues ahead or becomes steeper on the return.
Step through the durable middle of a muddy tread when it is safe.
Walking around every puddle widens the trail and damages plants. Do not follow that rule into deep water, unstable banks, hidden holes, or a flooded section.
Trail protection never requires walking into a hazard.
Wet passing needs patience.
Wait at a durable wide spot instead of pushing another group toward a soft edge. Wet-weather yielding on trail means stepping to durable ground instead of cutting a switchback or starting a second muddy track.
Trekking poles can add contact points when their tips hold. They can also skid on smooth rock or bridge decking.
Plant each pole before relying on it, keep it out of the other hiker's line, and do not let poles justify a route with a dangerous fall consequence.
When does moving water end the route?
Rain upstream can raise a creek even when little rain falls on the trail.
The National Weather Service warns that water can enter gullies and streams from distant storms and rise with little notice. A slight rise is a reason to move to higher ground, not a reason to watch longer from the bank.
The crossing needs comparison with its earlier state. Water that is rising, becoming cloudy, carrying sticks, sounding louder, spreading across new ground, or hiding the usual stones is not the same crossing.
The return must be judged as a new decision.
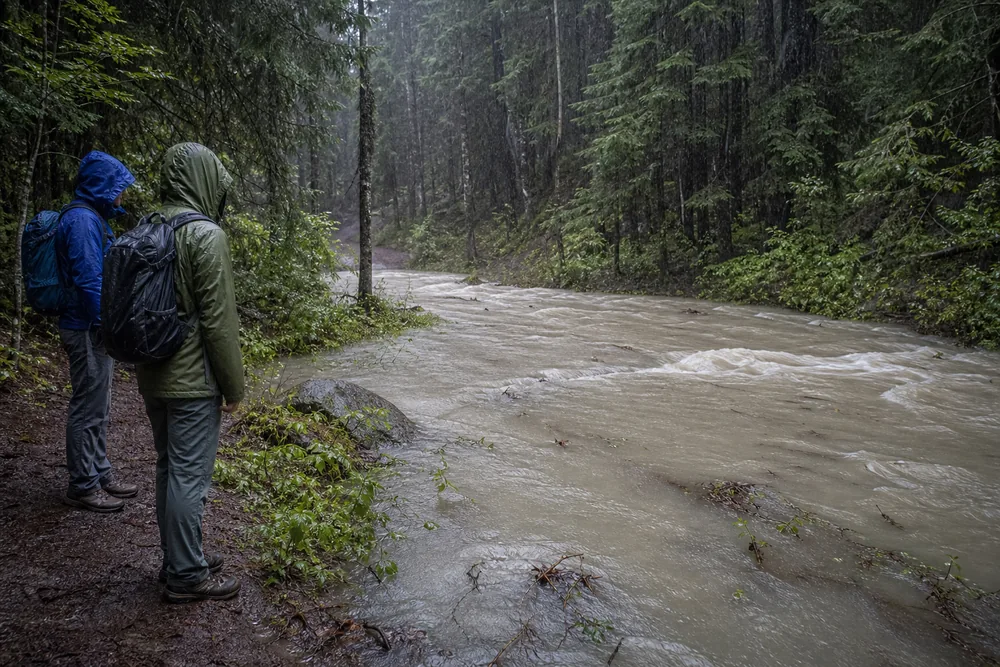
Water decides the boundary when it changes faster than the group can retreat.
The NPS advises hikers not to attempt a crossing when water is too high or swift.
That is a decision boundary, not a promise that lower water is safe. Cold, opaque water can hide uneven rocks.
Downstream strainers, falls, undercut banks, and a poor exit can make a shallow-looking crossing unacceptable.
Do not spend the remaining daylight searching along unstable banks for a better ford. Use a known bridge or planned alternate only when reaching it does not require entering flood-prone ground.
Otherwise reverse the route while the original side still leads to shelter.
In a canyon, wash, or narrow drainage, the safest move may be away from the water and toward higher ground rather than back along the route.
Local emergency instructions and closures take priority. A weather alert downloaded before the hike does not replace current warnings when service returns.
Trip plans, emergency communication, and route safety decisions matter most when water or weather blocks the normal exit.
Keep wet-weather essentials usable
Rain makes simple tasks slower.
A touchscreen may ignore wet fingers.
Paper can tear. Gloves make a zip hard to find.
A snack buried under a pack liner can turn a short stop into an exposed unpacking job.
Arrange the pack by the order of likely use.
The shell should be reachable before the warm layer. The map, phone, snack, water, light, and blister kit should be usable without exposing the dry insulation.
Put a backup light where a leaking bottle cannot reach it.
Rehearse the wet task at home with the loaded pack.
- Open the map protection and identify a junction while wearing the planned gloves.
- Open the phone and reach the downloaded map with the screen damp.
- Put on the shell without setting the warm layer on the ground.
- Reach one snack and the water bottle without opening the protected dry compartment.
- Find blister tape and first aid while the rest of the pack stays covered.
- Turn on the headlamp and confirm the spare power is protected.
- Use the whistle or communication device with cold wet hands.
- Pack a small cloth for the screen or glasses in a protected pocket.
Cold air can hide thirst, but movement and shell use still produce sweat.
Your drinking plan should reflect the route and effort. A fixed volume can ignore the person, weather, and reliable refill options.
A water carry estimate starts from route length, effort, and refill points rather than a fixed bottle count.
Food should be easy to open and eat with wet hands.
Several small portions are easier than one long lunch stop. Eat before cold fingers make packaging difficult, and keep breaks short enough that the group does not cool while sitting.
Navigation checks belong under cover when possible.
A route check belongs before the junction and out of the wind. Confirm the route, repack fully, and put the phone away before stepping over wet roots.
If fog or rain removes the expected landmark, return to the last confirmed point instead of making repeated guesses.
The normal hiking packing list supplies the baseline. Rain changes access and protection more than it changes the purpose of the items.
What are the early signs of cold stress in rain?
Wet plus wind can cool a hiker in weather that does not look wintry. The CDC states that hypothermia can occur at cool temperatures above 40 F when a person becomes chilled by rain, sweat, or cold water.
You should check function instead of asking only whether someone feels cold.
Shivering, exhaustion, fumbling hands, confusion, memory trouble, slurred speech, and drowsiness are official warning signs. A person whose thinking is affected may not recognize the problem or choose a safe response.
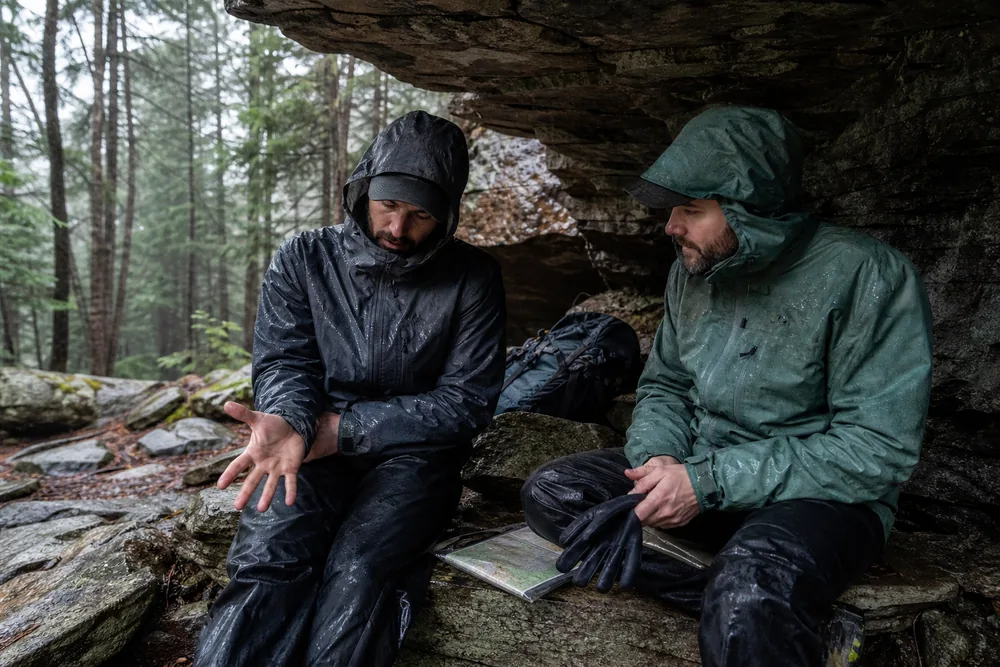
Function ends the hike before discomfort turns into an emergency.
Wet but functioning
The response is more rain and wind protection, a shorter route, steady movement toward shelter, and another check soon.
Persistent shivering
End the hike, protect from rain and wind, add dry insulation, and use the shortest safe exit.
Fumbling hands
Have a partner handle zips, navigation, food, and communication while the group exits.
Stumbling or poor coordination
This change requires an urgent assisted exit away from terrain where a fall adds another injury.
Confusion or slurred speech
Suspect hypothermia, call emergency services, shelter the person, and replace wet clothing with dry insulation when possible.
Drowsy or unable to help
Handle gently, request emergency help immediately, and follow dispatcher instructions.
You should move the person to a warm room or shelter when possible.
Wet clothing needs removal while dry layers or blankets warm the center of the body. An unconscious person should not receive a drink.
A measured body temperature below 95 F is a medical emergency, and serious warning signs justify prompt medical help even when no thermometer is available.
Emergency response must match the location and local service.
Call the emergency number or activate the communication plan early. Early hypothermia warning signs show up as clumsiness, quiet, and fumbling hands before anyone feels in danger.
None of this replaces professional medical care.
Children, older adults, exhausted hikers, people with limited mobility, and anyone without suitable dry insulation may lose useful function sooner.
The route must stay within the least protected person's ability to exit. The group should not split to preserve one person's mileage.
Which changes mean it is time to leave?
At the trailhead, record a simple baseline. Note temperature, wind, rain intensity, creek sound, visible tread, dry-layer condition, daylight, and how each person is moving.
The plan gets smaller when the real state is worse than the forecast.
Repeat the check after the first climb, before any commitment point, at the turnaround, and whenever rain intensity changes.
The question is not whether the group can tolerate one more mile. Ask what has worsened and whether the shortest exit still works.
The first worsening trend sets departure when it removes a planned margin.
- Compare the weatherNote stronger rain, colder wind, thunder, or a temperature drop.
- Compare the routeCheck whether mud, visibility, fallen debris, or water has changed the return.
- Compare the groupAsk for full answers and watch hands, gait, pace, and coordination.
- Check the dry reserveConfirm that warm insulation, navigation, light, and communication still work.
- Check the clockRecalculate the exit with wet-condition pace and the remaining daylight.
- Choose the shortest normal exitDo not add a viewpoint, loop segment, or speculative shortcut.
- Call for help when function declinesDo not wait for confusion, collapse, or an impassable crossing.
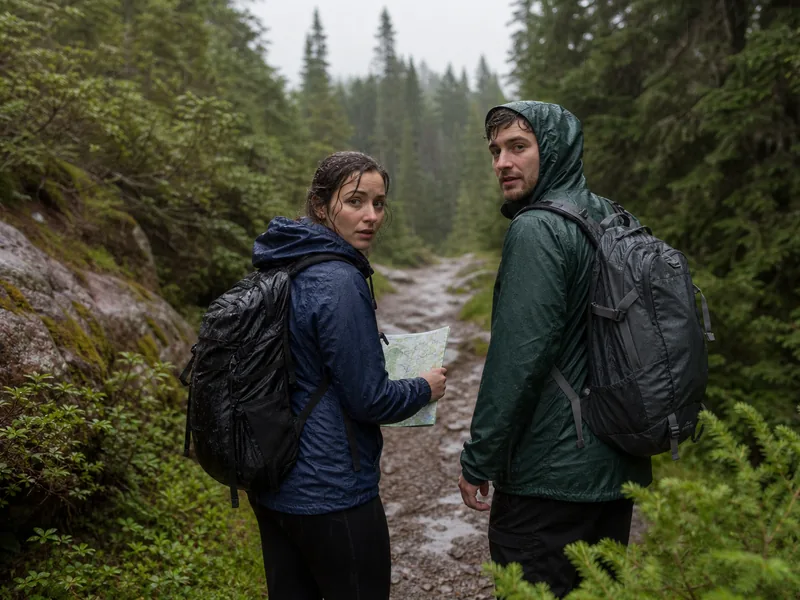
After the hike, open the pack immediately.
Dry the shell, liner, warm layers, shoes, insoles, map protection, and first-aid contents. Recharge the phone and headlamp.
Replace wet blister tape, damaged bags, and food that absorbed water.
Write down where the system failed. Water through the cuffs calls for a hood or wrist adjustment.
A soaked base layer calls for earlier venting or lower effort. A phone that became unusable calls for better protection and a paper backup.
A route that felt committed calls for a different route next time.
If the hike ended with shivering, repeated slips, a blocked route, or an unusable map, do not answer only with new gear.
Shorten the next wet route and remove the decision that allowed the exposure to grow. A solo hiking plan needs an even earlier exit because no partner can notice a change in speech, hands, or judgment.
Step by stepPractical steps
- Classify the forecast and route as go shorter, change route, or cancel.
- Plan backward from shelter and reject any return controlled by rising water.
- Protect one dry warm layer plus navigation, light, first aid, and communication.
- Vent before sweat soaks the base layer, then add warmth before long stops or descents.
- Use shorter centered steps and change technique for mud, roots, rock, wood, and leaves.
- Recheck weather, water, group function, dry reserve, and daylight at each commitment point.
- Take the shortest normal exit when conditions worsen and call for help when function declines.
AnswersQuestions readers ask
Is it safe to hike in the rain?
Light rain may be reasonable on a short familiar trail with forgiving footing, several exits, no flood exposure, and enough warmth. Thunder, a flood warning, freezing rain, fast water, or a return controlled by one crossing is a reason to change routes or cancel.
What should I wear hiking in rain?
Use a moisture-managing base layer, a hooded rain shell that can vent, suitable footwear, and gloves when cold wet hands are likely. Seal one warm layer inside the pack as the dry reserve for a stop or exit.
Do waterproof jackets make you sweat?
They can, especially during climbs. Vent before the base layer becomes wet, lower effort when the shell turns clammy, then close vents and add warmth before wind, a stop, or a descent cools the body.
Should I hike through mud or around it?
Use the durable center when the mud is shallow and the footing is visible. Do not enter deep water, hidden holes, unstable banks, or flooded tread.
Walking around every safe puddle widens the trail, but trail protection never requires stepping into a hazard.
When should I turn around in rain?
Take the shortest normal exit when rain, wind, mud, visibility, water, daylight, the dry reserve, or group function is worse than the last check. Leave while everyone can still navigate, use their hands, and walk with normal coordination.
Can a creek rise if it is not raining on my trail?
Yes.
Rain upstream or in a nearby drainage can send water into gullies and streams. Rising, cloudier, louder water or new debris means the crossing has changed.
Move toward higher ground and do not enter floodwater.
Which cold signs need emergency help?
Confusion, slurred speech, stumbling, fumbling hands, unusual drowsiness, or inability to help with the exit can signal hypothermia. Shelter the person, replace wet clothing with dry insulation when possible, call emergency services, and follow dispatcher instructions.