
Is Solo Hiking Safe? Plan the Route, Check-In, and Turnaround
Use a route, check-in, and turnaround plan that still works when you are the whole team.
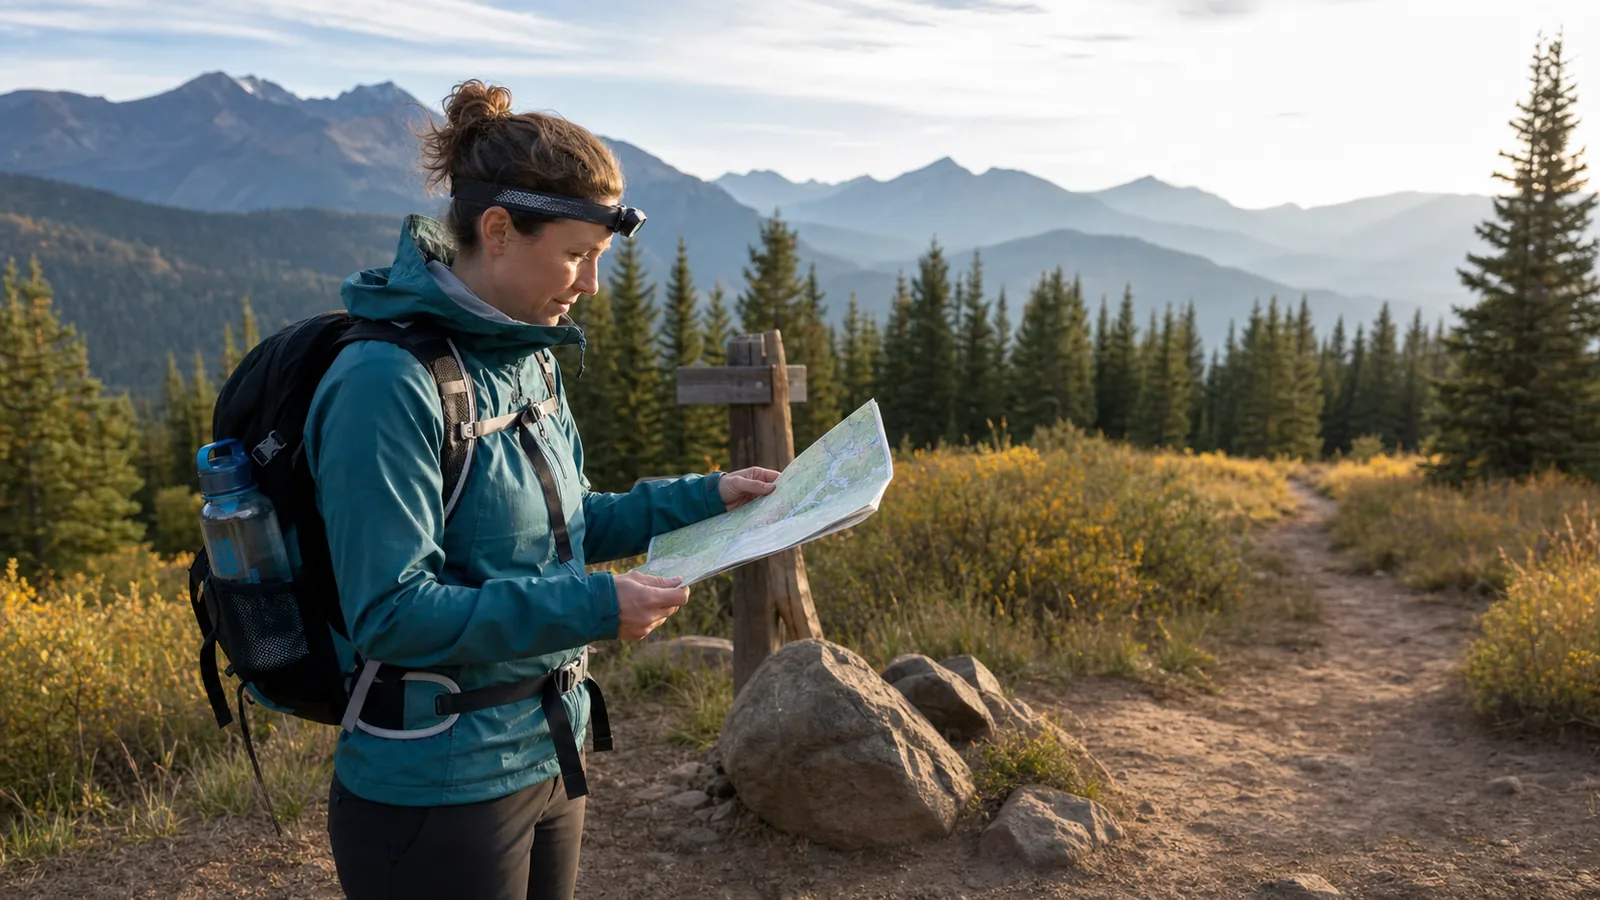
Solo hiking can be reasonable when your skills, route, timing, check-in, and equipment still work without a partner. The plan needs more margin because nobody else can notice a change, share a task, or fetch an item for you.
Is solo hiking safe for you today?
Solo hiking is safest on a route below your tested limit when you can navigate, treat a small problem, communicate the plan, and walk out without help. A partner is the better choice when any one of those jobs is new or uncertain.
Judge readiness from recent evidence. You should be able to follow a marked route without continuous phone guidance, recognize the early warning signs on trail, and turn around without needing another person to approve the choice.
Readiness comes before route ambition.
- Route proof
- You completed similar distance, gain, and footing with margin
- Navigation proof
- You can identify junctions and backtrack without cell service
- Problem proof
- You can use your first aid, layers, light, and communication gear
- Decision proof
- You will follow a written turnaround time even when you feel strong
- Outside backup
- A trusted contact has the plan and knows when to act
Choose a solo route with simple navigation, predictable footing, cell or exit options, and a distance below your limit. Save remote, exposed, or confusing trails for a partner until you know the area well.
The best solo hike feels a little conservative on paper. That is the point.
The plan should still feel manageable after one small thing goes wrong.
Pros
- Familiar marked routes keep navigation and exits simple.
- Out-and-back routes make shortening the day easier.
- Extra daylight gives you time to solve small problems alone.
Cons
- Remote loops make one wrong turn more expensive.
- No partner can notice fatigue, confusion, or a small injury for you.
- A late finish turns every solo decision into a tighter one.
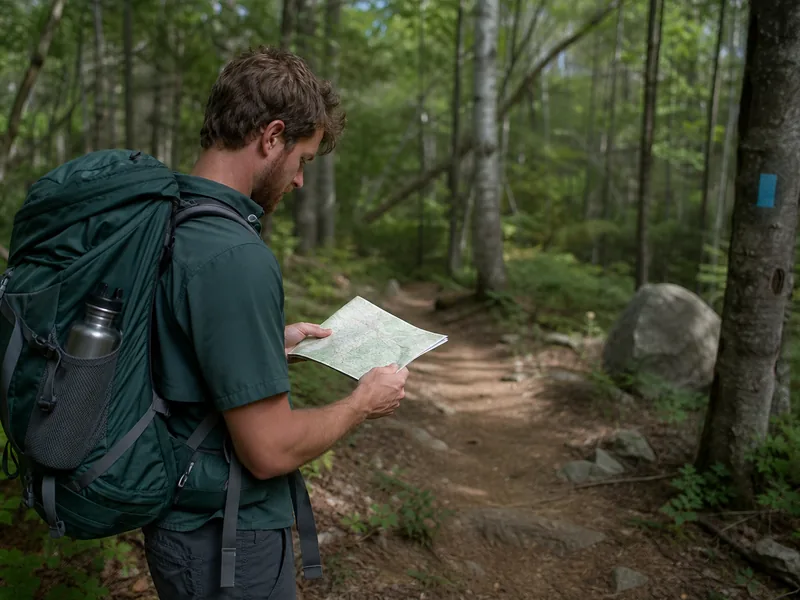
Choose a familiar marked route where basic hiking skills keep navigation and exits predictable while you test solo decisions for the first time.
Which solo routes should you save for later?
Save routes that make one small problem expensive. Long exposed ridges, complex trail networks, snow-covered junctions, loose scrambles, and remote loops all ask for more backup than a solo hiker may have.
Build a progression from familiar marked trails. Add distance, elevation, a new route, or remoteness one at a time after you know how you handle decisions alone.
Solo experience grows best when only one variable gets harder at once.
| Route type | Better solo timing | Why it matters |
|---|---|---|
| Familiar marked loop | Good early solo choice | Navigation and exits stay simple |
| Long out-and-back | After you know pace and water use | Return takes discipline |
| Remote loop | Save for strong experience | Exit options shrink |
| Snow or low visibility | Save for partner or advanced skill | Route-finding gets harder |
| Scramble or exposed ridge | Avoid when alone unless very skilled | Injury consequences rise fast |
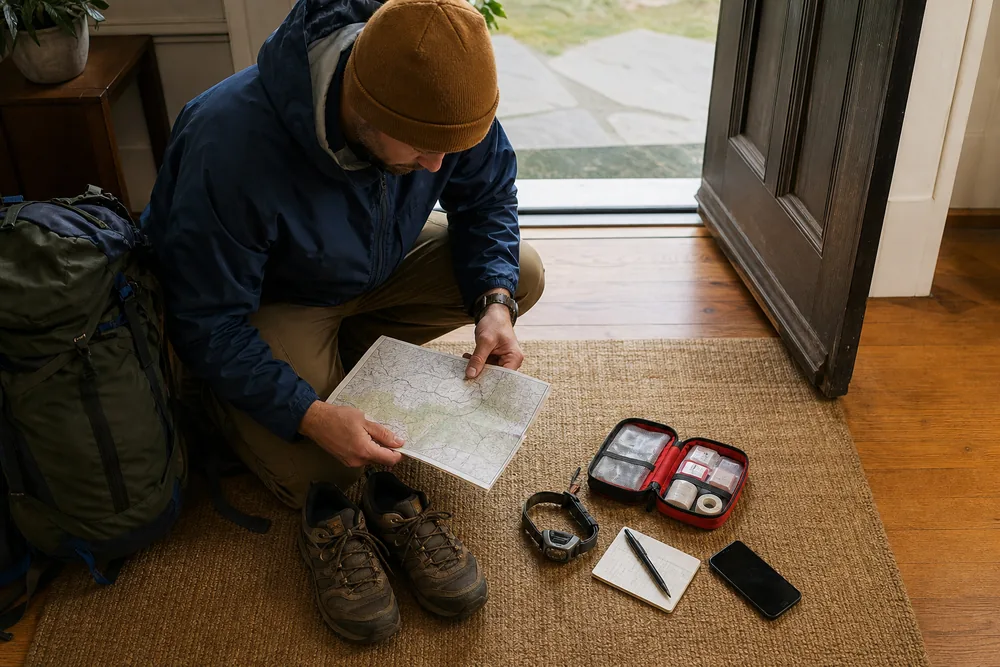
What should a solo hiking check-in plan include?
Leave a plan with a trusted contact who is not on the hike. Include the trailhead, route, turnaround time, expected return, vehicle description, backup route, and action time.
Do not send only a map screenshot. Write instructions that work if your phone dies and make sure the contact agrees to be available.
A check-in plan is useful only when another person knows what to do with it.
| Detail | Include this | Why it matters |
|---|---|---|
| Trailhead | Exact start point | Many trails share similar names |
| Route | Planned trail and direction | Search starts in the right place |
| Turnaround | Time or landmark | Late does not stay vague |
| Return time | When you will message | Friend knows when to act |
| Action time | When to call for help | Removes guesswork |
| Vehicle | Plate, model, and parking location | Gives responders a concrete trailhead clue |
| Backup route | Named shorter option or earlier return | Explains a planned change |
Give the trusted contact a missed check-in sequence
The National Park Service tells a trusted contact to try reaching the visitor after the expected return.
If the visitor does not respond, the contact should call the appropriate authorities and share the trip plan. The contact should not start searching the trail alone.
Write the authority and phone number into the plan when the land manager provides one. Otherwise, tell the contact to use local emergency services.
The plan supports a response, but it does not guarantee rescue and it never replaces a required permit.
Notify the contact if you switch to the stated backup route.
Send a final message after reaching the trailhead so the contact cancels the action time. A finished hike with no closeout can trigger needless calls.
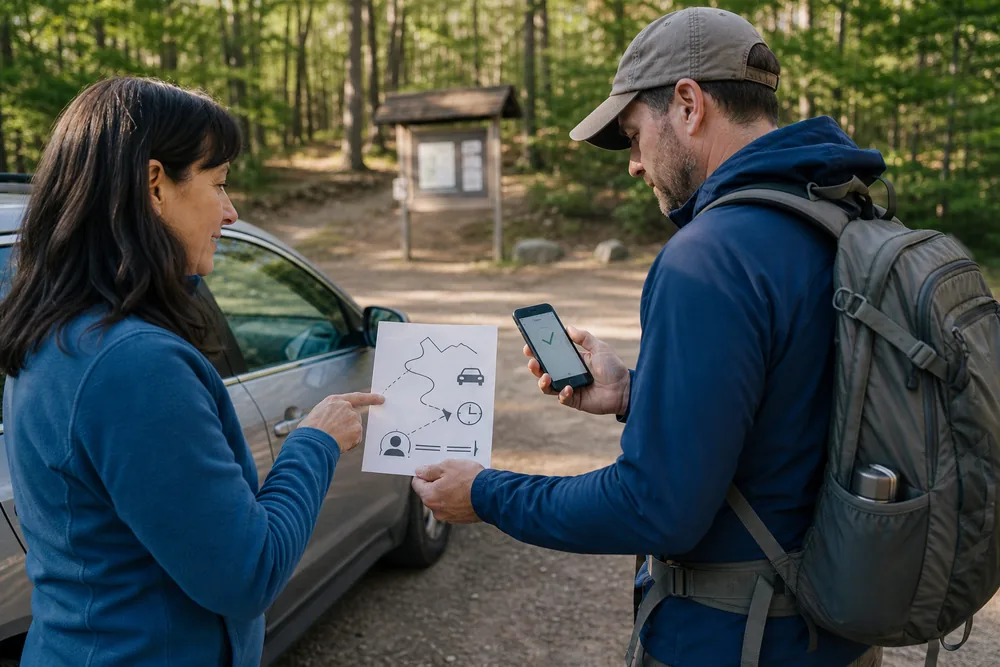
If nobody knows when to act, you did not leave a real plan.
Solo check-in rule
Exact return times and overdue actions turn trip planning into instructions another person can follow.
Decision points belong on the map before you leave
A single turnaround time is not enough for a solo hike. Mark several decision points where new information can shorten the day before low water, weather, pain, or navigation doubt turns into an urgent problem.
Start with the trailhead.
Check the posted closure, parking return rules, visible weather, actual temperature, and how your body feels after the drive. If a required road, bridge, trail, or permit condition differs from the plan, switch to the named fallback before walking away from the easiest exit.
Mark the first junction where a wrong turn would become expensive.
Write the trail name, direction, distance, and one visible feature you expect after the turn. Look backward after passing it so the return view is familiar.
The next point should test pace.
Choose a landmark early enough that a slow arrival still leaves a useful choice. Compare the actual time with the plan, then account for the return, expected slower sections, stops, and daylight rather than assuming you will make up time later.
Water needs its own checkpoint.
Count what remains at a known landmark instead of waiting for thirst. The decision must include the return distance, heat, exposed ground, and whether a stated refill is both available and safe to use under current information.
Weather checkpoints belong before exposure.
Stop at the last easy retreat before a ridge, open slope, long water crossing, confusing plateau, or section where wet rock changes footing. Look at the sky, wind, temperature, official alerts saved before departure, and the time needed to return to safer terrain.
Pain and movement also need a named test.
A hot spot, repeated toe strike, ankle pain, or pack imbalance should be corrected while you are still close to a simple exit. Walk only a short distance toward the exit after the correction and continue the objective only when movement clearly returns to normal.
A checkpoint that only asks how you feel invites negotiation. Use something observable such as time, remaining water, a landmark, cloud movement, wind, foot condition, or repeated map mismatch.
Tell the trusted contact which fallback is normal.
If communication works, report a meaningful change. If it does not, follow the written option so your actual movement still matches information the contact already has.
Keep the checkpoints on a paper map or offline note that works without service. A pin with no written meaning is easy to ignore, so label each point with the fact to check and the shorter action that follows a failed check.
If the trail has no useful landmark near the needed time, use elapsed time from the trailhead and confirm it with terrain you can identify. Do not walk farther merely to reach a prettier or more obvious decision point.
Do not add an unplanned spur because the day feels easy.
Extra distance beyond the last checkpoint can consume the water, light, and time reserved for the return. The fact that you feel strong is useful evidence, but it does not move the daylight cutoff or shorten the trail.
Decision points protect the return because each one turns changing conditions into a small choice made near an easier exit.
How should no cell signal change a solo route?
Assume the phone may not send when you need it. Download maps, save battery, keep the phone warm and dry, and carry a paper route reference.
Searching for service can drain a battery, so airplane mode is useful until you need the phone.
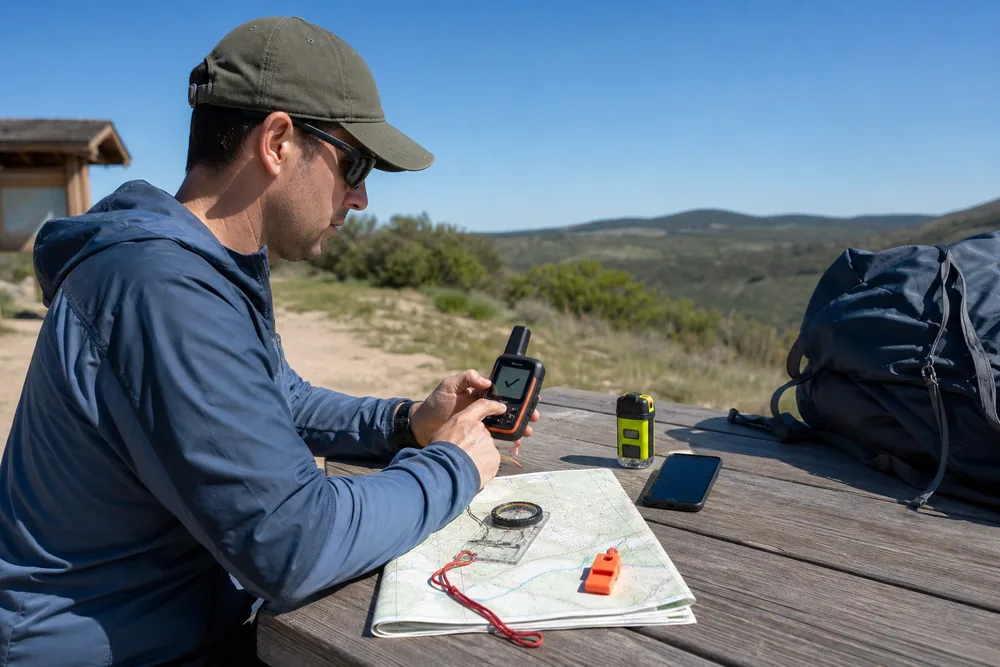
For remote routes, compare a satellite messenger with a personal locator beacon, or PLB.
A PLB is primarily an emergency SOS device. A satellite messenger may add two-way text and routine check-ins when its subscription and service are active.
Neither device makes the route safe or guarantees how quickly local help can arrive.
A phone is useful solo gear, but it is not the whole safety plan.
Offline map
Works when signal disappears.
Battery margin
Airplane mode and cold protection keep power longer.
Written notes
Trailhead, junctions, and exit options survive a dead screen.
Messenger
Helps on remote routes where phone service is unlikely.
Check-in person
Turns missed return time into action.
Paper backup
Preserves the route and key bearings when every powered device is unavailable.
| Tool | Useful job | Limit to plan around |
|---|---|---|
| Phone | Offline map and emergency call where service exists | Coverage, battery, weather, and impact damage |
| Satellite messenger | Check-ins, two-way messages, and SOS on supported service | Subscription, battery, sky view, and practiced use |
| PLB | Dedicated distress signal with location | Mostly one-way SOS and no routine conversation |
| Paper map and compass | Independent route reference | Requires route-reading skill |
| Whistle | Nearby signal with little battery risk | Does not contact an outside responder |
Register, charge, and test the device before the hike.
Send a routine test or check-in from an easy location so you know which buttons, app, account, and sky view it needs. Store it where either hand can reach it after a fall.
What should you do when a person, animal, or place feels unsafe?
Solo hikers often notice every sound, person, and animal more sharply because nobody else is there to confirm what is normal. Plan how you will respond before nerves make the choice for you.
For people, stay polite but keep boundaries.
You do not owe strangers your route, campsite, or whether you are alone. For wildlife, give distance, make calm noise when appropriate, and leave the area before curiosity turns into crowding.
Solo confidence comes from simple responses you chose before the moment felt tense.
| Moment | Better response | Why it helps |
|---|---|---|
| Stranger asks your plan | Give a vague friendly answer | Protects privacy without drama |
| Trail feels wrong | Stop, map check, and backtrack | Keeps doubt small |
| Wildlife on trail | Give space and wait or retreat | Avoids crowding the animal |
| You feel rushed | Take the shorter exit | Rushed solo choices compound |
| Parking lot feels off | Leave and choose another trail | Safety starts before the hike |
Trust a pattern, not one spooky feeling. But if several details feel wrong, changing the plan is a normal solo skill.
You can also choose a trail that feels socially comfortable. A popular morning route may be better than an empty evening route while you build solo confidence.
Confidence grows from clean repeats. Each low-drama solo hike teaches what your pace, nerves, gear, and decisions feel like without a partner.
Alone, some gear has to work one-handed
A solo pack needs day-hike essentials plus a one-hand access test for every item you may need quickly. Keep one arm against your body and try to reach water, insulation, light, first aid, whistle, map, and the emergency communicator.
A small injury becomes harder when nobody else can open the pack for you.
Water, light, navigation, insulation, first aid, and a way to signal should not be optional.
Test the missing human step before the trail supplies the reason.
- Water and food with extra margin.
- Headlamp even for a daytime hike.
- Map, offline map, or printed route notes.
- Rain or wind shell.
- Warm layer protected from water.
- First aid with blister care.
- Whistle or other signal tool.
- Charged phone or emergency communicator when the route warrants it.
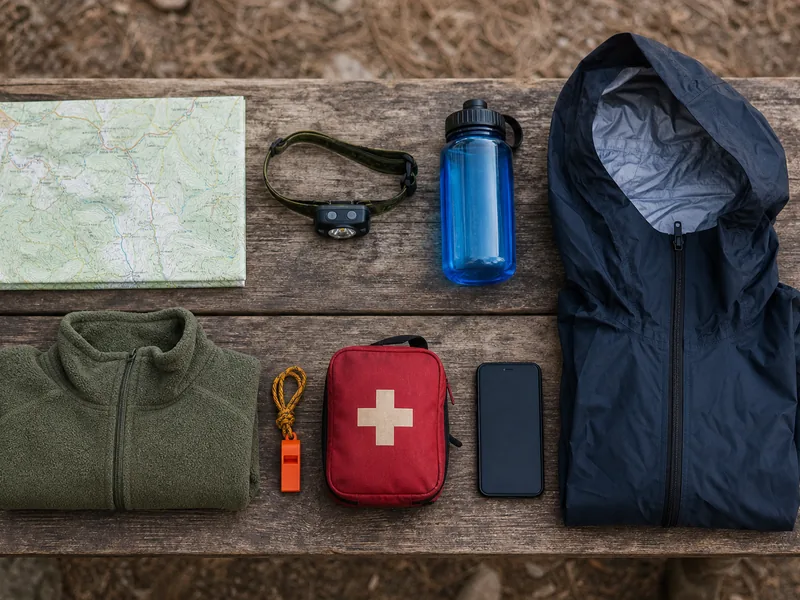
Water, light, insulation, navigation, and first aid belong on a hiking packing list before you apply the one-hand test.
Put the communicator on the body or a reachable strap, not under the gear you may be unable to unpack. If weight changes how the pack rides, backpack fit comes before added distance.
Check whether you can remove and put on the loaded pack without using a painful joint. If you cannot, reduce the route and load or hike with a partner.
Keep water conservative with a water carry plan because there is no partner's bottle to borrow.
When should a solo hiker backtrack?
A phone is useful, but solo hikers should know the first junctions, the return direction, and the point where backtracking is smarter than guessing.
Stop as soon as the trail stops matching your map. Solo hiking punishes the extra half-mile of hope.
When you are alone, early backtracking is a strength.
- PreviewKnow the first two or three turns before starting.
- ConfirmCheck the map at junctions, not after doubt grows.
- PauseStop when terrain and map disagree.
- BacktrackReturn to the last known point.
- ShortenChoose the exit if time, weather, or confidence drops.
Look backward at junctions because the return view may look different. Do not create an off-trail shortcut to reconnect with a line on the screen.
Return to the last signed or identifiable point, then practice using a compass on easy routes before solo navigation feels important.
How should you handle a small injury when alone?
Stop early for small injuries because nobody else is there to split gear, drive decisions, or watch your walking pattern. A hot spot, ankle tweak, cut, or hard bonk can become a route problem if you keep moving without a reset.
Treat the issue you know how to handle, eat or drink if needed, and reassess toward the exit. Do not walk farther from the trailhead to test an ankle, hot spot, or fading energy.
If the fix does not improve movement within a short defined interval, end the objective.
Solo first aid is mostly about stopping soon enough that the walk out stays simple.
- StopGet off the tread in a safe durable spot.
- TreatTape, wrap, clean, eat, drink, or layer up.
- TestWalk a few careful minutes toward the exit.
- DecideContinue only if movement clearly improves.
- ExitTurn around when pain, pace, or weather cuts the margin.
Use an emergency communicator or local emergency services when severe bleeding, serious breathing trouble, chest pain, worsening confusion, or inability to walk prevents a safe self-exit. Give the location, route, problem, weather, and equipment.
Do not wait for the trusted contact's action time during an immediate emergency.
When should a solo hiker turn around?
Turn around earlier than you would with a strong partner. Solo thresholds include repeated slips, a hot spot that keeps growing, low water, weather moving in, or a pace that puts the finish near dark.
Do not wait for proof that the day is bad. Solo hiking works because you act while choices are still simple.
The solo turnaround line should be written before your mood starts negotiating.
| Signal | What it means | Better move |
|---|---|---|
| Half water gone early | Return will be tighter than planned | Turn around |
| Foot pain grows | Walking out may get slower | Stop, treat, shorten |
| Map doubt repeats | Route confidence is dropping | Backtrack |
| Weather changes fast | No partner to help if cold or lost | Take the exit |
| You feel rushed | Daylight margin is shrinking | End the route |
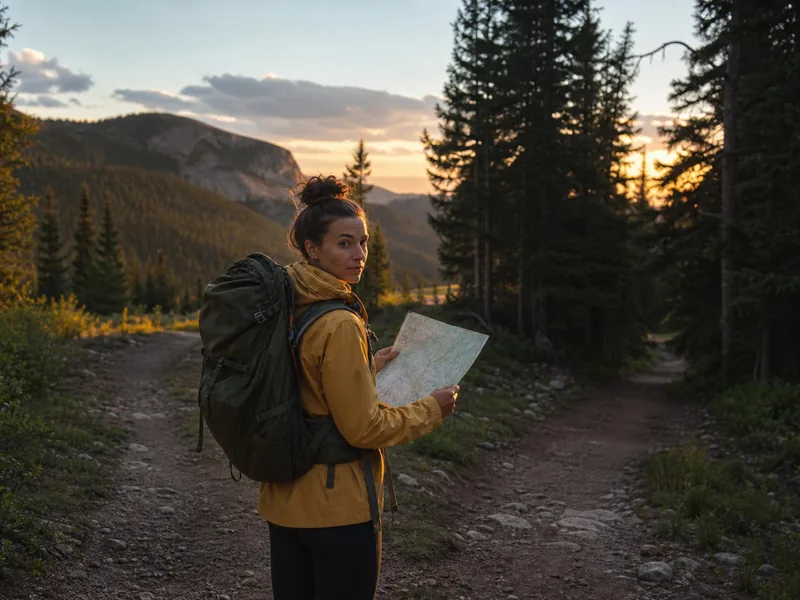
Solo confidence is built in small, boring steps
Build solo confidence like a route ladder. Repeat a familiar route until check-in, pacing, water, and navigation feel ordinary, then add only one harder variable.
The next solo step might be a little more distance, a little more climb, a quieter trail, or a new route with good signs. It should not be all four at once.
Confidence needs clean evidence, not one lucky finish.
| Next variable | Add it when | Keep this stable |
|---|---|---|
| Distance | You finish with water and daylight left | Same familiar route style |
| Climb | Downhills stay controlled | Similar mileage |
| New trail | Map checks feel calm | Short distance and clear signs |
| Quiet route | You have reliable check-ins | Easy exits |
| Weather | Normal solo days feel routine | Conservative distance |
Build a fallback into each solo step. It might be the same trail with an earlier turnaround, a lower loop, or a nearby busy path.
Tell the trusted contact which fallback counts as normal and notify them when you use it.
A fallback is part of the route, not a failure after the route begins.
If the fallback starts to look better before you leave the car, take it immediately. Solo margin is strongest when you change the plan before fatigue, weather, or social discomfort has already narrowed the choices.
The smaller route should already be on the map, with its own turnaround point and return time.
Close the trip and adjust the next margin
Review the hike while the details are fresh. Note where you felt rushed, where the map was confusing, how much water you used, and whether the check-in plan felt clear.
Send the return message first so the trusted contact closes the plan.
Then note what went well. Calm backtracking and an early turnaround are skills worth repeating.
A solo hike teaches best when you turn the day into better rules for the next route.
Use the review to choose the next solo step. Add distance, elevation, remoteness, or harder weather one at a time.
If the review shows repeated stress at the same point, solve that point before increasing difficulty. Better navigation notes, a brighter headlamp, or a shorter route may matter more than bravery.
The next hike should remove one known weak spot before it adds a new challenge.
Rain can hide footing and soak insulation, so your rain hiking plan needs more solo margin.
Cold, snow, and short daylight make winter hiking decisions even less forgiving.
Sources
The National Park Service recommends choosing a trail that matches your abilities, leaving a trip plan with a trusted contact, preparing for no cell coverage, checking weather, and carrying essential equipment: Hike Smart.
Its trip-plan instructions explain that a trusted contact should receive the route and expected return, try to reach an overdue visitor, and then contact authorities with the plan instead of beginning a personal search: Trip Plan.
The NPS Trip Planning Guide also says to notify the trusted contact when you use a backup plan or change the itinerary because an unreported change can send help toward the wrong location: Trip Planning Guide.
The plan must remain accurate from the first step through the return message.
Step by stepPractical steps
- Prove navigation, first aid, gear use, and turnaround discipline on an easier route.
- Choose a familiar route below your limit and name a mapped fallback.
- Leave the route, vehicle, return, backup, and action-time plan with a trusted contact.
- Test the phone, communicator, map, light, first aid, and one-hand gear access.
- Backtrack at the first map mismatch and turn around before self-exit becomes uncertain.
- Send the return message and change one variable on the next solo hike.
AnswersQuestions readers ask
Is solo hiking safe?
Solo hiking can be reasonable on a familiar marked route below your tested limit when you can navigate, manage a small problem, use your gear, and follow a turnaround rule. Choose a partner when the route or required skill is new.
What should I tell someone before hiking solo?
Share the trailhead, vehicle, route, mapped fallback, turnaround time, expected return, and action time. Tell the trusted contact whom to call, notify them if you use the fallback, and send a final message after returning.
Should I carry more gear when hiking alone?
Carry the normal essential systems with enough margin for an unexpected delay. More important, make sure water, light, map, shell, first aid, whistle, and the emergency communicator can be reached and used with one useful hand.
Can I rely on my phone while hiking solo?
Use the phone, but plan for no coverage, a dead battery, or damage. Download the map, carry a paper backup, and consider a tested satellite messenger or PLB when the route exceeds reliable cell service and easy self-exit.
When should I turn around solo?
Turn around when water, feet, weather, navigation, pace, or daylight starts reducing your margin. Do it before the choice feels urgent.
What should my trusted contact do if I miss check-in?
After the action time, the contact should try reaching you. If you do not respond, they should contact the appropriate authorities and share the trip plan rather than starting their own trail search.
What is the difference between a PLB and a satellite messenger?
A PLB is mainly a dedicated emergency distress beacon.
A satellite messenger may also support two-way texts and routine check-ins through a subscription. Both need registration or activation, charged equipment, practiced use, and a route that still allows self-exit when possible.