
Day Hiking Checklist Before You Leave the Trailhead
Check the route, weather, water, gear, and turnaround plan before a simple day hike becomes a long problem.
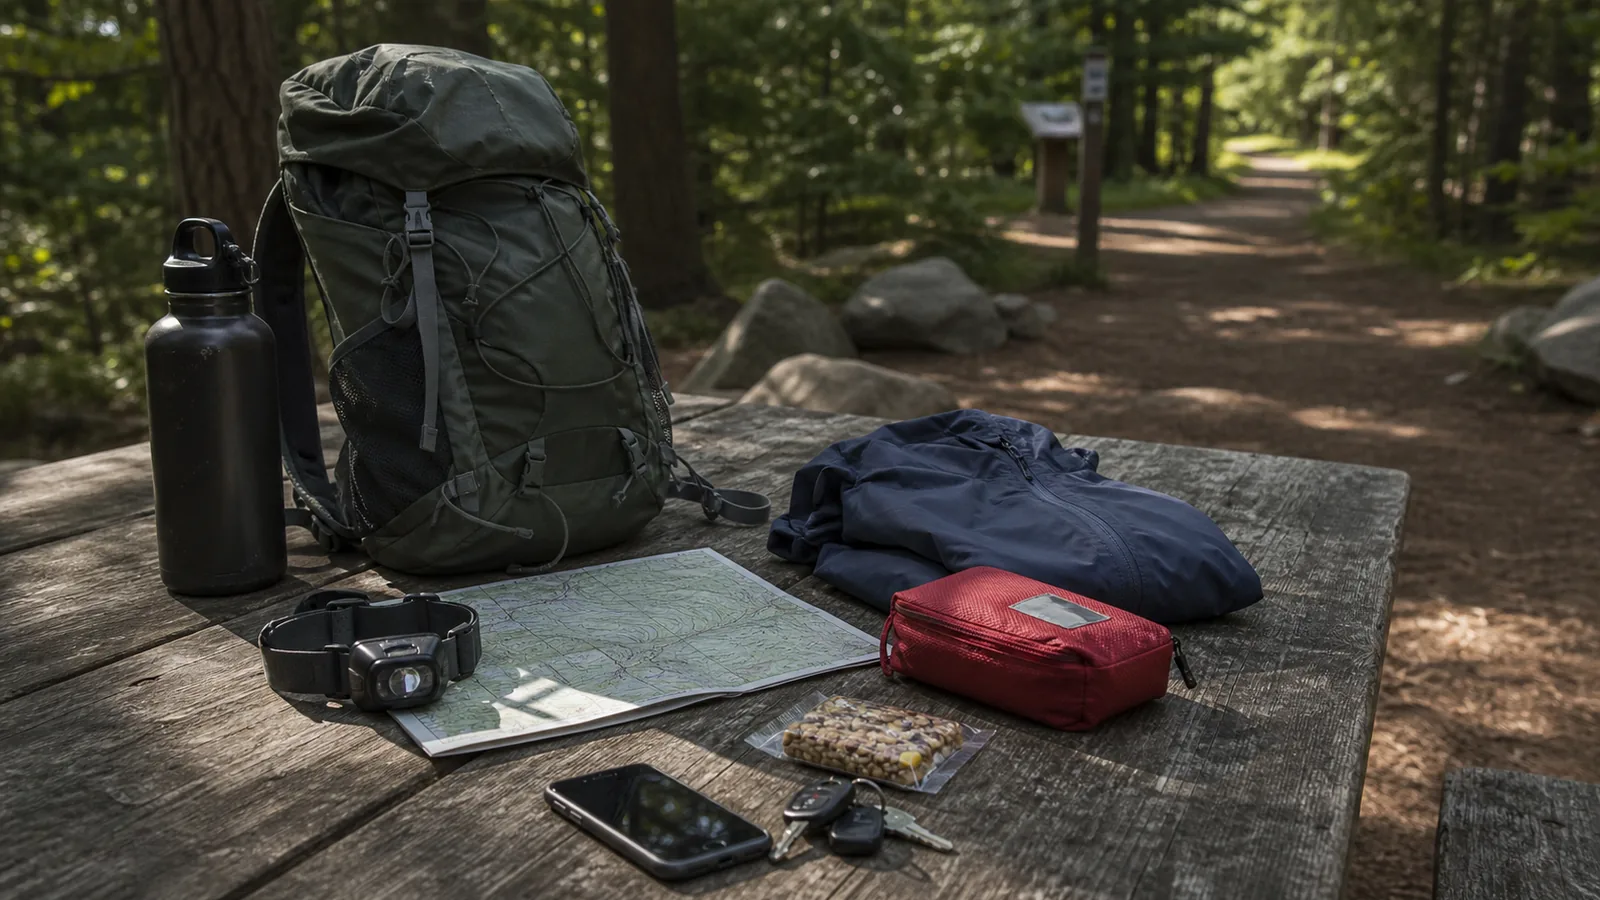
A day hiking checklist should help you leave with the right plan, not just the right pile of gear. Confirm the trail, weather, daylight, water, layers, navigation, and turnaround rule before you start walking.
What should you check before packing for a day hike?
Start with the day itself. The route, weather, daylight, group, and exit options decide what belongs in the pack.
A checklist that starts with gear can miss the bigger problem. A short shaded loop and a hot exposed ridge do not need the same water, pace, or clothing.
Use the checklist as a decision tool. If one answer looks weak, change the route, start time, water amount, or group plan before you add more items to the pack.
Check the day first, then match the kit to it.
Pros
- Leave as planned when access is confirmed, the weather fits, the group feels normal, and the return keeps a real time buffer.
- Shorten the hike when one weak answer can be fixed with less distance, an earlier turn, or an easier surface.
Cons
- Do not start when the plan depends on an unverified trailhead, perfect pace, or every person feeling better after the first mile.
- Do not carry extra gear as a substitute for missing daylight, uncertain access, or a route that exceeds the group.
- Current status
- Official access, closures, permits, and trail conditions checked for today
- Finish time
- The time the group intends to reach the trailhead
- Turnaround time
- The clock time or landmark that ends outward travel
- Overdue time
- The time a trusted contact begins the agreed response
- Delay kit
- Navigation, light, insulation, weather protection, first aid, food, water, and shelter
Keep the three times separate. The planned finish guides the day, the turnaround protects the return, and the overdue time tells the person at home when a delay needs action.
If the route choice still feels uncertain, trail choice signals should settle distance, elevation, footing, and exits before you pack. The best checklist cannot fix a trail that is too long for the day you have.
Route details that change the checklist
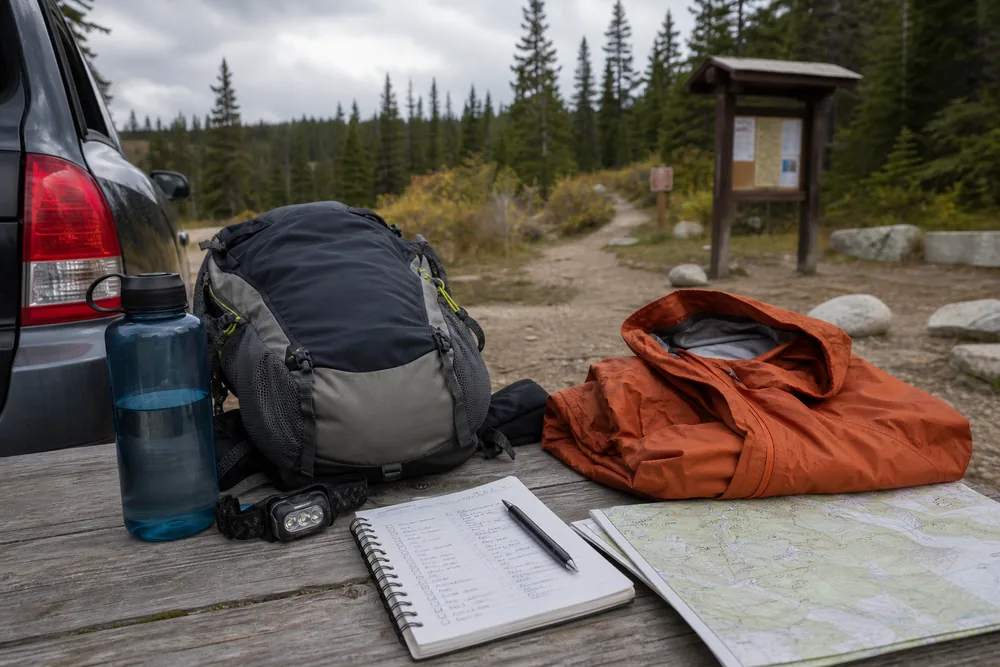
Write down the trailhead, route shape, mileage, elevation gain, expected time, and the point where you will turn around. Out-and-back routes are easiest to shorten because the return path is already known.
Look for details that change the day after you leave the car. Creek crossings, exposed ridges, muddy descent, confusing junctions, and crowded parking all affect the plan.
Check the first mile and the last mile separately. A route can start smooth and finish with a steep descent, or it can save the confusing junction for the tired return.
Route facts beat guesses when the group is tired.
Any score under control should change the plan, not just the pack. A route can have enough gear and still be wrong when the exit, weather, or group condition is weak.
Beginner hikes should stay smaller than the map makes them look. Hiking for beginners explains why an easy first trail should leave room for mistakes, breaks, and learning.
How should weather change the route and pack?
Check the forecast for the trail area, not only your home. Heat, rain, wind, cold, smoke, and storms can change the safe version of the same route.
Use the forecast to edit the hike before you leave. Start earlier in heat, choose simpler footing in rain, avoid exposed ridges in wind, and shorten the route when daylight is tight.
Also check how the forecast changes by hour. A dry morning with afternoon thunder is not the same as a dry day, and a cool trailhead can still turn hot on an exposed climb.
Heat
Start early, add water, slow the pace, and choose shade when possible.
Rain
Avoid slick rock, steep mud, and trails with poor exit options.
Cold wind
Pack a shell and warm stop layer before the ridge.
Smoke
Lower effort and shorten the day if breathing feels harder.
Storm risk
Pick a lower route with a clean exit.
Weather edits the checklist because conditions decide which small item becomes important.
Rain changes footing and pack protection, so hiking in the rain deserves a separate check when the forecast is wet.
Hiking in the heat needs a stricter checklist because water, shade, pace, and group condition all change together. A route that feels relaxed at 60 degrees can become a poor choice when sun exposure sits on the climb.
Cold rain creates the opposite problem. The route may be short, but wet clothing, wind, and a long stop can make a slow return uncomfortable fast.
Conditions decide the margin. Treat weather as part of the trail, not a separate note at the end.
| Weather mismatch | Checklist response | Better route decision |
|---|---|---|
| Hot exposed afternoon | Add water and start earlier | Shorter shaded route |
| Rain on steep tread | Add shell and pack cover | Lower route with firm footing |
| Cold wind on ridge | Add warm stop layer | Avoid long exposed breaks |
| Smoke or poor air | Lower effort | Choose a flat short option |
| Thunder window | Set earlier exit | Skip high or exposed ground |
Pack for the problems this route can create
Pack the items that solve likely day-hike problems. Cover water, food, warmth, rain or wind, light, navigation, first aid, sun protection, and a way to communicate.
The goal is not to carry every outdoor item you own. The goal is to carry the small set that protects a slow return, a missed junction, a colder stop, or a hot climb.
Put the first-use items where you can reach them. A shell, snack, map, sunscreen, and blister tape do less good if they are buried under everything else.
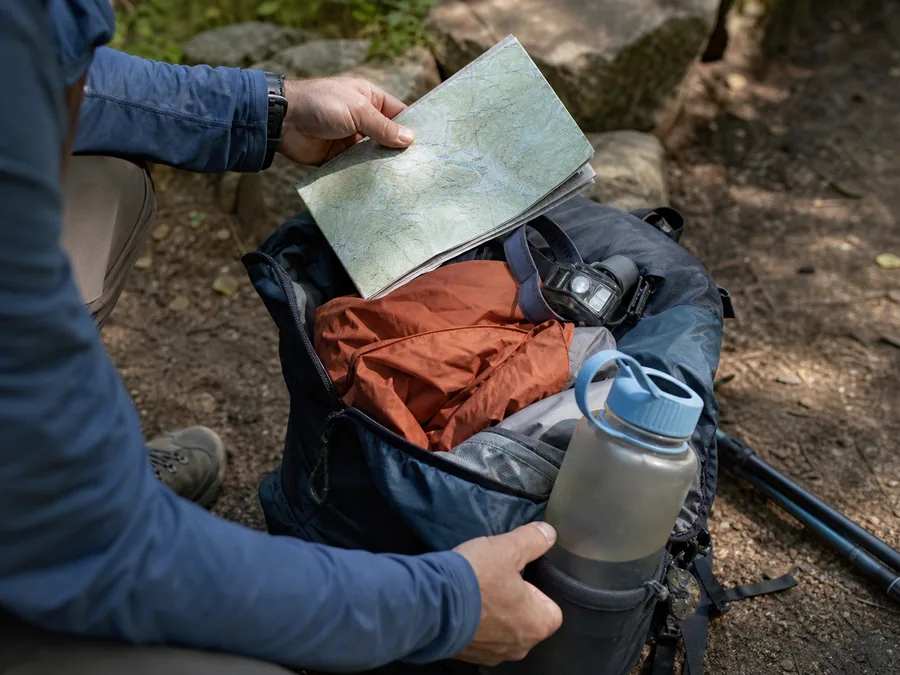
Useful gear has a job on the route you chose.
- Water sized to time, heat, climb, and refill options.
- Salty snack plus quick energy snack.
- Rain shell or wind layer.
- Warm layer for stops or weather shifts.
- Map, downloaded map, or printed route notes.
- Headlamp, even for a daytime hike.
- Small first-aid kit with blister care.
- Sun protection for exposed routes.
- Whistle and charged phone.
The item-by-item hiking packing list helps when the route needs a fuller kit than the short checklist shows. A water carry plan should change bottle count before you guess.
Do this before the trailhead, not beside the open trunk with everyone waiting. Late packing decisions often miss the item that should have been easiest to reach.
Clothing checks protect the slow return
Wear shoes, socks, and layers for the hardest conditions you may meet, not just the parking lot. Foot comfort, sun, wind, and wet brush can decide the day before the trail feels difficult.
If the pack is heavier than usual, check shoulder straps and hip belt before the first mile. A rubbing strap gets worse as sweat, dust, and tired posture build.
Do not test new shoes, socks, and a new pack on the same hike. Change one comfort variable at a time so you know what caused rubbing if something goes wrong.
Clothing should adjust while you move.
| Condition | Wear or carry | Field reason |
|---|---|---|
| Hot sun | Hat, sun shirt, sunglasses | Reduces heat and sun exposure |
| Cool shade | Light warm layer | Keeps breaks comfortable |
| Wind | Shell | Protects stops and ridges |
| Wet brush | Rain shell or quick-dry layers | Keeps clothing from soaking early |
| Long descent | Secure shoes and smooth socks | Reduces rubbing and foot slide |
A stable backpack fit helps the whole checklist work because the pack stops distracting you from the trail.
How should the checklist change for your group?
A solo hiker, a family, a dog owner, and three fit adults do not need the same margin. The core items stay similar, but the route, pace, water, and turnaround plan should change with the least experienced member.
The slowest comfortable person sets the day. If someone is new, recovering from poor sleep, carrying new shoes, or nervous about footing, the checklist should reduce distance before the trail makes that obvious.
Pack for the group you have, not the group you imagined when you picked the route.
| Group situation | Checklist change | Route change |
|---|---|---|
| Brand-new hiker | More time, blister care, simpler map | Shorter marked trail |
| Kids | Extra snacks, layers, bathroom plan | Earlier reward and turnaround |
| Dog | Water bowl, leash, waste plan, paw check | Legal shaded route |
| Solo hiker | Stronger check-in and conservative exit | Busy or familiar trail |
| Mixed fitness | Shared pace and clear regroup points | Avoid long committed loops |
| Older or returning hiker | More recovery time and reachable medication | Keep exits simple and terrain predictable |
| Large group | Named lead, sweep, and regroup rules | Choose wider trails with fewer navigation splits |
This is where hiking with kids, hiking with a dog, or solo hiking becomes more than a related topic. Each changes the checklist because each changes the safety margin.
Do the same adjustment for the season. A spring creek crossing, a summer heat window, an autumn sunset, and a winter ice patch can all make the same mileage require a different plan.
If the group cannot name the seasonal change, keep the route conservative. The checklist should force that conversation while the plan is still easy to change.
That seasonal note belongs beside the route name, not buried in memory. Write “muddy descent,” “hot return,” “early sunset,” or “windy ridge” in the plan so the pack and turnaround time respond to the real day.
Which personal health items need quick access?
The standard equipment list cannot account for a prescription, severe allergy, asthma, diabetes, limited vision, hearing needs, or a joint that is already irritated. Personal health items belong in the first-use group, where the person and another responsible adult can reach them without emptying the pack.
Carry required medication in its labeled container and protect it from heat, cold, water, and crushing as its instructions require. Bring enough for the planned outing plus a reasonable delay, but do not change a dose or schedule for the hike unless the prescribing clinician has told you to do that.
Keep rescue items in a known pocket. A buried inhaler, allergy medicine, glucose source, spare glasses, or hearing-aid battery may be present on paper but unavailable when the group needs it.
Tell one companion what you carry and where it is. The goal is not to share private history with everyone.
This prevents a search through six pockets while the person who packed the item cannot explain.
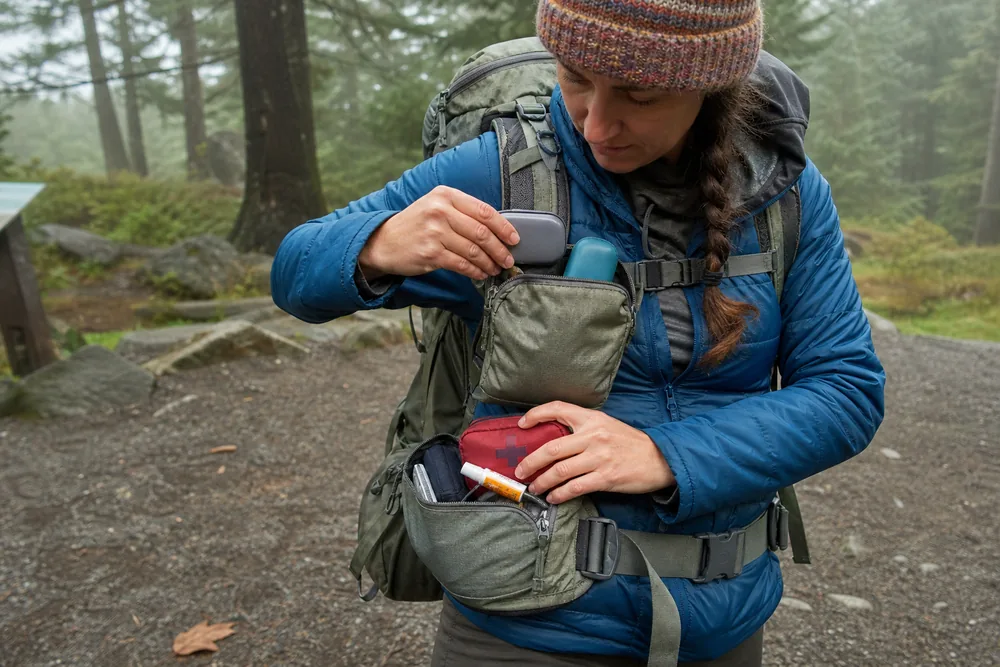
Test access with the pack fully loaded and both shoulder straps fastened. The correct pocket is one the person can open while standing safely, or one a named companion can reach without unloading shelter and clothing onto the trail.
Check expiration dates, battery state, seals, and temperature limits before departure. Replace a damaged or expired item through the normal medical or pharmacy process instead of assuming it will work because it stayed in the kit.
Keep the daily dose separate from the larger delay reserve when that matches the medication instructions. This reduces the chance that a routine trailhead dose exposes or misplaces the supply needed if the return runs late.
A solo hiker can put essential medical details, emergency contacts, and current medications on a wallet card or phone emergency screen. That record should support a clear conversation with responders, not replace the trip plan sent to the trusted contact.
Check the person's normal baseline at the trailhead. New dizziness, unusual shortness of breath, chest discomfort, confusion, weakness, or a gait that is already different deserves a smaller plan or medical advice before the group walks away from easy help.
Pain that changes how someone walks also changes route fit. A knee that feels acceptable on level ground may not tolerate a long descent, so remove the steep return rather than expecting tape or pain medicine to create stability.
For children, the adult carrying medication must stay with the child or transfer that responsibility clearly. For a dog, current health, paw condition, heat, water, and any required medicine should be checked before choosing mileage.
Pack the person first. The most complete general checklist still fails when a personal item is unavailable, unprotected, or left with someone on another part of the trail.
What should you confirm at the trailhead?
The best final check is not only about gear. Confirm the car can stay where it is, the trailhead name matches your map, the first junction matches the route notes, and the return time still leaves daylight.
Parking rules, gates, bathrooms, seasonal closures, and road conditions can all change a normal day hike. If the access detail feels uncertain, fix that before walking away from the car.
Access is part of safety because a wrong trailhead or locked gate can turn a simple route into wasted daylight.
Parking
Check signs, permits, closing time, and whether the car can remain there.
Trailhead
Match the posted trail name to the route you planned.
First turn
Name the first junction before the group starts talking.
Return window
Compare turnaround time with sunset and drive time.
Signal
Send the plan before reception disappears.
Say the plan out loud
Before walking, say the plan out loud. Name the route, first junction, turnaround time, weather concern, water amount, and what you will do if the day changes.
This check takes one minute. It catches the phone with no downloaded map, the missing shell, the late start, and the person who thought the route was shorter.
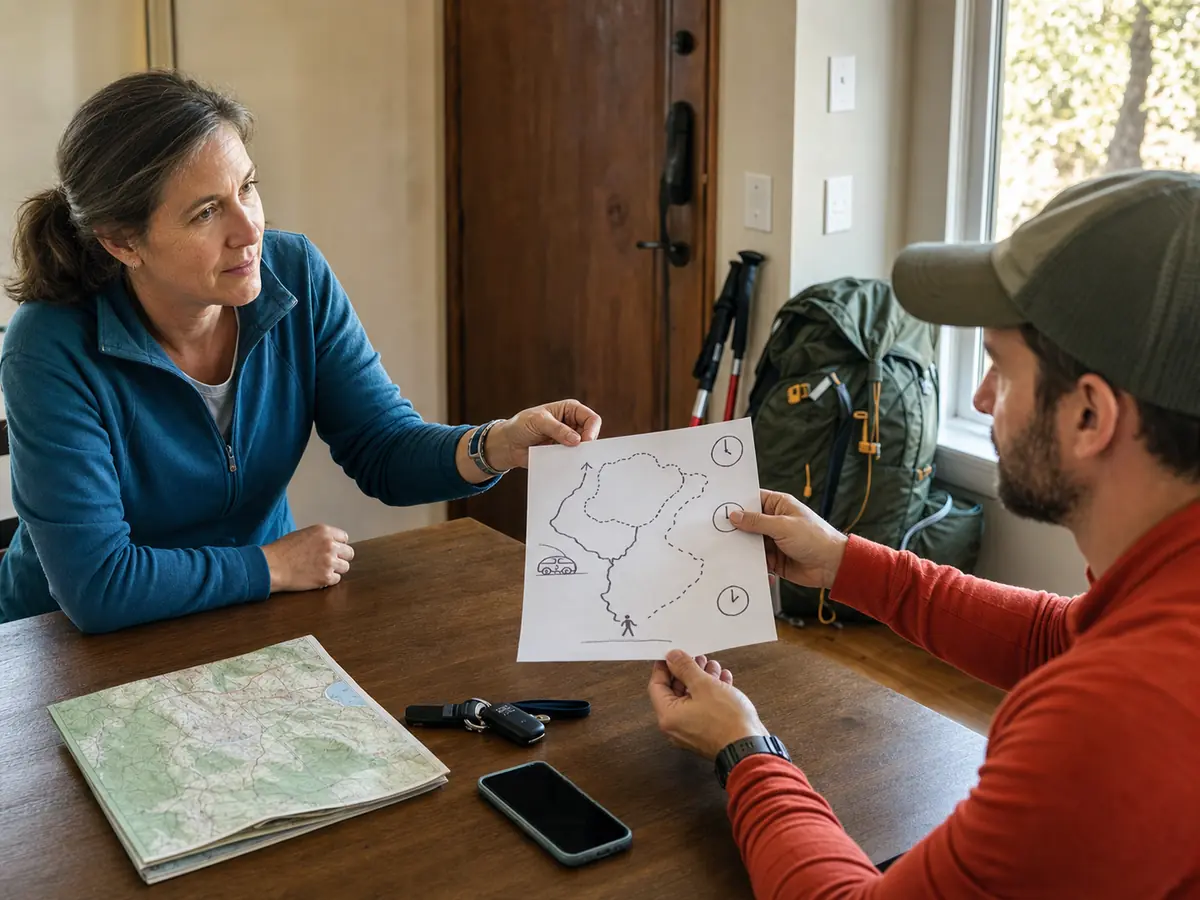
Make the check specific enough that another person could repeat it. Name the first junction, the planned turnaround time, and the point where the group will shorten the day.
Say the plan out loud so the group can correct it before the trail starts.
- Confirm the routeName the trail, junctions, and return shape.
- Set the timeChoose the turnaround time before starting.
- Check waterCompare bottle amount with heat, climb, and refill options.
- Check layersPut rain, wind, sun, and warm-stop needs where they are reachable.
- Share the planTell someone the trailhead and expected return.
Solo hikers need a lower risk ceiling because nobody else can catch a mistake. The hiking safety plan explains the check-in, navigation, and turnaround habits that replace a partner.
When should two small problems shorten the hike?
Change the hike when the checklist shows two small problems before you even start. A late start plus heat, wet roots plus new hikers, or low water plus a long climb is enough reason to shorten the route.
Cancel when the route needs perfect conditions and the day is not offering them. A modest replacement trail is better than defending the wrong plan for miles.
A good checklist should make changing plans feel normal. The point is to catch the mismatch while the car is still close, not to prove that the original idea was right.
A checklist should change action, not only confirm hope.
A checklist that cannot change the day is only a packing ritual.
The best checklist makes the safe change obvious before the trailhead.
Field rule
Good trail behavior also belongs in the plan. Hiking etiquette keeps passing, mud, dogs, groups, and trash from becoming trailhead afterthoughts.
Repeat the checklist before each commitment
The checklist stays active after the group starts walking. Recheck it at points where one small drift is still easy to correct instead of waiting for a scheduled break that may come too late.
Use the first 15 minutes to test pack fit, shoe comfort, clothing, and the real group pace. A rubbing strap, hot foot area, or pace that already breaks the daylight plan belongs in the first correction, not the last mile.
At the first important junction, confirm that the map, sign, and ground agree.
Check the return direction too. An offline map that cannot identify the first real turn is not ready for the harder junctions later.
| Checkpoint | What to compare | Change the hike when |
|---|---|---|
| First 15 minutes | Pack fit, feet, clothing, group pace | Rubbing, heat, or pace is already worse than planned |
| First major junction | Map, sign, route name, return direction | The route and ground do not agree |
| First planned water check | Water used, heat, climb, next source | Use is faster than the remaining route allows |
| Turnaround point | Clock, daylight, weather, group condition | The return buffer has been consumed |
| Before the final hard segment | Footing, exposure, exit, fatigue | Continuing removes the last easy option |
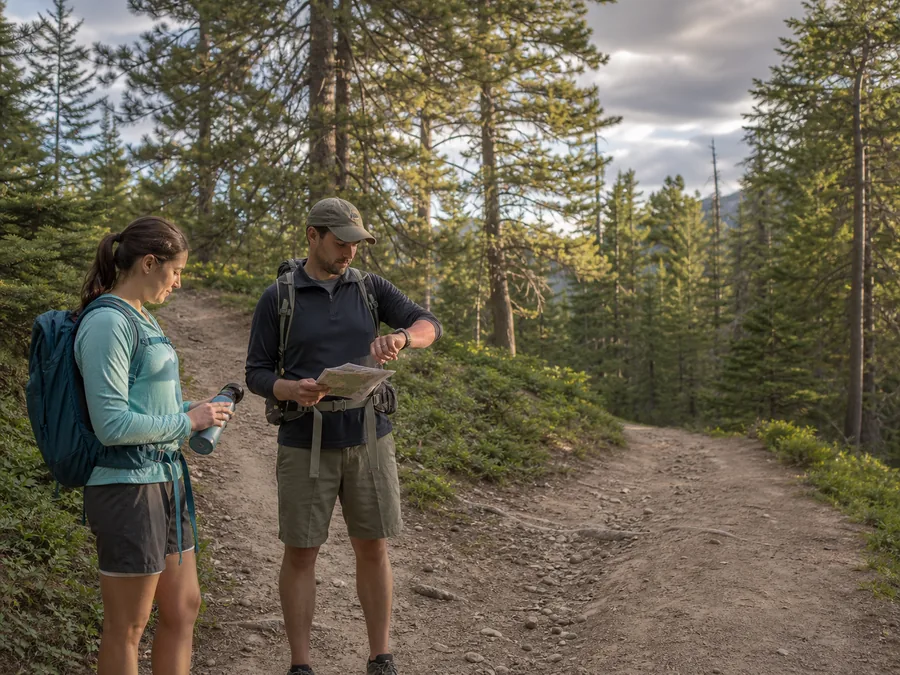
The turnaround check must use actual progress. Compare the clock, water remaining, weather trend, feet, and group pace with the plan made at home.
If a delay has consumed the finish buffer, shorten the destination rather than borrowing time from the return.
Recheck before commitment. A checkpoint is useful only when the group can still turn around, take a connector, or choose the easier segment.
Close the trip and record one useful change
Notify the trusted contact as soon as the group completes the hike. The National Park Service includes this step because an outside contact should not begin an overdue response after everyone is already safe.
Do a two-minute body and gear check before driving. Look at feet, note any joint pain or unusual fatigue, count remaining water, and identify the item that was used first or was hard to reach.
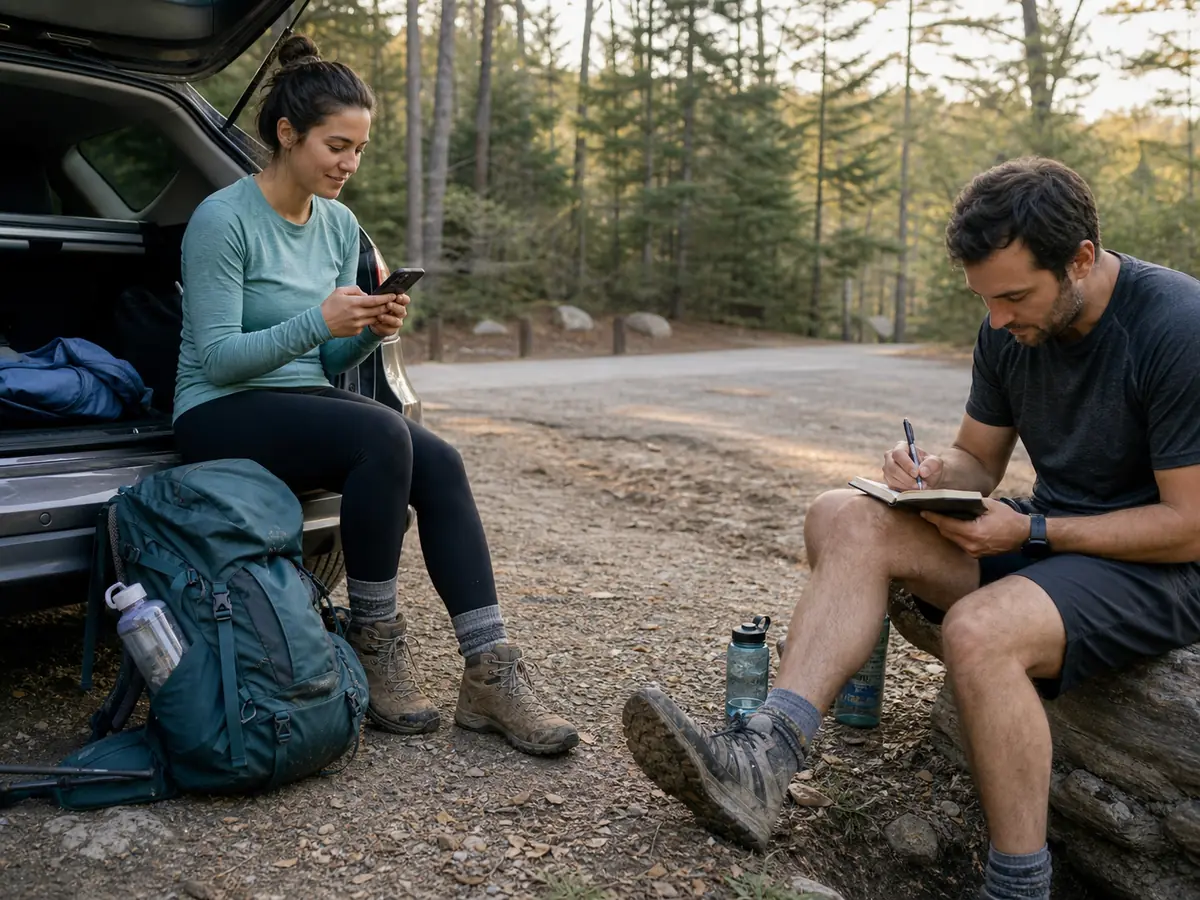
- Send the arrival message and cancel the overdue action.
- Check feet and normal walking before the drive home.
- Record water carried, used, and remaining.
- Dry or clean wet gear before storage.
- Replace food, batteries, first-aid items, and waste bags that were used.
- Write one route, timing, or packing change for the next hike.
Do not rewrite the whole checklist after every outing. Change the one item, location, quantity, or decision point that the hike proved weak.
Close the loop while the evidence is still clear.
Sources
The National Park Service explains the ten essential systems, route-specific additions, outside contacts, and water before thirst in NPS Ten Essentials. Its Trip Planning Guide covers trip plans, overdue response, notifying the trusted contact after return, and reviewing lessons.
The American Hiking Society covers footwear, navigation, water, food, weather layers, light, first aid, sun protection, shelter, and a qualified water starting point for moderate terrain and temperature in AHS Ten Essentials. REI explains how to tailor a day-hike checklist to duration, conditions, difficulty, and distance from help in REI Day Hiking Checklist.
Step by stepPractical steps
- Check route distance, climb, shape, exits, and daylight.
- Match water, food, layers, navigation, light, and first aid to the route.
- Review weather at the trail, not only at home.
- Say the route and turnaround time out loud before starting.
- Shorten or cancel the hike when two small problems appear early.
AnswersQuestions readers ask
What is the most important day hiking checklist item?
The most important item is a plan that fits the route, weather, daylight, and group. Gear works only after the day itself makes sense.
Do I need a headlamp for a day hike?
Yes. A small headlamp protects you if the hike runs late, someone gets hurt, or the return takes longer than expected.
How much water should be on a day hiking checklist?
Size water by time, heat, climb, refill options, and the person. The American Hiking Society uses half a liter per hour only as a starting guideline for moderate temperatures and terrain, not as a universal amount.
Should beginners use a different hiking checklist?
Beginners should use the same core checklist, but choose shorter routes, easier exits, and more time margin.
When should I change the hiking plan?
Change the plan when heat, weather, late timing, low water, sore feet, or group pace makes the original route too tight.
When should I use the checklist again on the trail?
Recheck after the first 15 minutes, at the first important junction, at the planned water check, at the turnaround point, and before the final hard or committed segment.
What should I do after finishing a day hike?
Tell the trusted contact you are back, check feet and normal walking, record water used, dry wet gear, replace used supplies, and note one change for the next checklist.