
Which Hiking Trail Fits Your Time, Group, and Weather?
Match a trail to your time, fitness, season, group, and comfort before the trail makes the decision for you.
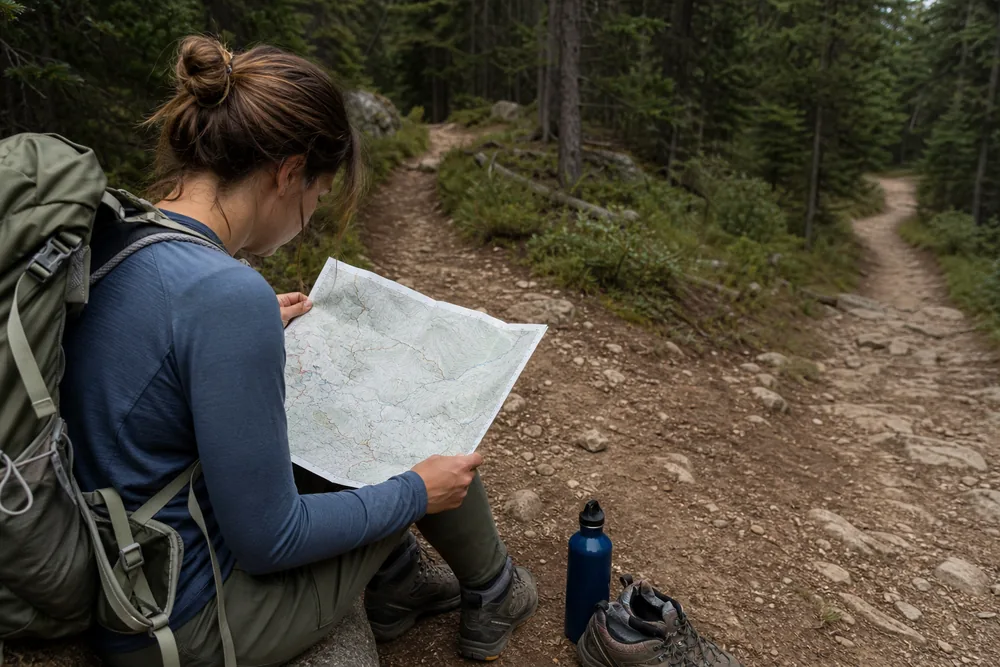
Choose a hiking trail by matching five things before you leave: distance, elevation gain, footing, weather, and the slowest person in the group. The best option is a route you can finish with margin, not simply the prettiest one.
Start from what you can finish, not what you want to see
Choose the trail that fits the day you actually have. Start with time, daylight, group ability, weather, and exit options, then look at views.
A trail can be famous and still wrong for today. If the route needs an early start, dry rock, or strong downhill legs, it is not a good choice for a rushed afternoon after poor sleep.
Fit beats fame when choosing a trail.
- Finish deadline
- The time everyone must be back at the trailhead, not sunset itself
- Group limit
- The pace, footing, exposure, or health constraint with the least margin
- Current status
- Official access, closure, permit, fire, and trail notices for the hike date
- Route shape
- The point where an out-and-back, loop, or connector becomes hard to shorten
- Backup
- A smaller route that uses the same trailhead or nearby access
The first filter is whether the route still works if the group is slower than expected, the parking lot is full, the trail is muddier than expected, or the forecast changes before the return. Any trail that fails one of those hard checks should leave the shortlist before the group debates views.
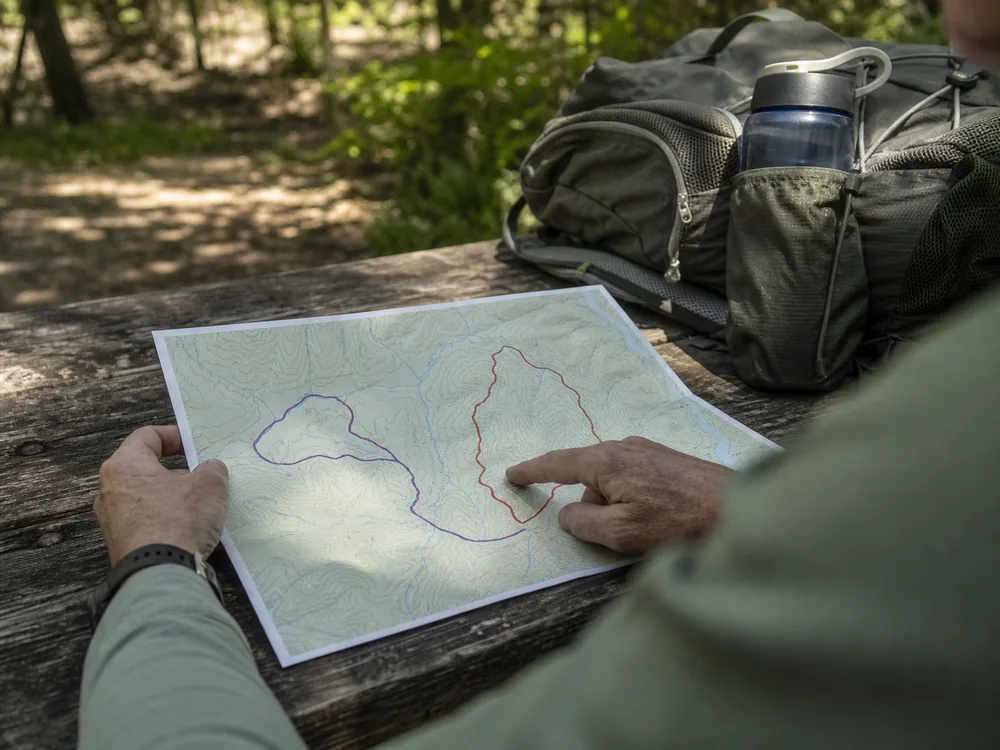
If this is your first trail, the hiking for beginners route rules keep the choice simple enough to teach, not punish.
Look for the first place you could shorten the day.
On an out-and-back, that point can be any safe spot. On a loop, the choice may disappear after one junction.
A trail with a modest destination and several good stopping points is often safer than a trail with one dramatic finish.
Use a three-part route filter before debating details. First, ask whether the group can finish the route at a slow pace.
Second, ask whether weather or footing would make the return harder than the start. Third, ask whether you can turn around without losing the best part of the day.
If any answer is weak, pick the smaller trail.
How do distance and elevation change difficulty?
Distance tells you how long you may be moving.
Elevation gain tells you how much climbing your legs and lungs must repeat. Read them together.
Five flat miles on a smooth path can be easier than three steep miles with loose rock. A short trail with 1,500 feet of climb may be a stair workout, not a casual walk.
Climb changes mileage because uphill and downhill both cost energy.
| Route signal | What to read | Safer next progression |
|---|---|---|
| Distance | Total time on feet at the group's recent pace | Add distance while keeping terrain and gain familiar |
| Elevation gain | Total climbing plus where the gain is concentrated | Add gain on a route with familiar footing |
| Grade | Steepest sustained section, not only average slope | Choose a shorter steep section before a long one |
| Descent | Surface, drop, and braking demand after fatigue | Practice a moderate descent before adding loose rock |
| Maximum elevation | Expected temperature, wind, and altitude response | Keep the summit lower when other demands are new |
| Exit | Distance and difficulty from each decision point to help | Favor an out-and-back or early connector when uncertain |
Difficulty labels are useful only inside the system that issued them. One park may weigh distance and elevation, while another also weighs surface, obstacles, signage, and exposure.
The National Park Service warns hikers to read the actual distance and elevation even when a route already has a rating.
Use a route you completed with margin as the baseline.
For the next hike, increase one major demand such as distance, gain, rough footing, exposure, or navigation. When several variables rise together, a poor result does not show which demand exceeded the group's ability.
A trail beyond your current walking base belongs in hiking fitness training before it belongs on this weekend's plan.
Read elevation gain as both climb and descent.
The climb taxes breathing and calves. The descent taxes knees, toes, quads, and attention.
A route with a small summit and steep loose return may feel harder after the view than before it.
App estimates should be treated as clean-condition guesses. Add time for heat, photos, kids, dogs, muddy tread, map checks, and tired downhill steps.
If the route only works when every estimate is perfect, choose a smaller one.
For a new route, compare gain per mile rather than total gain alone.
Five hundred feet spread across five miles can feel gentle. Five hundred feet packed into the first half mile can turn the day into a climb before the group has settled.
How much time should you reserve for the route?
Work backward from the time everyone must be at the trailhead. Sunset, dinner plans, a park gate, a shuttle, or a family check-in can create that deadline.
The route must fit the earliest one.
Estimate the slow return first.
Then add planned stops and a separate reserve for a wrong turn caught early, a shoe problem, photos, a tired child, or careful steps on wet ground. The time left after those deductions is the latest useful turnaround.
Suppose the group must finish by 5:30 p.m. The return from the destination may take two hours at the slower expected pace, and stops plus ordinary uncertainty need 30 minutes.
The group must leave the destination by 3:00 p.m. If it has not arrived by then, 3:00 becomes the turnaround time.
Do not assume the return will be faster.
A descent may be slower than the climb when knees are tired, rock is loose, or afternoon rain makes roots slick. On an out-and-back, use the slowest believable return pace rather than the fastest pace from the first mile.
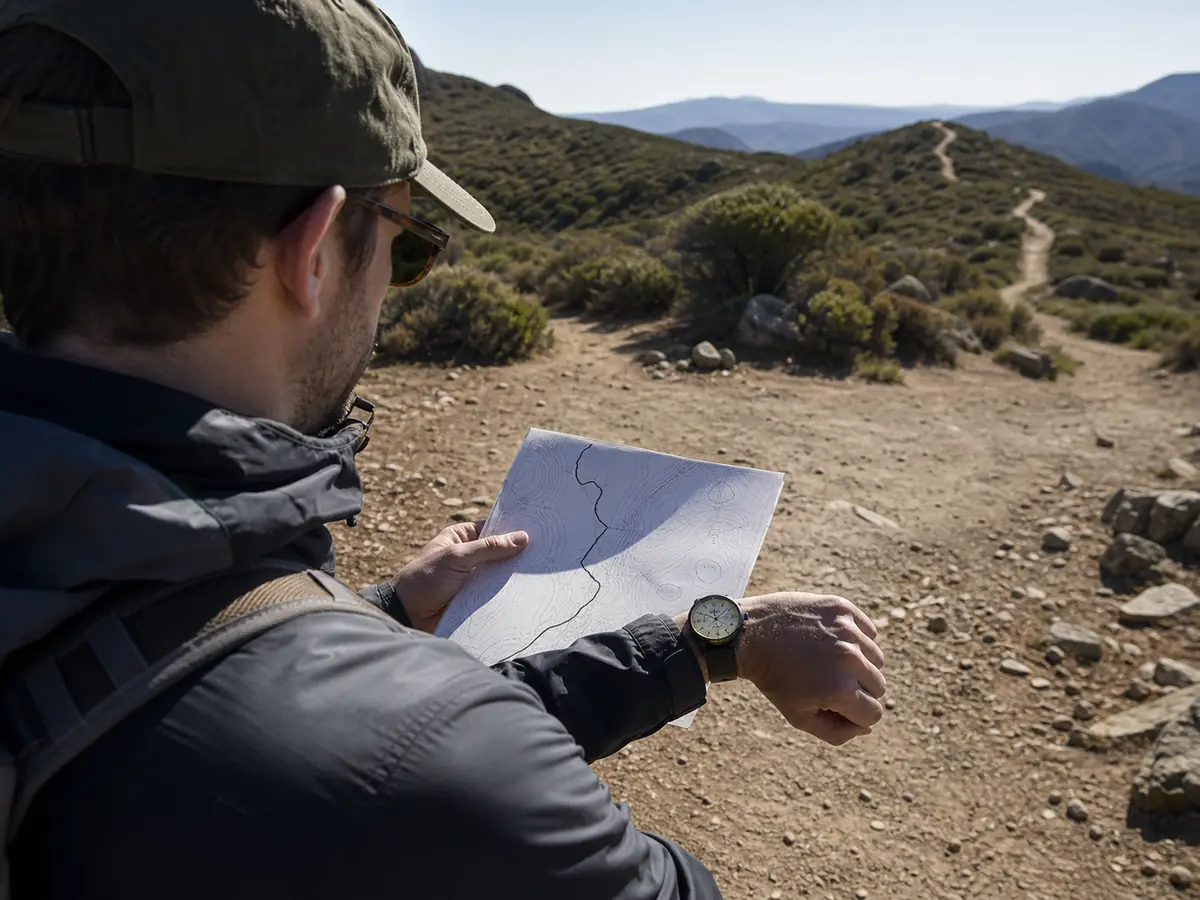
A loop needs one more check. Mark the junction after which continuing is longer or harder than reversing.
Reach that commitment point before the route uses half of the available moving time, unless the remaining side is clearly shorter and easier.
Use app duration as a comparison between routes, not a promise.
Protect the finish time. If a trail fits only after removing the stop allowance or the uncertainty reserve, choose the smaller route.
How should terrain and footing affect the choice?
Footing changes speed and risk. Smooth dirt lets you look around.
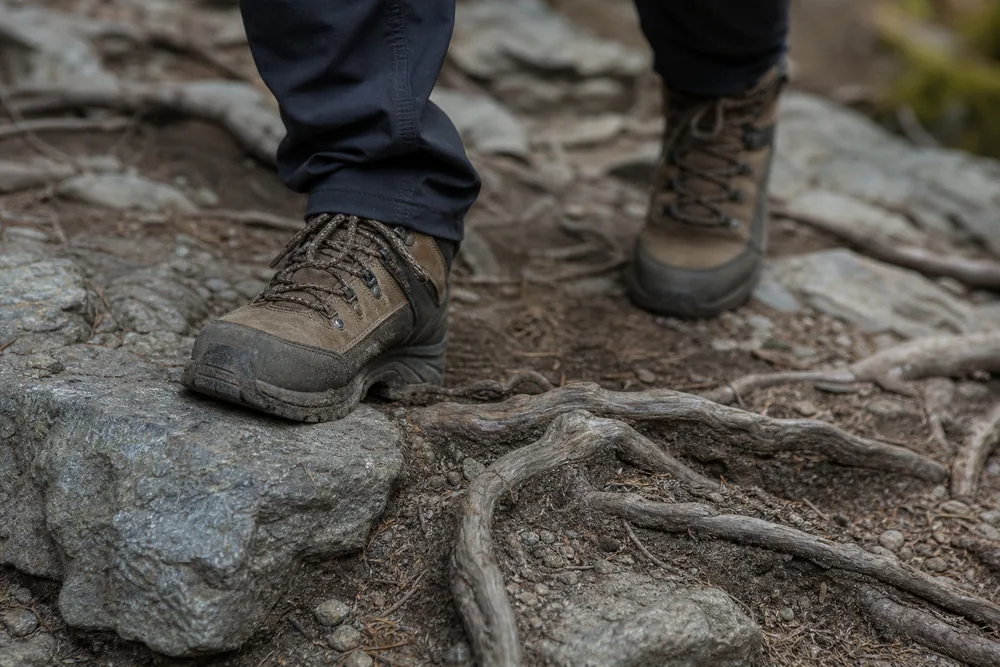
Loose rock, roots, mud, snow, wet leaves, and angled slabs demand attention with every step.
If the group has new hikers, choose a trail where the hardest footing appears early. That gives everyone a chance to turn around before the route is committed.
Smooth dirt
Best for first hikes, faster pace, and simple group days.
Rocky tread
Good for practice, but slower and harder on ankles.
Mud and roots
Better after dry weather unless the route is short.
Exposure
Save narrow edges and drop-offs for calm weather and steady hikers.
Snow or ice
Treat as a different activity unless you have traction and practice.
Loose sand or scree
Expect sliding steps, slower travel, and more balance work.
Water crossings
Reject the route when depth, current, or the exit bank exceeds the group's skill.
Surface sets speed as much as fitness does.
If the route is wet, hiking in the rain can help you decide whether the footing is still reasonable.
Footing also changes the emotional load of the day. New hikers may handle distance well on smooth dirt and freeze on narrow ledges or loose rock.
If anyone is nervous about heights, the safer trail is the one that lets them keep normal balance and pace.
The first hard footing should appear early enough to test honestly.
If the trail saves loose rock, mud, or exposure for mile four of a loop, the group may be committed before the real difficulty appears. Beginner and mixed-ability hikes work better when the hardest surface is visible before the route gets remote.
What should you check about navigation?
Check how many junctions, trail names, blazes, and map decisions the route requires. A route with ten unsigned junctions is not beginner-friendly just because the mileage is short.
Look for a simple shape.
Out-and-back routes are easiest to reverse. Lollipop loops and stacked trail networks can be fun, but they require more map attention.
Simple route shape lowers the cost of a wrong turn.
- Find the trailheadConfirm parking, access, and the correct starting point.
- Trace the shapeKnow whether it is an out-and-back, loop, or connector route.
- Count junctionsMark the places where you must choose.
- Save the mapDownload or print the route before service drops.
- Look backwardNotice return landmarks at each junction.
A compass is not only for wilderness. Practicing compass use on easy trails builds the habit before you need it.
Navigation difficulty should match daylight and group patience. A confusing trail network may be fine on a cool morning with experienced hikers.
The same network can feel much harder near sunset, in rain, or with kids asking when the car is coming.
Count decision points before leaving.
A route with one signed junction asks for less attention than a stacked network where several paths share similar names. More decisions are fine when the group expects them, but they should reduce the distance you choose.
Trail information goes stale faster than you think
Start with the agency or land manager responsible for the trail. That source decides whether a road, trail, bridge, gate, or parking area is open.
It also owns permit rules, fire restrictions, dog rules, and temporary closures.
Use dated field reports for a different job.
A recent report may reveal mud, lingering snow, storm debris, a damaged sign, a dry water source, or a washed section. It cannot cancel an official closure or grant access that the land manager has restricted.
Check the date, exact route segment, and direction of travel. A report from the same park may describe a lower trail that never reaches the snow line.
A report from last month may be useless after a major storm, rapid thaw, fire, or road closure.
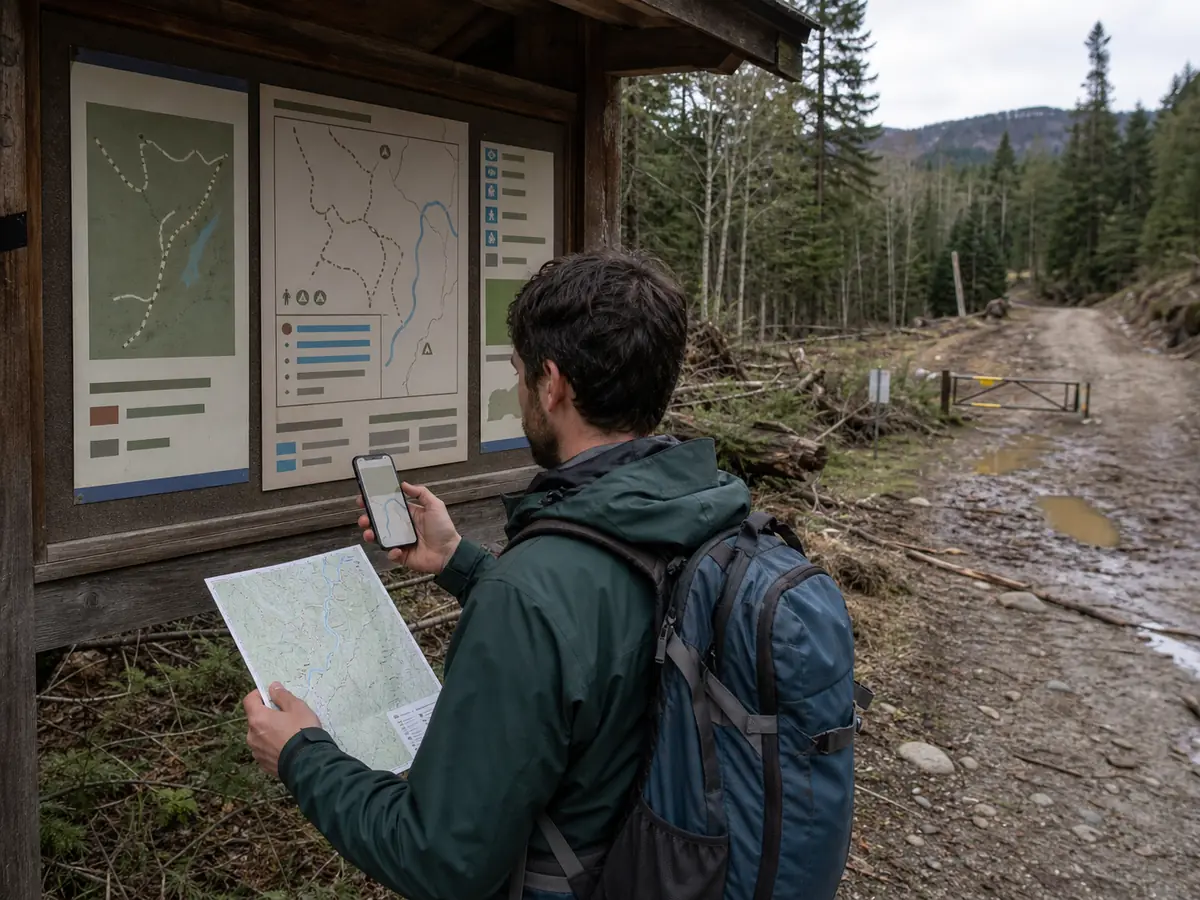
Confirm the trailhead as carefully as the trail.
Check the access road, gate hours, parking rules, shuttle schedule, and whether the mapped starting point is the legal entrance. A good route plan fails before the first step when the car cannot reach the assumed trailhead.
When sources disagree, use the more restrictive official status and shrink the plan. If fast-changing snow, water, fire, or storm damage matters and no current official update exists, contact the managing office or choose a route where that uncertainty cannot trap the group.
Current beats popular. Save the official notice and route map before leaving coverage, then share the exact route and finish deadline through the hiking safety plan.
How do season and weather change the right trail?
The same trail can be easy in spring shade and risky in summer heat. Weather changes water needs, footing, visibility, and how costly a delay becomes.
Match the route to the forecast. Pick shade and water margin in heat, simple footing in rain, lower exposure in wind, and shorter distance when daylight is limited.
| Condition | Trail choice that helps | Trail choice to avoid |
|---|---|---|
| Heat | Shaded, early, shorter route | Exposed climb at midday |
| Rain | Good drainage and easy exit | Slick rock, steep mud, creek crossings |
| Cold wind | Lower, sheltered trail | Long exposed ridge |
| Short daylight | Short out-and-back | Long loop with late hard section |
| Smoke or haze | Low effort and easy bail-out | Hard climb that stresses breathing |
The forecast edits the route before you pack.
Cold-season routes need winter hiking judgment, while hot routes need more water planning than a map distance suggests.
Do not average the forecast across the whole hike. A shaded start, exposed climb, windy ridge, and cold creek valley can all happen on the same route.
Choose for the hardest condition the group will actually meet, not the pleasant hour near the trailhead.
Season also changes trail damage and access.
Spring mud may make a short trail slow and messy. Late summer can remove shade or water you expected.
Winter can make a familiar path feel like a different route if ice covers the return.
Water access should change the trail before it changes your confidence. A short route with no shade and no refill can be harder than a longer shaded path on a cool morning.
Use a water carry plan before choosing an exposed trail in heat.
How do you choose for a group?
Choose for the least experienced person, then make the day enjoyable for everyone else. A group only moves as safely as the person with the least margin.
Ask about real limits before the trailhead. Foot pain, fear of heights, heat sensitivity, dog rules, kid energy, and recent illness all matter more than confident parking-lot talk.
Group fit is route fit.
- Pick a route the slowest hiker can finish.
- Avoid exposure if anyone dislikes heights.
- Choose easy exits when hiking with kids.
- Check dog rules before promising a dog-friendly day.
- Set a group turnaround time before starting.
- Keep breaks planned, not random and endless.
Family hikes need shorter loops and clearer rewards, so hiking with kids deserves its own plan. Hiking with a dog needs legal access, leash control, and paw checks from the start.
For groups, ask who would have the least margin if the trail takes an extra hour.
That person decides the route size. A fit hiker can enjoy an easier day, but an underprepared hiker cannot safely will a hard route into being easy.
One last check catches most bad trail choices
Before leaving, ask what would make this trail a bad idea today. If the answer is already visible, change the trail.
The best trail choice often looks modest on paper. It fits the time, leaves daylight, gives water and clothing decisions room, and lets the group finish without gambling on perfect conditions.
Change early, enjoy more is better than defending the wrong plan for miles.
If two routes both look good, choose the one with the lower penalty for being wrong.
Shorter exits, better shade, clearer junctions, and more reliable footing are not boring details. They are what make the day flexible.
Compare the finalists on five lines. Check finish-time margin, hardest surface, current-information confidence, shortest exit, and the group limit.
A route that wins on scenery but loses on the group's limiting factor does not win the comparison.
Crowded trails add another filter because passing, noise, dogs, and narrow tread can change the experience. If the route is popular, basic hiking etiquette should be part of the trail choice, not an afterthought.
Write the final choice in one sentence before you go. "We chose this trail because it fits our time, has an easy turnaround, matches the least experienced hiker, and still works if the pace is slow."
If you cannot finish that sentence honestly, the trail is not the right choice today.
Turn that sentence into a quick trailhead check. The pre-hike trailhead check catches water, weather, daylight, map, and group-condition mismatches that can make a good trail wrong for today.
The final choice should feel calm. If the group is debating whether there is enough daylight, whether the dog can handle the heat, or whether the slowest hiker will be fine, the answer is usually a shorter trail.
Route choice also controls the pack.
A hot exposed trail needs the heat hiking plan before it needs ambition, and a longer uncertain route needs a focused hiking packing list before the trailhead. If both checks feel tight, change the route instead of hoping the day goes perfectly.
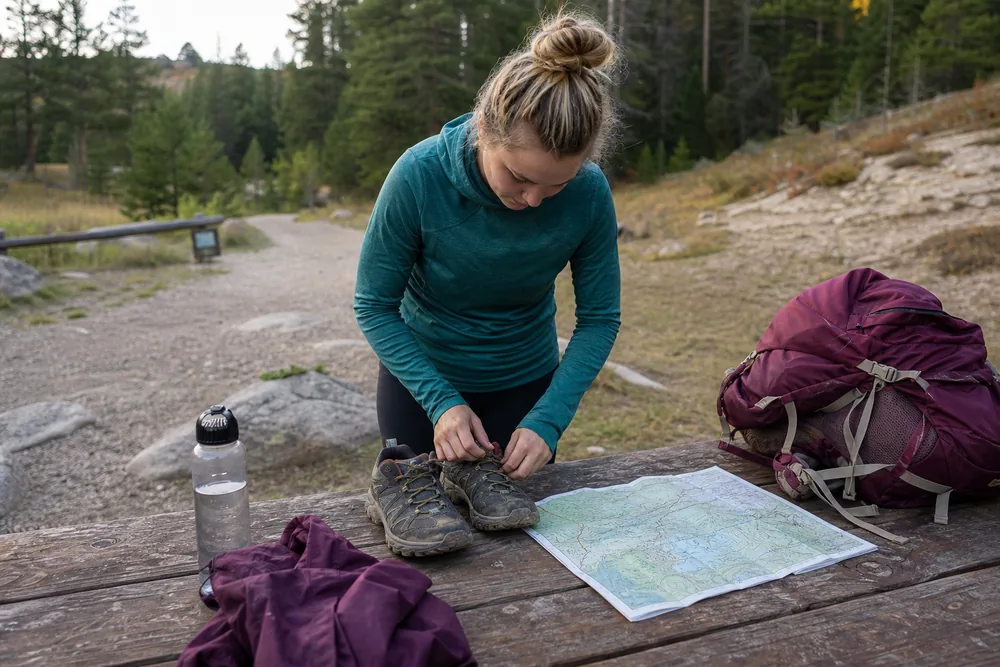
The right trail should leave room for a shoe retie, a snack stop, a wrong turn caught early, a photo, a tired child, or a dog paw check. If those ordinary moments would break the schedule, the trail is too tight for the day.
Sources
The National Park Service recommends checking route difficulty, weather, water, and time before hikes: NPS hiking safety. Shenandoah National Park explains why hikers must read distance, elevation, and steepness in addition to the route rating: NPS hiking difficulty.
Parks Canada explains that grade, elevation, terrain, weather, current conditions, fitness, and experience all affect whether a trail fits: Parks Canada trail ratings. REI lists distance, elevation gain, directions, water, features, and dog rules among the route details to research: REI hiking trail basics.
AnswersQuestions readers ask
What is a good hiking trail for beginners?
A good beginner trail is short, marked, easy to reverse, moderate in climb, and close enough to finish well before dark.
Is distance or elevation more important?
Both matter. Distance affects time on feet, while elevation changes effort and downhill stress.
Are loop trails better than out-and-back trails?
Loops can be fun, but out-and-back trails are often safer for beginners because you can turn around anytime on ground you already know.
How do I know if a trail is too hard?
It may be too hard if the distance, climb, footing, weather, or navigation would leave little room for delays or tired hikers.
Should I choose a popular trail?
Popular trails can be easier to follow, but crowds, parking, heat, and trail damage still matter. Choose fit, not fame.
Can I trust an easy, moderate, or hard trail rating?
Use the rating as a first filter, then read the actual distance, elevation, steepest grade, footing, exposure, navigation, and current conditions. Rating systems differ between parks and apps.
How recent should trail condition information be?
Use the land manager's current notice for closures, access, and rules. For fast-changing snow, water, fire, storm damage, or mud, look for a dated report after the latest major change or choose a route where the uncertainty has little consequence.