
What to Pack for Hiking, and Where Each Item Should Ride
Pack for the problems the trail can actually create.
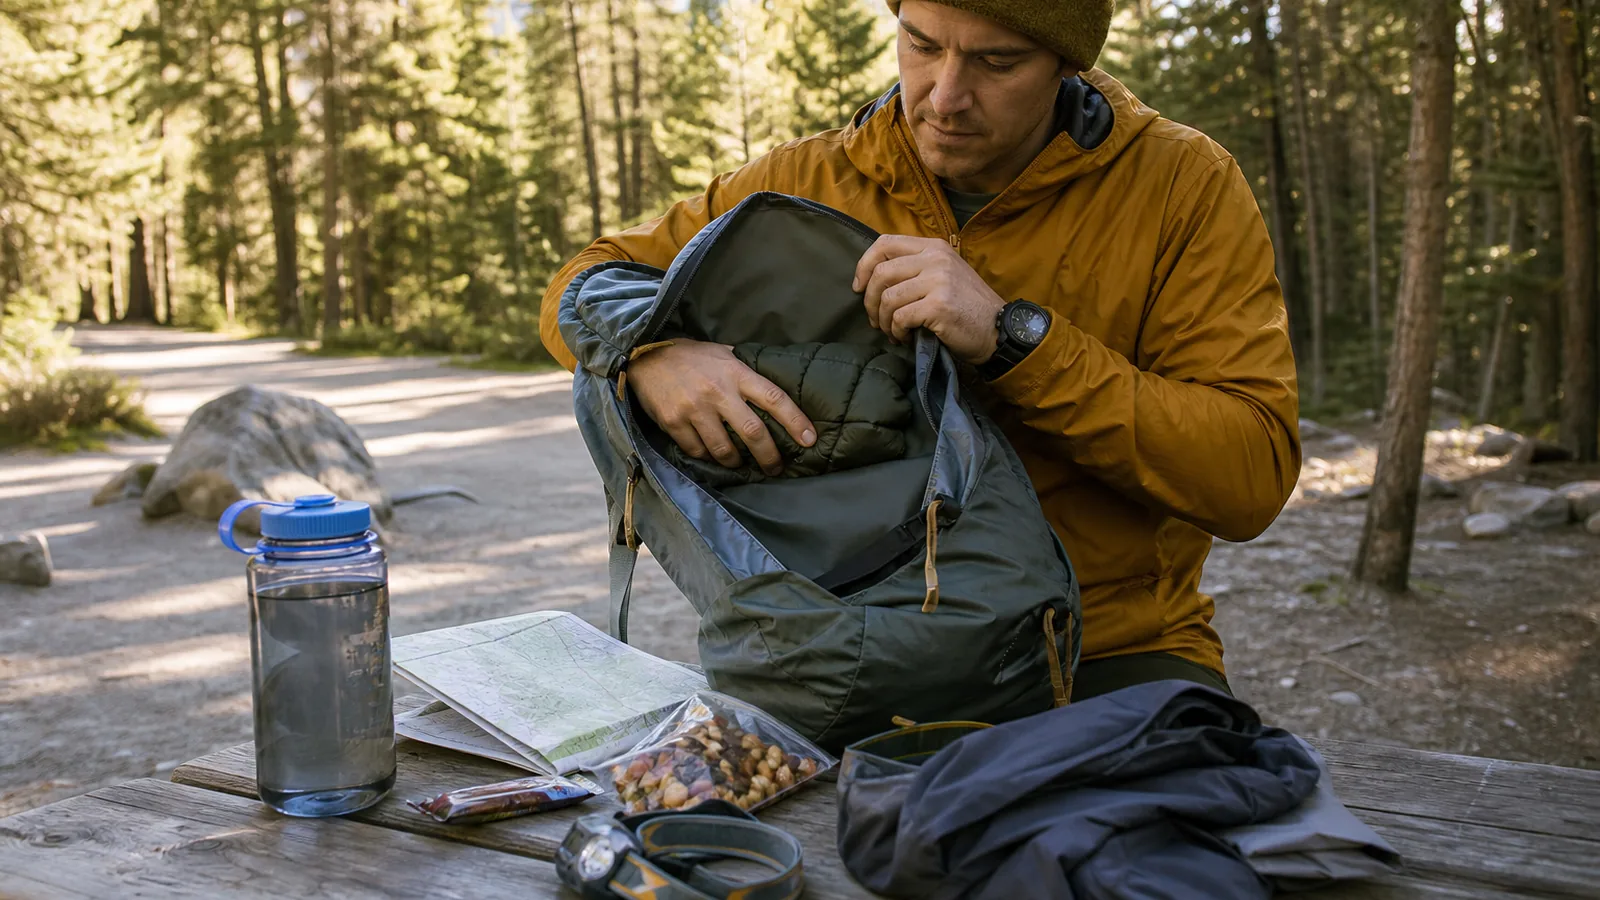
A day-hike packing list should start with the trip in front of you. Build the pack around water, food, light, layers, navigation, and foot care, then remove anything that does not change a real trail decision.
What job should a day-hiking pack do?
A hiking pack has one job: keep the next useful action easy. You should be able to drink, add a shell, check the map, eat, use a headlamp, or tape a hot spot without dumping the whole bag.
This is a packing article, not a beginner route article. If you are still choosing the trail, hiking for beginners keeps the route small enough for the pack to match the day instead of rescuing a poor plan.
Pack for the delay you can reasonably expect, not every outdoor fear you can imagine.
This page also stays separate from overnight backpacking and multi-day trekking. Shelter, sleep systems, stoves, and multi-day food change both the load and the planning problem.
Water
Enough to cover hours, heat, climb, and the refill plan.
Warmth
A shell or layer you can reach before wind or rain wins.
Light
A headlamp because delays do not care that the hike started early.
Route
Offline map, route notes, or paper backup for junction decisions.
Feet
Blister care where you can reach it before a hot spot opens.
Energy
Reachable food supports pace, warmth, and an unplanned delay.
A useful daypack is not judged by how complete it looks on the floor. It is judged by whether it helps you make the next safe decision while you are tired, cold, thirsty, late, or unsure about the route.
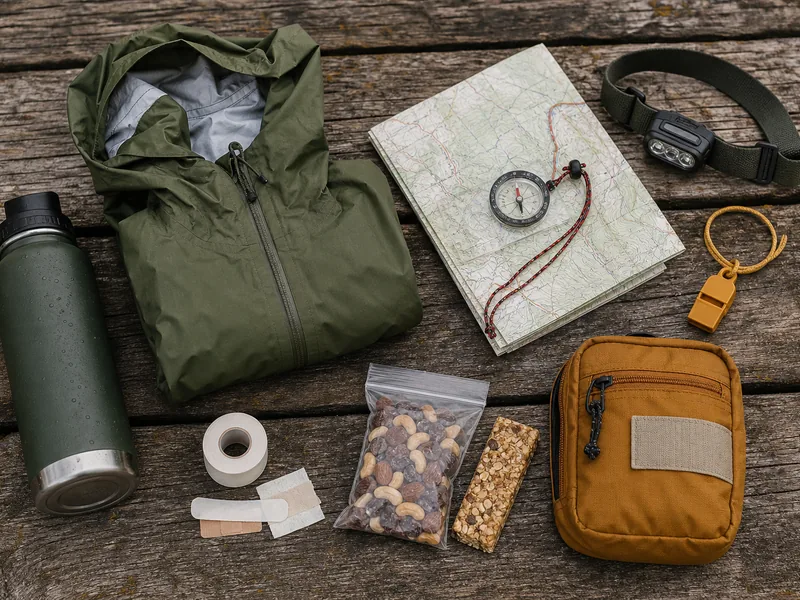
Daylight, route length, water access, and group pace are trip planning facts that change what the pack must solve.
Pack size should follow the weather and route, not pride.
A small summer loop may fit in a light pack, while a windy shoulder-season hike needs more room for dry warmth. If you have to crush the warm layer under everything else, the pack is too small for that day.
A short list is non-negotiable on every hike
The non-negotiable kit covers hydration, energy, weather, route-finding, darkness, and small injuries. These items may look boring at home, but they protect the choices you still need on trail.
Carry water where you can drink without stopping the group. Pack one salty snack and one quick-sugar snack so low energy does not turn a simple map check into an argument.
The core kit earns its space when the hike takes longer than the clean version in your head.
- Water sized to time, heat, and refill options.
- Snack food for effort and delay.
- Rain shell or wind shell.
- Warm layer for stops and shade.
- Map, downloaded offline map, or printed route notes.
- Headlamp with usable battery.
- First-aid basics with blister tape.
- Sun protection for exposed trails.
- Whistle and charged phone.
A practical water carry plan matters more than bottle count. One liter can be too much on a cool local loop and too little on a hot exposed climb.
The useful item is the one you can reach before the problem gets larger.
Packing rule
If the list above no longer fits the bag, solve capacity and carry comfort through backpack capacity and fit instead of deleting safety basics first.
Non-negotiable does not mean bulky. A small headlamp, compact shell, folded route notes, blister tape, and a whistle weigh little compared with the time they can save.
The common mistake is carrying comfort extras while skipping the tiny items that solve real delay.
How do water, food, and layers change by hike?
Size the variable items to the day. Water, snacks, and layers should respond to hours outside, heat, climb, exposure, shade, and the slowest person.
Do not pack every jacket you own. Pack the layer that protects the coldest likely stop or the wettest mile you are willing to hike.
The best pack changes with the forecast and route, while the core safety jobs stay the same.
| Trip signal | Pack adjustment | Why it changes the day |
|---|---|---|
| Hot exposed climb | More water and salty snack | Sweat and pace rise together |
| Cold wind | Reachable shell and light insulation | Stops cool the body fast |
| Rain chance | Shell plus pack liner or dry bag | Wet layers lose warmth |
| Long descent | Blister tape and snack near the top | Feet and focus fade late |
| Confusing junctions | Offline map and printed route notes | Signal may not solve route mistakes |
| Remote or late return | Extra light, food, and insulation | A delay lasts longer before help or the trailhead |
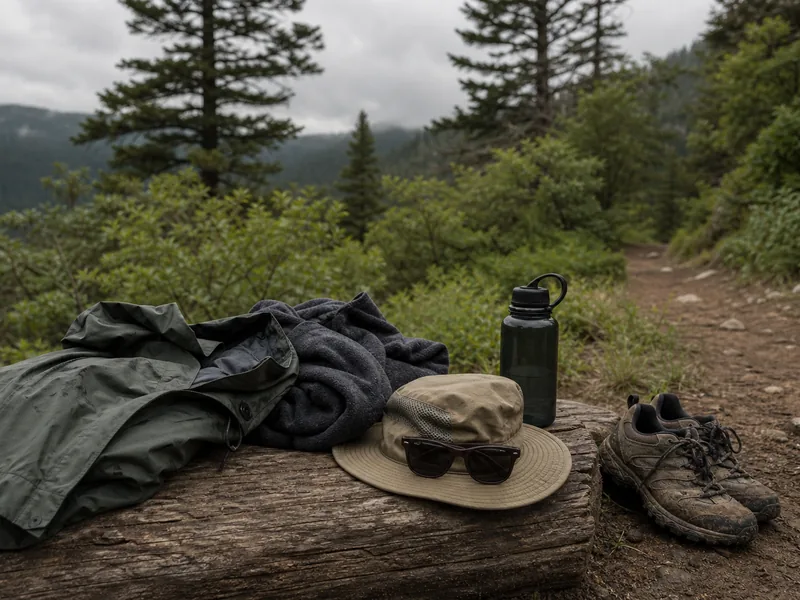
Cold rain deserves special care because chill can build before the air feels extreme. Wet weather and wind make hypothermia response part of the packing margin.
Seasonal shifts change the list: winter hiking adds cold and traction margin, while hiking in the rain changes wet-footing decisions.
Heat changes the pack in the opposite direction.
You may carry fewer warm layers, but you need more water, salt, shade strategy, and sunscreen access. A hot route can make a heavy pack feel worse, so trim comfort extras before trimming water.
Where an item rides matters as much as whether you brought it
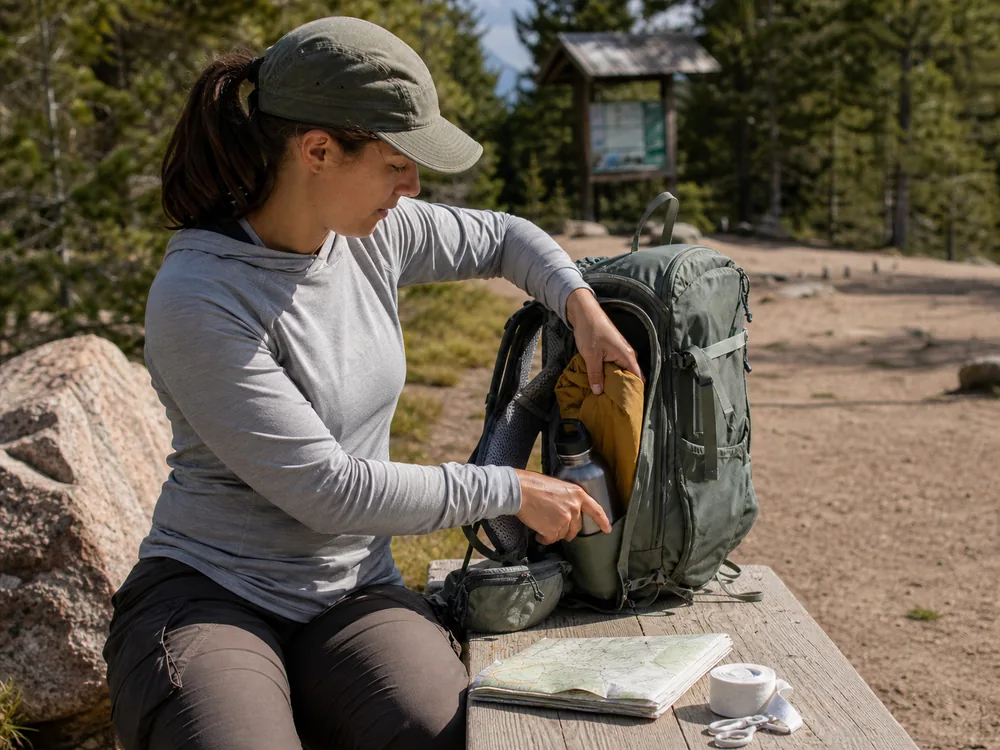
Pack placement matters because hiking problems often need a fast response. Keep water, snacks, shell, map, phone, sunglasses, and blister tape outside the deep pack.
Small access problems change behavior. If water is hard to reach, you drink less.
If the shell is buried, you wait too long when wind arrives.
The packing system should make the right habit easier than the lazy one.
Hip belt pocket
Snack, lip balm, and small sunscreen.
Side pocket
Water bottle you can reach without help.
Top pocket
Headlamp, map, and blister tape.
Outer pocket
Rain shell or wind shell.
Pack liner
Dry layer and items that must stay protected.
Main compartment
Food, insulation, and low-urgency items packed around stable weight.
If your daypack swings or rubs once it is loaded, fix backpack fit before blaming the trail.
If the route has many junctions, keep route notes reachable and refresh compass basics before the trailhead.
Run a pocket test before leaving.
Put on the pack and reach for water, snack, shell, map, phone, and blister tape without setting the pack down. Anything you cannot reach is less likely to be used early, and early use is what keeps small problems small.
How should the pack change for solo, kids, or dogs?
The core kit stays the same, but the weak point changes with the group.
Solo hikers need backup communication and stricter turnaround rules. Kids need reachable snacks and warm layers.
Dogs add water, leash control, paw checks, and waste bags.
Do not split critical gear so one slow or separated person carries the only map, first-aid kit, or headlamp. Shared gear should stay with the person most likely to manage the problem.
Group packing should make the predictable problem easier to solve, not spread basics randomly.
| Hike type | Add or move | Why it matters |
|---|---|---|
| Solo hike | Extra route note, battery, and check-in plan | No partner can borrow or call for you |
| Kids | Snacks, warm layer, and small comfort item near the top | Stops happen sooner and more often |
| Dog | Extra water, bowl, leash, bags, and paw check item | The dog cannot explain thirst or foot pain |
| Busy trail | Trash bag and leash control near reach | Etiquette problems start fast |
| Long descent | Blister care and snack near the top | Feet and focus fade late |
Solo hiking, hiking with kids, and hiking with a dog each change the job of the pack. Crowded trails also make hiking etiquette items like leash control and trash bags worth keeping reachable.
Group trips also need a simple shared-gear rule.
Do not let the only headlamp, first-aid kit, map, or dog water sit with the fastest person if the group may spread out. Critical items should stay with the person most likely to stop and manage the problem.
How do feet change the packing list?
Foot problems often begin as a small hot spot, damp sock, trapped grit, or loose heel. Pack the item that lets you act at that first signal instead of waiting for broken skin.
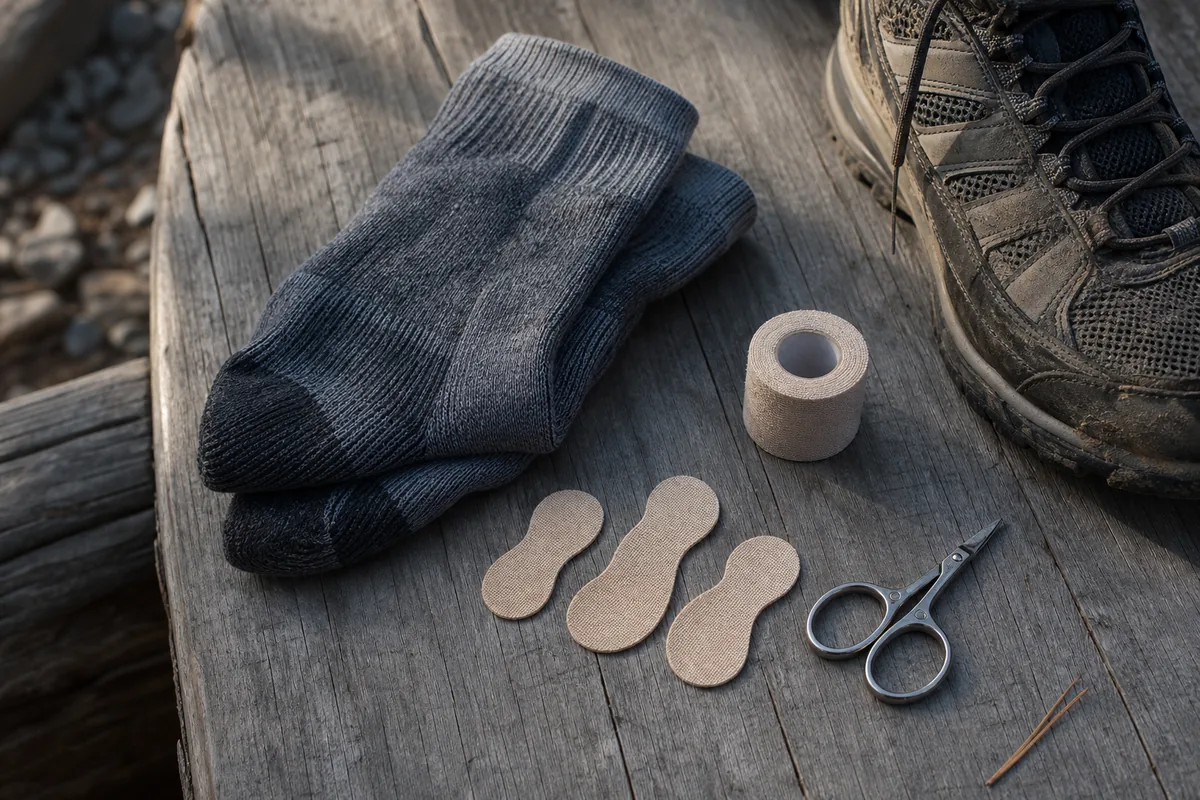
Carry tape or a blister dressing that you have used before, a small cleaning method, and any personal padding needed by known pressure points. Keep the kit near the top because treatment after another mile is usually harder than treatment during the first warning.
Stop at the hot spot. Ten minutes spent drying skin, removing grit, smoothing a sock, or changing lacing can protect the whole return.
| Foot signal | Pack item or action | Why it helps early |
|---|---|---|
| Damp socks | Dry pair and a bag for wet fabric | Reduces prolonged moisture and friction |
| Heel movement | Lacing adjustment and tested sock system | Limits repeated rubbing before skin opens |
| Known pressure point | Precut tape or familiar dressing | Covers the exact area without a long stop |
| Grit in shoe | Small cleaning cloth and easy pack access | Removes the abrasive cause |
| Swollen feet late in day | Room to loosen laces and adjust socks | Prevents a tight shoe from adding pressure |
Extra shoes rarely belong in a daypack, but a spare sock can earn space on wet or long routes. If footwear already causes pain during a short practice walk, change the shoe, sock, lacing, or route.
A larger blister kit does not fix a bad fit.
How much phone and battery power belongs in the pack?
Start with a fully charged phone in airplane mode when service is not needed, plus downloaded information that opens without a signal. Cold, navigation use, photos, weak-signal searching, and messaging can drain power faster than an ordinary day at home.
Carry a small power bank when the phone is your map, communication tool, camera, and emergency information store on a long or remote hike.
Protect the cable and keep the bank dry. A battery without the correct working cable is dead weight.
Power follows dependency. The more safety functions placed on one device, the more important independent light, route information, and communication become.
Do not count a phone flashlight as the only headlamp. Holding a phone occupies one hand, exposes the device to drops and weather, and drains the same battery used for maps and calls.
Test offline maps before leaving. Open the route in airplane mode, zoom to the needed detail, and confirm that alternate exits and the trailhead are visible.
A screenshot may show the main line while hiding the junction or scale needed after a wrong turn.
Keep critical phone numbers, vehicle details, and the outside contact on a small paper card when a locked, wet, lost, or empty phone would hide them. This adds little weight and removes one shared failure.
Keep the phone and power bank warm enough to function in cold conditions, but avoid placing loose electronics beside a leaking reservoir.
Use the device maker's temperature and charging guidance. A power bank tested at home should charge the phone through the same cable and case used on the hike.
Check the remaining battery at the turnaround point. If navigation and communication still depend on the phone, stop using it for photos or entertainment before the reserve becomes another reason to continue blindly.
Some items cannot be shared across a group
Each hiker should carry the medication, identification, and emergency information that applies to that person. A group first-aid kit does not replace an inhaler, epinephrine auto-injector, glucose, prescription medicine, or another item that must stay with its user.
Keep time-sensitive medicine reachable and protected from water, heat, freezing, or crushing according to its label. Tell a trusted partner where it is and what help you may need, but do not ask someone to give treatment they are not trained or authorized to provide.
Personal essentials stay personal. Splitting common gear saves weight, but separating a hiker from required medicine can turn a short gap into an emergency.
- Required medication in its labeled container when practical
- Identification and emergency contact information
- Allergy or medical information needed during a response
- Glasses hearing equipment or mobility support needed for the route
- Menstrual supplies and disposal bag
- Personal food or glucose required for a known condition
- Any battery or protective case needed to keep the item usable
Children and adults who need assistance still require a clear carrier. Name that person before walking, and move the item deliberately if supervision changes.
When does a day hike need more emergency margin?
Add emergency margin when a delay would leave you far from a warm car, easy road, or reliable phone signal. Distance, weather exposure, difficult footing, group pace, and the latest safe return matter more than the word day hike.
A remote route may justify an emergency bivy or shelter, extra insulation, fire-starting equipment where legal and appropriate, more first-aid and repair material, backup navigation, and a communication device suited to the coverage. These items do not make a weak route plan safe, but they protect a reasonable wait or controlled exit.
Pack for the slow exit. A sprained ankle, missed junction, or storm can turn two planned hours into several cold ones.
| Trip condition | Extra margin to consider | Decision it supports |
|---|---|---|
| Cold exposed ridge | Emergency shelter and dry insulation | Wait or retreat without rapid heat loss |
| Remote low-signal route | Independent communication and route backup | Report a delay and keep navigating |
| Rough footing | More first aid and repair matched to likely problems | Treat a minor issue or protect the walk out |
| Late return possible | Second light source or protected spare power | Navigate after the planned daylight window |
| Uncertain water | Extra capacity and a treatment backup | Turn around before the reserve is consumed |
The National Park Service includes emergency shelter among the Ten Essentials because conditions can force an unplanned stop. Match the shelter to the season.
A thin reflective bivy may help on a mild route, but it does not replace the insulation or protection required for severe cold.
If the extra margin no longer fits comfortably, shorten the route or improve the exit plan.
Deleting the items that make a delay survivable does not make the hike easier. It only moves the problem later into the day.
How do you avoid overpacking?
Overpacking starts when every possible problem gets the same vote. A winter ridge, a desert climb, and a shaded two-mile loop do not need the same bag.
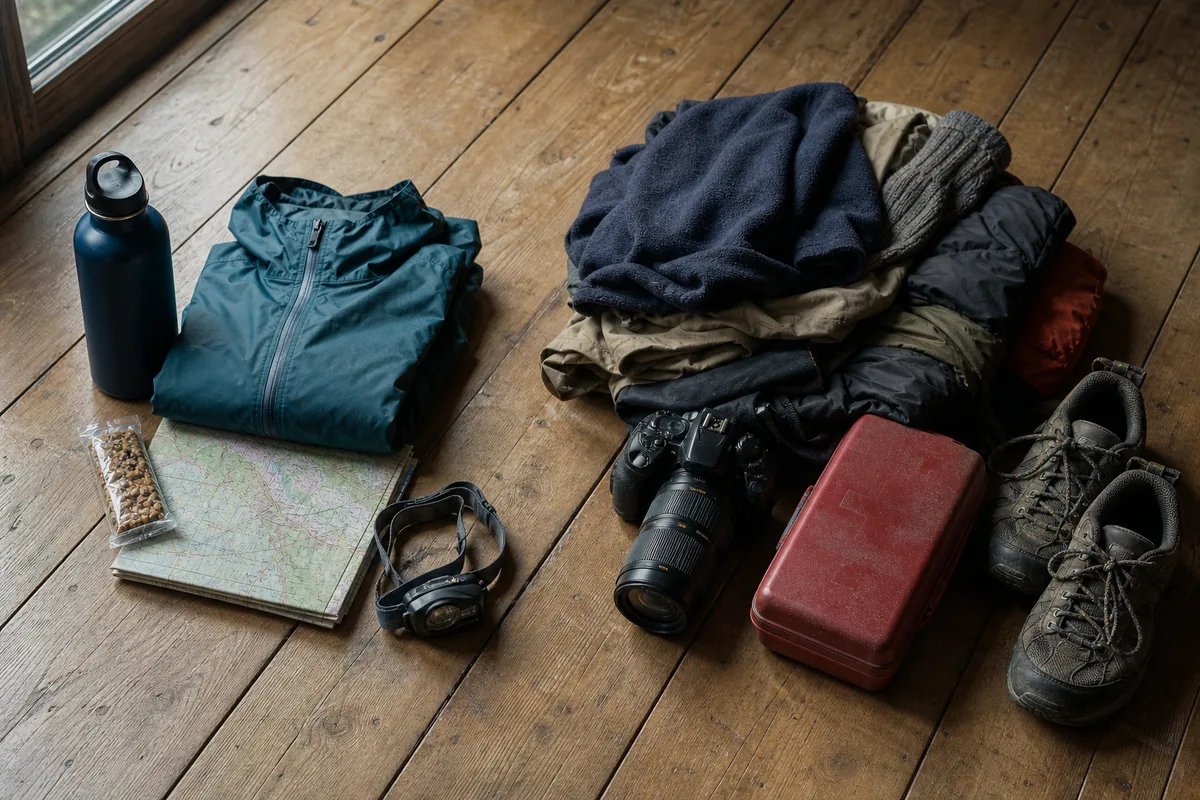
Sort gear by need, route, and consequence. Bring the items that protect water, warmth, light, navigation, and injuries first.
Add comfort only after those jobs are covered.
Extra gear should answer a real risk, not calm a vague worry.
| Question | Keep it when | Leave it when |
|---|---|---|
| Does it solve a likely problem? | The forecast, route, or group makes it useful | It only sounds outdoorsy |
| Can you use it quickly? | It is packed where you can reach it | It will stay buried all day |
| Does it duplicate another item? | Backup is needed for safety | Two items do the same comfort job |
| Will it change a decision? | It helps you turn around, warm up, treat, or navigate | It only adds weight |
If an item will not change water, warmth, light, route-finding, or injury care, question its place.
Packing rule
Heavier packs change pace and fatigue. If you are training for longer routes, test your real kit during hiking fitness training instead of discovering the weight on the target trail.
Plenty can stay in the car
Leave behind items that only solve a parking-lot worry. Extra shoes, a big meal, a dry cotton shirt, a second heavy jacket, and a full repair kit may be useful at the trailhead without earning space on a short marked hike.
The car can hold recovery items for after the walk. The pack should hold items that help while turning around, warming up, drinking, navigating, treating feet, or waiting through a delay.
Car gear is for comfort after the hike. Pack gear is for decisions during the hike.
This trim rule keeps the pack useful without turning it into a bare-minimum stunt. Do not remove water, light, weather protection, navigation, or foot care just because the route is short.
Use the same rule for comfort items.
A sit pad earns space on a cold wet route with long breaks, but it can stay behind on a warm one-hour loop. A small towel helps after a muddy dog hike, but it may belong in the car when the trail is dry.
Access still matters after trimming. If the item earns a spot because you may need it quickly, do not bury it under lunch or spare clothing.
A light pack can still fail if the right item is unreachable.
Weigh the pack after trimming if you are unsure.
The number matters less than the walk test: shoulders relaxed, belt stable, normal stride, and no urge to stop just to rearrange gear. If the pack changes how you walk before the trail starts, fix the load before adding miles.
What is the trailhead pack check?
Do a final check at the car or trailhead while fixes are still easy. Touch water, weather protection, light, route notes, and foot comfort before you start walking.
This takes two minutes. It prevents the common mistake of hiking away from the only place where you can add water, change shoes, or shorten the plan.
The trailhead check is where you catch missing basics before they become trail problems.
- Check waterConfirm amount matches hours, heat, and refill plan.
- Check weatherPut the shell where you can reach it.
- Check lightTouch the headlamp and battery.
- Check routeOpen the map and know the first junction.
- Check feetFix sock folds and hot spots before the first mile.
- Check timeConfirm the turnaround still leaves daylight for the return.
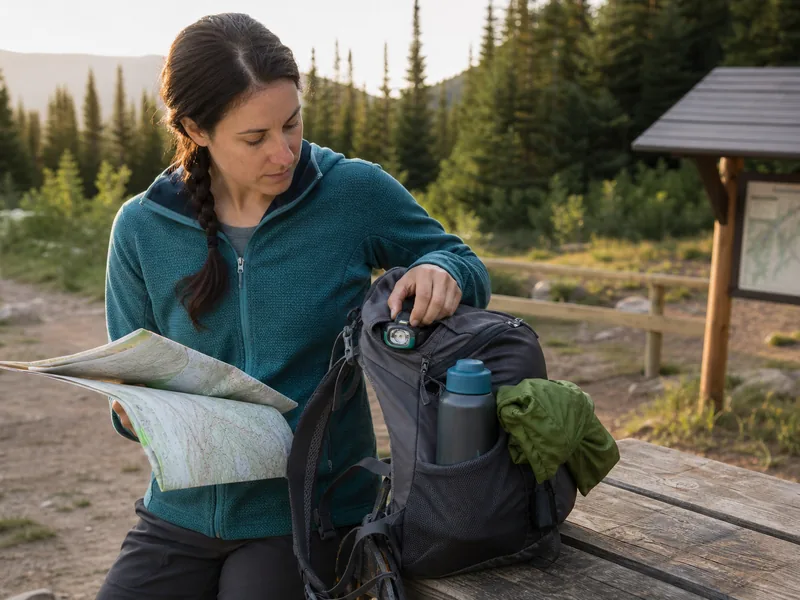
If the pack check reveals too much route uncertainty, pause and change the hike. Many common hiking mistakes begin when people notice a problem at the car and walk away from it anyway.
Step by stepPractical steps
- Size water to the route time, heat, and refill plan.
- Pack food, layers, light, navigation, and blister care before comfort extras.
- Put water, snacks, shell, and map where you can reach them.
- Adjust the kit for weather, exposure, and daylight.
- Run a final pack check at the trailhead before starting.
AnswersQuestions readers ask
What size pack is best for a day hike?
A 15 to 30 liter daypack works for many hikes. Short local routes can use less, while cold or wet hikes need room for layers.
Do I need a headlamp for a daytime hike?
Yes. A headlamp is small, and delays can push a daytime hike toward dusk faster than expected.
How much food should I pack for hiking?
Bring at least one salty snack and one quick energy snack for a short hike. Bring more when the route is long, cold, steep, or remote.
Should I carry a first-aid kit?
Carry small first-aid basics with blister care. Foot hot spots are common, and early tape can save the rest of the hike.
What should I not pack for a short hike?
Skip items that do not answer the route, weather, water, light, navigation, warmth, or injury needs of that day.