
Hiking Safety Tips for the Trail Problems You Can Prevent
Use simple field decisions to prevent the small mistakes that turn a normal hike into a rescue problem.
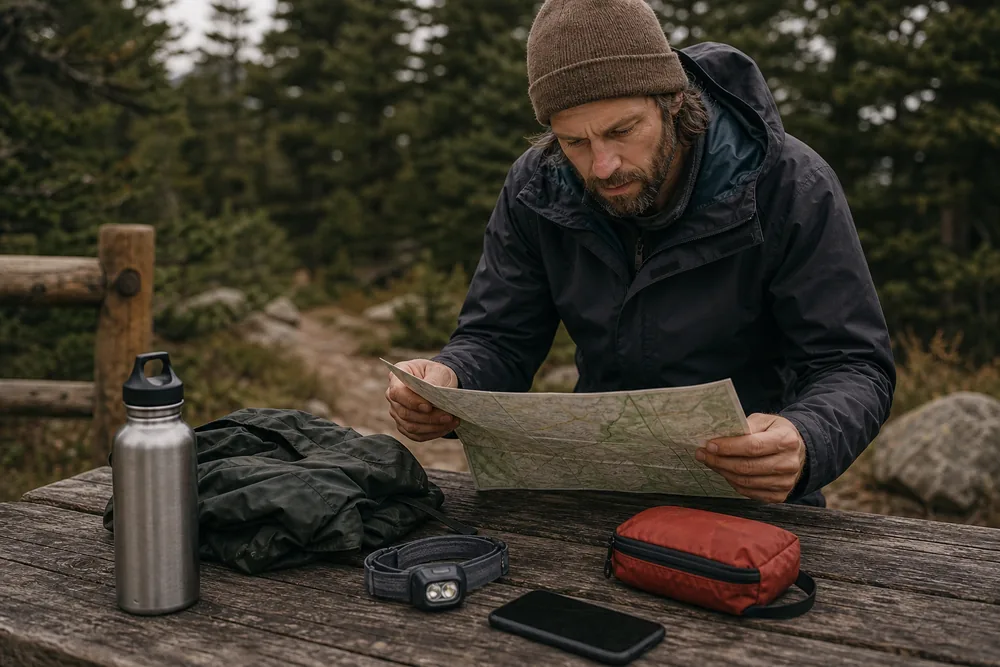
The most useful hiking safety tips connect five decisions: choose a route with exits, leave an actionable trip plan, carry functional essentials, check the group at fixed points, and turn around on written triggers. Those choices prevent more trouble than reacting after time, weather, water, or navigation has already failed.
Which hiking safety tips prevent the most problems?
Start with route fit, an outside plan, functional essentials, fixed trail checks, and a turnaround rule. Add an emergency plan that says what the group will do if someone becomes lost, separated, or unable to walk.
Most hiking trouble starts when route, weather, time, and energy stop matching. One small mismatch is manageable.
Several mismatches at once can turn a normal day into a slow, cold, thirsty, or confusing return.
A hiker who starts late, carries too little water, ignores dark clouds, and keeps going past the planned turnaround is not facing four separate problems. They are spending the same safety margin from four directions.
Stacked problems matter more than any single mistake.
Pros
- Short marked route with daylight left
- Weather checked before the drive
- Water, light, layer, map, and foot care within reach
- Turnaround time set before the viewpoint feels close
Cons
- Late start on a route with a long exit
- Hot forecast treated like normal weather
- Phone map with no backup battery or offline route
- Sore foot ignored until the return becomes a limp
The safe version of a hike usually looks boring before it looks smart. You choose the smaller route, leave earlier, carry the headlamp, stop for the hot spot, or turn around while everyone still has energy.
- Route
- Matches the least experienced hiker and has a mapped shorter option
- Outside plan
- Names the trailhead, vehicle, route, finish, and overdue action
- Essential systems
- Cover navigation, light, weather, first aid, food, water, and delay
- Trail checks
- Compare pace, water, feet, weather, map, and group condition
- Turnaround
- Uses written time, weather, water, body, and route triggers
- Emergency plan
- Defines meetup, location report, communication, and when to stay put
The day-hike safety checks work best at fixed points on the route. Check pack fit after 15 minutes, confirm the map at the first junction, compare water and pace after the first hard section, and reassess before the last exposed or committing segment.
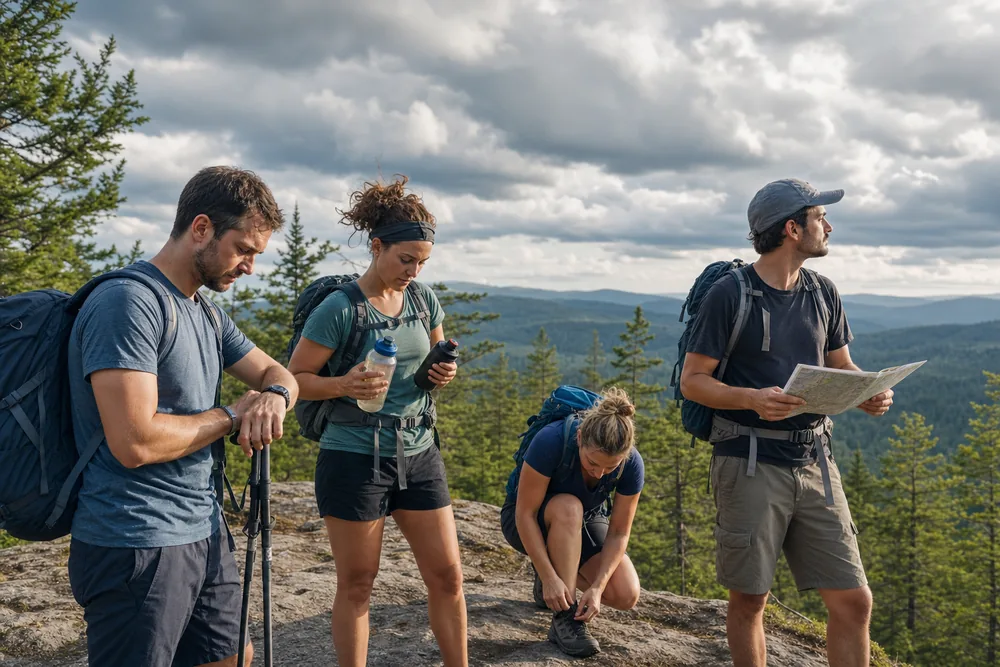
Many common hiking mistakes are really safety-margin mistakes. Fix the first weak signal instead of waiting for a dramatic one.
How do you choose a hiking route with safer exits?
Choose a route with enough exit options for your group, not just enough scenery for your plan. Distance is only one part of safety.
Climb, exposure, footing, shade, water, junctions, and cell coverage change the cost of being wrong.
For a first attempt, an out-and-back is often safer than a loop because you can reverse the exact ground you already saw. A loop can hide the hardest mile until the route commits you.
Easy to leave is a safety feature.
- Safer first shape
- Out-and-back or short marked loop
- Best turnaround rule
- Time-based, not summit-based
- Good route proof
- Recent official or manager information
- Risky route mix
- Heat, exposure, loose footing, and long exit
- Group fit test
- The route matches the least experienced hiker
The hiking trail choice process belongs before packing when the main question is route screening. Safety improves when the route is right before gear ever enters the pack.
Route choice should also account for who is actually hiking. Kids, dogs, new hikers, people returning from injury, and heat-sensitive hikers need shorter exits and clearer decision points.
A trail that is safe for a fit adult in cool weather can be wrong for the same person with a dog on hot rock.
Check the last hard mile, not just the first one.
Many routes hide the steep descent, confusing junction, or exposed return until everyone is tired. If the hardest decision comes late, build a wider turnaround buffer or choose a simpler route.
Current information matters when conditions can change the answer. Recent official notices, seasonal closures, water reports, fire restrictions, and storm damage can make an easy map line misleading.
When you cannot verify a condition, treat the route as less certain, not as normal.
Which hiking safety items buy time in an emergency?
Carry systems that buy time, warmth, water, direction, light, first aid, repair, shelter, and communication.
The National Park Service Ten Essentials also includes sun protection, fire, extra food, extra water, and extra clothing. The exact items change with the route and conditions.
The most ignored item is often the headlamp. Day hikers skip it because they plan to finish early, but delays are exactly when light matters.
- Water carry plan sized to hours, heat, climb, and refill options.
- Food with both quick sugar and salty calories.
- Rain shell or wind shell.
- Warm layer for slow stops.
- Map, offline map, or printed route notes.
- Headlamp with charged battery.
- Small first-aid kit with blister care.
- Whistle and charged phone.
- Sun protection when shade is limited.
- Emergency shelter sized to the distance from quick help.
- Simple repair and fire supplies when the route warrants them.
Light is safety gear even when the hike starts after breakfast.
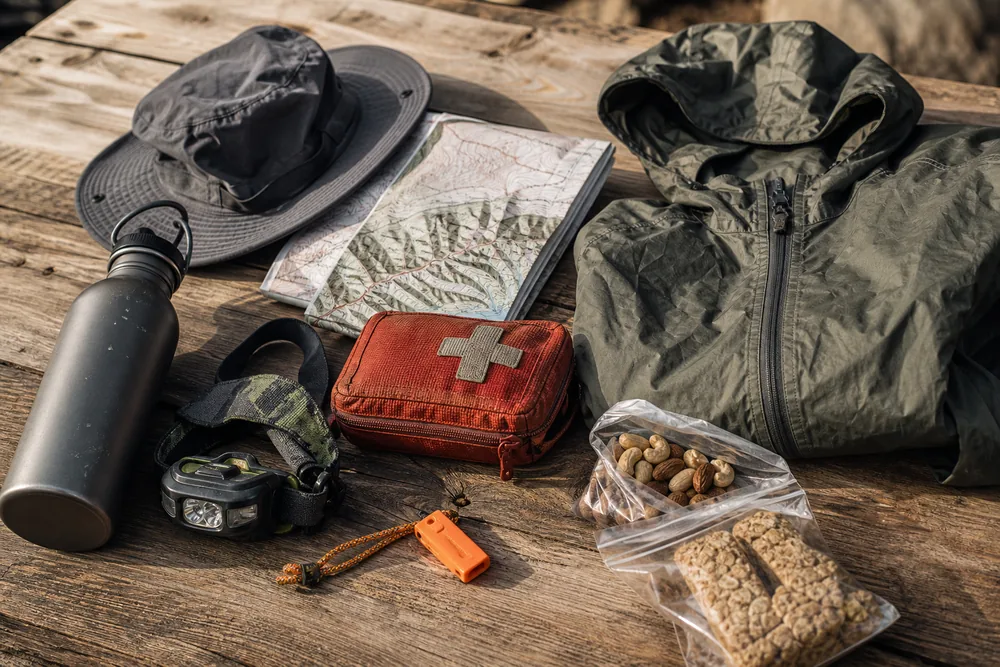
The hiking packing list explains how to keep this kit practical instead of turning it into a heavy fear pack. The point is not to carry every possible item.
The point is to carry the few items that solve common failures before they become urgent.
Keep the most likely fixes reachable.
Water, snacks, shell, map, headlamp, and blister care should not require emptying the pack in wind or rain. Safety gear works better when you can reach it while the group is still calm.
Test the item before depending on it. Turn on the headlamp, open the offline map, confirm the paper map covers the exit, make sure blister tape sticks, and learn how the shelter opens.
An unfamiliar tool is inventory, not a working safety system.
Battery margin is part of the kit too.
A charged phone helps with maps, junction photos, weather updates, and emergency calls, but coverage is not guaranteed. Airplane mode, offline maps, a paper backup, and a small power bank can matter more than another app.
When should you turn around on a hike?
Set the turnaround rule before the hike starts. A good rule uses time, weather, group condition, and daylight, not just distance to the viewpoint.
Work backward from the latest finish that still leaves useful daylight.
Subtract the expected return time and a delay buffer. If the group must finish by 6:30 p.m., expects the return to take two hours and 15 minutes, and reserves 45 minutes for delays, the turnaround time is 3:30 p.m.
Turn at that time even if the destination is close. Close is not the same as safe when the return still has steep ground, tired legs, or fading light.
Decide before desire because desire gets louder near a summit or overlook.
- Pick a finish bufferPlan to reach the trailhead well before dark.
- Calculate the return lineSubtract return time and a delay buffer from the latest finish.
- Name weather triggersTurn for thunder, rising wind, heat stress, or cold rain.
- Watch the slowest hikerThe group pace belongs to that person.
- Respect foot painA limp on the way out becomes worse on the way back.
- Protect water marginCompare water used with time and route remaining, then preserve a return reserve.
- Stop repeated map doubtBacktrack when two location checks in a row fail to confirm the route.
Solo hikers need a stricter rule because nobody else can challenge a bad call. The solo hiking plan covers the check-in and turnaround habits that replace a partner.
A group rule should be spoken out loud with an exact time and triggers. That gives tired people permission to make the safer choice without turning it into an argument.
Do not make the rule only about the destination. A good turnaround rule includes time, weather, water, body condition, and the slowest person.
A viewpoint that is twenty minutes away can still be wrong if the return is steep, dark, hot, or painful.
When a route has a long loop commitment, set the rule before the point of no easy return.
That point may be a junction, ridge, creek crossing, or final descent. After that, the map may offer fewer clean choices.
How often should you check your hiking route?
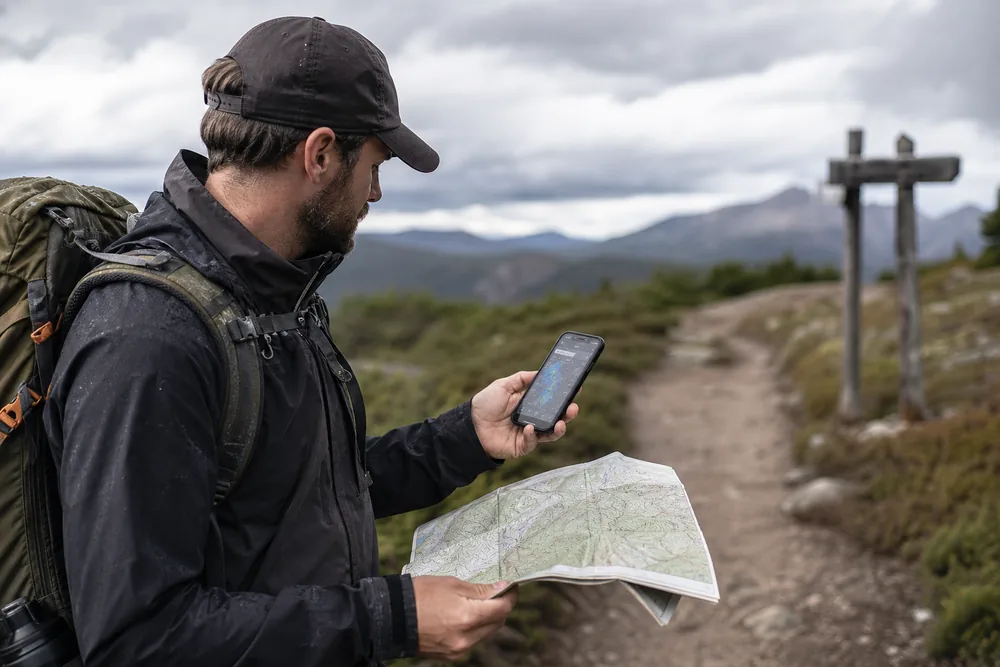
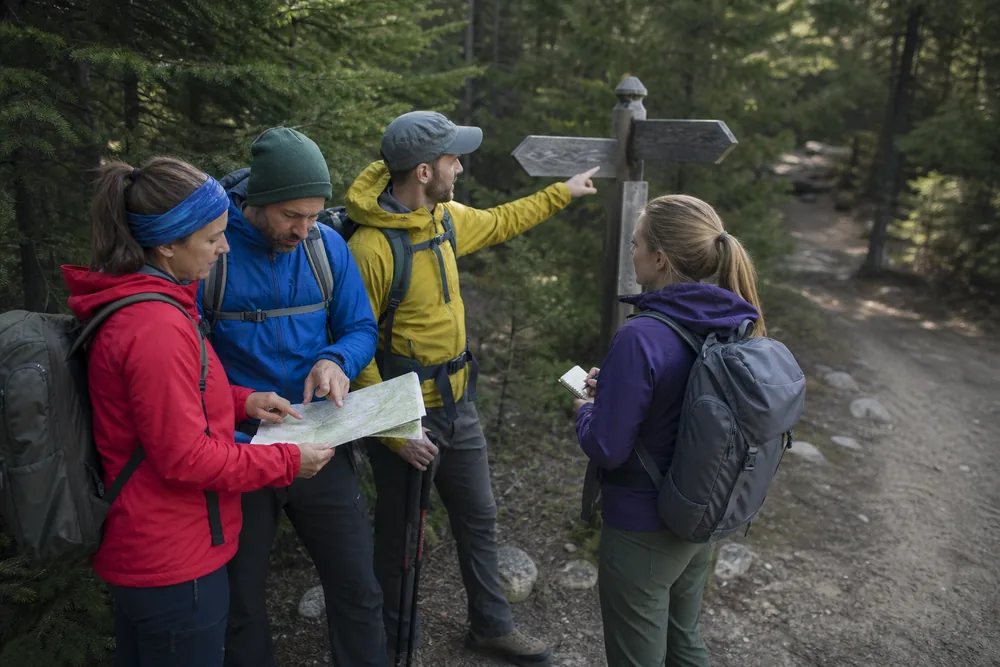
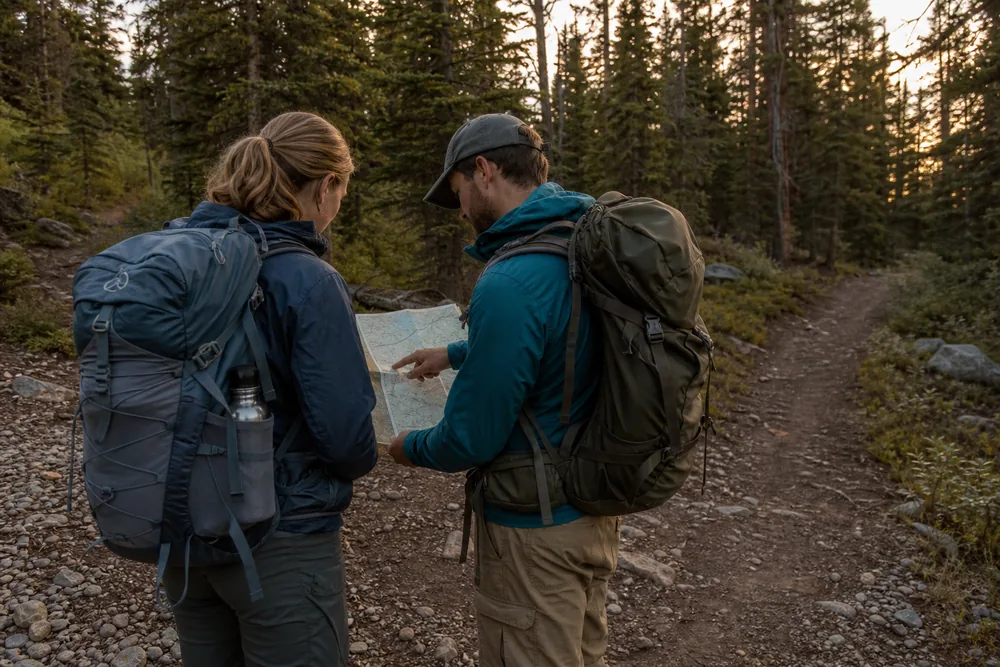
Do not wait until you feel lost to navigate. Check the route at trailheads, signed junctions, creek crossings, and any place where the path changes character.
Phones are useful, but they should not be the whole system. Batteries die, screens crack, and maps fail to load when service drops.
Navigation is periodic, not emergency-only.
Navigation also changes with fatigue. A junction that looked obvious in the morning can look different after a long climb or in low light.
Take the extra half minute while the group is still calm.
If you carry a compass but never practice, fix that on an easy route. Using a compass is much easier before stress, cold, or fading light enters the problem.
Know the boundary between backtracking and staying put
When the trail and map stop matching, stop and establish the last place you could identify with confidence. Use the map, compass, GPS position, junction signs, and visible landmarks to locate yourself.
Retrace to the last known point only when the route back is safe and clear.
If you cannot locate the planned trail or safely retrace it, call emergency services when possible and stop wandering.
Report coordinates if available, the starting trailhead, last known point, visible landmarks, clothing, group size, and equipment. Stay put unless fire, falling rock, floodwater, severe weather exposure, or another immediate threat makes that location unsafe.
Leave an actionable trip plan with someone who will notice if you are overdue. Include the trailhead, route, finish time, vehicle, and when to contact authorities.
A vague message about hiking nearby is hard to use.
Inside the group, keep navigation shared enough that one phone or one confident person is not the whole plan. At least one other hiker should know the route shape, the next major junction, and the turnaround rule.
Agree on a meetup before anyone separates
Name one meetup location, such as the last signed junction or trailhead. If a person disappears, stop the activity, gather the remaining group, and return together to the last known location when it is safe.
Do not send individuals off trail to search because that can create more lost hikers.
Which weather changes should shorten a hike?
Stop or shorten the hike when the weather changes the consequence of a normal delay. Lightning, fast heat gain, cold rain, strong wind, and poor visibility all reduce your margin.
Rain alone is not always a stop sign. Rain plus cold wind, slick roots, a long exposed descent, or a stream crossing can be the reason to turn.
Weather changes the penalty for the same mistake.
| Weather signal | What changes | Safer move |
|---|---|---|
| Rising heat | Water use and recovery time increase | Start earlier or shorten exposed miles |
| Cold rain | Stops become chilling instead of restful | Protect dry layers and turn before shivering |
| Thunder | Ridges and open ground become poor choices | Leave exposed areas early |
| Strong wind | Trees, ridges, and cold stops get riskier | Pick sheltered terrain or turn around |
| Smoke or haze | Hard breathing costs more | Reduce effort and keep the exit easy |
In cold wet conditions, early hypothermia signs show up as clumsiness and quiet well before shivering stops. For rain-specific choices, hiking in the rain covers footing, route shape, and turnaround calls.
Hiking in heat deserves the same early caution.
A hot day can turn a normal climb into a slow recovery problem because water, shade, and decision fatigue rise together. Heat should shrink a route that already feels close in mild weather.
Cold rain is dangerous because the problem can start during a normal break. A hiker who is damp, underfed, and standing still may cool faster than expected.
Put on the shell or warm layer before hands get clumsy.
Fix blisters, cold, hunger, and map doubt early
Most trail problems are easier to fix early. A hot spot can become a blister.
A thirsty hiker can become slow and confused.
A cold stop can become uncontrolled shivering. A wrong turn can become two wrong miles.
Stop early, make the group safe, and solve one problem at a time. Moving while confused, cold, dehydrated, or injured often makes the problem harder to undo.
Hot spot
Stop, dry the foot, adjust the sock, and tape before the skin opens.
Low energy
Eat before pace collapses and the group starts making rushed choices.
Cold hands
Add a layer before zippers, snacks, and maps become clumsy.
Map doubt
Stop together and confirm the route before wandering farther.
Group strain
Shorten the goal before one person has to pretend they are fine.
Fix early while the repair is still small.
Early repairs protect the whole group, not only the person with the problem.
One untreated blister slows every later mile. One missed snack turns into longer stops.
One wrong turn spends daylight and patience that the group may need if weather changes.
Make small stops normal. A two-minute sock adjustment or map check is not a delay when it prevents a thirty-minute limp or backtrack.
After the repair, test the change on easy ground toward the exit. If gait, warmth, alertness, route confidence, or pace does not improve during a short defined interval, end the objective.
Do not walk farther from help to prove that the fix worked.
What should you do first in a hiking emergency?
Stop and protect the group from the immediate hazard before chasing the original plan.
Check breathing, control severe bleeding with direct pressure, add shelter or layers, establish the location, and decide whether a simple self-exit is still realistic. Use only first-aid methods you know.
Stabilize first before you chase the original plan.
If the situation may require help, call emergency services before the phone battery is low.
Use an emergency communicator when there is no cell service and the device supports it. Rescue time depends on location, weather, access, and available responders, so keep shelter, warmth, water, and light ready.
The least dramatic response is often the most useful. Stop moving, get warm, make the location clear, and keep the group together.
Move only for a safe self-exit on a known route or to escape an immediate threat.
If you contact help, give facts in a fixed order: coordinates or landmarks, trailhead and route, group size, problem, clothing, weather, supplies, and whether you are staying put.
Follow the dispatcher's instructions. Save battery after the call and keep the device warm in cold weather.
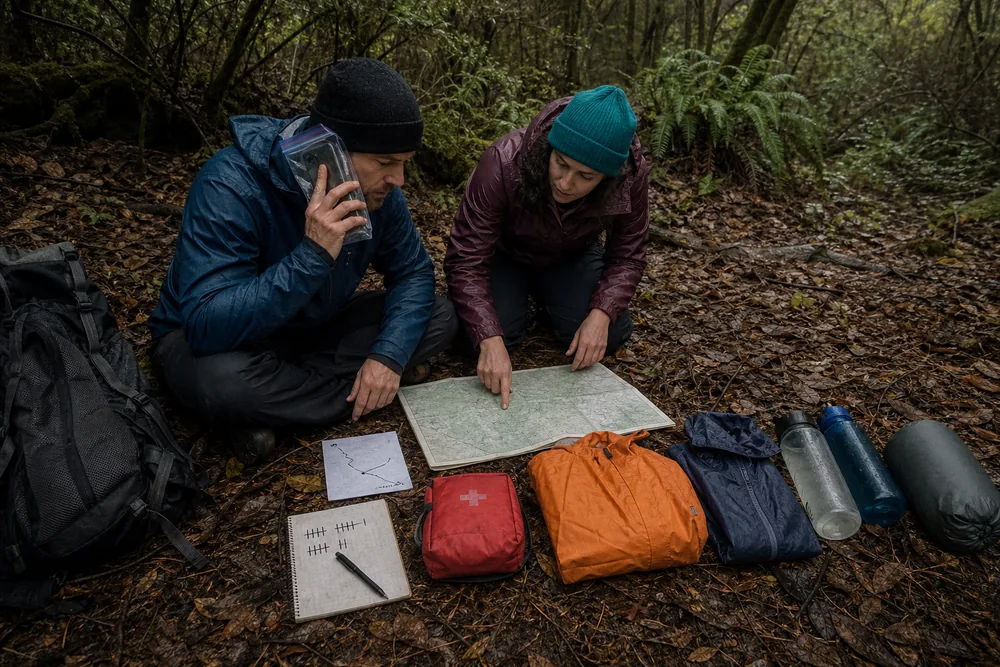
If nobody is seriously injured and the route is clear, the safest choice may still be a slow retreat. Put on layers, check food and water, ready the headlamp, confirm the map, and set pace by the least steady person.
The National Park Service provides the prevention and emergency sequence used here in its Hike Smart, Trip Planning Guide, and Outdoor Emergency Plan resources. The American Hiking Society Ten Essentials gives another functional essentials reference.
When is a creek crossing too dangerous?
A creek shown as a simple line can become the day's stopping point. Do not enter moving water when you cannot see or control the footing, depth, speed, exit, and consequence of a fall.
Stop the whole group on stable ground before the bank. Keep people from crowding the edge while one person checks the map, recent conditions, upstream weather, and the legal route.
Look for brown rising water, floating debris, a stronger sound, freshly wet rocks, or water spreading beyond its normal channel. These signs can show that the crossing is changing while the group is deciding.
Never assume another hiker's successful crossing proves yours is safe. Body size, balance, footwear, pack weight, experience, and the water a few minutes later can change the outcome.
Unclip or remove equipment only when established guidance for the exact crossing and your practiced method calls for it. A generic pack rule can create another hazard if the released load affects balance or is swept away.
Do not build a new crossing by moving large rocks, cutting branches, or damaging the bank. Search only for the mapped legal crossing or use the planned alternate and turnaround.
The group pace rule should keep children and dogs out of the water while adults decide. A leash can pull a person off balance, and a child can be knocked down by water that seems shallow to an adult.
If the group cannot agree that the crossing fits the written limit, turn around. Pressure from mileage, a campsite, or another party does not improve the water.
After retreating, tell the trusted contact about the route change when communication is available. Report damaged infrastructure or dangerous conditions through the land manager's stated channel rather than leaving an informal note that may not be seen.
No crossing is required. A dry turnaround preserves the ability to choose another route, while entering uncertain water can remove that choice in one step.
AnswersQuestions readers ask
What is the most important hiking safety tip?
Choose a route that matches the least experienced hiker and has a mapped shorter option. Set time, weather, water, body, and route triggers before starting because gear cannot fully repair an overambitious route.
Should I hike alone as a beginner?
A capable partner is the better starting choice. If you go alone, use a familiar marked route below your limit, leave an actionable plan, carry tested essentials, and follow an earlier turnaround rule.
What safety gear should every day hiker carry?
Carry functional systems for navigation, light, sun, first aid, repair, fire, shelter, extra food, extra water, and extra clothing. Adjust the actual items to the route, weather, distance from help, and skills you know how to use.
When should I turn around on a hike?
Turn around when you reach the written time, weather, water, body, or route trigger. Work backward from the latest finish by subtracting the expected return time and a delay buffer.
Is a phone enough for hiking safety?
No.
Cell coverage, battery, and screens can fail. Use offline route information, a paper backup, enough battery, basic navigation habits, and a communication option that fits the remoteness of the route.
What should I do if I get lost while hiking?
Stop, stay calm, locate yourself with the map, compass, GPS position, and landmarks, then retrace to the last known point only when the return is safe and clear. If you cannot locate or retrace the route, call for help and stay put unless an immediate threat makes the location unsafe.
What information should I give emergency responders?
Give coordinates or visible landmarks, starting trailhead and route, group size, the injury or problem, clothing, weather, supplies, and whether the group is staying put. Follow the dispatcher's instructions and save battery after the call.