
Can You Scramble This Route Without Climbing Gear?
Scramble only when the rock is stable, the move is reversible, the exposure is low, and your hands add control instead of hiding a climbing problem.
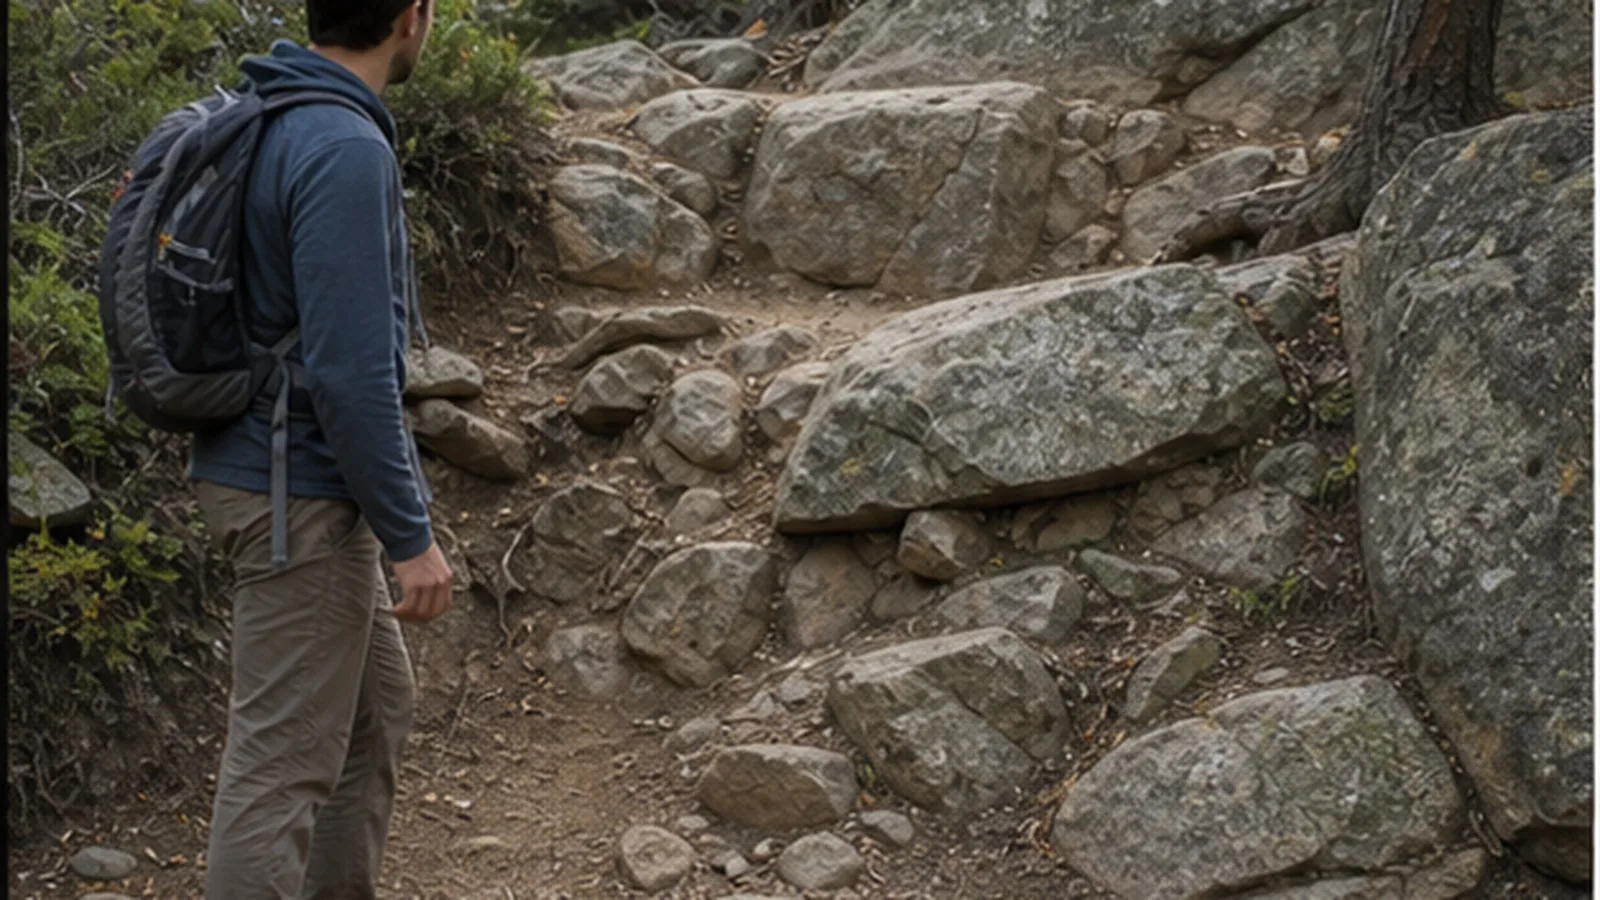
Decide whether a rocky step still fits hiking or has crossed into climbing judgment.
Scrambling is still hiking only when the hands help balance on low-angle rock and every move can be reversed.
If the rock is exposed, wet, loose, or too steep to downclimb calmly, the decision is not technique. It is to turn around.
- Scramble fit
- Hands may help, but feet still do most of the work
- Safe move
- Stable rock, low exposure, visible exit, and reversible body position
- Bad signal
- You need to jump, pull hard, trust loose blocks, or cannot downclimb
- Group rule
- The least confident person sets the turnaround point
- Weather rule
- Wet rock, ice, lightning, or high wind lowers the ceiling fast
The real question is whether this rocky step still belongs in a normal hike. A line that needs ropes, helmets, protection, or climbing judgment is outside a hiking scramble.
If the problem is mostly small sliding rock, loose-rock hiking technique is the skill that applies instead.
Reverse the move before you commit to it. A scramble you cannot climb down calmly is already too hard for a normal hiking day.
Some rocky moves are still hiking, and some are not
A low scramble keeps your center of gravity close to the rock. Your hands touch for balance, your feet stay on usable ledges, and the fall consequence is small.
You can pause, breathe, look down, and return the way you came.
A climbing move feels different. You must pull with your arms, search for handholds above shoulder height, smear on blank slab, or continue because downclimbing feels worse than going up.
| Move type | Usually hiking | Stop and reassess |
|---|---|---|
| Rocky steps | Feet lead, hands steady | Hands pull hard to gain height |
| Low slab | Dry, textured, easy to reverse | Wet, polished, or angled toward exposure |
| Boulder step | Stable block, clear landing | Wobbly block or hidden gap |
| Short slot | Walk-through body position | Pack wedges or balance feels forced |
Do not let the word scramble soften the decision.
Some guidebooks use it for easy hands-on hiking. Others use it for exposed terrain where a fall would be serious.
Read the ground in front of you, not the label.
If the rocky move follows a long climb, fatigue may be the real hazard. Choose a fitness-level day hike so the scramble happens while legs and focus are still reliable.
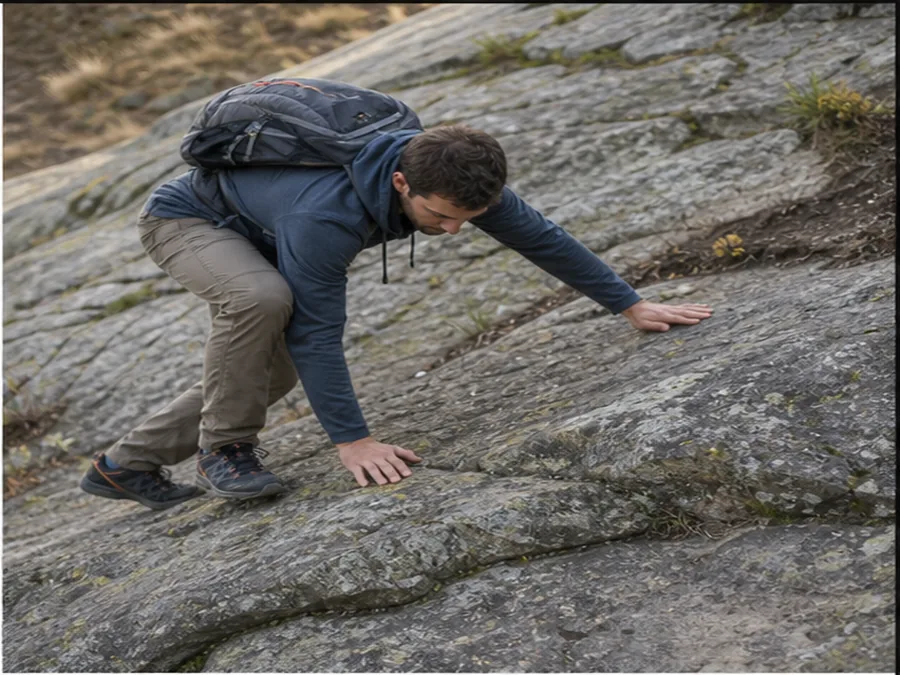
What do Class 2 and Class 3 mean for a hiker?
A route class is a starting point for research, not a promise about the move in front of you. The rating may describe the hardest move, the typical terrain, or the route in dry summer conditions.
In the Yosemite Decimal System, Class 2 broadly means simple scrambling with possible occasional hand use.
Class 3 means scrambling where a rope might be carried. That step from occasional hands to possible rope use is a major warning for a hiker who did not plan a climb.
The number does not show every consequence. A short Class 2 boulder step above flat ground may feel easier than a narrow Class 2 ledge above a steep gully.
Exposure, loose rock, route finding, and the ability to reverse the move all change the real decision.
Ratings also vary by author, region, direction, and conditions.
A route described in ascent may be awkward on the return. Dry textured rock may become unsafe with rain, frost, sand, or worn shoe tread.
Read the full route description and recent official conditions.
Look for words such as exposure, no-fall terrain, loose rock, route finding, ledges, downclimbing, and fall consequence. One of those details can matter more than the class number.
When the approach leaves a marked trail, a map and compass bearing must still agree with visible terrain before the group commits to the rocky line.
Compare the description with every person in the group.
Height, reach, experience, pack size, and comfort with exposure change how a move feels. The rating does not average those differences away.
If a description says a rope may be needed, a fall could be fatal, or retreat requires climbing skill, treat the route as climbing. Training and proper equipment must come before the trip, not appear as an improvised solution halfway up.
The number is only a clue. The ground, conditions, consequence, and return decide whether the move fits your hike.
How should you test rock before trusting it?
Test the rock lightly before you weight it. Press with a boot, tap with a hand, and look for cracks, stacked flakes, hollow sounds, wet lichen, gravel on slab, or blocks that shift under gentle pressure.
- Stop below the moveLook for the easiest line, the downclimb, and the runout.
- Test foot placementsPress before loading and avoid tilted plates that can roll.
- Test handholdsPull gently down and in, not outward on loose flakes.
- Keep three pointsMove one hand or foot while the other three stay stable.
- Downclimb one moveProve you can reverse the section before adding height.
The National Park Service Joshua Tree scrambling guidance warns against loose or wobbly rocks because they can cause falls or rockslides. That warning applies to small blocks as much as big dramatic holds.
Pack fit matters. A loose pack swings backward when you lean, catches in cracks, and changes balance on downclimbs.
If the pack is too heavy to keep close, solve the heavy daypack problem before the scramble.
Test before trust because the easiest-looking hold may be the one that moves.
Footwear and pack weight show up quickly on rock. Practice controlled switchback descents before the trip so tired downhill legs do not arrive at the hands-on section without control.
Hand size, shoe rubber, and confidence vary between hikers. A hold that feels obvious to one person may be useless to another, which is why each hiker must test the move instead of copying the person ahead.
Exposure changes the decision, not the difficulty
Exposure means the consequence of a fall is high. It may be a cliff, steep gully, fast water, cactus slope, or a long tumble zone.
The hand move may be technically easy and still not belong in a casual hike because the penalty is too high.
Groups need an even lower threshold. One confident hiker can pressure everyone else into a move that only one person wants.
Use the least confident person as the real standard.
Weather changes exposure fast.
Dry sandstone, granite, limestone, and volcanic rock all behave differently when wet, icy, sandy, or hot enough to make hands sweaty. If a storm is building, a low-light hike plan still needs daylight for the descent.
Exposure also changes group behavior. A group hiking pace that works on dirt may fail when one hiker needs time to downclimb, so agree that waiting is part of the scramble.
If one person needs coaching on every move, stop before the route adds height. Coaching can help someone find a foot, but it should not become the system that keeps the group moving upward.
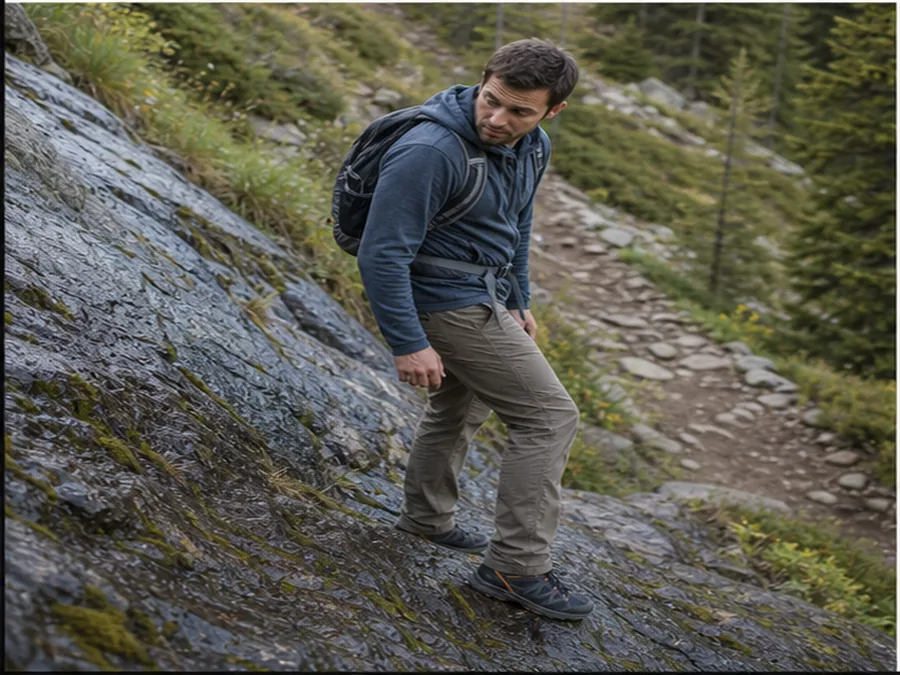
How should your body move on a low scramble?
Good scrambling looks uneventful.
Hips stay near the rock, feet move before hands pull, and each hand or foot shift is small. The goal is not to make a dramatic move.
It is to avoid needing one.
Feet before hands
Use hands to steady balance while shoes carry most of the weight.
One move at a time
Move a single limb while the other three contact points stay reliable.
Face in when needed
Downclimb steep steps facing the rock if that gives better control.
No jumping
Jumping turns a controlled descent into a landing problem.
Rest on stances
Pause where both feet can stand without hand tension.
Hands can distract from footwork.
Look for the next two footholds before you grab higher. A high handhold often pulls your weight away from the rock, while a lower palm press keeps balance centered.
If your breathing gets rushed, pause before the next move. Scrambling while panicked makes you skip testing and overgrip.
Hot rock can make hands sweaty and judgment impatient. If the scramble is exposed, combine the decision with hot-weather hiking timing and avoid making the hardest move in the hottest hour.
Good conditions can change during the same hike. A dry step in the morning may hold dust, sweat, or rain by the return, so judge the downclimb you have now, not the rock you climbed earlier.
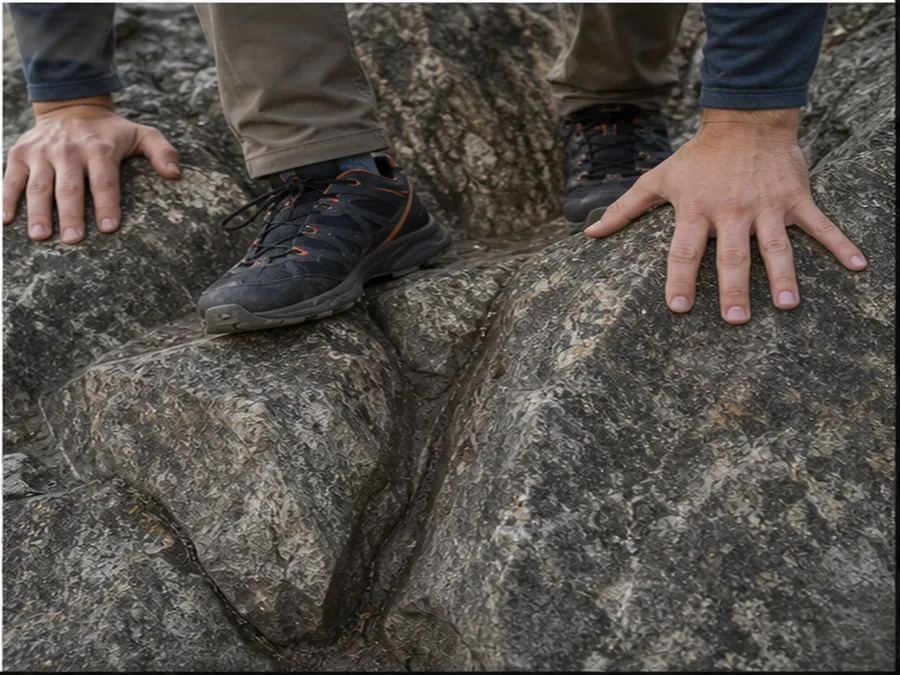
How do you downclimb from a stable stance?
Stop on the last stable stance before lowering a foot out of sight. Keep both hands and the standing foot secure, then bring your hips close to the rock so the searching leg can move without pulling your body away.
Face the rock when the step is steep enough that turning outward hides the holds or pushes your weight downhill. Look beside your hip or under one arm.
A small change in head position can reveal the ledge without twisting the torso.
Lower one foot slowly and feel for a broad surface with the inside or toe of the boot.
Do not scrape blindly until the foot catches something. Test the ledge before transferring weight, just as you tested it on the way up.
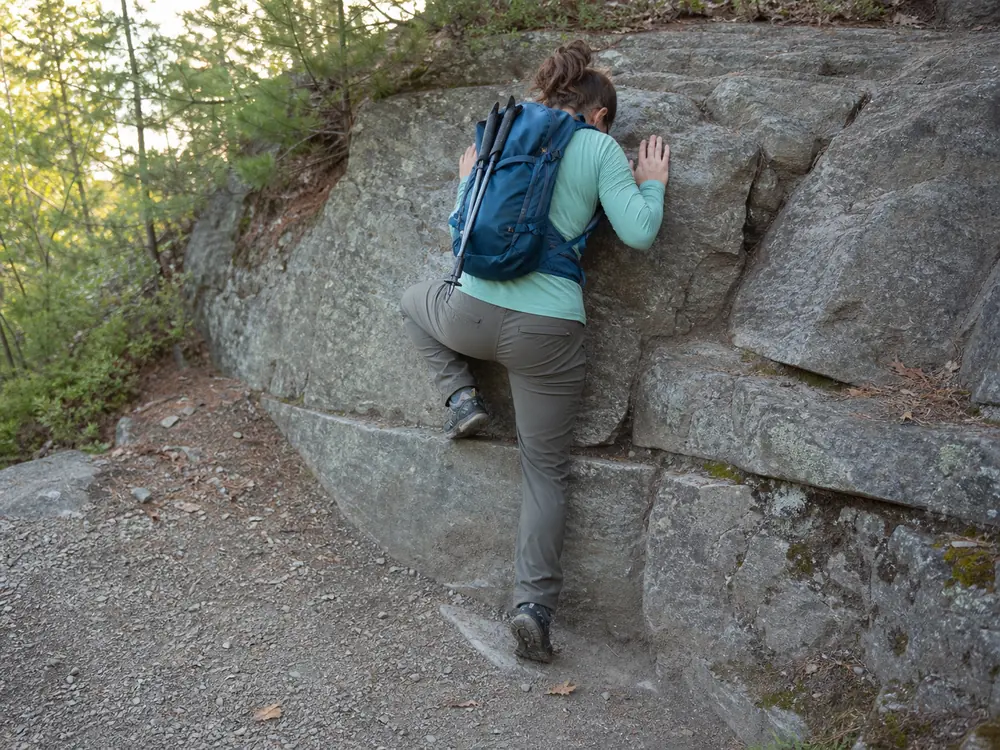
A partner on stable ground can describe the foothold with simple directions such as six inches lower or beside your right ankle. The partner should not pull the moving person or stand where a slip would land on them.
Keep the pack close and straps contained.
A loose bottle, pole, or dangling strap can catch as the body lowers. Stow poles before the first hands-on move if the downclimb will need both hands.
If the foot finds only a narrow edge, loose block, or empty space, bring it back to the original stance. Search for another line while all three other contacts still hold.
Do not turn a failed search into a jump.
Long reaches are a warning that the route may not fit your body or hiking ability.
A taller partner's foothold can be unusable for a shorter person. Choose a lower line or retreat instead of stretching until the hands carry all the weight.
Practice this motion close to flat ground. The useful skill is returning the searching foot to safety when the ledge is wrong, not forcing every downclimb to work.
Reset before you drop. A foothold you cannot find under control is not a foothold you should trust.
When should you turn around on a scramble?
A good turnaround happens while the retreat is still simple. Waiting until the group is above the hard move makes the decision harder, not more informed.
- Turn around if the rock is wet, icy, sandy over slab, or moving under gentle pressure.
- Turn around if the move requires a jump, blind reach, or hard arm pull.
- Turn around if anyone cannot downclimb the last move calmly.
- Turn around if a fall would carry into exposure, water, or another person.
- Turn around if weather, daylight, heat, or group pace leaves no margin for descent.
Food, water, and heat affect scrambling judgment.
Shaky legs and sweaty hands can turn an easy step into a bad one. A day-hike snack plan keeps blood sugar steady, and exposed rock is worth avoiding during the hottest part of a summer day.
Scrambling is not a place to prove fitness. It is a place to prove judgment.
The best outcome is often a clean retreat, a safer line, or a different hike that fits the day.
Boring moves are good moves when hands meet rock.
Clothing must let knees and hips move without catching on rock. Choose hiking clothing layers that can be adjusted before the hands-on section instead of while you are balanced on a small stance.
Loose rock below a scramble deserves its own rule. Keep the approach line clear of people so a slip does not start before the hands-on section begins.
The strongest hiker should not spot from directly below unless the fall line is clean and the move is very low. A better helper talks from a stable stance, keeps the landing clear, and accepts an early retreat.
How do you help a frozen partner retreat?
Stop the whole group when a person freezes on rock.
Do not tell them to hurry, and do not let several people shout different instructions. Pressure narrows attention and can make a stable stance feel impossible.
Ask the person to keep every secure contact in place and take one slow breath. Identify whether they can stand without pulling hard on their hands.
A stable pause is progress because it stops the next rushed move.
Choose one calm communicator.
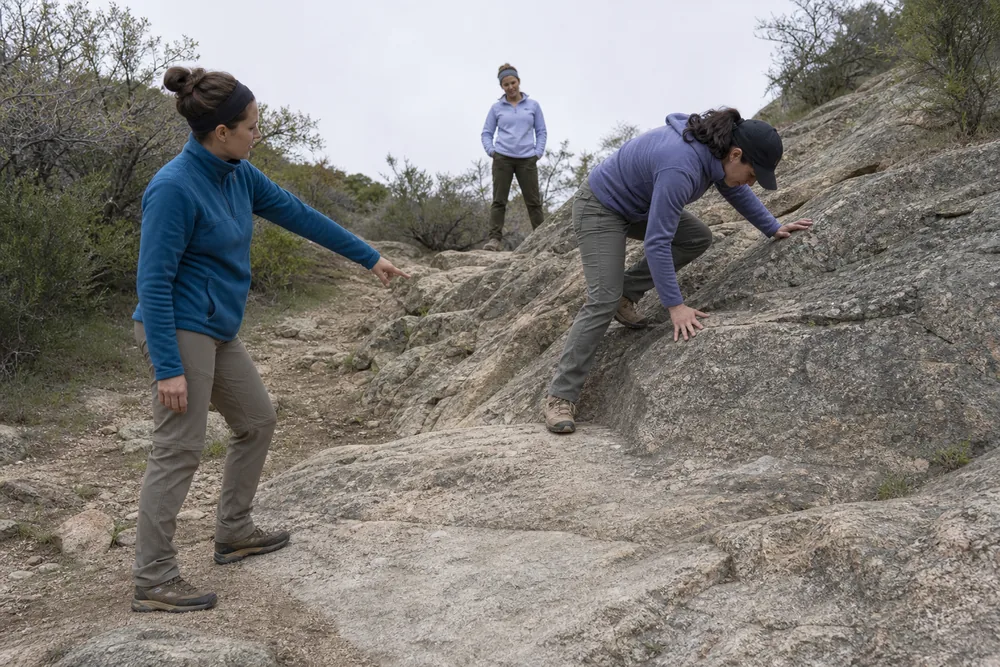
Give one physical instruction at a time, such as move the right foot back to the last ledge. Wait for that movement to finish before naming another hand or foot.
The first goal is usually the last stable stance, not the next high point. Reverse the most recent move if it can be done calmly.
Once the person is on broad ground, the group can rest, change the route, or turn around.
Keep everyone else out of the fall line.
One capable partner may watch from a protected stance, but crowding directly below adds another person to the hazard. A stronger hiker cannot safely catch a falling adult from an exposed position.
Do not invent a rope solution with gear or skills the group does not have. A route that now requires a belay, anchor, or lowering system has crossed out of hiking.
Improvised equipment can create a second emergency.
Call emergency services when the person cannot move to safety, is injured, is losing strength, or remains stranded in exposed terrain.
Report the route, nearest landmark, group size, condition, weather, and available communication. Continue only the safe actions the dispatcher recommends.
A written plan built around hiking safety decisions gives the emergency contact the route and overdue time before the group loses service.
After retreat, do not try the same move again because embarrassment is high. Review what caused the stop, including reach, exposure, pack balance, wet rock, fatigue, or route difficulty.
Choose ground that every person can reverse.
One voice and one move help a stuck hiker regain control without pushing the group farther into danger.
Practice the downclimb before you need it
A scramble is only as safe as the return. Many hikers climb up a short step because upward movement feels natural, then freeze when the same move has to be reversed.
Test the downclimb early while the ground is still close.
Pick one easy move and climb back down it before continuing.
Notice whether you can see your feet, keep three points of contact, and lower one foot without guessing. If that small move feels awkward, the bigger move above will not be a better test.
| Downclimb signal | What it means | Better choice |
|---|---|---|
| Cannot see foothold | Body is too high or pack blocks movement | Face in and reset, or retreat |
| Hands pull hard | Feet are not carrying weight | Find a lower line or stop |
| Pack swings | Load is changing balance | Tighten straps or remove the move |
| Group waits below | Fall line is occupied | Move one at a time |
A real turnaround feels calm. You step down one move at a time, then walk away without needing a rescue from someone above you.
If retreat depends on a stronger hiker coaching every foot placement, the group has already gone too far.
Practice also shows whether poles should be stowed.
Poles that helped on the approach may block hand placement on rock. If both hands are needed, pack the poles before the move starts.
If heat, hunger, or altitude has made your hands shaky, do not use the scramble to prove you can still continue. A measured water plan helps prevent an avoidable deficit, but shaking on the move is still a reason to retreat.
Downclimb first because the return is part of the same scramble.
Sources
The National Park Service scrambling guidance for Joshua Tree supports testing rock stability and keeping three points of contact.
The National Park Service Black Canyon route information describes steep scrambles with loose rock as physically demanding wilderness terrain.
The USDA Forest Service safety guidance supports staying on designated trails, watching footing, carrying food and water, and being ready for changing weather. The National Park Service climbing safety guidance supports matching skills and equipment to the route, clear group communication, route knowledge, and a turnaround plan.
The Rocky Mountain National Park climbing strategy provides the broad Yosemite Decimal System class descriptions used here.
Step by stepPractical steps
- Stop below the rocky move and identify the easiest line and downclimb.
- Test each handhold and foothold before trusting it.
- Keep three points of contact and move one limb at a time.
- Downclimb one move early to prove the retreat is possible.
- Back off if exposure, weather, pack balance, or group confidence removes the margin.
AnswersQuestions readers ask
What is scrambling in hiking?
Scrambling is hands-and-feet movement on rocky terrain where hands help balance, but the terrain is still low enough and reversible enough to fit a hike.
What is the three-point contact rule?
Keep three stable contact points with the rock while moving the fourth hand or foot. This works only when the holds and footholds are stable.
Should I scramble wet rock?
Avoid wet rock when the slab is smooth, mossy, icy, sandy, or exposed. Wet texture can remove friction and make downclimbing much harder.
How do I know when to turn around while scrambling?
Turn around if you cannot downclimb calmly, the rock moves, the move requires a jump or hard pull, exposure appears, weather changes, or anyone is no longer comfortable.
Do trekking poles help while scrambling?
Poles help on the approach and on loose hiking terrain, but they can get in the way when both hands are needed on rock. Stow them before the scramble.