
How Should You Place Your Feet When Descending Switchbacks?
Descend switchbacks with short steps, weight over your feet, and braking done before the corner, so the tread survives and your knees still work at the trailhead.
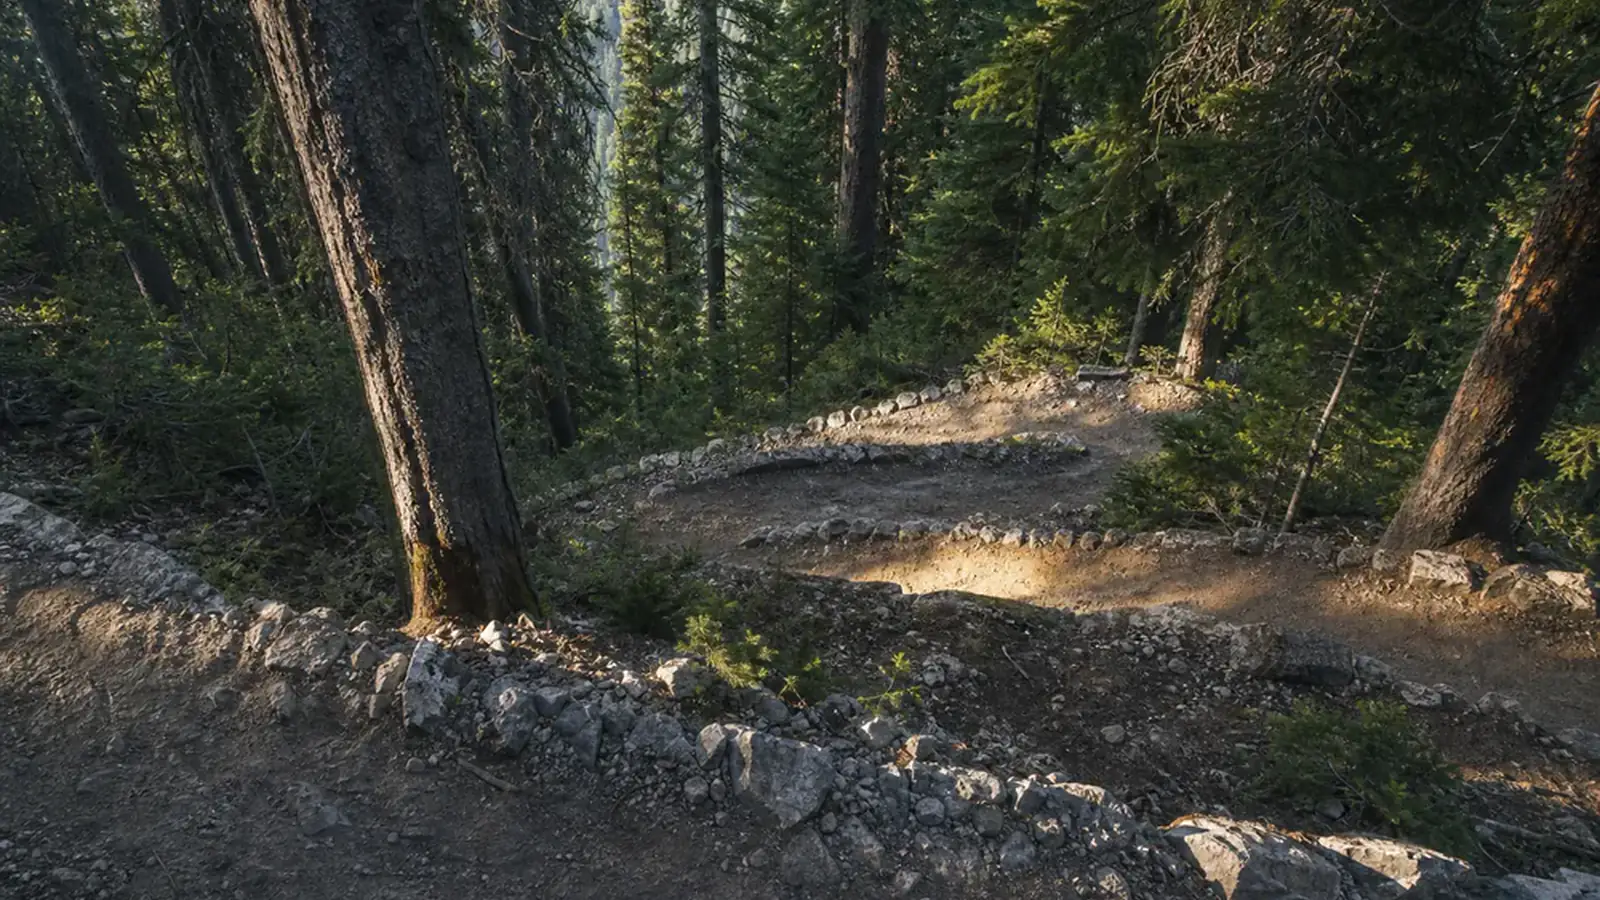
Control a switchback descent through stride length, body position, corner discipline, and staying on the built tread.
Switchbacks turn a slope that is too steep to walk into something a hiker can manage. The descent is where that design gets tested, and most people lose control at the corner rather than on the straight sections between them.
The fix is unglamorous. Shorten your stride, keep your weight stacked over your feet, stay on the built tread through the turn, and do your braking before the corner instead of inside it.
Travel and camp on durable surfaces.
Leave No Trace, Principle 2
On a switchback that principle has a narrow meaning. The durable surface is the constructed tread, and the corner is the exact place where hikers step off it.
What goes wrong on a switchback descent?
Four mistakes cause most switchback trouble, and they feed each other. A hiker reaches downhill with a straight leg, lands on the heel, skids, then grabs the inside of the corner to recover.
Reaching with a straight leg is the root error. A locked knee cannot absorb anything, so the landing force travels into the joint and the foot slides forward on the tread.
Keeping a soft bend in the knee turns your leg into a spring instead of a post.
Heel-jamming follows from the same reach.
When the heel strikes first and well ahead of your hips, the sole has almost no contact area and the lugs cannot bite. Planting the whole foot under your body puts the entire tread pattern to work.
The third mistake is braking inside the turn. A corner is the least stable ground on the descent because the tread narrows, the camber tilts, and loose material collects there.
Speed you have not already shed becomes speed you must lose on the worst surface available.
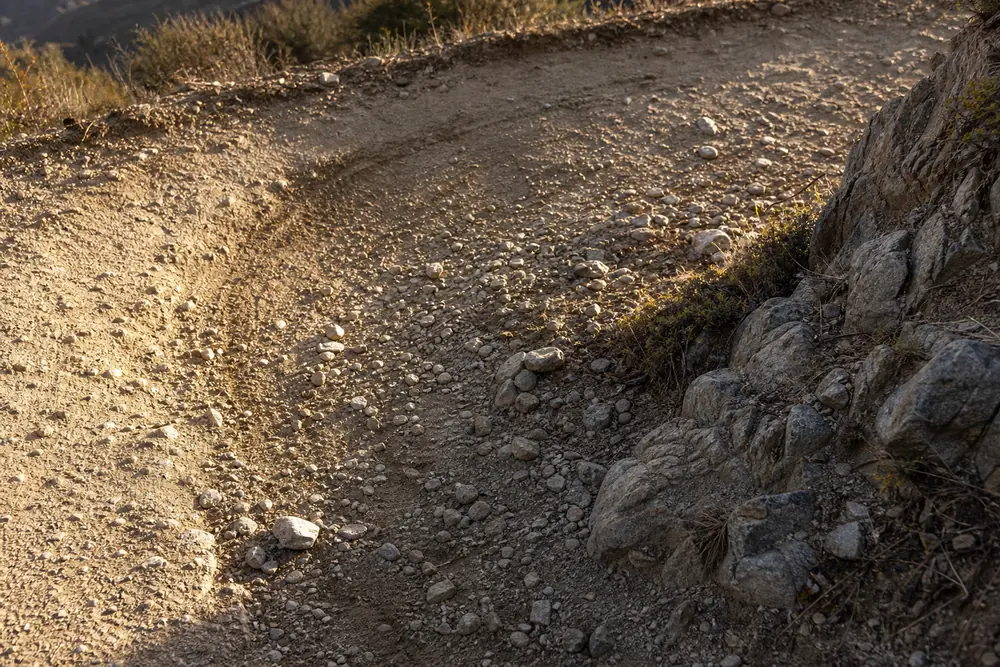
Cutting the corner is the fourth, and it is the only one that damages something other than you.
These four show up again and again in the most frequent hiking errors, and they cluster heavily in the last hour of the day.
Descents feel easier than they are, which is part of the problem.
Your lungs and heart recover on the way down while your legs take more punishment than they did on the climb, so perceived effort drops at the exact moment mechanical load rises. Hikers read that drop as permission to speed up.
- Reaching downhill with a locked knee instead of stepping under your hips - Landing heel-first far ahead of your center of mass - Arriving at the corner faster than you can hold it - Stepping off the tread to shave the turn
Which foot placement holds the corner?
The outside of the turn is where you want to be. Trail crews build the widest, best-drained, most reinforced section there, and the inside of the corner is where water sits and material washes out.
Take the corner in small steps rather than one long pivot. Two or three short placements let you keep both feet under your hips through the direction change, while a single sweeping step forces a moment where all your weight sits on one edged foot on tilted ground.
- Slow before the turnShed speed on the straight section while the tread is still wide and predictable.
- Move to the outsideAim for the outer third of the corner where the surface is widest and best supported.
- Plant the whole footSet the sole flat with your hips over it, knee soft, rather than reaching downhill.
- Break the turn into stepsUse two or three short placements to change direction instead of one long pivot.
- Reset on the straightRecover your rhythm and speed on the section below before the next corner.
Foot angle matters more than most hikers expect. Turning your toes slightly toward the outside of the corner lets the full lug pattern contact the tread instead of only the inside edge of the sole, which is the part that skates.
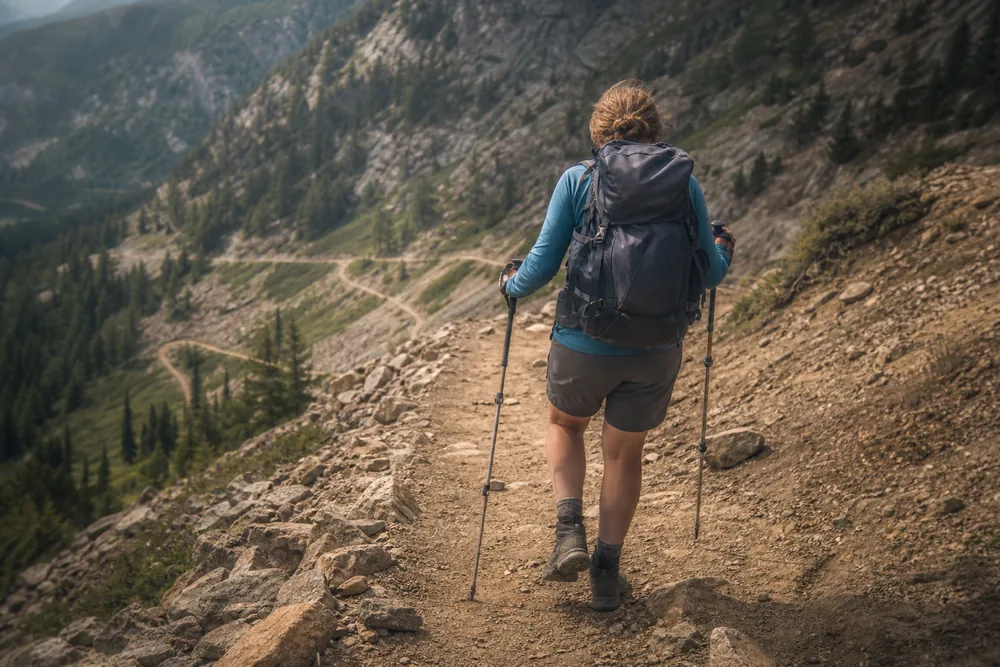
Poles need a length change before the descent, not during it. Extending them by roughly five to ten centimetres from your climbing length lets you plant on ground that sits below your feet without dropping your shoulder to reach it, and a pole you have to reach for is a pole that pulls you off balance.
Plant timing matters more than plant force.
The pole should touch down slightly ahead and to the side as your weight begins to transfer, giving you a third contact point during the moment one foot is in the air. Stabbing the pole after you have already committed your weight does nothing except tire your arms.
Carrying them at all is a packing decision worth making before you leave, and a sensible hiking kit list treats poles as descent equipment rather than climbing equipment.
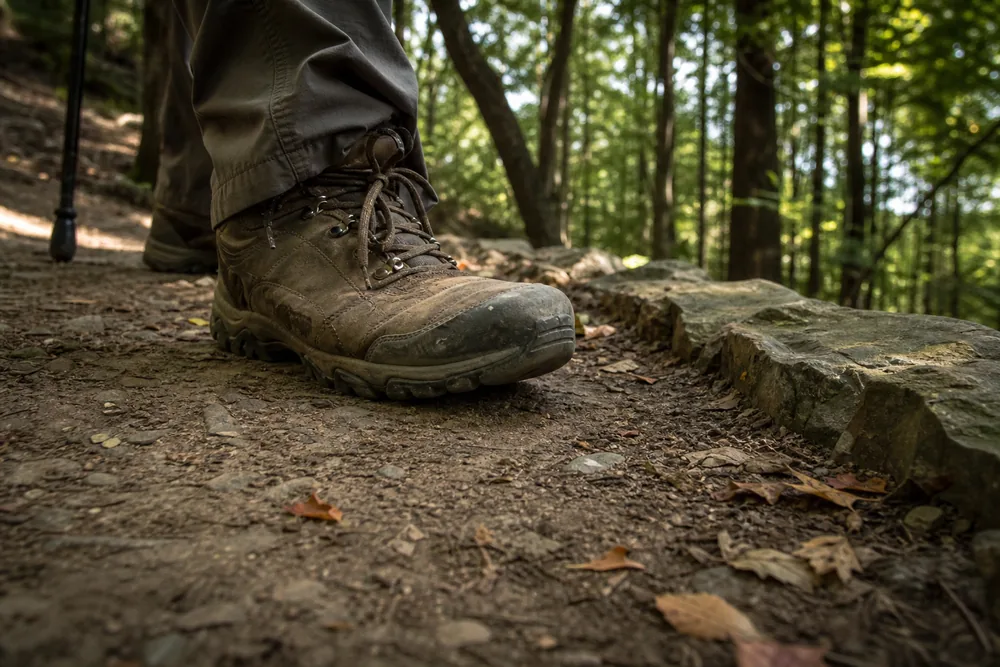
On tight corners, a short pause is faster than a slip. Stopping for a moment at the apex costs a second or two, while recovering from a slide costs balance, skin, and sometimes the rest of the day.
Why Should You Never Cut a Switchback Corner?
A cut switchback saves a few steps and starts a problem that outlasts everyone who used it. Water follows the path of least resistance, and a boot-scuffed line straight down the fall line is exactly that.
Once water runs down the shortcut it strips the loose material first, then cuts a channel, then undermines the tread on the corner above. Trail crews end up rebuilding the corner rather than maintaining it, and on popular trails that repair competes with everything else on the maintenance list.
The shortcut is also worse hiking. It is steeper than the built grade, it has no drainage, and it collects the debris that washed out of it, so the surface underfoot is looser every season.
Some trails have a visible cut already. Using it because it exists is how a faint scuff becomes a channel, and reporting it to the land manager does more good than following it.
Can you read a corner before you step on it?
Yes, and it takes about two seconds. Trail crews leave visible clues about how a corner drains and how much traffic it has absorbed, and those clues tell you where to put your feet.
Look for the drain first. A well-built corner sheds water off the outside edge, often through a rock-lined outlet or a shallow dip you can see from above.
When that outlet is working the tread stays firm and the apex is walkable at normal speed.
A corner in trouble looks different. The apex is dished and darker because water sits there, the outer edge has slumped or lost its retaining rock, and a faint scuff line runs off the inside toward the trail below.
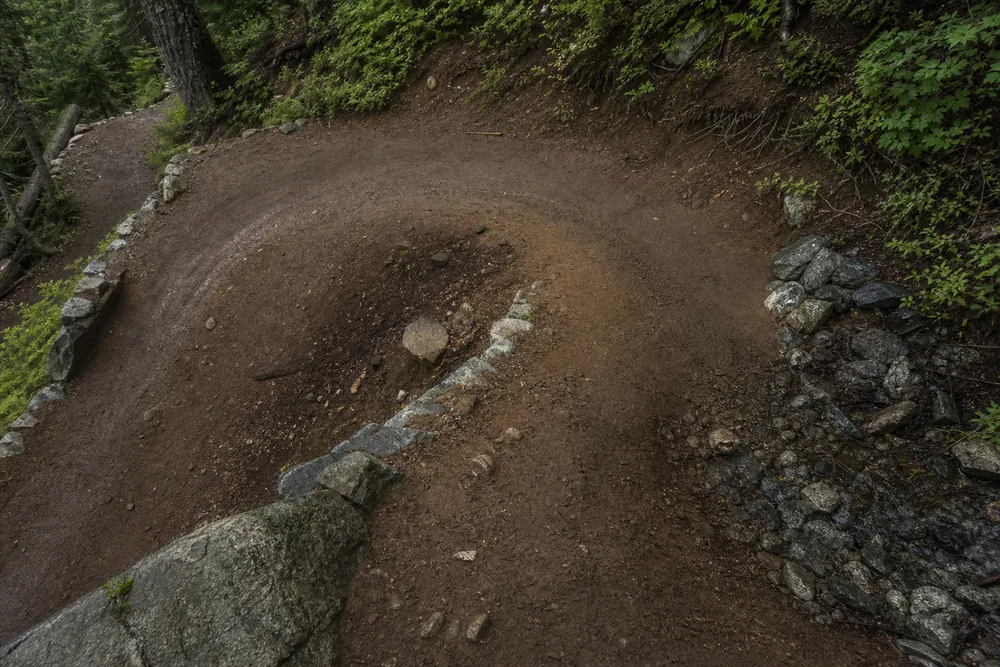
- A visible drainage outlet on the outside edge means the corner is likely firm - A dished, darker apex means standing water and a slick low point - Slumped or missing edge rock means the outer third may not hold your weight - A scuff line running down the fall line marks an active shortcut and unstable ground - Exposed roots crossing the tread mean soil has already washed away around them
Braided corners deserve extra caution. When you see two or three parallel lines through a turn, earlier hikers have already abandoned the original tread, and the newest line is usually the loosest and least supported of them.
Pick the one that leads back to the built outer edge rather than the one that looks most walked.
How much of this you face at all is settled earlier, because trail gradient choices decide how many corners the return holds.
Read the corner from above while you still have options. Once you are three steps into the turn, the only choice left is how carefully you finish it.
How do you keep your knees working for a long descent?
Descending loads your quadriceps while the muscle lengthens under tension. That kind of contraction produces more soreness and more temporary strength loss than the climb did, which is why the pain often arrives the next morning rather than on the trail.
Step length is the lever you control. Two short steps split a drop across two landings, and each one lands closer to your center of mass, so neither knee takes the full height at once.
| Situation | What it does to your knees | The adjustment |
|---|---|---|
| Long straight descent | Repetitive loading at one fixed rhythm | Vary stride length every few minutes and switch the lead foot |
| Steep tight corners | High force on one edged foot | Two or three short steps through the apex |
| Heavy pack | Adds load to every landing | Tighten the hipbelt so weight sits on your hips, not your shoulders |
| End of a long day | Tired quads stop absorbing landings | Slow down deliberately before technique degrades |
| Wet or polished tread | Sudden slips add unplanned shock loads | Shorten steps and plant flatter |
Pack weight changes the arithmetic.
A load that felt reasonable on the climb pushes harder on every downhill landing, and a hipbelt that has crept loose during the day sends that weight into your shoulders and then into your stride. A well set pack load transfer keeps the mass where your legs can manage it, and hikers moving with a heavier daypack setup feel the difference on the corners first.
Footwear setup does quiet work here. On a long descent your foot slides forward inside the boot on every step, which jams your toes into the front and bruises the nails, and it also lets your heel lift so the sole loses its grip on the tread.
Lacing tightly across the ankle with a heel-lock finish holds the foot back in the boot and fixes both problems at once.
Re-lace at the top rather than at the bottom.
Boots that felt right on the climb are usually too loose for the descent, and the two minutes it costs at the high point saves the toenails and the skidding. Getting the rest of the kit right before you leave is covered in a standard day hike gear list.
Strength built before the trip helps more than anything you can do on the descent itself. Controlled step-downs and slow squats train the same lengthening contraction, and a few weeks of downhill-specific conditioning changes how the last mile feels.
Food and water matter here too, because a tired hiker stops picking good foot placements. Steady trail eating habits keep the decision-making sharp through the part of the day when most descent injuries happen.
Wet, loose, and frozen corners change the rules
Surface conditions do more to a switchback descent than gradient does. The corner apex is the low point of the turn, so it collects the water, the ice, and the ball bearings.
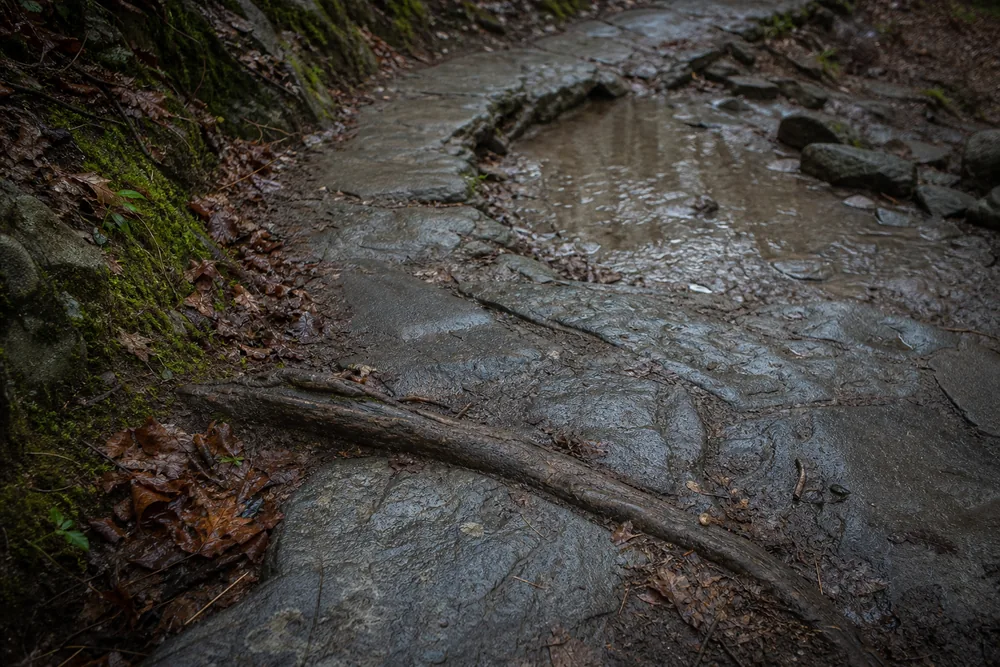
Wet rock and root
Polished stone and exposed root turn slick well before the surrounding dirt does. Plant flat, avoid stepping directly on either, and accept a wider line through the corner.
Loose gravel over hardpan
The classic corner surface. Small stones roll on a firm base, so weight the foot progressively rather than dropping onto it.
Frozen morning tread
Ground that held fine yesterday afternoon can be locked and slick at dawn. Test the first few corners before committing to normal speed.
Deep leaf litter
Leaves hide the tread edge and any rock or hole underneath. Slow down and stay well inside the visible trail line.
Who you are walking with changes the corner too.
Children take proportionally longer steps for their leg length and have less strength to absorb a landing, so they skid at corners adults walk through without noticing, and the pacing adjustments in a hiking plan for children matter most on the way down. Dogs create a different problem, because a leashed dog that surges at the apex can pull a hiker off the outside edge at the exact moment their weight is committed to one foot.
Rain changes the whole descent, not just the corners, because visibility drops and your reaction time with it. The broader habits in a wet-weather hiking plan apply directly to how early you should start braking.
Frozen and snow-covered corners belong to a different skill set. Once the tread holds ice, traction devices and cold-season route judgment matter more than footwork does.
Loose rock deserves its own distinction. A switchback cut into stable dirt behaves differently from a slope of moving stone, and loose-rock hiking technique covers the surfaces where the ground itself travels with you.
When should you stop trusting the descent?
Most switchback incidents happen late, on ground the hiker already walked up without trouble. Fatigue, fading light, and the urge to reach the car do more damage than technical difficulty.
A slip on a switchback rarely stays minor. The fall line below the corner is steep by definition, so a hiker who loses footing at the apex slides rather than simply sits down, and the injuries that follow tend to be ankles caught against rock, wrists taken while trying to arrest the slide, and skin lost on the tread.
None of those end a trip on their own, but all of them make the remaining descent slower and less controlled than the one that caused them.
The signal to slow down is technique, not terrain. Once you notice yourself reaching, skidding, or grabbing at vegetation, the margin is already gone.
- Your steps are getting longer without you deciding to lengthen them
- You are landing heel-first and hearing the skid
- You have started using trailside plants or rocks for balance
- Headlamp light is flattening the tread and hiding the corner edges
- The group has spread out and nobody can see the slowest hiker
- Your quads are shaking on the straight sections
Group spacing changes what a corner costs. A hiker who slips on a switchback lands on the tread below, which is where the next person in line is standing if the group has bunched up.
Keeping spacing on the descent gives everyone a place to fall that is not into someone else.
Daylight is the constraint people misjudge most. Descents feel faster than they are, and a switchback section that took forty minutes to climb rarely takes half that going down once corners are being taken carefully.
Descending switchbacks after dark is a different job.
A headlamp flattens the tread and washes out the shadows that normally show you where the edge is, so corners arrive with less warning than they do in daylight. Angling the beam lower and slightly across the trail restores some of that texture, and slowing to a deliberate walk costs far less than a misjudged apex.
Hikers moving alone should be stricter still, because the margins described in a solo hiking plan shrink once nobody is behind you to notice a fall.
If conditions have genuinely turned, the descent is a decision rather than a formality. The judgment calls in a hiking safety plan apply the same way on the way down as they do at the high point.
Sources
- Leave No Trace Center for Outdoor Ethics, Principle 2: Travel and Camp on Durable Surfaces - U.S. Forest Service trail maintenance guidance on drainage, tread erosion, and shortcut damage
Step by stepPractical steps
- Shorten your stride before you reach the corner, not inside it.
- Move to the outside of the turn where the tread is widest and best supported.
- Plant the whole foot with your hips stacked over it instead of reaching downhill with a straight leg.
- Take the corner in two or three small steps rather than one long pivot.
- Reset your speed on the straight section before the next corner arrives.
AnswersQuestions readers ask
Why do my knees hurt more going down than going up?
Descending loads your quadriceps while they lengthen, which produces more muscle damage and soreness than the shortening contractions used on the climb. Shorter steps and a slightly bent knee spread that load across more steps instead of concentrating it in a few hard landings.
Is it ever acceptable to cut a switchback?
No, not on a maintained trail. The shortcut becomes a water channel within a season or two, and the erosion it starts undermines the tread above and below it.
If the corner is blocked or unsafe, step around the obstacle on durable ground and return to the tread immediately.
Do trekking poles actually help on switchback descents?
They help most on the straight sections, where you can plant them ahead and unload the knee. Inside a tight corner they often get in the way, so shorten them slightly, keep them close to your body, and accept that footwork carries the turn.
Should I run or fast-walk the descent to get it over with?
Speed removes your options. A faster descent shortens the time your quads have to recover between landings and leaves less room to react to a loose rock at the corner apex.
Save speed for the runout below the switchbacks if the tread there is clean and open.
What changes when the corners are wet?
Water collects at the inside of the turn where the tread is already lowest, so the apex is usually the slickest point on the whole descent. Move wider, plant flatter, and expect polished rock and exposed root to behave like ice.