
How Do You Read a Topographic Map Before a Hike?
Read the map as terrain, not as a page of brown lines.
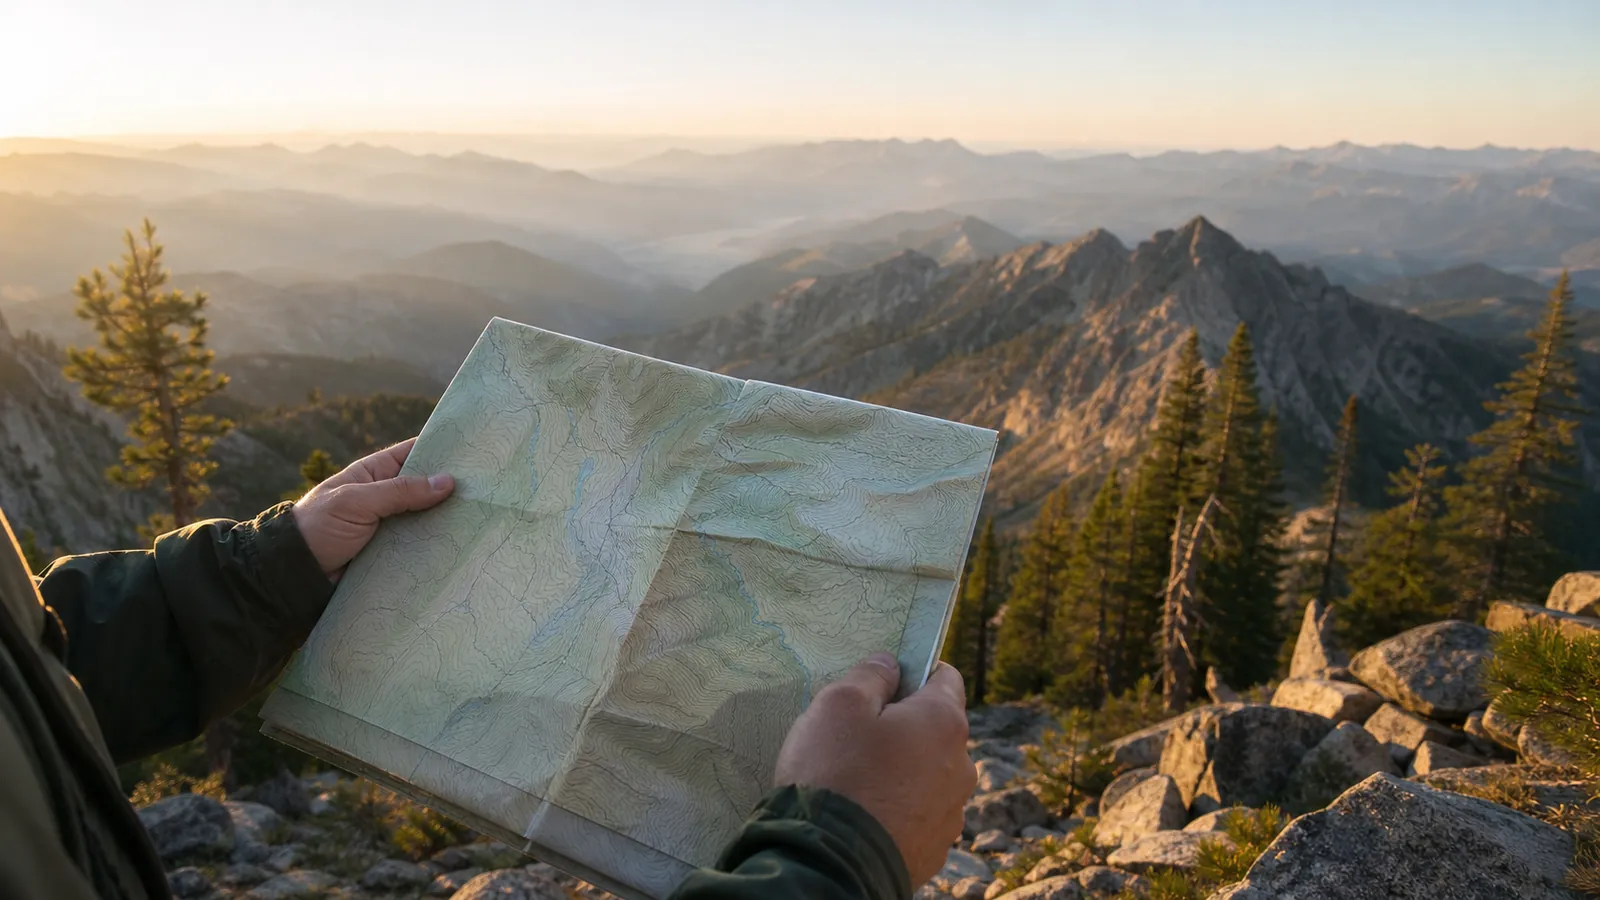
A topographic map becomes useful when you can turn contour shapes into slopes, valleys, ridges, saddles, and a sequence of route decisions. Start with the margin and contour interval, then predict what the ground should look like before you move.
A topographic map is useful before it tells you where the trail goes. It shows what the ground does between the trailhead and the destination, including the climbs, drainages, ridges, saddles, and steep slopes that control effort and route choice.
Two paths can cover the same map distance and demand very different days. The contours explain that difference before your boots touch the ground.
What information does a topographic map actually encode?
Contour lines connect points at the same elevation. If you walked along one contour without climbing or descending, every point beneath you would have the line's elevation.
- Read the margin and legendIdentify the contour interval, scale, grid, datum, revision date, and map-specific symbols
- Scan the contour patternFind the major ridges, drainages, saddles, summits, and steep bands before following the trail
- Trace water and constructed featuresSeparate enduring terrain from roads, bridges, boundaries, and trails that may have changed
- Use scale and coordinates lastMeasure travel and name positions only after the surrounding ground makes sense
Read those layers in that order rather than staring at the colored trail line. The line names a possible route, while the surrounding sheet explains its consequences.
The legend settles the symbol. Blue commonly represents water and black often marks constructed features, but symbol meaning, road class, boundary style, and even contour color can vary between map series.
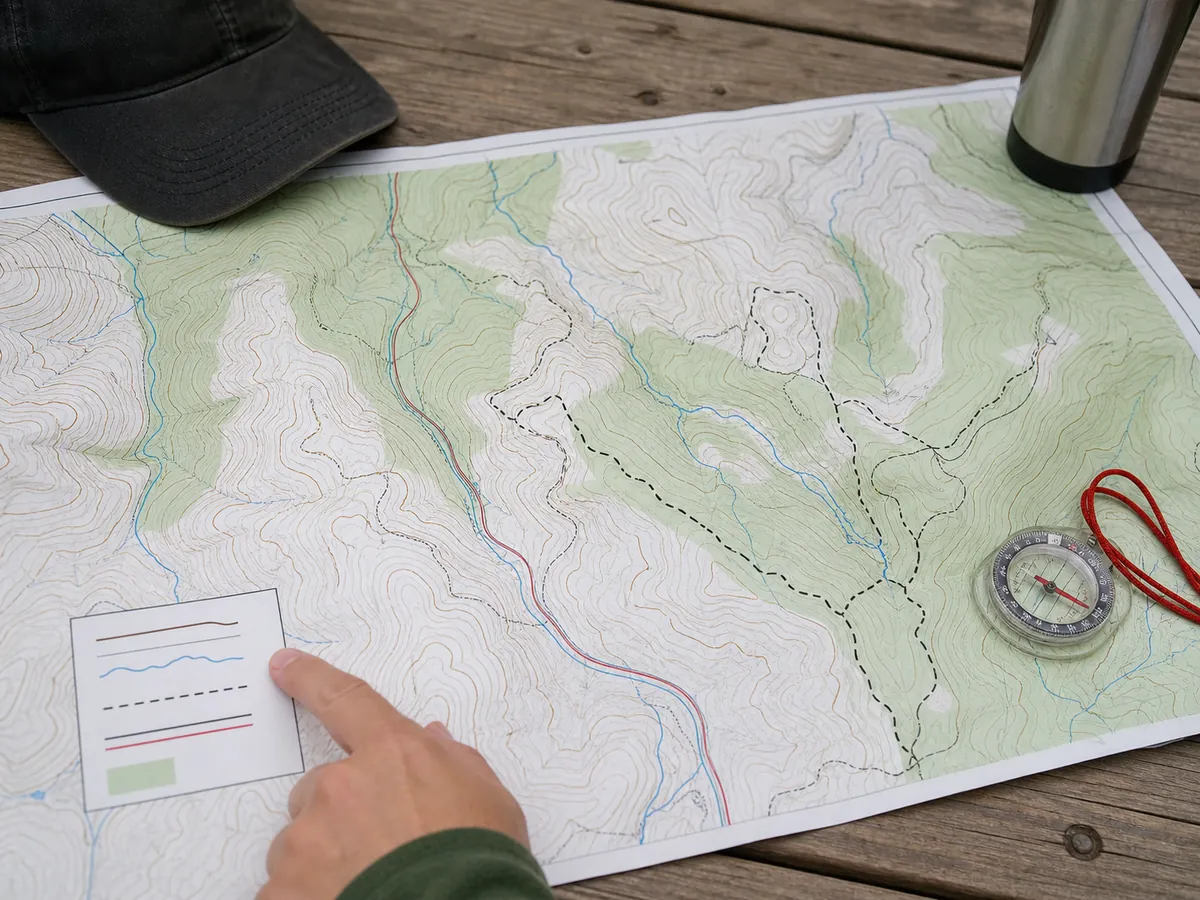
Start each unfamiliar sheet with four questions:
Write the answers in the route notes.
- What is the contour interval? - What scale does the map use? - Which datum and coordinate grid are printed? - When was the map or data layer revised?
The revision date matters because terrain changes slowly while roads, bridges, buildings, and trails can move or disappear. An old sheet may still describe a ridge accurately and misdescribe the access road beneath it.
Boundaries need the same caution. A printed park, wilderness, or private-land line describes the source date, and it does not prove that a gate is open or that camping is currently allowed.
Use the map to identify the authority and area, then verify current access and rules with the land manager before the trip.
Read the margin first. It prevents the most confident kind of map error, which is using a correct symbol or number under the wrong convention.
What is the contour interval on a topographic map?
The contour interval is vertical change, not ground distance. A 40-foot interval means crossing from one line to the next changes elevation by 40 feet, whether those lines sit a quarter inch apart or nearly touch.
The margin states that interval. Thicker index contours carry elevation labels, while the finer intermediate contours preserve each equal vertical step between them.
Index contours are usually thicker and labeled, often at a regular multiple of the interval. Find one labeled index line, move in the direction of the route, and count each intermediate line rather than guessing from the nearest summit number.
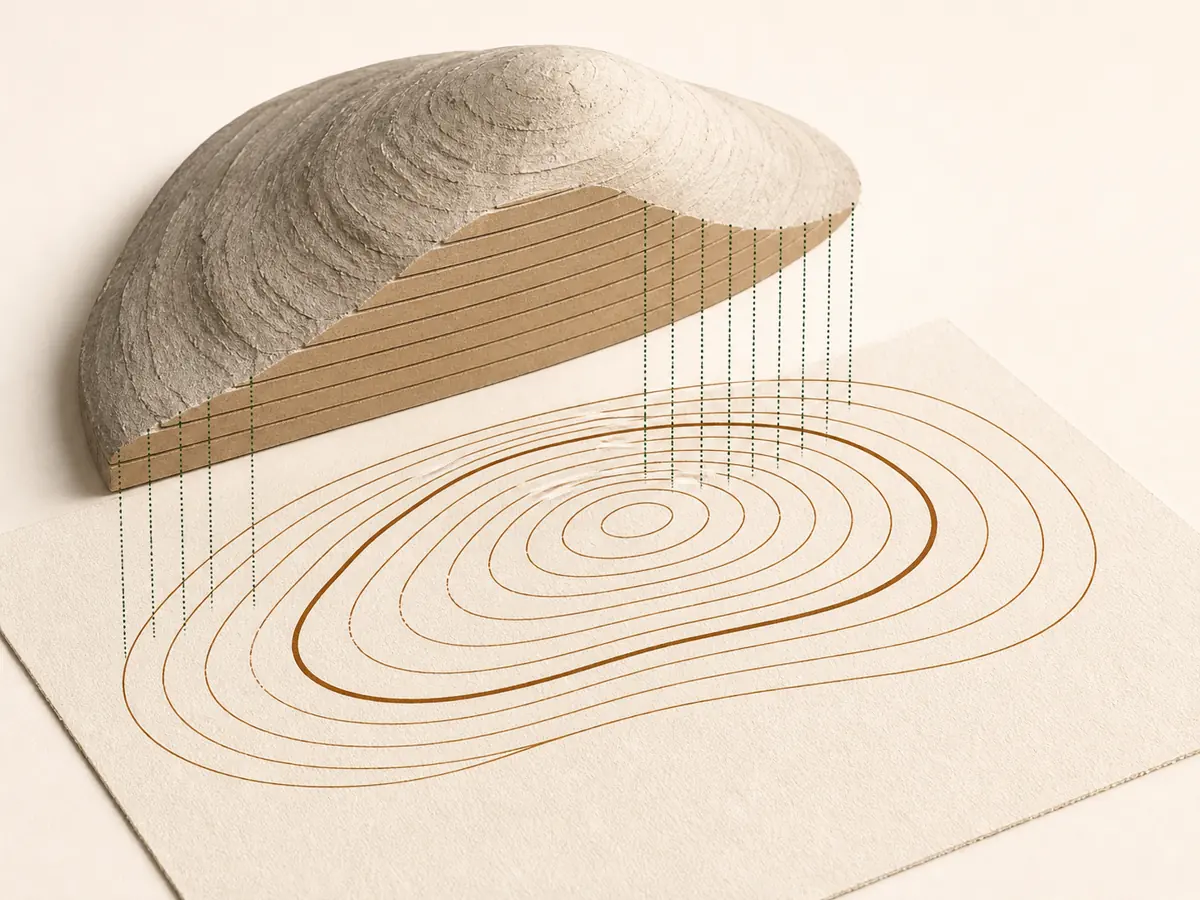
Suppose a route climbs from a labeled 6,000-foot index contour across ten intervals of 40 feet.
Its elevation near the last crossing is about 6,400 feet, although the total trip gain may be higher if the trail descends and climbs again.
That distinction prevents another common mistake. Net elevation change is the difference between start and finish, while cumulative gain adds every climb along the way.
Closed loops normally rise toward a summit when elevation labels increase inward. Short tick marks pointing into a closed loop indicate a depression, so the surrounding elevations must confirm which landform the loop represents.
Contour lines usually do not cross because one ground position normally has one elevation. Lines that appear to merge can represent a vertical cliff, an overhang, or detail compressed by the map scale, and they deserve more caution than a normal steep slope.
Small contour wiggles can disappear on a less detailed map. A shallow gully that matters for route finding may be generalized into a smooth slope, so the map scale limits how literally each bend should be read.
Why do close contour lines mean a steeper slope?
Every adjacent contour represents the same vertical step on one map. When those steps fit into a short horizontal distance, the ground must rise or fall quickly.
Widely spaced lines spread the same elevation changes across more ground.
Spacing predicts grade, not footing. Rocks, brush, snow, and trail condition can still make travel slow.
| Contour pattern | Likely ground shape | Hiking consequence |
|---|---|---|
| Wide, even spacing | Gentle consistent slope | Easier grade and longer horizontal distance |
| Tight, even spacing | Steep consistent slope | Slower descent or climb with greater footing demand |
| Lines tighten uphill | Convex slope that becomes steeper | Upper terrain may hide until late in the climb |
| Lines widen uphill | Concave slope that eases near the top | Lower section may be the hardest part |
| Lines nearly merge | Cliff or extremely steep ground | Route may be exposed or impassable |
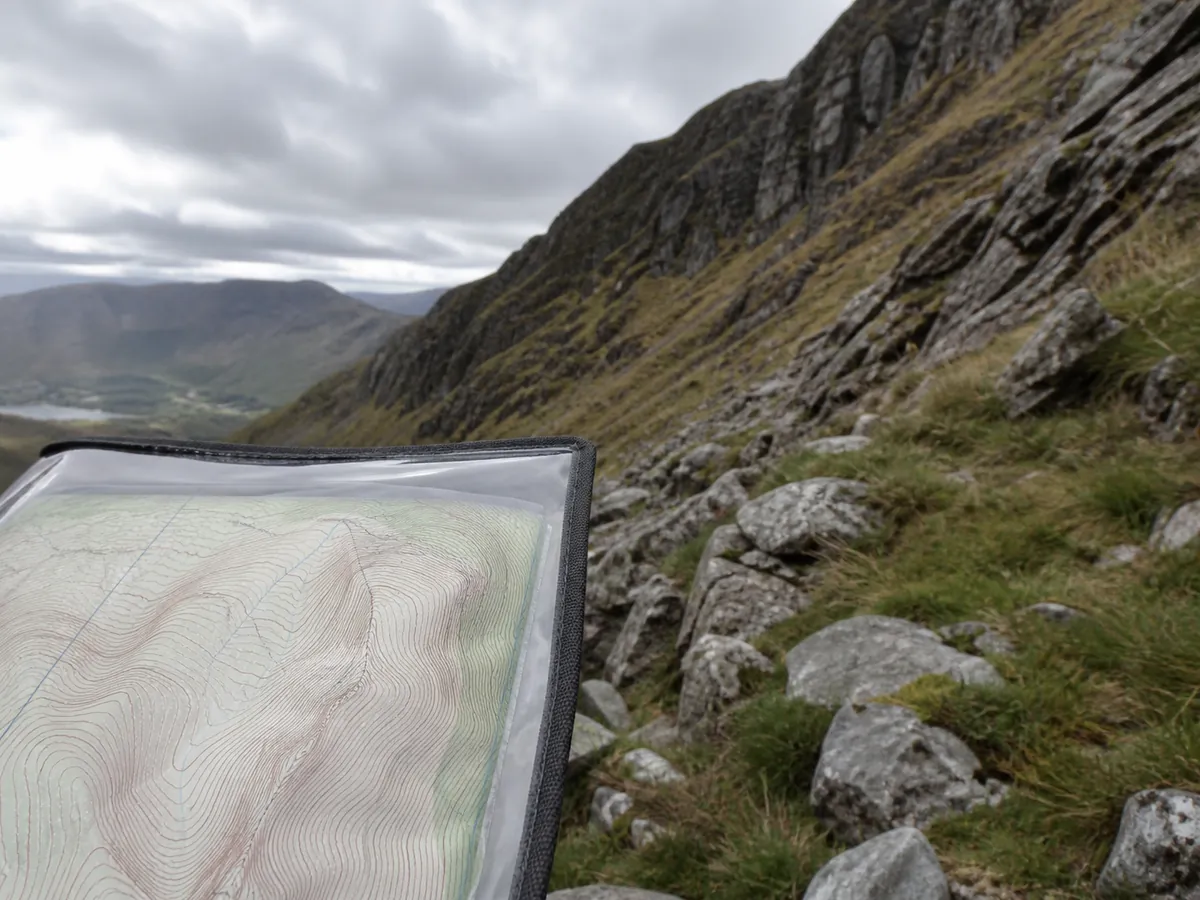
Do not reduce the whole route to one steepest patch. Look for how the pattern changes, because a long moderate descent can tax knees and pace more than a short steep step with secure footing.
Contours also reveal what a trail profile can hide. A route with 1,000 feet of total gain may climb once steadily, or it may cross several drainages and repeat short climbs that interrupt rhythm.
Read the contours across the trail rather than only beneath it. Tight lines below a traverse can indicate a steep fall line, while tight lines above can signal rockfall exposure or a slope with little room to step aside.
The printed trail symbol does not state footing quality. Contours predict the grade and side slope, then current reports or official route descriptions supply surface and maintenance information.
How can you see ridges, valleys, and saddles in contour lines?
Ask where water would flow. In a valley or drainage, contour lines form a V that points toward higher ground, while water runs out through the open end.
A ridge or spur does the opposite. Its contour bends point downhill from higher ground, with lower terrain falling away on both sides.
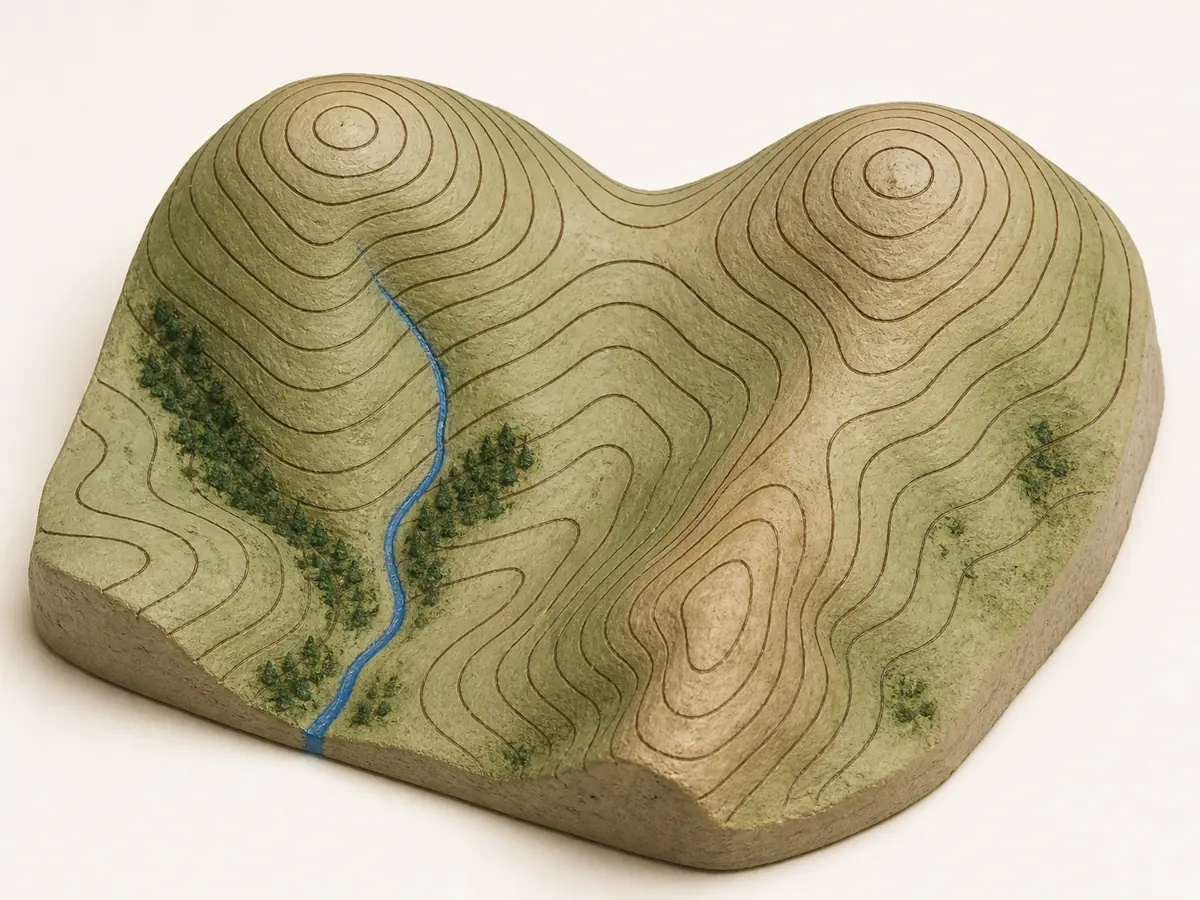
Nested closed contours usually rise toward a summit, while inward hachures distinguish a mapped depression. A saddle joins two high areas and separates two drainages.
It often provides a practical crossing, but tight contours on either approach can still make the climb steep.
Recognizable landforms become navigation features. A broad ridge can guide travel, a major drainage can warn that you have gone too far, and a saddle can give a specific feature to expect before a descent.
Use shape and elevation together. One V without surrounding context may describe a small gully, a ridge nose, or a map generalization that becomes obvious only when neighboring contours are included.
Ridges and drainages also create orientation clues when visibility is partial. Water heard below, a slope falling consistently to one side, or a crest that stays above can support the landform interpretation without identifying an exact coordinate.
Do not use a drainage as a universal escape route. Watercourses can lead into waterfalls, cliffs, dense vegetation, flash-flood channels, and private property even though they eventually reach lower ground.
Which map scale is useful for hiking?
A scale of 1:24,000 means one unit on the map equals 24,000 of the same units on the ground.
One map inch therefore represents 24,000 ground inches, which is 2,000 feet.
Detailed maps answer local questions. Broader maps explain how one valley connects with another and what lies beyond the immediate route.
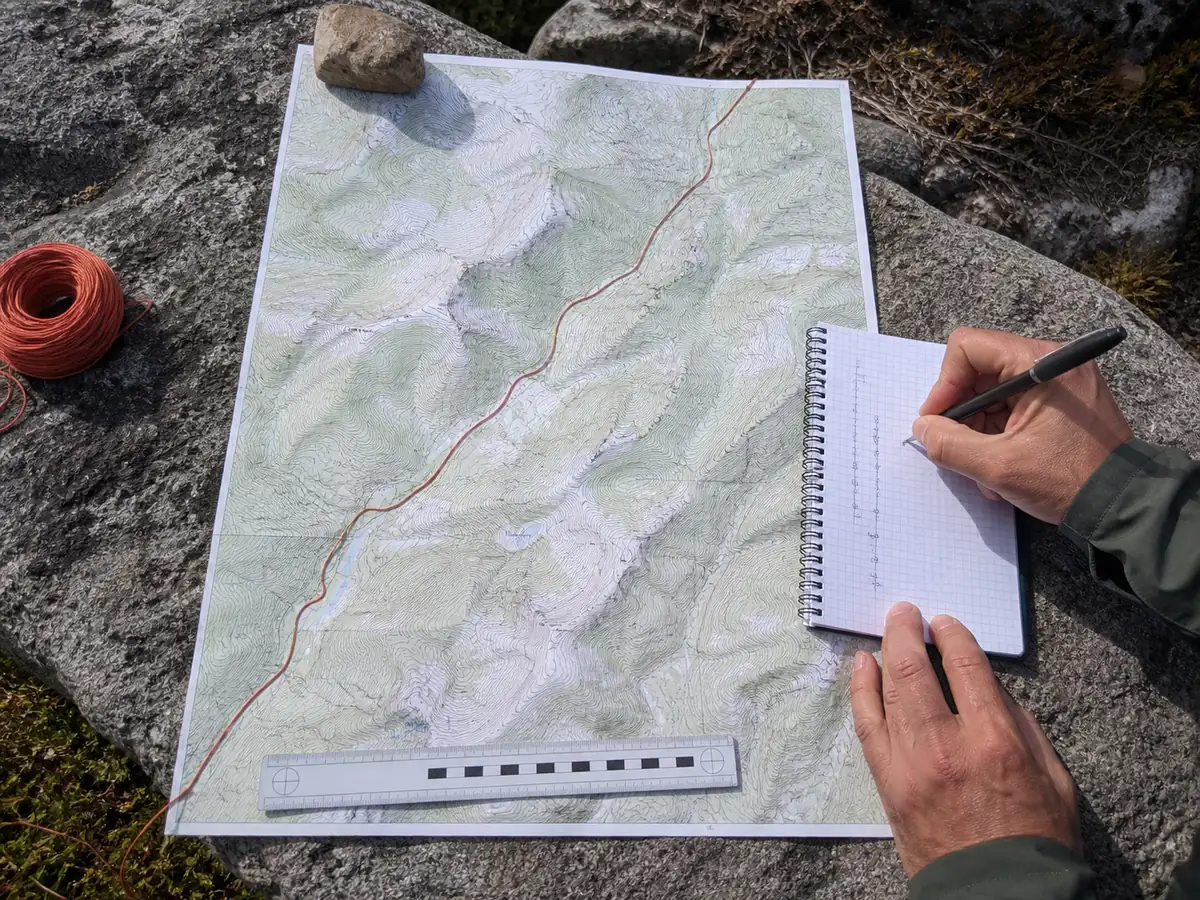
Use the printed bar scale because a digital map may have been resized on screen or in print. A ruler, map wheel, or piece of cord can follow bends more accurately than measuring a straight line.
Then adjust the estimate for what contours say about the day. Two horizontal miles with a sustained climb, rough descent, or repeated drainage crossings are not interchangeable with two flat miles.
Grid references solve a different problem. Scale answers how far, while the grid supplies a repeatable way to name where.
When coordinates will be shared, include the coordinate format and datum. A bare string of digits can be plotted incorrectly if the receiver expects a different system.
North needs a label. The top of a standard USGS sheet is oriented to true north, while a compass responds to magnetic north, and the marginal declination diagram describes the relationship for the map's publication date.
Magnetic declination changes over time and by location. Use a current value when the task moves from reading the map into taking a bearing.
How do you preview a route from its terrain sequence?
Trace the route from the trailhead and name each major landform aloud.
A terrain sequence is more useful than “follow the red line.â€Â
- Trace and name each landformMake the ground shape visible before considering pace
- Count major climbs and descentsFind where effort occurs rather than relying on net elevation
- Mark junctions and catching featuresCreate places where the field must confirm the map
- Inspect barriers and escape directionsNote cliffs, deep water, steep side slopes, and easier retreat terrain
- Estimate each segment separatelyGive steep, rough, or exposed sections their own time allowance
Preview the retreat too. If weather closes the high ridge, the map should reveal whether a lower path actually returns to access or drops into a separate drainage.
Note where retreat becomes harder. Crossing a pass, river, snow slope, or long descent can change the practical cost of turning around even when the straight-line distance remains short.
Use terrain to create time checkpoints rather than borrowing one pace for the whole route. A broad road approach, steep singletrack climb, and talus traverse need separate estimates.
Add transition time where the route forces a real action. Creek crossings, snow equipment changes, complex junctions, water collection, and route verification can consume time without adding much horizontal distance.
The map can reveal where those pauses are likely, but it cannot verify present water depth, snow cover, trail damage, or vegetation. Those current conditions require a fresh official source or recent field report.
The preview is complete when you can answer these questions:
- Which feature should appear next? - Where is the steepest sustained ground? - What obvious feature would reveal an overshoot? - Where does turning back become more difficult? - Which route remains if the planned trail is unusable?
How do you practice topo reading without getting lost?
Practice where an error costs minutes. Choose a familiar marked route with an open viewpoint and several obvious terrain features.
Predict before you look up. Point to a ridge, drainage, saddle, or slope pattern on the map, describe what it should look like, then compare that prediction with the ground.
At a viewpoint, identify one high point from its shape rather than from a sign.
Follow the ridge down on the map, find the drainage beside it, and check whether the contour spacing matches the visible steepness.
Reverse the exercise on the return. Junctions and landforms look different from the opposite direction, which is why a route learned only while approaching can still surprise a hiker going home.
Check the prediction with your device only after you have named the feature from the map and ground. This order teaches recognition instead of dependence on the screen.
Start with recognition before adding bearings or off-trail movement. The skill is ready for harder terrain when the map reliably predicts what you see, not when the symbols can be recited from memory.
How do you match contour shapes to the ground in front of you?
Begin with a feature large enough to survive differences in viewpoint. A long ridge, major drainage, isolated summit, broad saddle, lake edge, or road bend is more dependable than a small contour wiggle.
Find that feature on the map and predict what should sit beside it. If a drainage lies east of a ridge on the sheet, the same relationship should remain visible even when trees hide part of either feature.
Rotate the map until the major features line up with their real directions of travel. You do not need to identify every summit before the relationship becomes useful.
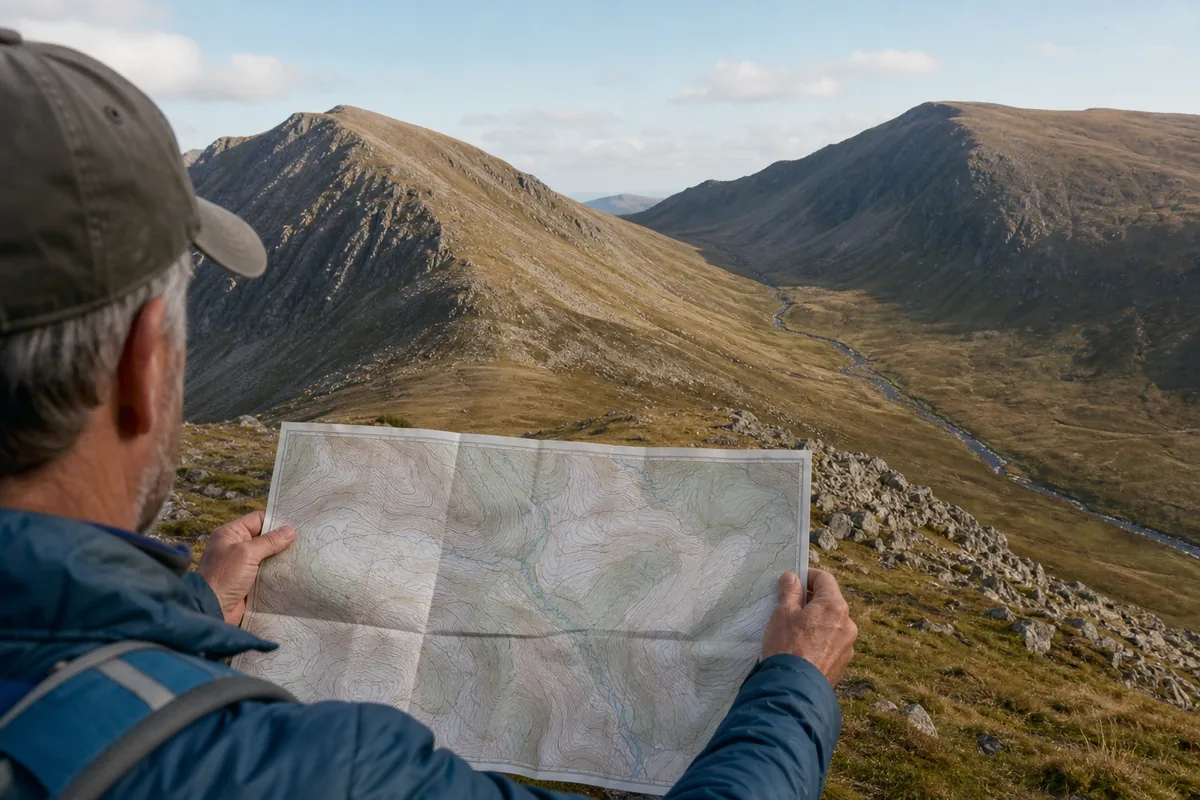
Now test the match with a second independent clue. Compare the slope direction under your feet, the order of nearby drainages, or the expected appearance of a saddle before accepting the first interpretation.
Predict before checking the dot. Use a GPS position as a later check rather than the first guess.
Making the terrain prediction first prevents a precise dot from persuading you that the wrong ridge is the right one.
If the landscape refuses to fit, return to the last feature you confirmed instead of rotating the map until an attractive answer appears. Partial visibility should narrow the possibilities, not justify a forced match.
This method reads relative shape and position. Taking a precise bearing remains a separate compass skill.
Sources
Contour conventions, map symbols, coordinate notes, and printed marginal information come from the U.S. Geological Survey's Topographic Map Symbols guide, U.S. Topo Map Symbol Guide, and explanation of what a topographic map shows.
USGS explains representative fractions and common map scales in its map scale overview.
The National Park Service includes topographic maps among the navigation tools hikers should understand in its Trip Planning Guide.
Step by stepPractical steps
- Read the title, scale, contour interval, and datum
- Find the start and identify nearby terrain features
- Trace the route as a sequence of climbs, descents, ridges, valleys, and saddles
- Measure horizontal distance along the actual route
- Estimate elevation gain from contour crossings
- Identify handrails, catching features, and escape options
- Compare each prediction with the ground while moving
AnswersQuestions readers ask
Do contour lines ever cross?
They normally do not because one ground position has one elevation. Lines may appear to merge at a vertical cliff or when steep detail is compressed by the map scale.
What do V-shaped contour lines mean?
Where contours cross a drainage, the point of the V usually faces uphill and water flows through the open end. A ridge bend points downhill, so the surrounding elevations must confirm the shape.
Does the top of a topographic map show magnetic north?
A standard USGS sheet is oriented to true north. A magnetic compass responds to magnetic north, and the marginal declination diagram explains the relationship for the map publication date.
Why does the revision date matter on a topo map?
Terrain changes slowly, while roads, bridges, buildings, trails, and boundaries can change faster. Use the sheet for landform context and verify current access with the land manager.
What map scale is useful for hiking?
Use enough detail to read local terrain while still covering the route and escape options. A 1:24,000 map shows more local detail than a 1:100,000 map.