
Backpacking Training Must Prove Load, Hills, and Day-Two Recovery
Build time on feet, climbing strength, downhill control, pack tolerance, and next-day recovery around the route you will actually carry.
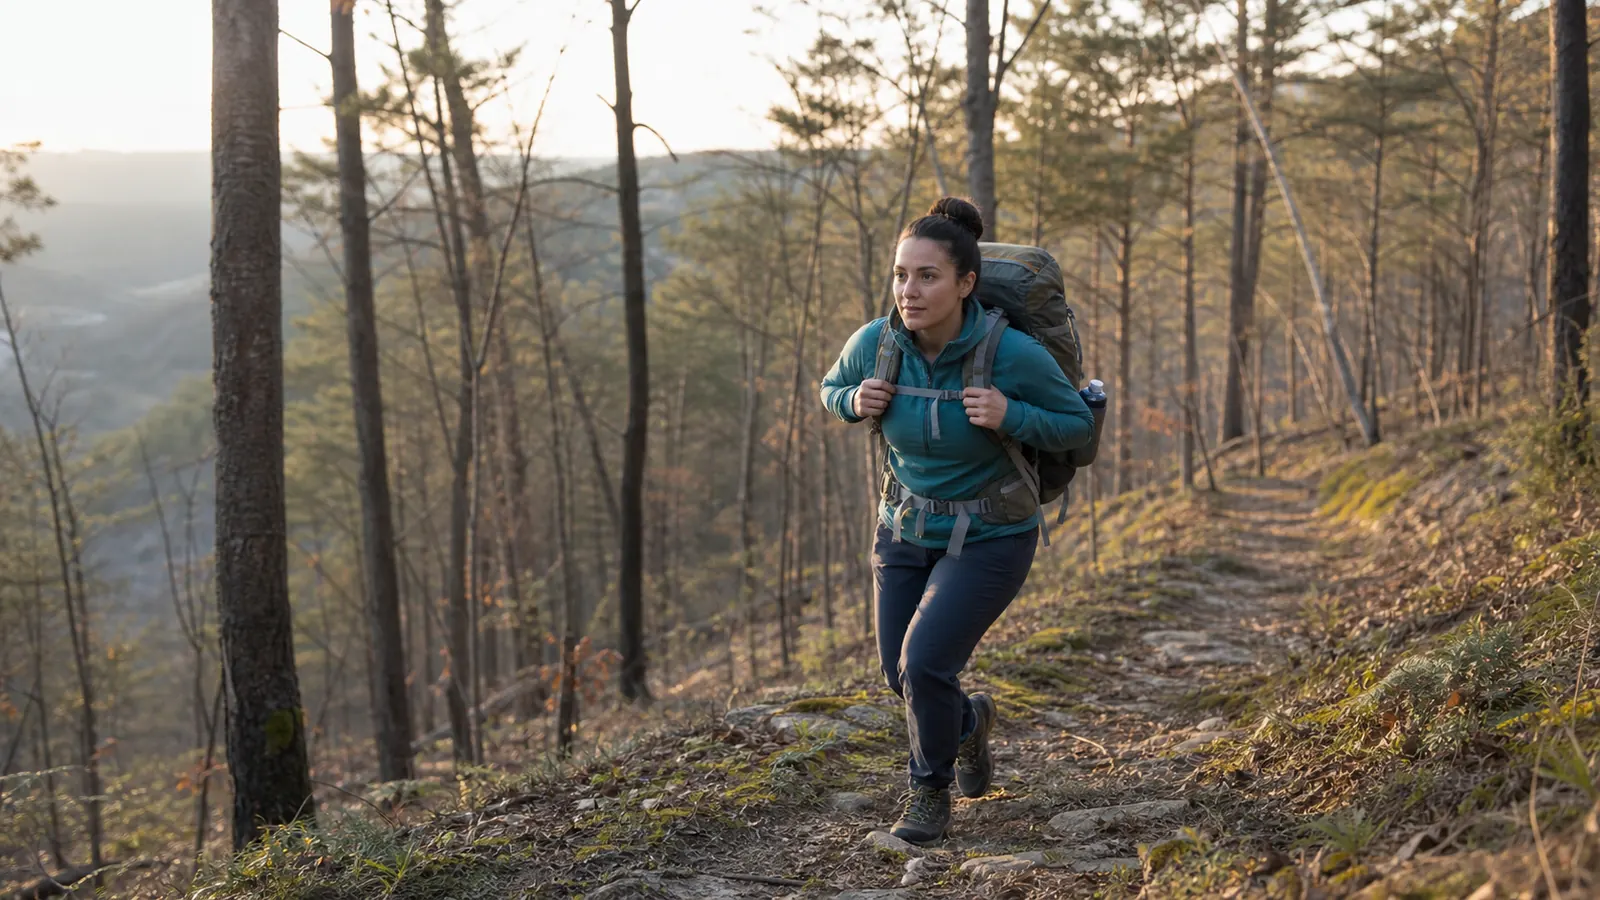
Train for backpacking by measuring your current walking, climbing, descending, pack, and recovery limits first. Extend time on feet before adding much load, build trail-specific strength and downhill control, then combine the real pack and terrain in a route-shaped rehearsal before tapering.
| Baseline | Simple field test | Pass signal | Train first when |
|---|---|---|---|
| Time on feet | Comfortable walk on ordinary terrain | Pace and gait remain steady to the end | Feet or posture fade before breathing does |
| Climbing | Repeated local hill or stairs | Breathing settles after each effort | Short climbs force long recovery |
| Descending | Controlled steps down a moderate slope | Knees track well and feet land quietly | Braking becomes heavy or balance worsens |
| Light pack | Short walk with a fitted partial load | No numbness, bounce, or stride change | Pack changes posture early |
| Recovery | Easy walk the following day | Normal gait returns after warming up | Soreness or fatigue changes movement |
Training begins with the limit you have now, not the departure date you wish you had.
Backpacking fitness combines aerobic work, muscular control, foot durability, pack fit, balance, and recovery, and the weakest part can set the route pace.
Movement quality is the gate. Add duration, hills, or weight only while your stride, balance, feet, and next-day movement remain controlled.
What should you measure before backpacking training?
Start with ordinary walking.
Record how long you can move at a conversational effort before feet, posture, or concentration begin to change.
Use a local hill or stairs for climbing. Note whether breathing settles during a short pause and whether you can repeat the effort without turning every climb into a maximum push.
Test descending separately. Walk down a moderate safe slope after you are warm and watch for loud landings, inward knee movement, shortened steps, or the need to rush.
Carry a light, correctly fitted pack on another short session. The goal is to observe hip transfer, shoulder pressure, balance, and access before a heavy load hides the original problem.
Recovery completes the baseline. Take an easy walk the next day and notice whether normal stiffness fades or whether pain, swelling, unusual fatigue, or a limp remains.
Write the results in plain terms. “Feet became hot after 70 minutes” gives you a training decision, while “fitness was poor” does not identify the system that failed.
Repeat one baseline session before drawing a hard conclusion.
A poor night's sleep, unusual heat, a rushed meal, or a badly placed pack item can distort a single result. When the same limit appears twice under ordinary conditions, it is strong enough to guide the next two or three weeks.
Keep the test familiar while you measure it. A new technical trail mixes skill, fear, and route-finding into the fitness result.
The useful baseline is boring enough that a change in pace or movement is easy to notice.
The beginner backpacking overnight should stay within today's abilities until training changes the evidence. A route does not become safer because it is scheduled months away.
Train the first failure. Improving the limiting system usually helps more than adding difficulty everywhere at once.
How much walking should you build before carrying weight?
Walking creates the base because backpacking still requires thousands of repeated steps.
Build regular sessions that finish with normal posture and foot control before making one session very long.
Spread movement through the week rather than compressing everything into one exhausting weekend. An easy session can build frequency without competing with the longer walk.
Extend the longest walk in modest steps. Keep the pace conversational on normal ground so time on feet, not breathlessness, remains the main test.
- Create frequencyWalk often enough that ordinary sessions no longer create a large recovery cost.
- Extend one sessionAdd time while pace, posture, and feet remain stable.
- Vary safe surfacesInclude firm trail, gentle uneven ground, and the footwear planned for the trip.
- Add route-shaped hillsMatch sustained climbs or repeated rollers without making every session hard.
- Introduce a light packCarry a partial load only after unloaded movement stays clean.
- Review the next dayHold the progression when gait, pain, or unusual fatigue persists.
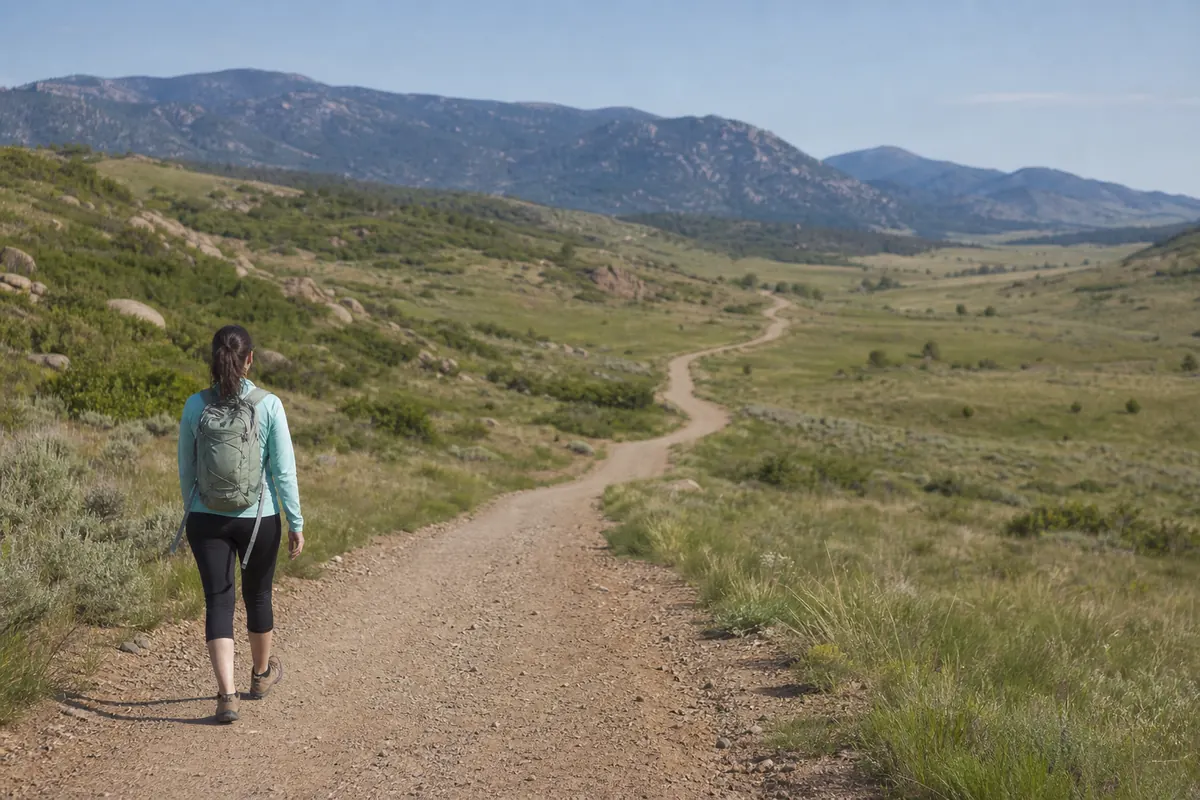
Use the talk test as a simple intensity check. Most base walking should let you speak in sentences, while steeper pitches can raise breathing for shorter periods.
Foot hot spots are training data. Adjust socks, footwear, lacing, and timing before the same friction becomes an open blister under trip weight.
The hiking fitness foundation supports same-day movement. Backpacking training adds overnight load, repeated days, and the need to preserve enough attention for camp work.
Duration comes first. A heavy pack cannot compensate for feet and posture that have not learned the hours.
Only some strength work transfers to a loaded trail
Trail strength is useful when it improves a movement you will repeat.
Step-ups resemble climbing, while controlled step-downs train the braking needed for descents.
Single-leg work can expose side-to-side differences that two-leg exercises hide. Use support as needed so balance does not replace the intended leg movement.
Hip and thigh strength help drive uphill and control the body downhill. Calf and foot work support repeated push-off and stability on smaller surfaces.
Strength sessions do not need to imitate an entire hike.
A small set of controlled movements can build the force and braking capacity that walking alone may not challenge enough. Leave several good repetitions available instead of turning every set into a form test under exhaustion.
Step-up
Drives the body and pack onto a higher surface without jumping from the back foot.
Controlled step-down
Trains quiet braking while the knee tracks over the foot.
Split squat
Builds single-leg strength through a stable range.
Calf raise
Supports repeated push-off and ankle control.
Hip hinge
Trains hips and trunk to manage load without rounding the back.
Loaded carry
Practices upright trunk control with weight held close.
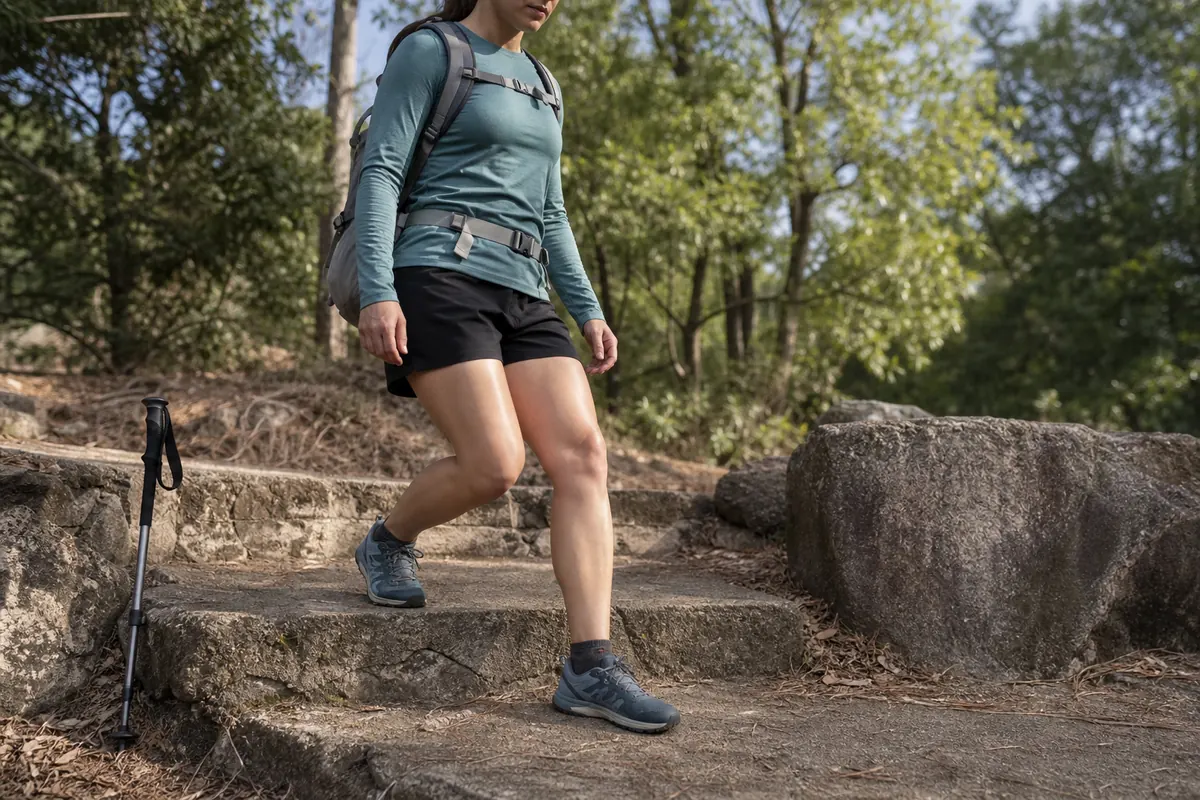
Choose a range you can control and stop before form breaks. More repetitions with a collapsing knee or rushed landing teach the wrong pattern.
Two strength sessions in a week can fit the public-health recommendation for regular muscle-strengthening activity, but the amount appropriate for you depends on current training and recovery. Increase resistance only after the movement remains stable.
If you have a chronic condition, recent injury, or concern about exercise, ask a qualified health professional for individual advice. This section describes route preparation, not rehabilitation.
Strength should clean the step. The useful result is better control on the trail, not exhaustion in the gym.
Descents need their own training dose
Climbing announces itself through breathing.
Descending can feel easy at first while the legs repeatedly brake the body and pack, then lose precision late in the day.
Begin on a short moderate slope with good footing. Use quiet steps, keep the knee aligned with the foot, and avoid leaning far back against the slope.
Trekking poles can improve rhythm and contact when they are sized and placed correctly. They do not replace leg control, and a rushed pole plant can create another balance problem.
Add descent work after an easy walk once fresh technique is reliable. That timing shows whether control survives ordinary fatigue without creating a maximum-effort session.
Reduce the dose when you begin stomping, crossing feet, grabbing every support, or losing the chosen line. Those are performance signals, not a challenge to ignore.
Downhill weakness may require a shorter route even when uphill cardio feels good. The first backpacking trip plan should count major descents as real daily work.
Brake before speed. A controlled slow descent protects more training value than a fast one that teaches poor alignment.
When should backpack training include more pack weight?
The pack should make the work harder without changing the way you walk.
Shorter shuffling steps, a forward head, raised shoulders, numbness, or backward lean means the load or fit needs attention.
Use the actual backpack and adjust it correctly before adding training weight. The pack fit sequence sets the hipbelt, shoulder straps, load lifters, and sternum strap in the right order.
Start below trip weight and use removable weight such as water. If symptoms appear, you can reduce the load without ending the entire session far from home.
- Advance load when
- Gait, posture, balance, and foot comfort remain stable
- Hold load when
- Normal fatigue rises but movement stays clean
- Reduce load when
- Stride changes, shoulders go numb, or balance worsens
- Stop the session when
- Sharp pain, swelling, dizziness, or unsafe movement appears
- Retest after
- Pack fit, load placement, footwear, or recovery has changed
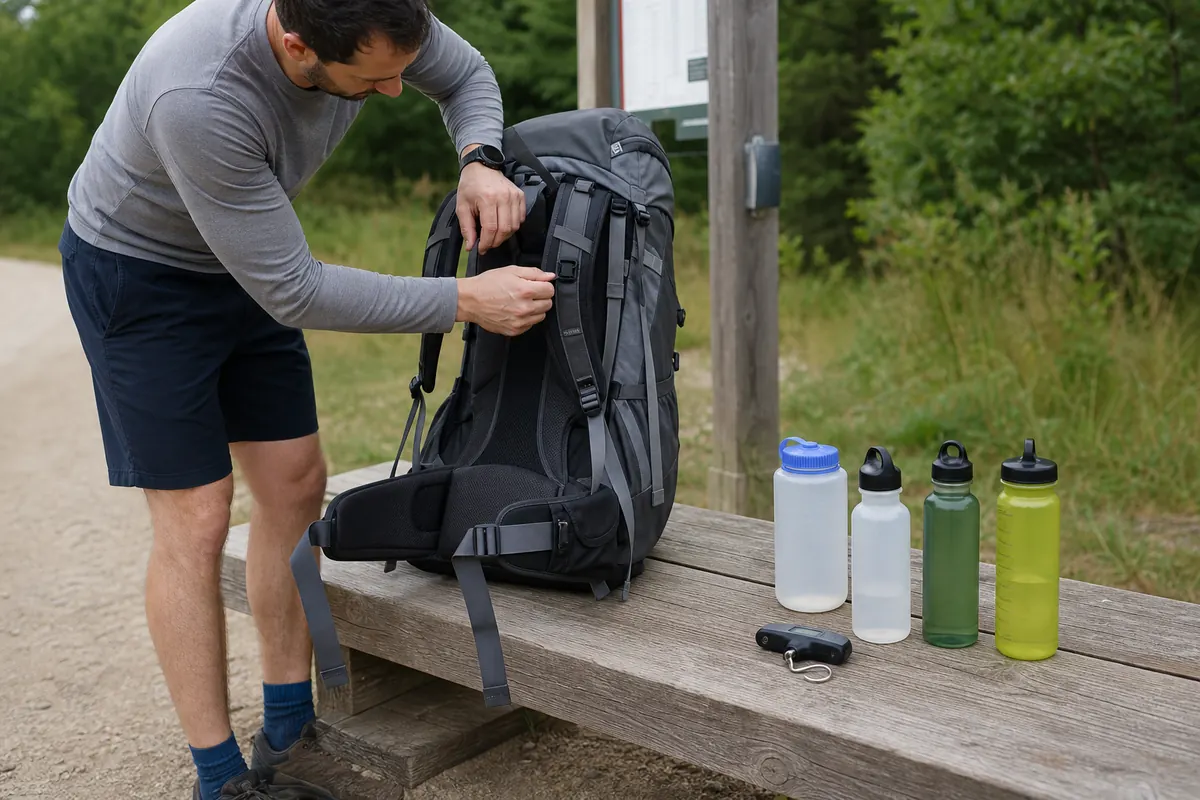
Keep dense weight close to the back and prevent it from moving. A loose bottle or high rear load can make the same number feel less stable.
Integrate hills after level walking under the current load feels controlled. Do not add a heavier pack, longer day, and steeper climb in the same session because you will not know which change caused the failure.
Practice reaching water, food, rain shell, and foot care. The backpacking packing system should support movement without requiring a full unload for every normal need.
Pack training is not a contest. A lighter, well-fitted load that preserves good movement prepares you better than a heavy load that rehearses compensation.
Keep your normal stride. Load is earned when it behaves like part of the body rather than something you fight.
The second day reveals what the first one hid
The second morning reveals what one long day cannot.
It shows whether feet, joints, appetite, sleep, and general fatigue allow another useful session.
Compare day two with your normal easy pace, not with the previous day's best pace. The useful question is whether you can move cleanly and make ordinary decisions after recovery time, because a multi-day route rarely asks for a personal record after breakfast.
Keep the first day of an early back-to-back test below your maximum. If it creates extreme soreness, the second day measures damage from the test rather than backpacking repeatability.
Eat, drink, and sleep in a normal controlled setting at first. Later, an overnight rehearsal can add the camp and sleep variables after the training response is understood.
- Walk normally during the first ten minutes of day two.
- Check hot spots, swelling, nail pressure, and damp skin.
- Notice whether appetite supports breakfast and early movement.
- Use a deliberately easier second session instead of repeating the hardest day.
- Record pace only after confirming gait and foot comfort.
- Hold the next progression when fatigue changes normal movement.
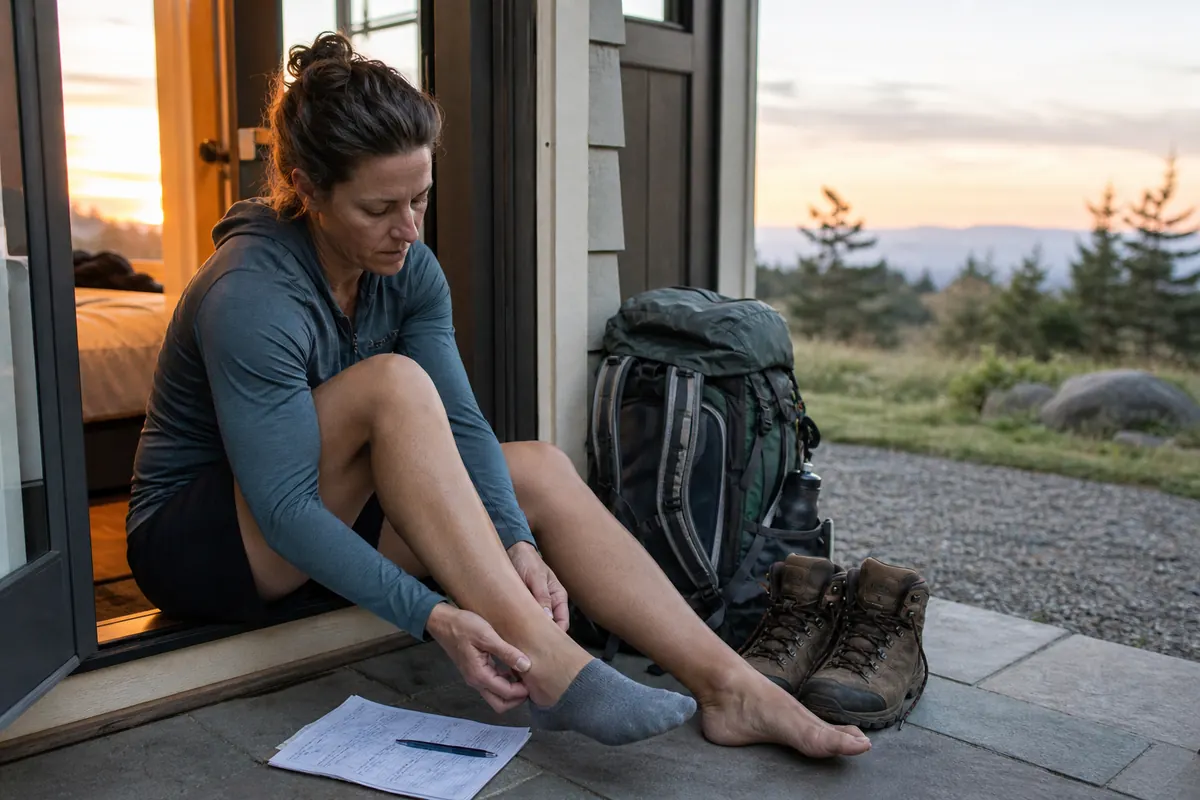
The full backpacking beginner rehearsal adds shelter, sleep, food, water, and morning camp work. Training can isolate the physical response before that broader test.
Recovery can improve without every session becoming easy. The key is whether ordinary movement returns before the next hard dose.
Separate local soreness from whole-body fatigue in the notes. Tender calves after new descent work suggest a specific dose to repeat or reduce.
Poor sleep, low appetite, irritability, and unusually heavy effort across several sessions point to a wider recovery problem that another hard workout is unlikely to solve.
Day two is feedback. Use it to decide whether the previous duration, terrain, and load were appropriate.
How should you practice route-specific terrain?
A smooth path does not train every correction required by loose rock, roots, mud, sand, off-camber tread, or repeated steps.
Route-specific surfaces add balance and attention costs even when distance stays the same.
Practice on safe local terrain that resembles the route without copying its consequences. A short rocky loop with an easy exit can teach more than remote exposure.
| Route surface | Controlled practice | Watch for |
|---|---|---|
| Loose rock | Short stable slope with deliberate foot placement | Sliding feet or rushed steps |
| Roots and uneven tread | Easy woodland path at a slower pace | Toe catches and crossed steps |
| Mud | Flat or gentle trail with traction awareness | Long strides and sudden twisting |
| Sand or soft ground | Short duration before normal walking | Calf fatigue and shortened stride |
| Repeated steps | Stairs or stepped trail with steady rhythm | Knee collapse and loss of balance |
| Off-camber tread | Wide safe slope with level trunk control | Ankles rolling and pack pulling sideways |
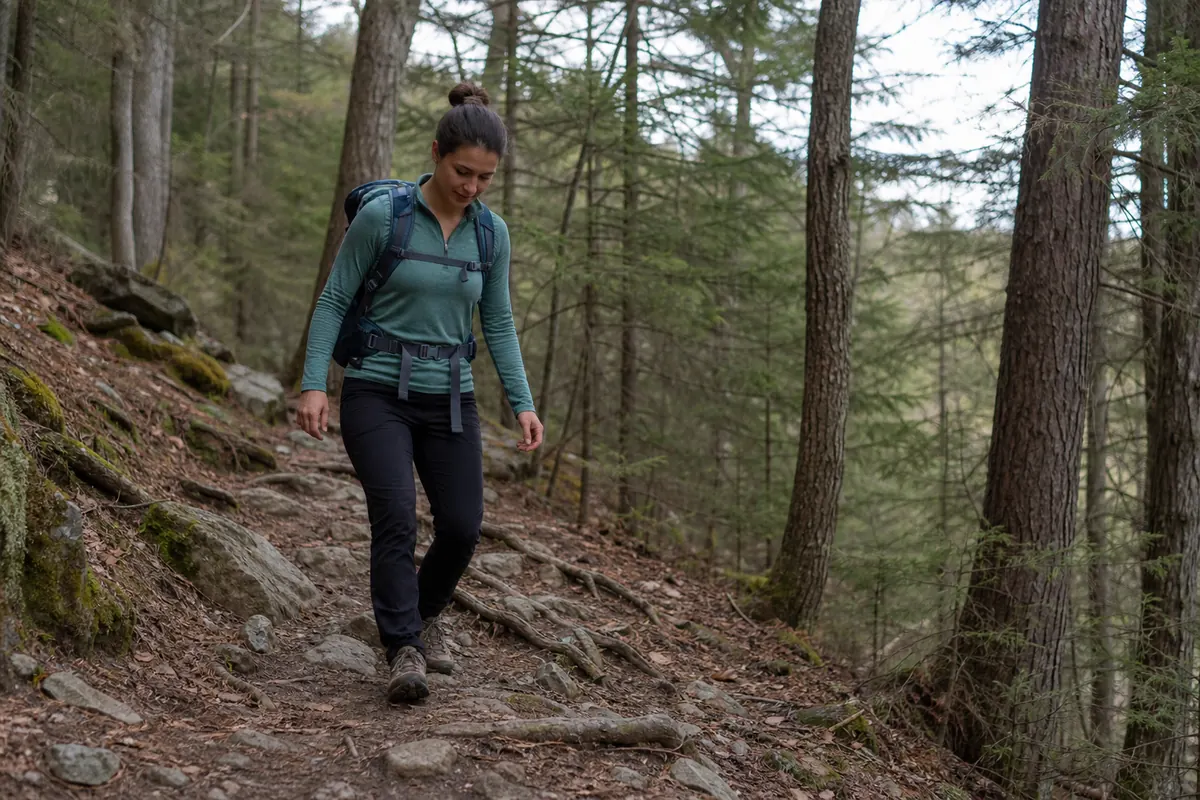
Navigation interruptions are part of the effort. Stop, confirm position, and restart without turning every pause into a long rest.
Weak footing on descents is often a technique gap rather than a conditioning gap, and the two need different practice. Timing, water, transport, and turnaround choices can make a day harder than the walking itself, which puts the fix in trip planning rather than training.
Use poles on the surfaces where you expect to carry them. Practice placing them without blocking another walker or catching the tip between rocks.
Weather also changes movement. The rain backpacking plan adds wet footing and longer camp work, while winter backpacking preparation may require traction, colder stops, and shorter daylight.
Never create a dangerous crossing, exposed scramble, avalanche problem, or deep-water test for training. When the route needs technical skills beyond your experience, choose instruction or a different route.
Practice the surface, reduce the consequence. Specific training should improve control without recreating the route's worst hazard.
When should you reduce load or training volume?
Normal training fatigue can make muscles feel worked while movement remains recognizable.
A limp, sharp pain, swelling, numbness, instability, or worsening coordination changes the decision.
Reduce load or training volume when gait changes, soreness fails to settle before the next planned hard session, performance falls across repeated sessions, or normal daily movement becomes harder. Reduce both and stop the session when sharp pain, swelling, dizziness, instability, or unusual weakness appears.
Stop increasing load or duration when symptoms persist into ordinary walking. Repeating the same stress teaches compensation and makes the original signal harder to interpret.
Shoulder numbness may point to pack fit, load placement, or excess weight. Foot pain may involve footwear, lacing, socks, friction, or a progression that outpaced tissue tolerance.
Make one correction before the next test. Change fit, weight, duration, surface, or recovery instead of replacing every variable.
The common backpacking mistakes include treating discomfort as an unavoidable part of the activity. Training should expose a correctable issue early, not normalize it.
For chronic conditions, disability, medication questions, or return from injury, use advice from a health professional or qualified physical activity specialist. General route training cannot set a safe personal dose.
Performance loss has meaning. A failed session is useful when it changes the next load, route, or recovery choice.
How do you know the final simulation passed?
Build one rehearsal around the planned route's hardest ordinary day.
Match the expected pack, time on feet, climb, descent, and safe terrain type without adding unnecessary exposure.
Start below maximum pace. The goal is to finish with enough control to set shelter, treat water, eat, manage feet, and make decisions.
Carry the food and water pattern expected for that day. A route simulation that uses roadside refills and no meal access may hide the real pack and camp cost.
Choose a course with shortcuts and a clear exit.
A simulation should expose the planned workload while still letting you stop after a failed water system, painful hot spot, or deteriorating weather. Remote terrain adds consequences but does not improve the quality of the test.
- Use the fitted backpack and expected heaviest practical load.
- Match the route's normal time on feet rather than chasing extra distance.
- Include a representative climb and descent on safe terrain.
- Keep ordinary pace conversational and reserve harder effort for short pitches.
- Practice food, water, layer, and foot-care access without unloading everything.
- Finish with enough attention for a short camp-task rehearsal.
- Check gait, feet, appetite, and fatigue the next morning.
- Shorten the route when the rehearsal exposes one stage beyond current control.
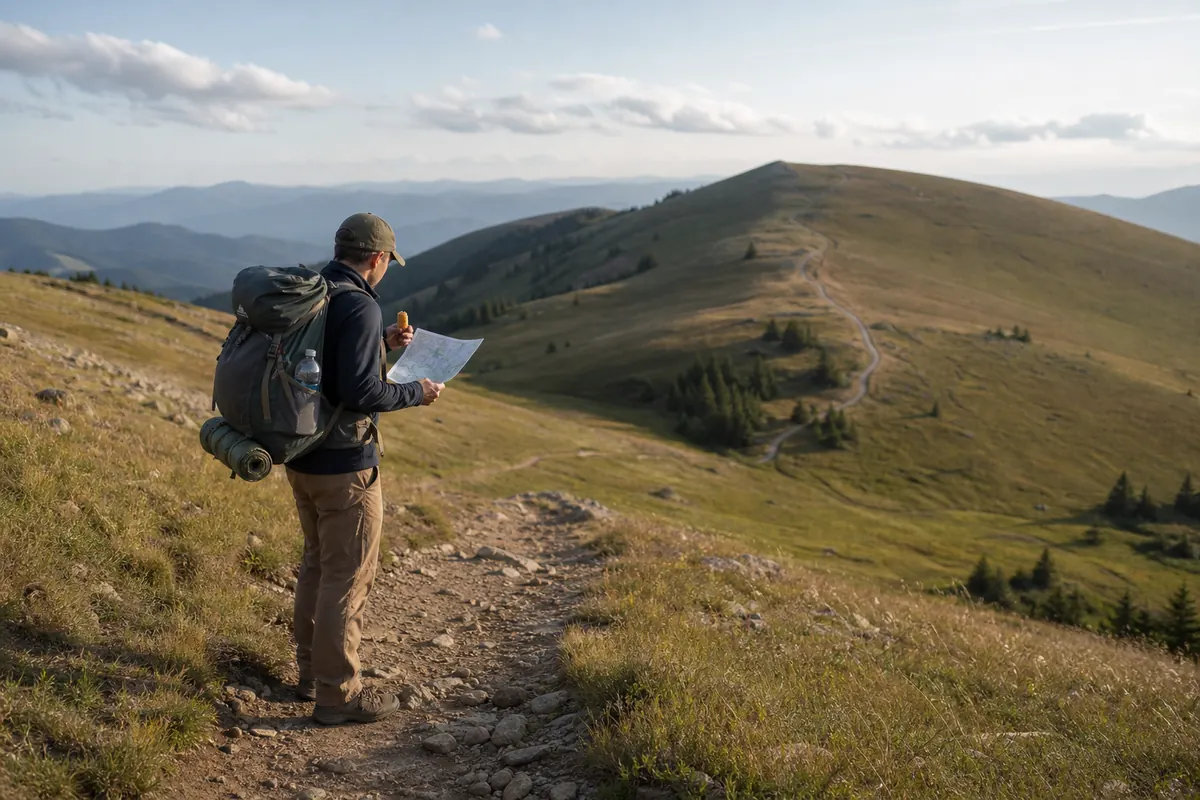
If the simulation passes, reduce hard training during the final week. Easy movement can maintain routine, but a last-minute overload cannot create durable fitness before departure.
Define a pass before starting.
It might require steady gait through the final descent, normal foot care, enough appetite to eat the planned food, successful access to water and layers, and an ordinary walk the next morning. Finishing the distance while limping or skipping camp tasks is a completed course, not a passed rehearsal.
Confirm current access, weather, permits, water, and transport after training is complete. Physical readiness cannot repair a closed route or unsafe conditions.
The backpacking water plan and route stages should be updated if the rehearsal pace differs from the estimate. A slower day can increase water, food, daylight, and camp demands together.
Arrive rested rather than proud of the last workout. Training has done its job when the pack, terrain, pace, and next morning all produce evidence that the planned route remains under control.
Simulate, then taper. The final week protects the fitness and information you already earned.
Sources
The Centers for Disease Control and Prevention summarizes the current adult activity guidance as at least 150 minutes of moderate aerobic activity each week plus muscle-strengthening activity on two or more days. Activity can be spread across the week: Adult Activity Overview.
The Physical Activity Guidelines for Americans describes fitness as including cardiorespiratory fitness, muscular fitness, flexibility, balance, and movement speed. It also explains that training adaptations depend on the activity performed: Physical Activity Guidelines, Second Edition.
The National Park Service recommends matching activity duration, difficulty, fitness, skill, weather, and gear to the people taking the trip: NPS Trip Planning Guide. Personal health comes first, and a qualified professional should guide training when symptoms, chronic conditions, disability, medication, or injury make the appropriate dose uncertain.
Step by stepPractical steps
- Measure current walking, climbing, descending, light-pack, and next-day recovery limits.
- Build regular time on feet before extending the longest session.
- Add route-specific strength and controlled downhill practice.
- Increase pack load only while fit, gait, posture, and balance remain stable.
- Use back-to-back sessions and safe terrain practice to test repeatability.
- Complete one route-shaped rehearsal, then reduce hard training before departure.
AnswersQuestions readers ask
How long should I train for backpacking?
The useful timeline depends on your current baseline and route. Start early enough to build regular walking, extend time on feet, add hills and strength, progress the pack, and complete a route-shaped rehearsal without rushing recovery.
Should I train with a backpack?
Yes, after unloaded walking is stable. Begin below trip weight and add load only while gait, posture, balance, feet, and pack fit remain controlled.
What exercises help with backpacking?
Route-relevant options include walking, hills, step-ups, controlled step-downs, split squats, calf raises, hip hinges, stable carries, and safe uneven-terrain practice.
How do I train for backpacking descents?
Use a short safe slope or low step to practice quiet foot placement, knee alignment, stable trunk position, and short controlled steps. Add fatigue only after fresh technique is reliable.
When should I reduce backpacking training?
Hold or reduce load when pain, numbness, swelling, unusual fatigue, balance loss, or a changed gait persists. Seek qualified advice for severe, persistent, or concerning symptoms.