
How to Stay Warm Camping When the Ground Steals Your Heat
Match the night, insulate below the body, keep sleep layers dry, protect loft, support normal heat production, and leave when rewarming fails.
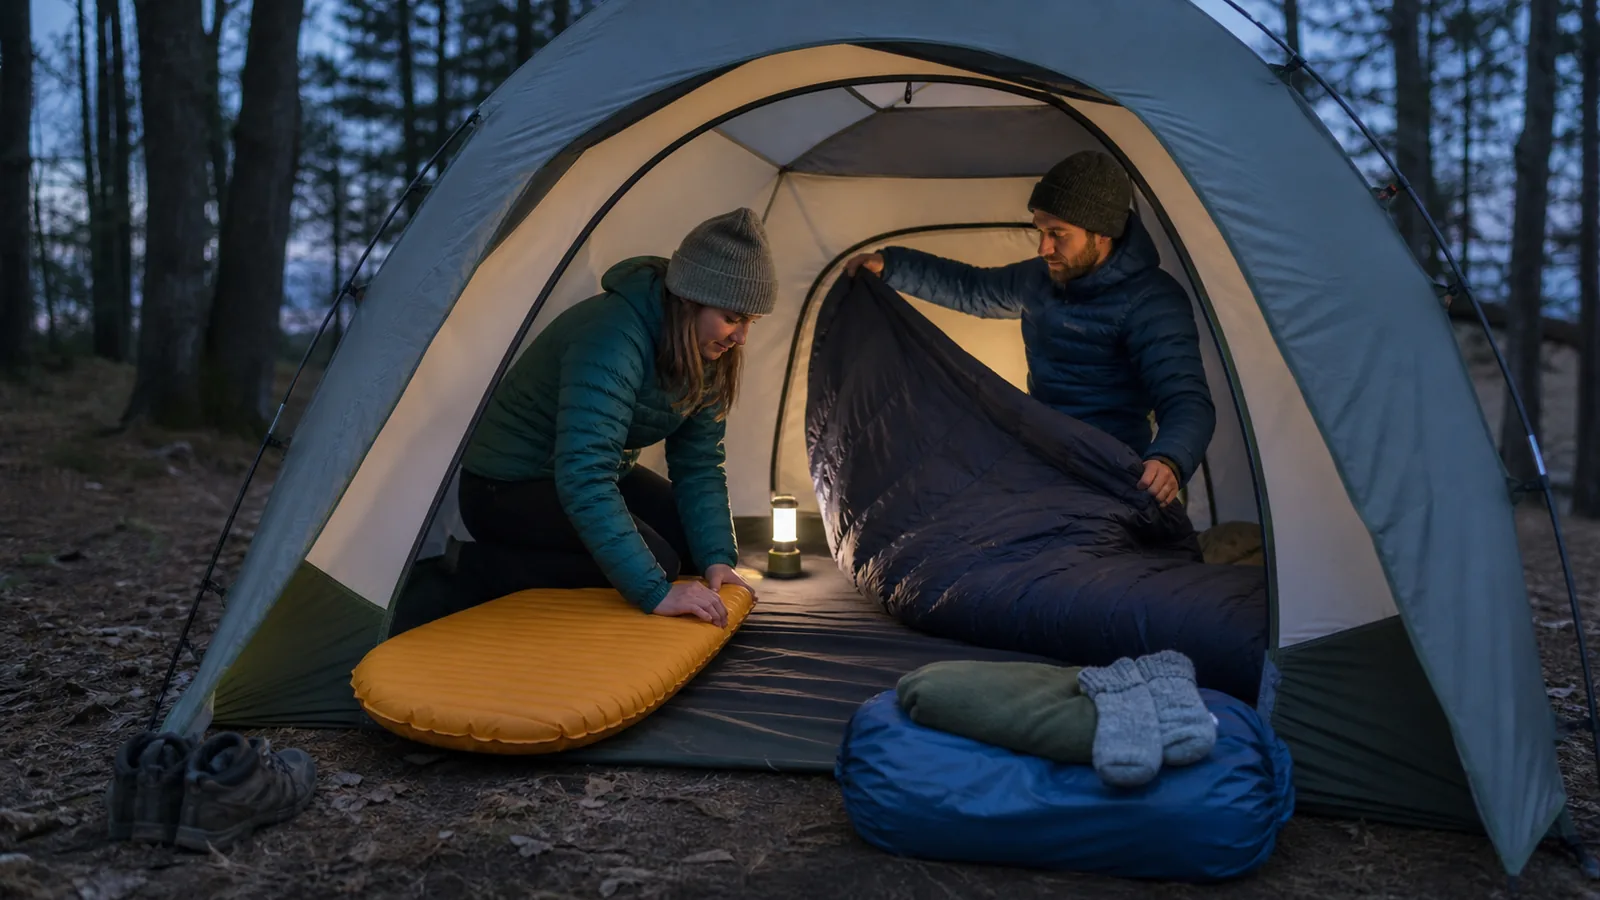
Stay warm camping by treating the tent, sleeping pad, sleeping bag, dry clothing, food, water, and site as one system. Start with insulation below the body, protect the bag from moisture and compression, change before you become chilled, and never use a stove or open flame as a tent heater.
Cold from below
The sleeping pad is thin, poorly insulated, underinflated, or too short.
Cold around the body
The bag lacks loft, fits poorly, has open drafts, or is below the conditions it can handle.
Cold from moisture
Sweat, rain, condensation, damp clothing, or wet ground reduces insulation.
Cold from exposure
Wind, a low wet pad, or a difficult forecast exceeds the shelter and sleep plan.
Warmth during an overnight camp comes from more than the sleeping bag. Insulation below you slows heat moving into the ground.
Loft around you traps air. Dry layers reduce rapid heat loss.
Shelter limits wind and precipitation while maintaining needed ventilation.
When one part fails, adding more clothing may not solve the problem. Find where the cold is entering before using the last dry layer.
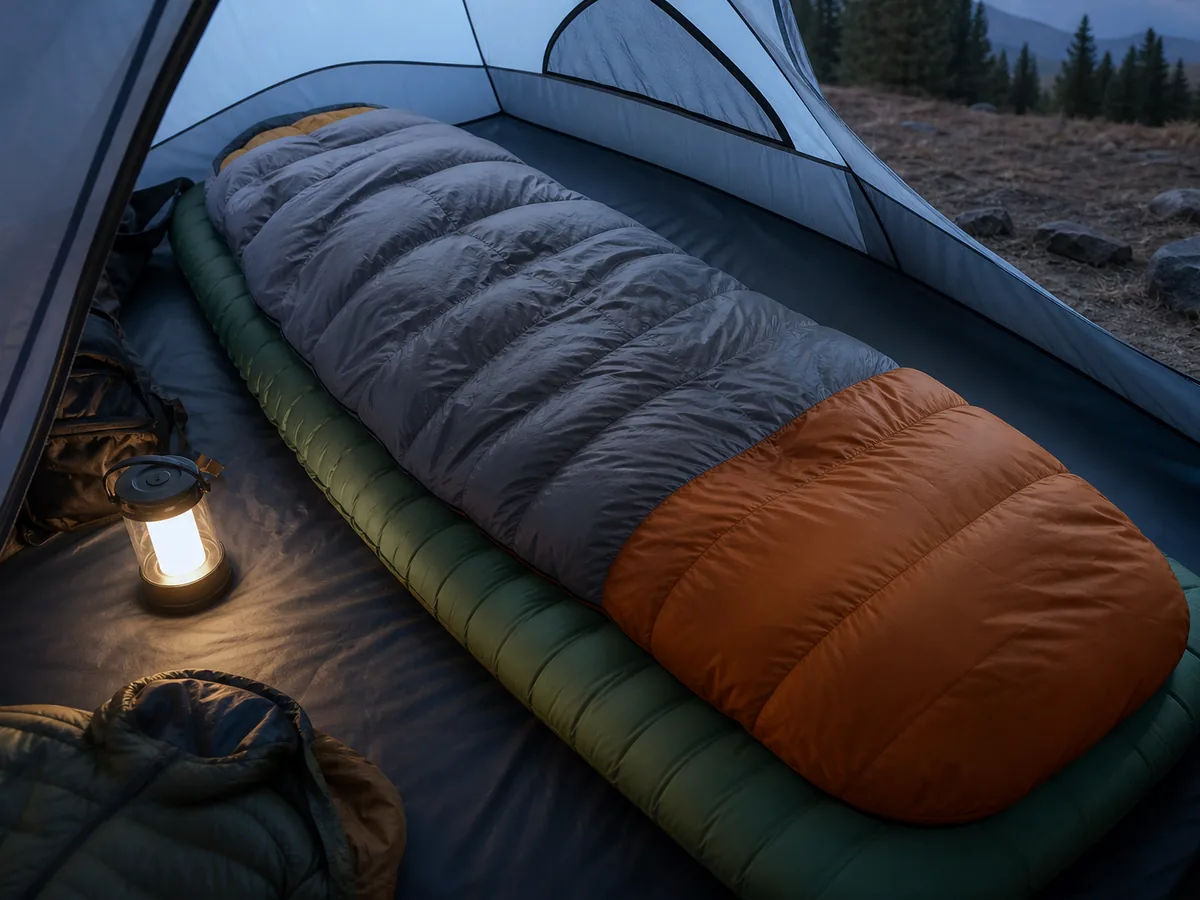
How does a complete sleep system keep you warm?
Think from the ground upward. A good campground choice avoids prohibited or hazardous exposure.
The tent must block precipitation and wind as designed.
The pad must insulate the whole sleeping body. The bag must retain loft and fit without large open spaces or tight compression.
Clothing supports the system. Dry base layer choices can reduce drafts and protect the bag from moisture when they fit without crushing loft.
Bulky layers can make a narrow bag tight enough to compress insulation, which may reduce warmth.
Your body supplies the heat.
Fatigue, low food intake, dehydration, illness, alcohol, and wet clothing can make it harder to remain warm or recognize change. The solution must address the person as well as the equipment.
The weakest layer sets the night. Diagnose it before adding random gear.
Forecast, exposure, and exit shape the whole night
Read the overnight low, wind, precipitation, humidity, alerts, and road conditions for the exact area.
The condition checks for winter camping become essential near freezing, while camping in rain protects the dry reserve in milder wet weather. A calm dry low and a wet windy low at the same temperature do not create the same sleep problem.
Compare the forecast with conditions in which the complete system has already worked. Manufacturer ratings can help compare products, but they do not guarantee warmth for every sleeper.
Pad, bag, clothing, body, shelter, food, and site all influence comfort.
| Condition | Planning response | Reason |
|---|---|---|
| Cool, dry, calm, and tested | Use the proven system with a dry reserve | The main variables are already understood |
| Colder than the tested night | Add verified insulation or choose a milder site | The system margin is unknown |
| Rain, wet ground, or high condensation risk | Protect pad, bag, and sleep clothing from moisture | Damp insulation loses performance and chills the body |
| Strong wind or exposed pad | Move to a legal lower-exposure site or cancel | Wind increases heat loss and shelter load |
| Difficult road or long exit | Increase margin or choose easier access | A failed sleep system becomes harder to solve |
Arrive early enough to inspect drainage, overhead hazards, wind, and the route back to the vehicle. The camping safety check rejects a depression or dangerous branches before warmth becomes the concern.
Keep one backup that actually changes the outcome. It may be a warmer tested system, a lower and easier campground, nearby lodging, or returning home before conditions worsen.
A mild tested night is the best rehearsal for a new sleep system.
Insulate against the ground before anything else
Sleeping-bag insulation compresses beneath your hips and shoulders. Once flattened, it traps much less air.
The sleeping pad must provide most of the insulation between those pressure points and the cold ground.
Check the pad's insulation information from the manufacturer.
Match it to the conditions and the rest of the system rather than choosing by thickness alone. An air mattress can feel thick while providing little cold-weather insulation if its construction does not limit internal heat movement.
Do not compare warmth from appearance. Foam thickness, internal baffles, reflective layers, down or synthetic fill, and measured testing can produce very different results.
Use the stated insulation measure and the maker's instructions for that exact pad.
- Insulation
- Use the manufacturer's measured value and stated conditions when available
- Coverage
- Keep shoulders, hips, legs, and feet on the insulated surface
- Inflation
- Follow instructions so the body does not press through to the ground
- Placement
- Use a legal level pad without standing water, sharp debris, or runoff
- Backup
- Carry a compatible closed-cell layer when the risk and plan justify it
Test for bottoming out before bedtime.
A beginner camping rehearsal should include ten minutes in the normal sleep position while a partner checks pad clearance at the hips and shoulders.
Adjust only within manufacturer guidance.
Two compatible pads can add insulation, but stacking must remain stable and fit the tent. A sliding pile that leaves half the body on the floor does not provide a reliable system.
Warmth starts underneath, where the sleeping bag is most compressed.
How do you keep a sleeping bag warm and dry?
Fluff the bag after unpacking and give insulation time to regain loft. The camping packing list should keep it away from wet tent walls, muddy footwear, leaking bottles, and damp daytime clothing.
Store it dry between trips according to its care instructions.
Use the hood, draft collar, zipper baffle, and closures as designed.
Keep the mouth and nose outside the bag. Breathing into the insulation adds moisture that can accumulate through the night.
- Bag is dry and fully lofted before use.
- Pad and ground protection cover the sleeping body.
- Zipper, hood, collar, and draft features work correctly.
- Clothing does not compress the bag around shoulders, hips, or feet.
- Face remains outside the insulation.
- Wet gear and water containers stay away from the sleep area.
- Ventilation follows the tent instructions and current conditions.
A bag that is much larger than the sleeper may leave more air to warm. A bag or clothing system that is too tight can crush loft.
Use fit guidance from the manufacturer and test the full combination before the trip.
Ventilation still matters in cold weather.
Closing every opening can increase condensation. Follow the shelter instructions and balance weather protection with airflow rather than sealing the tent beyond its design.
In the morning, inspect dampness before packing. Dry the bag and tent when conditions and rules allow.
If they must be packed wet, separate them from the dry reserve and dry them fully at the first practical safe opportunity.
Protect loft and dryness before reaching for more layers.
How should you read sleeping bag temperature ratings?
A temperature label does not promise that every sleeper will feel comfortable at that number. The complete result also depends on the pad, clothing, bag fit, shelter, wind, moisture, food, fatigue, and personal cold sensitivity.
Find out which value the manufacturer prints. A comfort value and a lower-limit value describe different expectations, so comparing one type of value with the other can make the warmer-looking bag the poorer choice.
Check whether the rating applies to the exact size and model you own. Fill amount, dimensions, hood design, zipper length, and construction can change across versions that share a product family name.
Fit matters in both directions. A bag with large empty spaces asks your body to warm more air, while a tight bag can compress insulation at the shoulders, hips, knees, or feet.
Test the hood and collar before dark. You should be able to close draft controls without burying your face or pulling the bag so tight that loft collapses around your shoulders.
The pad must match the same night. A low bag rating over weak ground insulation can leave your back and hips cold even while the loft above you feels warm.
Record the actual overnight low after every test. Also note wind, ground type, clothing, pad setup, condensation, and where cold first appeared because the temperature alone cannot identify the weak part.
Change one part before the next test. Replacing the pad, bag, clothing, and tent together may make the night warmer, but it teaches you little about which fix mattered.
Use the coldest proven combination as the planning boundary. Keep extra margin when the forecast, site exposure, or sleeper condition is less certain than the test.
What should you do when you wake up cold?
Act while your thinking and hand control are normal. Waiting until strong shivering or clumsy hands appear makes every zipper, layer change, and exit task harder.
First identify where the cold is strongest. Cold hips or shoulders point toward pad coverage, inflation, or insulation, while a cold chest, feet, or zipper line may point toward lost loft, drafts, dampness, or fit.
Check whether your body has slid off the pad. Move back onto full insulation and correct a stable pad position before adding clothing that cannot stop heat loss into the ground.
Feel the bag shell and sleep clothing for damp areas. Move wet fabric away from dry insulation, restore safe ventilation, and use the protected reserve instead of keeping a sweaty layer against the body.
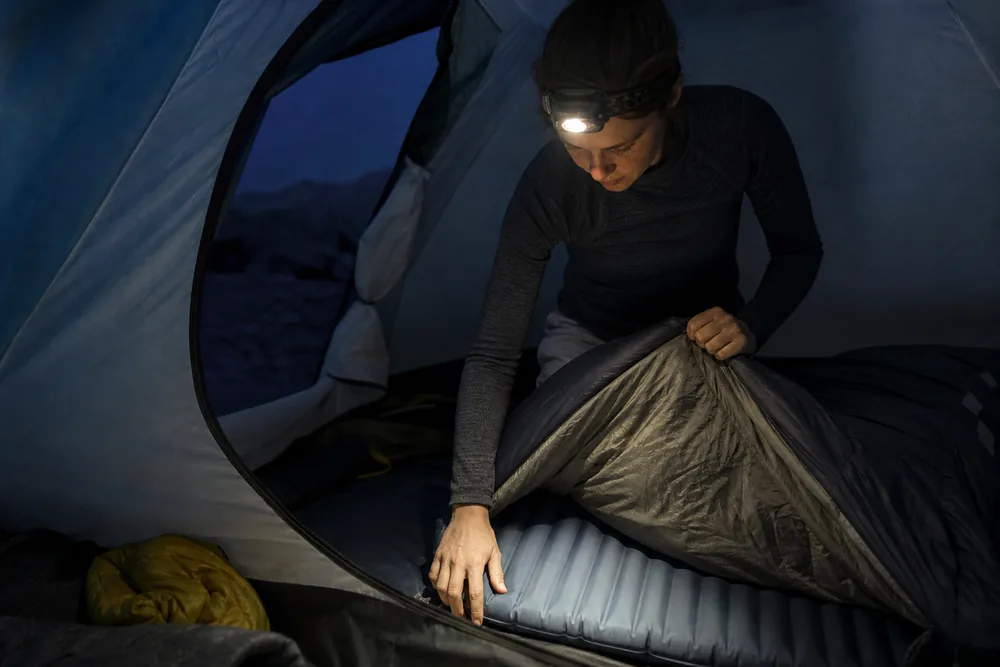
Close the hood, collar, and zipper baffle as designed without covering your mouth and nose. Make sure feet are not pressing hard enough against the end of the bag to flatten the insulation.
If you remain alert and coordinated, eat a ready snack and drink according to the trip plan. A brief amount of gentle movement can create warmth, but stop before sweating because wet clothing creates a second problem.
Do not start a stove or flame inside the tent. Do not depend on alcohol, direct high heat on numb skin, or another person's guess that you will warm eventually.
Recheck after the corrections have had time to work. If shivering persists, hands keep fumbling, speech changes, or the person becomes confused or unusually sleepy, move to the prepared warm exit and seek appropriate help.
Keep footwear, light, keys, medication, and a dry outer layer where they can be reached from the sleep area. A vehicle-access camp only offers an easy exit when the driver can leave without searching through frozen or wet bins.
A cold wake-up is a diagnosis. Correct the failed layer once, then leave if normal warmth and function do not return.
When should you change into dry sleep clothing?
Finish sweaty setup, cooking, water collection, and active play before opening the protected sleep clothing. The first camping trip should leave enough evening time to slow down without becoming cold.
- Close active choresFinish the work that raises breathing and creates sweat.
- Check the shelterConfirm pad, bag, ventilation, and night exit before changing.
- Remove damp layersKeep wet or sweaty clothing away from sleeping insulation.
- Put on the dry reserveUse clean dry base layers, socks, and suitable head coverage.
- Protect tomorrow's clothesStore the remaining dry items where leaks and condensation cannot reach them.
- Enter before chilledGet into the system while the body is comfortable, not after long shivering begins.
Do not wear every layer at once by habit.
Start with a combination that leaves room in the bag. Add a dry loose layer if needed without compressing insulation or creating sweat.
Keep wet boots and rainwear in the approved shelter area without blocking the tent door or touching the bag. In a solo camp, the morning plan must preserve at least one usable dry layer for getting out safely.
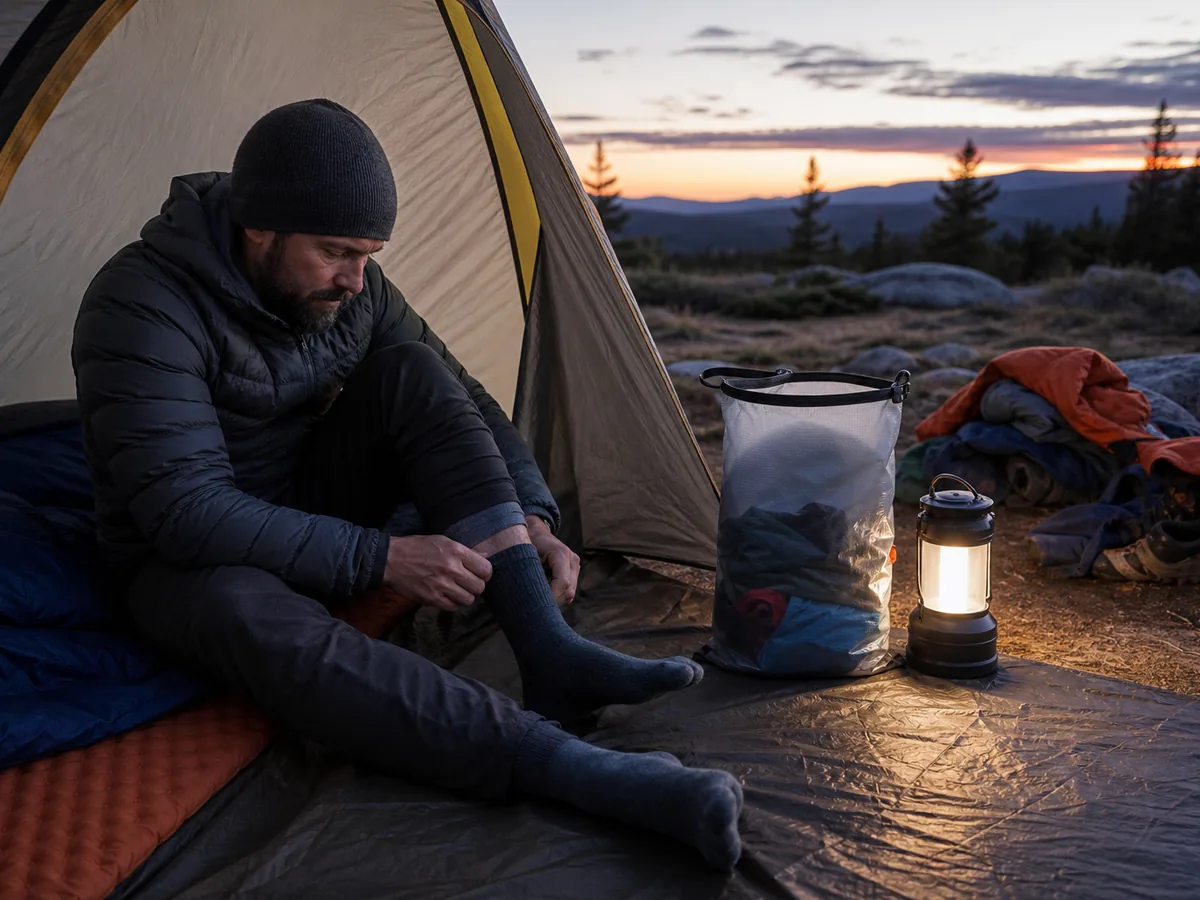
The dry reserve has one job. It must reach bedtime dry.
How do food, water, and light movement support warmth?
Eat a normal meal that the group has tested and can prepare safely in the conditions. Do not wait until everyone is cold and tired to begin a long cooking process.
Follow food safety and storage rules after the meal.
Drink enough that thirst and dehydration do not add stress, but manage timing so repeated night trips do not become a hazard. Keep a clear lit route and suitable footwear available.
Use the toilet before settling when practical. Holding a full bladder does not create useful insulation, while an urgent trip later may expose a warm person to cold wind with poor preparation.
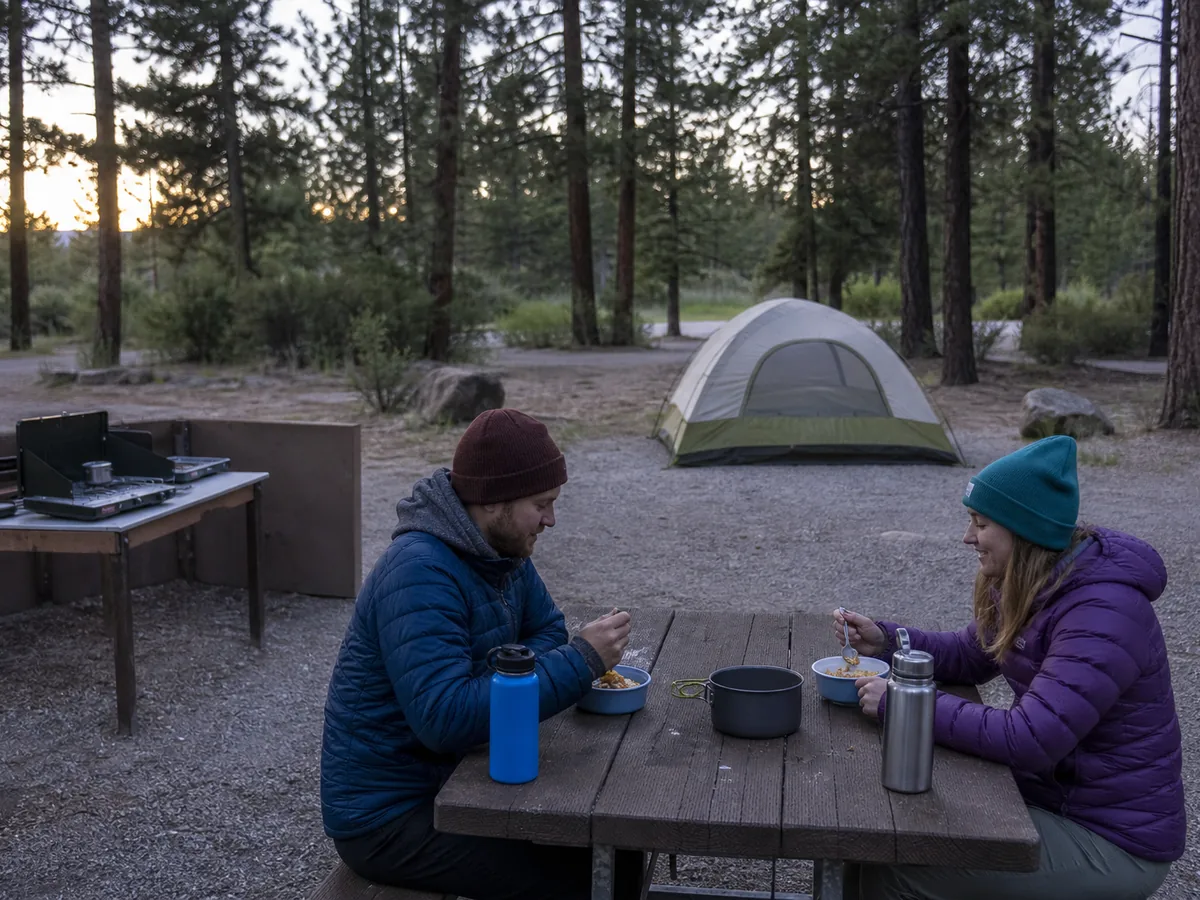
Support normal body heat without creating wet clothing or unsafe fatigue.
A stove must never be used to heat a tent
Do not run a stove, grill, lantern with a flame, charcoal device, or open fire inside a sleeping tent unless a purpose-built shelter and device explicitly allow that use under their instructions.
Ordinary camping tents can burn quickly and can trap carbon monoxide. Wind does not change this rule when pitching the tent or after setup.
Cook outside in the approved area with ventilation and clear separation from fabric and fuel. A vestibule does not automatically make stove use safe.
Follow both equipment instructions and land-manager rules.
A securely closed warm-water bottle may provide local comfort only when the container manufacturer allows hot water, the cap does not leak, and it cannot burn the sleeper. Test it outside the bag first and protect insulation from leaks.
Warmth cannot add an invisible hazard such as fire, burns, or carbon monoxide.
When do cold symptoms require an exit?
Persistent shivering, exhaustion, fumbling hands, confusion, memory problems, slurred speech, unusual drowsiness, and poor coordination can signal hypothermia onset. The Centers for Disease Control and Prevention notes that hypothermia can occur even above 40°F when rain, sweat, or cold water chills a person.
Move the person to safe warm shelter, remove wet clothing, use dry insulation, and seek medical help as CDC guidance directs.
Treat a measured body temperature below 95°F as a medical emergency. Do not give drinks to an unconscious person.
Handle a severely cold person gently and follow emergency instructions.
Families camping with kids should remember that a child may not describe cold stress clearly. Do not use direct high heat on numb skin, force walking, or assume that stopped shivering means recovery.
Worsening confusion or drowsiness is a reason for more urgent help.
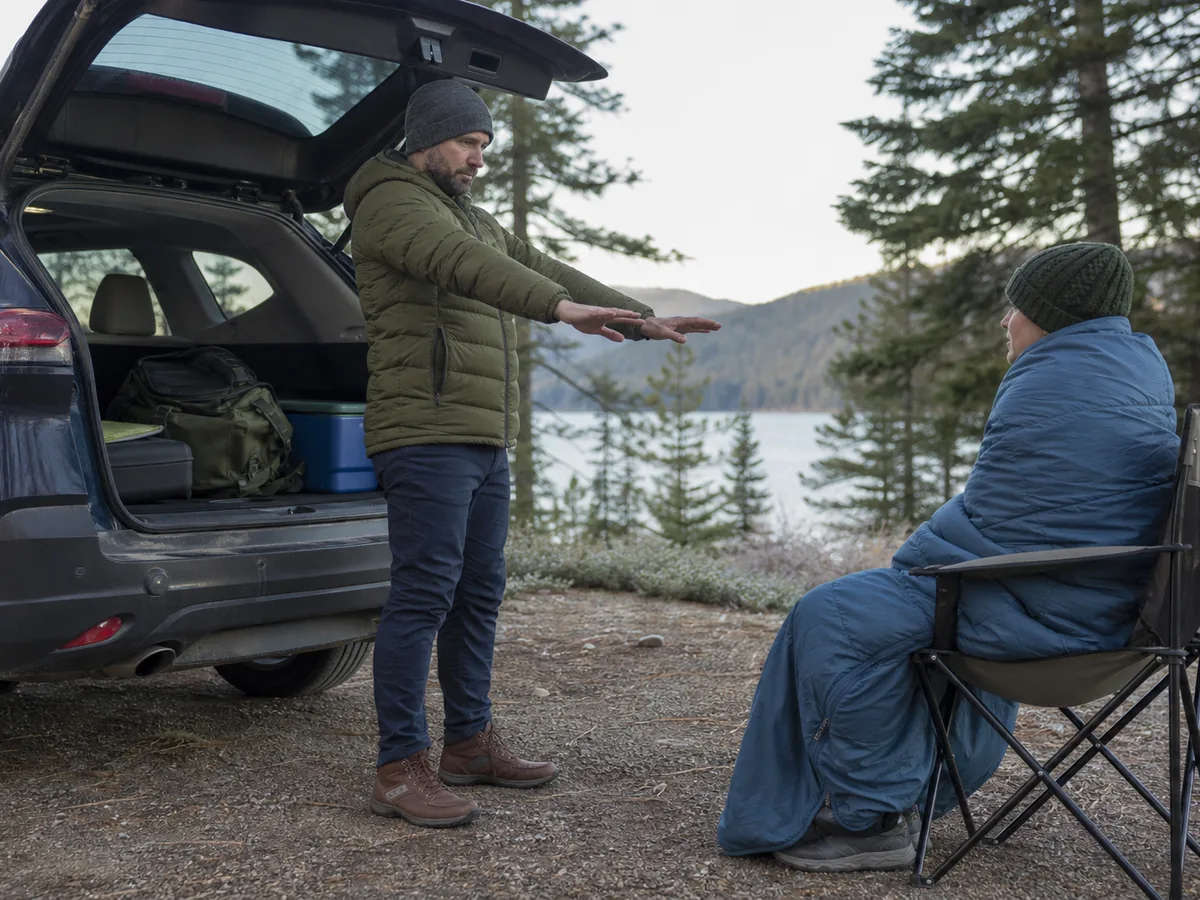
Failed rewarming ends the camp night. Get appropriate help before cold impairs the group's decisions and exit.
The point when cold symptoms require evacuation is earlier than collapse. Leave for safe warm shelter when a person cannot stop shivering after dry insulation and normal warming steps, cannot use hands normally, walks poorly, answers slowly, or becomes unusually quiet or sleepy.
Call emergency services when confusion, slurred speech, severe coordination loss, reduced consciousness, breathing concerns, or a measured temperature below 95°F appears. Follow dispatcher instructions and do not delay help to pack a complete campsite.
Assign one adult to the affected person and another to communication, driving, and the route when the group allows it. Keep the person protected from further cooling.
Bring medication and essential information, then let replaceable equipment wait.
Use the nearest appropriate warm destination, not merely the closest light on a map. A staffed facility, emergency service, or known open building is more dependable than another unverified campsite.
After an ordinary cold but non-emergency night, do not repeat the same setup unchanged. Identify whether the failure came from the forecast, pad, bag, fit, moisture, site exposure, food, illness, or an untested combination before booking another cold trip.
Sources
The Centers for Disease Control and Prevention explains hypothermia risk, warning signs, urgent thresholds, and initial actions: Preventing Hypothermia.
The CDC covers dry layers, wind and water resistance, sweat control, shivering, and cold-weather activity: Winter Weather Safety.
The National Park Service addresses winter alerts, access, changing conditions, and adjustable layers: Be Winter Ready.
Step by stepPractical steps
- Check the overnight forecast, exposure, access, and tested system range.
- Use a sleeping pad that insulates and covers the sleeping body.
- Protect sleeping-bag loft, fit, closures, ventilation, and dryness.
- Finish sweaty work and change into a protected dry reserve.
- Use normal food, water, and gentle movement without creating sweat.
- Leave and seek help when rewarming fails or thinking and coordination change.
AnswersQuestions readers ask
Why am I cold in a warm sleeping bag?
The pad may not insulate enough, the bag may be damp or compressed, drafts may remain open, clothing may be tight, or the conditions may exceed the complete system. Diagnose from the ground upward.
Should I wear all my clothes inside a sleeping bag?
Wear dry loose layers that leave room for the bag to loft. Too many bulky layers can compress insulation or cause sweat, so add clothing in controlled steps.
How can I make a sleeping pad warmer?
Use a pad with suitable measured insulation, keep the body fully on it, inflate it as directed, and add a compatible stable insulated layer when needed. Thickness alone does not prove warmth.
Can I use a camp stove to warm my tent?
No. A cooking stove or open flame can cause fire, burns, and carbon monoxide exposure in an ordinary tent.
Move to safe warm shelter or leave if the sleep system fails.
When is being cold at camp an emergency?
Confusion, fumbling, slurred speech, unusual drowsiness, poor coordination, or persistent failed rewarming needs urgent action. A body temperature below 95°F is a medical emergency.