
How Should You Plan Winter Camping Around the Coldest Hours?
Set a lower winter ceiling around access, wind, dry insulation, liquid water, hand function, short daylight, and the work required to leave after the coldest hours.
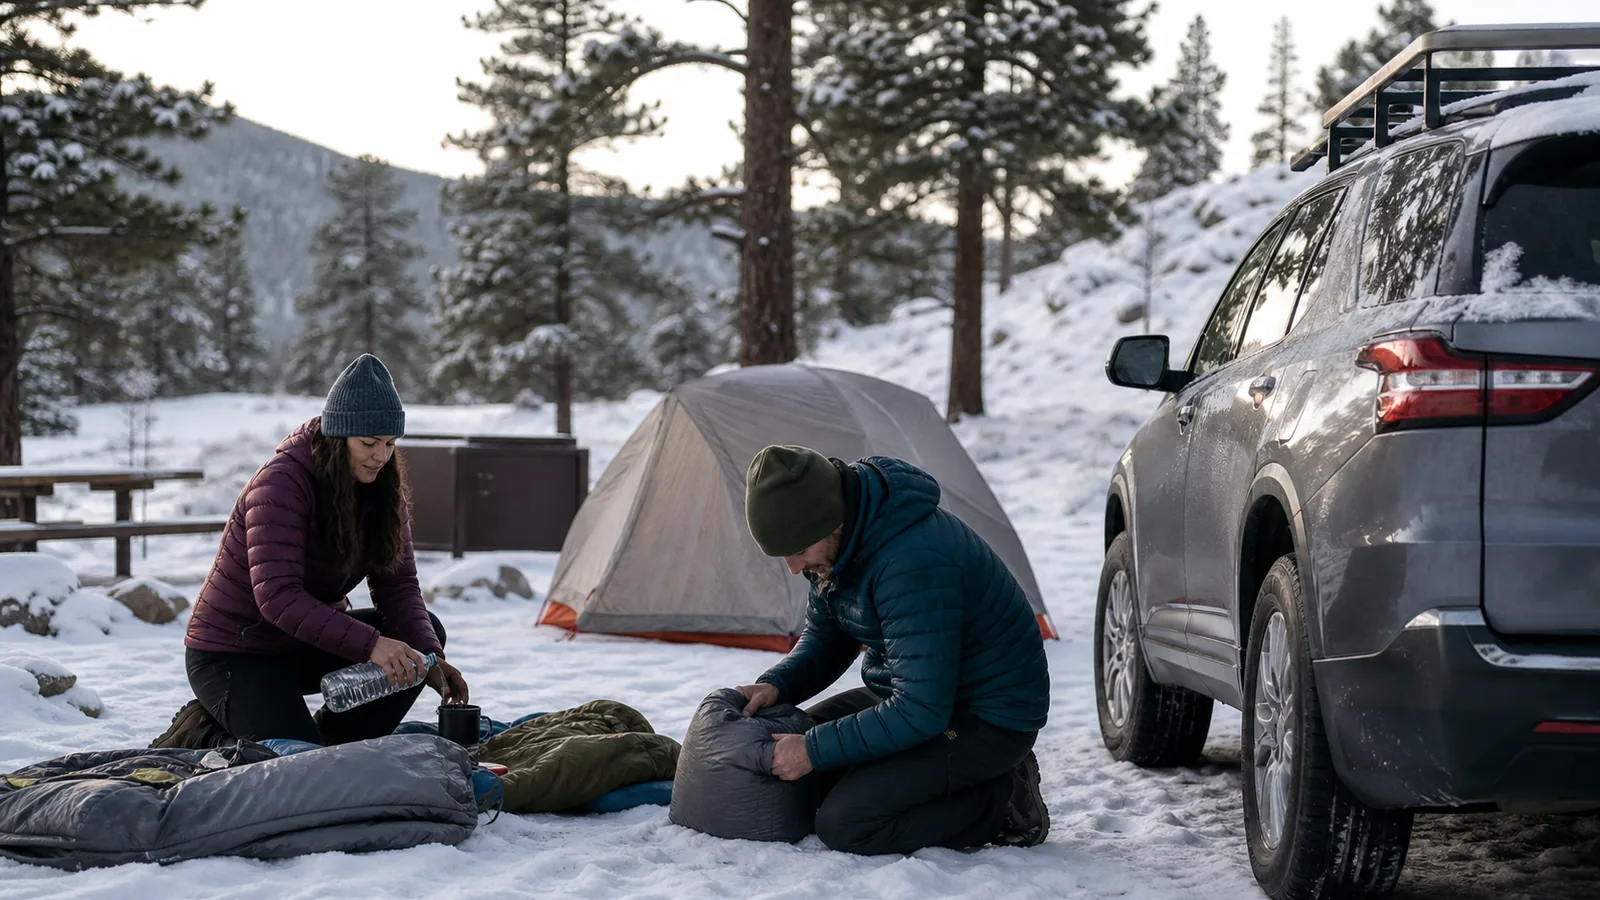
Camping in winter requires more than a warmer sleeping bag. Choose a stable forecast and accessible legal site, protect dry insulation, plan liquid water and fuel together, preserve hand function, and prove the group can pack and reach the exit after the coldest hours.
Winter camping is appropriate only when the group can stay dry, maintain warmth after movement stops, keep water liquid, operate shelter and stove with cold hands, and leave through the expected snow and road conditions.
- Forecast gate
- Temperature wind precipitation visibility and storm timing stay inside tested limits
- Access gate
- Road trail gate parking and exit remain usable after overnight weather
- Sleep gate
- Ground insulation bag shelter and dry layers work as one system
- Water gate
- Carried water remains liquid or snow melt has tested fuel capacity
- Function gate
- Hands thinking balance and speech remain normal enough for camp work
- Exit gate
- The group can pack and travel after the coldest hours
Begin near a simple exit. A developed legal campground with direct vehicle access lets you test cold systems without combining them with a remote overnight commitment, avalanche terrain, or an uncertain road.
The coldest restart sets difficulty. Reaching camp while warm does not prove the group can leave in the morning.
Why Should Winter Lower Your Camping Objective?
Movement produces heat.
Camp removes that heat while adding fine-motor work such as clipping shelter parts, lighting a stove, opening containers, and changing damp layers. Wind and wetness can speed cooling during the transition.
Snow changes travel time and site work. A short approach may take longer, parking can disappear under restrictions, and an overnight storm can make the exit harder than arrival.
Daylight is also shorter in many winter locations, leaving less time to correct a setup problem.
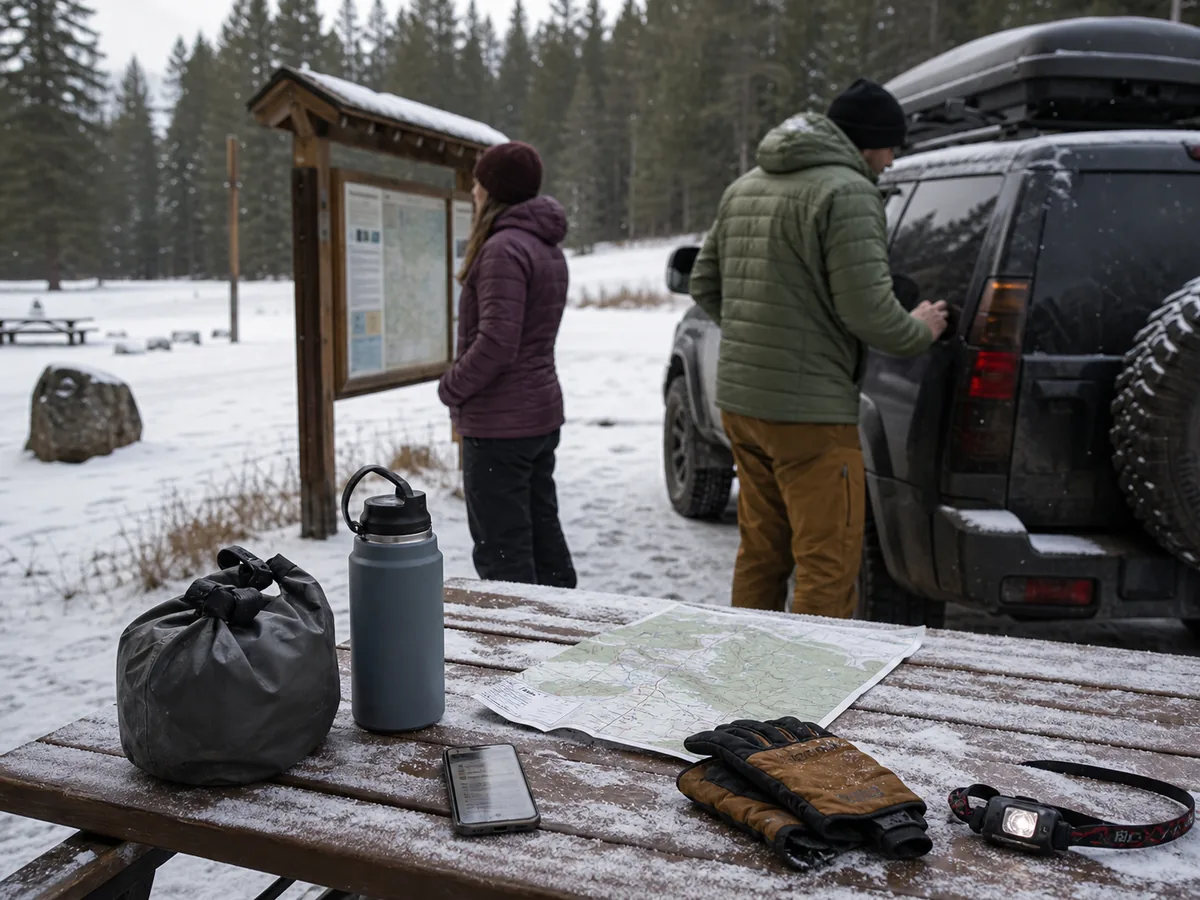
You should choose fewer unknowns. Use a familiar wind-stable tent setup, a tested sleep system, a known stove, and a site below terrain that requires avalanche assessment unless every person has the training, current forecast, and equipment for that terrain.
Do not make the first winter night a remote commitment. The first camping foundation should already be routine in mild conditions before cold adds frozen water and slower hands.
The purpose is not to tolerate the lowest number. It is to preserve enough reserve to cook, observe each other, sleep, and execute the exit.
Lower the objective as cold adds work.
How should a winter forecast change your exit plan?
Read the official forecast for the campsite, access road, and travel period.
Note the expected low, wind, precipitation type, accumulation, visibility, and timing. A calm low and a windy low with the same temperature do not create the same heat loss or shelter load.
You need to check warnings and advisories, not only the hourly icons. Winter storm warnings can mean travel becomes difficult or impossible.
Freezing rain can affect roads, trees, walking surfaces, and the ability to pack safely.
| Signal | What changes | Practical decision |
|---|---|---|
| Falling temperature before arrival | Setup happens during rapid cooling | Arrive earlier shorten or cancel |
| Strong wind | Faster heat loss and higher shelter stress | Choose a sheltered legal site or leave |
| Heavy snow timing | Access and morning exit may deteriorate | Reduce distance use a lower site or postpone |
| Freezing rain | Wet surfaces become hazardous across camp roads and trees | Avoid the exposure and delay travel |
| Poor visibility | Navigation and road hazards increase | Stay on the simple known access or cancel |
| Warming after snow | Surface and avalanche conditions may change | Check local forecasts and avoid unassessed terrain |
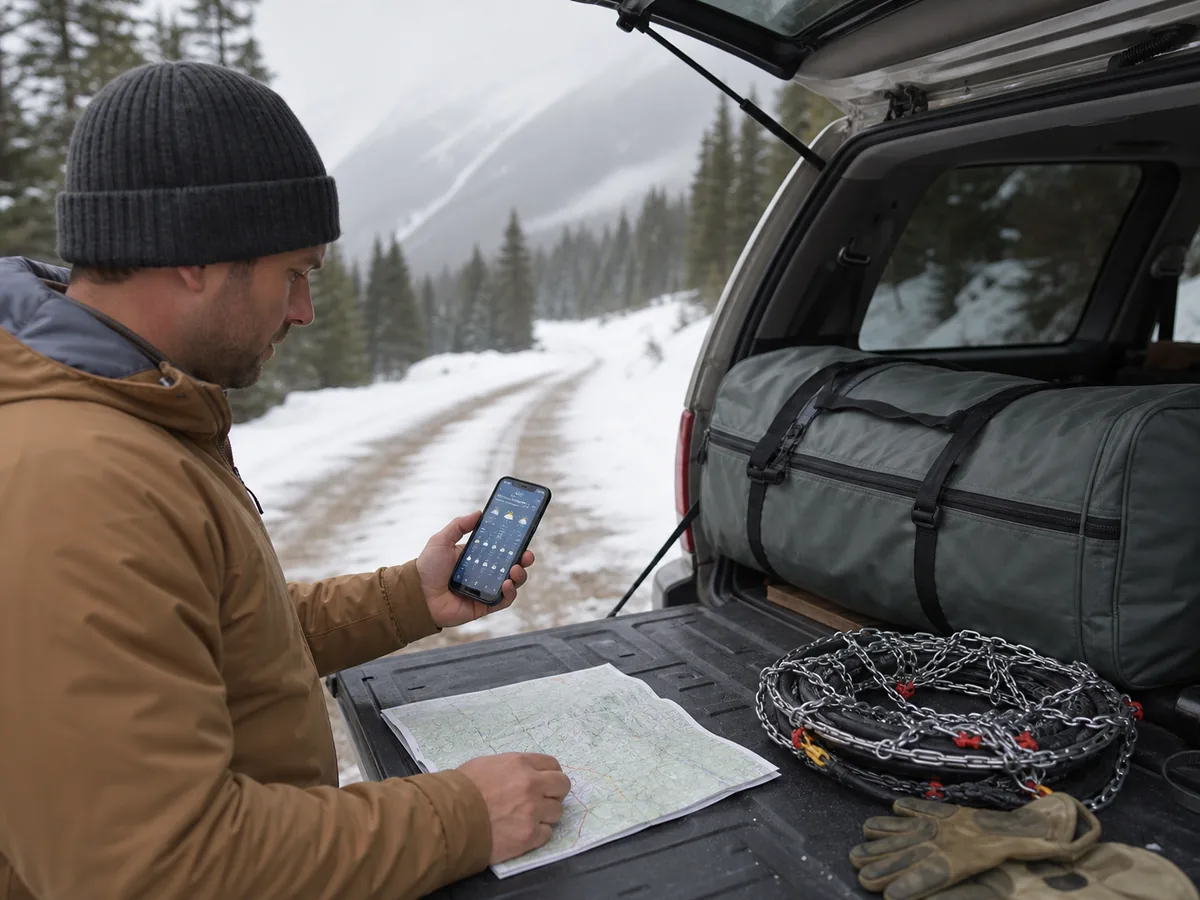
Your exit decision should be set before leaving.
Name the forecast change that moves the trip to a developed lower site and the condition that cancels it. A reservation fee or free weekend should not change that threshold.
Put those conditions into the first camping trip plan along with sunset, check-in, and checkout. Winter buffers must cover slower driving, snow clearing, cold setup, and the morning vehicle check.
Recheck access close to departure and before sleeping. Plow schedules, gate closures, parking rules, and chain requirements are site-specific and can change.
Forecast the return as well as the night.
How does frozen ground change the sleep system?
Sleeping-bag insulation compresses beneath your body.
On snow or frozen ground, a ground-up warmth system depends on the pad for most resistance below you. A bag with a low temperature label cannot replace inadequate ground insulation.
Your pad setup should suit the expected conditions and be tested with the actual sleeper. Check valves and carry repair material that works in the cold.
When using multiple pads, make sure they stay aligned rather than sliding apart overnight.
A sleeping bag label is one part of the decision. Manufacturers may show a comfort value, a lower-limit value, or a broader tested range, and those labels do not promise the same sleep for every person.
You should start with the rating intended for the sleeper and confirm what the manufacturer means by it. Do not compare a comfort value from one bag with a lower-limit value from another as if they describe the same experience.
Allow room for the forecast low to be colder than expected. Wind entering the shelter, damp insulation, fatigue, low food intake, medication, body size, and individual cold sensitivity can all reduce comfort.
The pad has its own insulation value, often expressed as an R-value. Higher values resist more heat flow, but the whole result still depends on pad coverage, inflation, leaks, stacked-pad stability, and contact with snow or frozen ground.
A warm bag over a weak pad can leave your back and hips cold because the insulation beneath you is compressed. Adding more clothing above does not fully correct heat loss into the ground.
You should test the exact bag, pad, sleep clothing, and shelter at a legal site with an easy warm exit. Record the overnight low and whether cold appeared from below, through the bag, around the face, or where damp fabric touched.
Change one part at a time after the test. If you replace the pad and bag together, you will not know which limit improved.
Use the coldest proved system as your planning boundary, with reserve for a worse forecast or a tired sleeper.
Ground
Insulated pads limit heat loss beneath compressed bag insulation.
Loft
A dry bag or quilt traps air around the sleeper without tight spots.
Shelter
A wet-weather shelter setup manages exposure while retaining required ventilation.
Dry reserve
Protected base layers socks hat and insulation enter the sleep system dry.
Ventilation
Moisture can leave before it freezes or wets insulation.
Keep the bag dry during transport and setup.
Protect it inside a waterproof liner or sealed system appropriate to the load. Brush snow from clothing before entering and avoid bringing melting snow onto the bed.
Ventilate according to the shelter design. Closing every opening can trap moisture from breathing and damp gear.
Keep the sleeper away from wet walls and monitor frost or condensation before it compromises loft.
A vehicle-access test separates the sleep question from the slower packing and longer exit of a carried winter route. That distinction makes the first equipment failure easier to isolate.
Test the full bed. Bag, pads, shelter, dry layers, and ventilation share the result.
How do you control condensation in a winter tent?
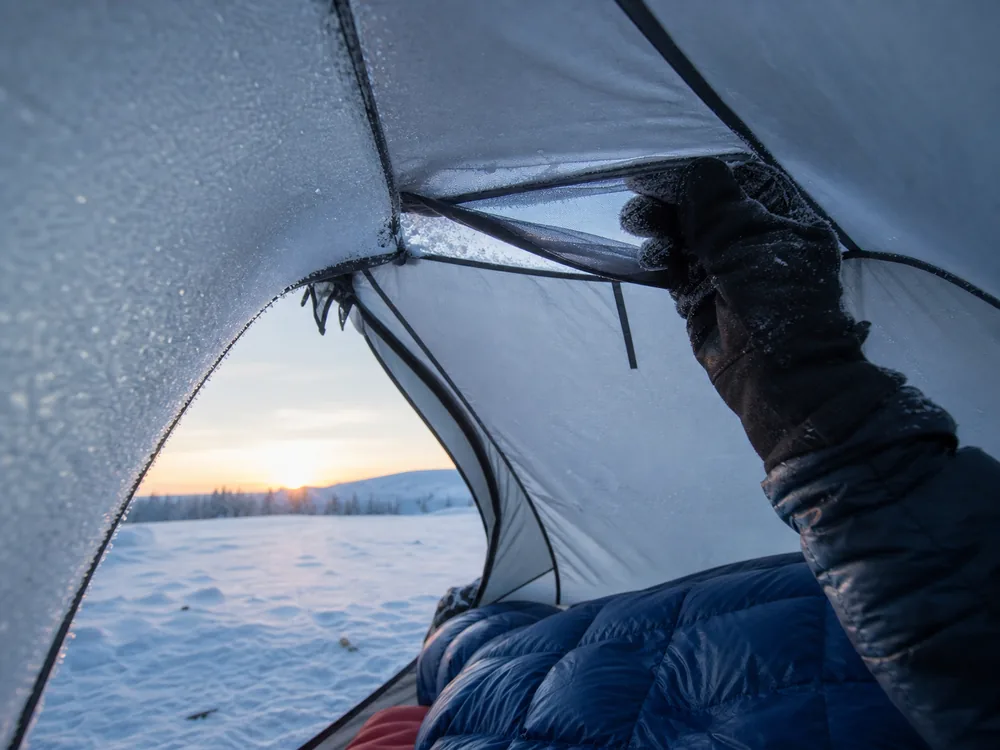
Every sleeper releases moisture through breath and damp clothing. When that warm moisture reaches a cold tent surface, it can become water droplets or frost.
Some condensation is normal in cold weather. The problem grows when it drips onto the bag, freezes into fabric, blocks vents, or returns night after night without a drying chance.
Keep designed vents open unless the shelter instructions say otherwise. Clear snow that blocks them, and avoid pressing the sleeping bag against a wet or frosted wall.
Cook outside the sleeping space in the ventilated location allowed by the stove instructions. Cooking adds moisture as well as carbon monoxide and fire risk.
Brush snow from boots and clothing before entering. Store wet items where they cannot soak the bed, while still following the shelter design and local wildlife rules.
Check the bag surface before packing. Loose frost can sometimes be brushed away in suitable conditions, while wet insulation needs a real drying plan.
A sunny, dry period may allow airing where site rules permit. Persistent dampness is a reason to shorten the trip because each night can leave less usable loft.
Do not seal every opening to chase warmth. Trapped moisture can make the sleep system colder later even if the tent feels less drafty at first.
| Condensation sign | Likely consequence | Response |
|---|---|---|
| Frost on the inner wall | Contact can wet the bag during movement | Keep space from the wall and brush loose frost carefully |
| Blocked vent | Moisture accumulates faster | Clear snow and restore designed airflow |
| Damp bag shell | Loft may decline as moisture spreads | Protect it from contact and arrange drying |
| Wet sleep clothing | Dry reserve is being consumed | Change the daytime moisture plan or leave |
| Repeated nightly buildup | The system cannot recover | Shorten the trip before insulation degrades further |
Carry a field repair that matches the pad material and valve. Practice finding a slow leak and applying the repair with bare hands before cold conditions make the task harder.
A second pad can provide insulation and some backup when the main pad fails, but only if both fit the sleeper and shelter. Test the stack because sliding pads can uncover part of the body.
Check loft during the night rather than waiting for morning. Flattened or damp areas need protection from the wall, wet clothing, or spilled water before more insulation is lost.
Keep one exit option warm and simple. At a vehicle-access site, keys, dry footwear, a clear exhaust area, and a known warming location can turn a sleep-system failure into a controlled departure.
Ventilation protects tomorrow's loft. A slightly cooler but drier shelter can preserve more warmth across the whole night.
Sweat is the fastest way to lose a dry layer
Start cool enough that the first climb or load carry does not soak inner layers.
Open vents, remove a layer, slow down, or shorten carries before sweat accumulates. Clothing that feels comfortable while standing at the vehicle may be too much during work.
- Begin slightly coolAdd movement before adding the final insulation layer.
- Vent earlyOpen clothing or remove a layer at the first sustained warmth.
- Protect the reserveKeep sleep layers and critical insulation sealed away from daytime moisture.
- Layer before stoppingApply the cold-stop layering rule before shivering begins.
- Change damp layersUse the protected set for camp and sleep.
- Dry deliberatelyAir manageable moisture only when weather and site rules make it safe.
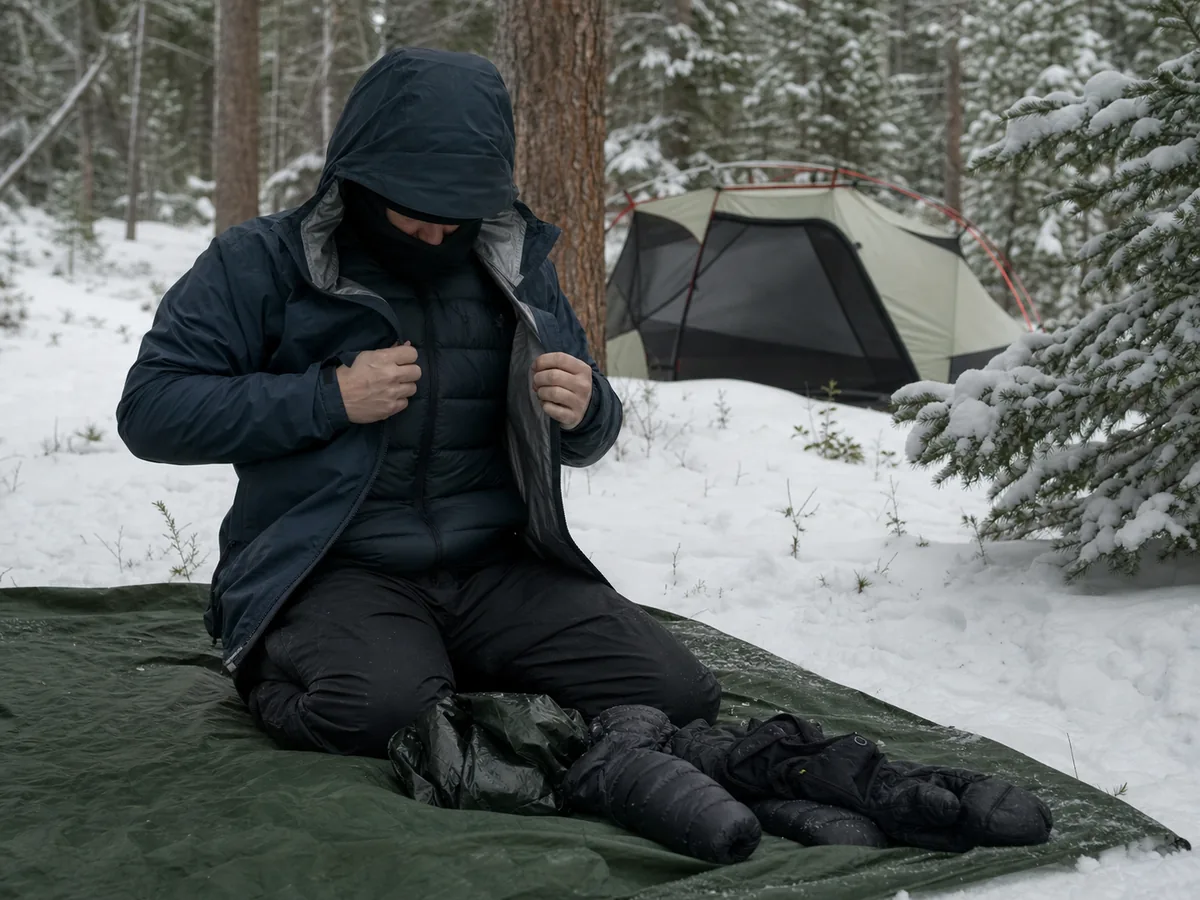
Separate clothing by phase. Travel layers manage output, camp layers reduce heat loss during low movement, and sleep layers remain dry.
Do not use the sleep reserve as the first answer to overdressing during setup.
Watch hands.
If gloves become wet, dexterity and insulation can decline together. Carry a protected spare suited to the expected conditions and keep small critical items easy to operate.
Vent before sweat accumulates and layer before a stop becomes cold.
How do you keep water, fuel, and batteries usable in winter?
Water can freeze in containers, valves, filters, and hoses.
Insulate containers, protect openings, and monitor them before ice blocks access. Wide openings can be easier to inspect and manage than narrow tubes in freezing conditions.
A normal water carry estimate still provides the starting quantity, but winter adds the problem of keeping that quantity accessible and supplying fuel when snow melt replaces a refill.
If the plan relies on melting snow, account for the time and fuel needed to turn it into drinking and cooking water.
Start with liquid water in the pot when the stove instructions and conditions allow. Snow may contain debris and a large volume can produce little liquid.
- Carry accessible liquid water at departure.
- Protect bottle openings and keep containers from freezing solid.
- Know whether the site supplies winter water and verify current status.
- Test the stove and fuel in cold conditions allowed by the manufacturer.
- Budget fuel for snow melt cooking hot drinks and a delay.
- Keep a no-cook food option when the stove or fuel fails.
- Protect phone headlamp and communication batteries from deep cold.
- Carry power without depending on one device or one exposed battery.
Never use a fuel-burning stove, grill, or heater inside a tent or vehicle sleeping space. The enclosed-combustion danger includes carbon monoxide and fire.
Operate equipment only in the ventilated setting allowed by its instructions and the site rules.
The camping packing process should treat water, stove, fuel, ignition, pot, food, and power as tested dependent systems.
Avoid precise fuel promises. Stove design, fuel type, starting water, wind, temperature, pot, elevation, and snow density all change consumption.
Test, measure, and keep a reserve for the named delay.
Water determines fuel and time when the environment supplies only snow.
Pitching on snow changes where the tent goes
Use a legal designated area and follow local winter rules. Before unpacking, look above for damaged branches and across the terrain for wind exposure, drainage, plowed traffic, and slopes that could carry snow movement.
Compact a level platform and allow it to settle before pitching when the shelter instructions and site permit.
Use anchors suited to the snow and the tent design. Standard stakes may not hold in loose snow, while improvised anchors must still be recoverable without leaving material behind.
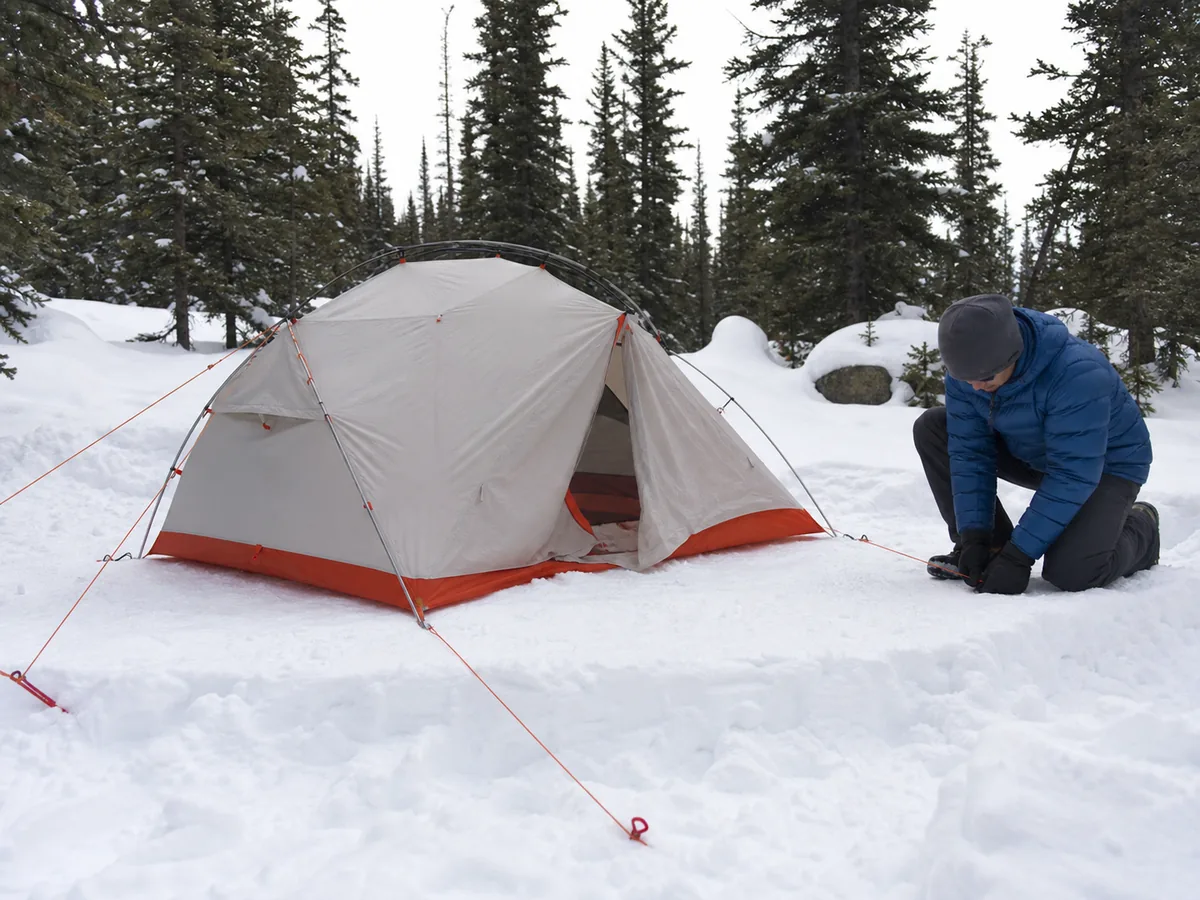
Keep ventilation openings clear as snow accumulates. Do not build snow against a shelter in a way that blocks designed airflow.
Mark guylines and tools so they remain visible without creating hazards for other campers.
Avoid avalanche terrain unless the group can identify it, obtain the current forecast, carry rescue equipment, and make trained decisions. A general camping article cannot replace local education or professional instruction.
Site selection comes before snow construction.
Which cold injury signs should end the trip?
Shivering, exhaustion, confusion, fumbling hands, memory loss, slurred speech, and drowsiness are warning signs of hypothermia identified by the CDC. A body temperature below 95°F is a medical emergency, but do not wait for a thermometer reading when behavior and coordination are deteriorating.
Frostbite can begin with redness or pain and progress to pale, waxy, firm, or numb skin. Numbness can hide the injury from the affected person, so partners should check exposed skin and function.
The hypothermia field response covers warning signs and treatment in more detail. Winter camping should stop when the group cannot restore warmth, normal thinking, speech, coordination, or hand function.
Do not frame worsening cold injury as a comfort problem or test of commitment. Use the vehicle, staffed facility, emergency plan, or local services appropriate to the condition.
Health overrules the campsite objective.
What should you check before leaving winter camp?
Prepare for morning at night.
Keep the first warm layers, headlamps, water, stove equipment, medication, footwear, and vehicle keys in known protected locations. Clear new snow as conditions require and check the access before breaking down shelter.
- Assess every person's warmth thinking speech hands and feet before leaving insulation.
- Put on dry layers before prolonged packing work.
- Make liquid water available without consuming the entire fuel reserve.
- Eat before the group begins the coldest sustained task.
- Check current weather road gate and vehicle conditions.
- Pack sleep insulation while it remains protected from snow.
- Keep shelter standing until people water navigation and transport are ready.
- Leave early when weather access health or equipment is deteriorating.
Test the vehicle before committing the whole camp to packed bins. Clear exhaust outlets, windows, and required surfaces safely.
A car-camping load order should keep winter vehicle supplies, keys, and exit tools accessible after shelter is packed.
Tracing camping failure chains helps reveal whether frozen water, wet gloves, a soft pad, or a slow pack began with an earlier preventable choice.
Record actual overnight low, wind, condensation, water use, fuel use, sleep comfort, hand function, and morning duration. Increase only one major variable on the next trip.
Prove the restart before going farther.
Sources
The National Weather Service explains wind chill, winter warnings, cold exposure, layering, and why severe winter weather can make travel difficult or impossible: Winter Weather Warnings and Cold Weather Preparation.
The CDC lists hypothermia and frostbite warning signs and identifies hypothermia as a medical emergency: Winter Storm Safety and Preventing Frostbite.
The USDA Forest Service notes that winter temperatures can freeze carried water and that snow melting needs a stove and fuel plan: Winter Recreation Safety.
Use the local forecast and land manager for current access, avalanche, fire, water, and camping rules.
Step by stepPractical steps
- Choose a stable forecast, legal accessible site, and route that remains simple after overnight weather.
- Test the complete ground, bag, shelter, dry-layer, and ventilation system.
- Vent during work and protect a separate dry reserve for camp and sleep.
- Plan liquid water, snow melt, fuel, food, and battery protection as one dependency.
- Build shelter on a legal hazard-checked site with anchors and ventilation suited to snow.
- Leave for cold injury, deteriorating access, failed equipment, or a morning restart the group cannot complete.
AnswersQuestions readers ask
Is winter camping safe for beginners?
A person new to camping should first practice shelter, sleep, food, and closeout in mild conditions. The first winter night should use a legal developed site, stable forecast, direct vehicle access, tested cold system, and easy exit.
How cold is too cold for winter camping?
There is no universal temperature cutoff. Wind, moisture, ground insulation, sleep system, group health, equipment tests, access, and exit conditions all change the limit.
Stay within the range the complete group system has proved.
How do you keep water from freezing while camping?
Begin with accessible liquid water, insulate containers, protect openings, monitor them, and keep a tested snow-melt plan with enough fuel when appropriate. Verify whether campground water operates in winter.
Can I use a stove or heater inside a tent?
Do not use fuel-burning stoves, grills, or heaters inside a tent or vehicle sleeping space. Carbon monoxide and fire make enclosed combustion dangerous.
Follow the equipment instructions in the allowed ventilated setting.
What signs mean a winter camping trip should end?
Leave or seek help for worsening weather or access, failed critical equipment, inability to restore warmth, persistent shivering, confusion, fumbling, slurred speech, unusual drowsiness, numb pale skin, or other signs of cold injury.