
How to Find Water on Trail Without Betting on a Blue Line
Verify current reports, map alternatives, read the catchment, protect the source, and turn around before the reserve disappears.
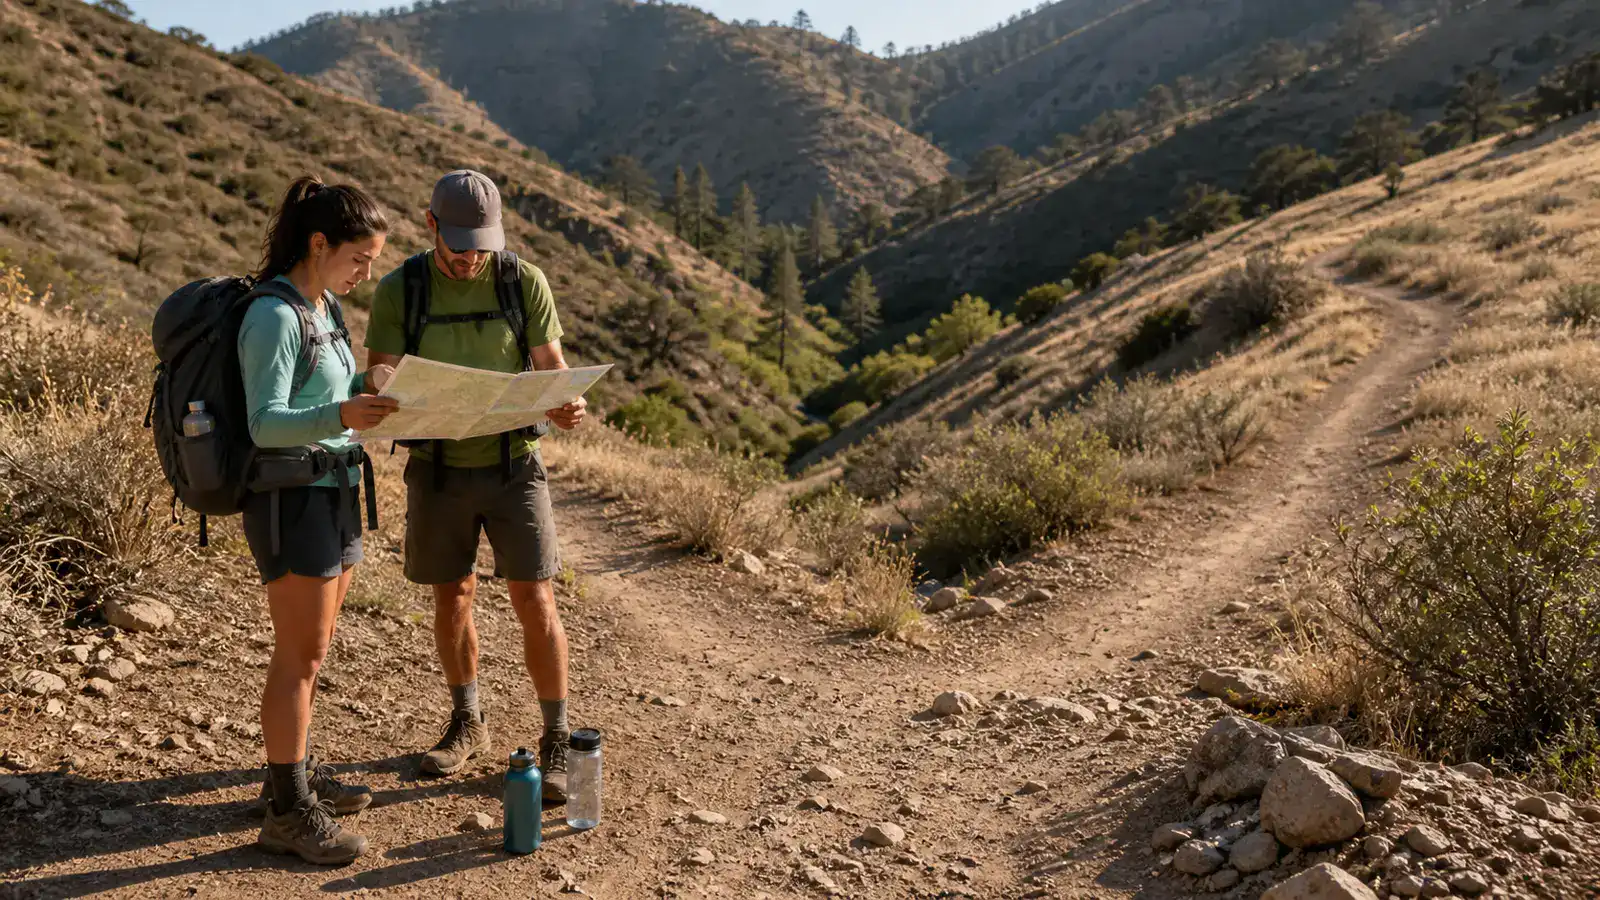
Find trail water by combining current source reports, several mapped alternatives, catchment evidence, safe collection, suitable treatment, and a dry-source decision threshold.
Find water on a trail by researching current source reports before departure, mapping several alternatives, reading the catchment as you approach, and treating every unverified source as uncertain until you see it. Carry enough water and decision margin to reach the next reliable option or turn around when a mapped spring is dry.
Terrain clues can narrow a search, but they cannot promise flow or safe drinking water. Season, recent rain, drought, snowpack, upstream use, wildlife, and infrastructure failure can change the same source from one trip to the next.
A water symbol is a lead, not a supply. The plan works only when a missing source does not force the group to continue into a shrinking reserve.
Which water evidence can you trust before the hike?
Start with the land manager and route authority responsible for current access and source conditions. You should compare its report with a recent guide, map, trail-maintainer update, or a dated report from someone who passed the source in comparable conditions.
- Identify the source and witness :: Distinguish its type and prefer the responsible agency or someone who directly saw it
- Test the date against weather :: Compare the observation with rain, drought, snowmelt, freezing, and heat since it was made
- Confirm access :: Check private land, closures, broken infrastructure, and wildlife protection before relying on the source
- Record the failure branch :: Name another reachable source and the safe exit if this one is dry
- Fund the first leg :: Carry enough departure water to reach a known outcome without depending on the uncertain source
A crowd-sourced pin without date, photo, or direct observation is weak evidence. Several copies of the same old claim still count as one source.
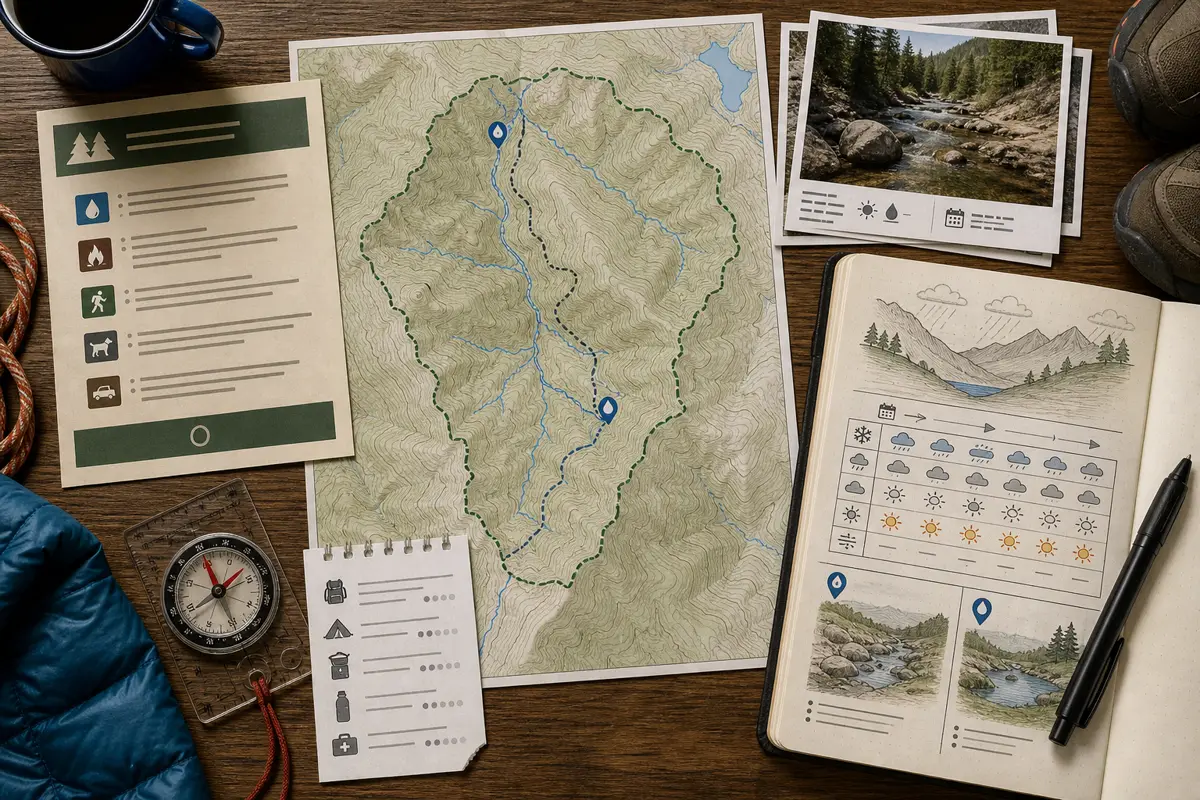
You should note what the report actually proves. “Water usually here” does not state how much is flowing now, whether a group can collect it, or whether the route to it is open.
Build a water ledger for the whole route
List sources in travel order with the distance, climb, exposure, likely arrival time, current confidence, collection difficulty, treatment plan, and next fallback. The ledger reveals long dry gaps that a map full of blue symbols can hide.
| Route point | Evidence and confidence | Water needed to arrive | Collection and treatment | Failure move |
|---|---|---|---|---|
| Trailhead | Confirmed public supply or carried water | Departure amount plus reserve | Fill every planned container | Do not start when the departure supply is unavailable |
| Primary source | Recent direct report and mapped catchment | Consumption through the leg | Required equipment and contact time | Continue only with reserve for the alternate |
| Seasonal source | Old or conditional report | Treat as unavailable in the base plan | Attempt only without losing the exit | Turn around or reach the confirmed alternative |
| Last source before dry section | Must support the full exposed leg | Dry-section amount plus delay margin | Fill, treat, cool, and inspect containers | Shorten route when capacity or source cannot support the leg |
| Exit or resupply | Confirm hours and access | Enough to finish without borrowing | Use permitted public facility | Trigger outside help before mobility or judgement declines |
Avoid one universal litres-per-hour assumption. You need a trip-specific estimate based on weather, effort, altitude, shade, group needs, food, treatment losses, and delays.
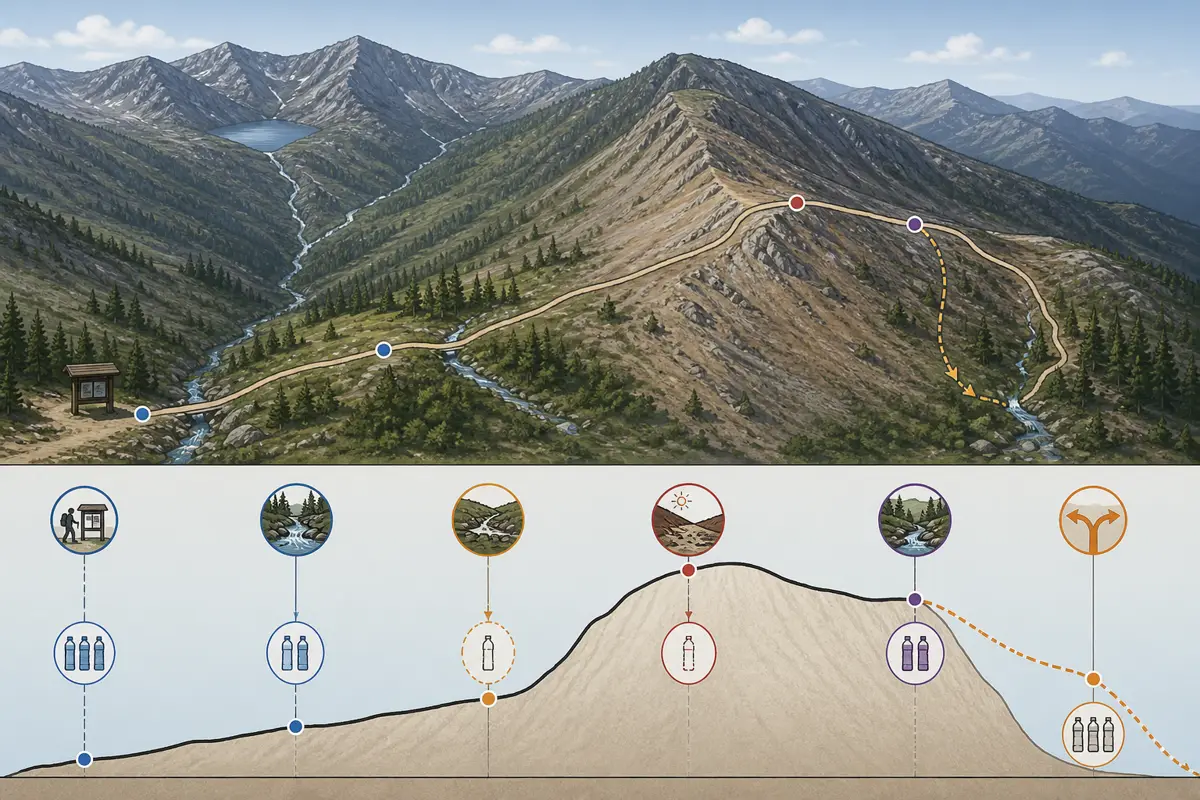
Recalculate when the group drinks faster than planned or travel time increases. The reserve belongs to the delayed route, not to extra distance added after the plan changes.
How do maps and terrain narrow the search?
Use a topographic map to identify catchments, drainage junctions, springs, lakes, valley bottoms, snowfields, and places where the trail crosses water. Then compare those symbols with season, geology, slope aspect, vegetation, and recent weather.
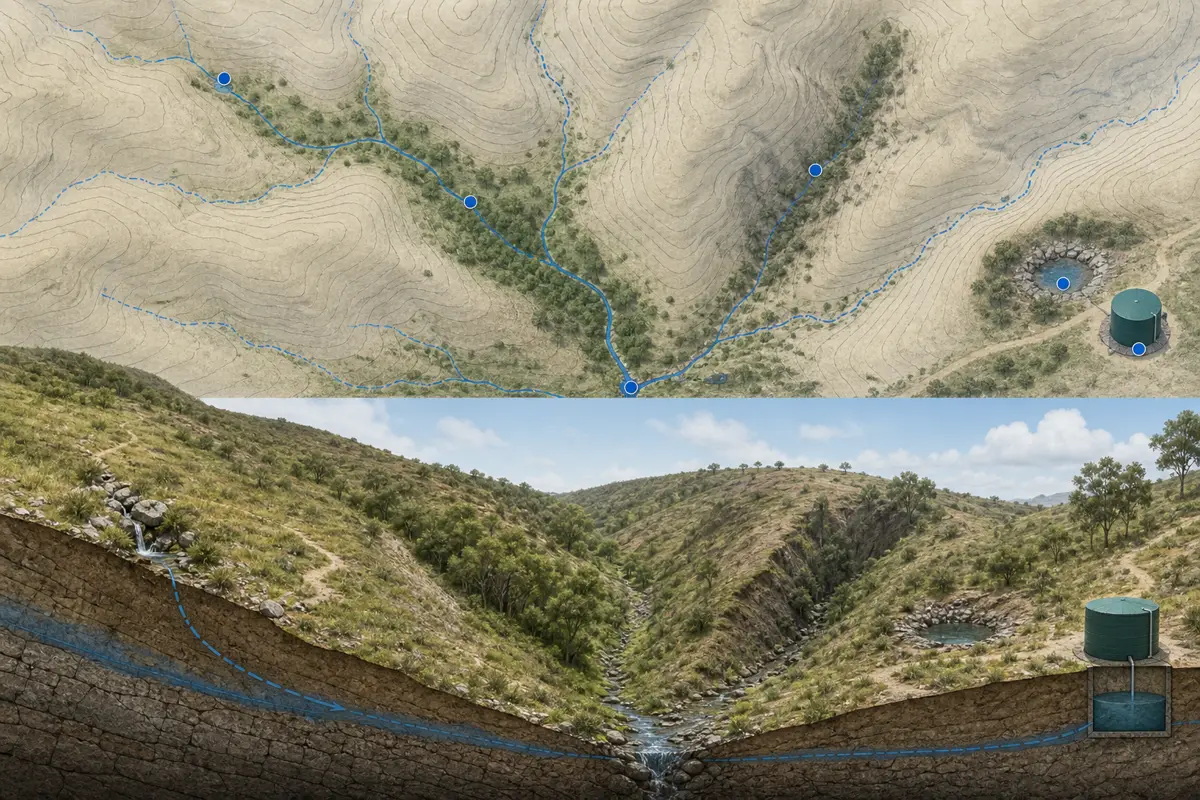
A perennial blue line suggests continuity, while an intermittent drainage or spring symbol can still be dry.
Drainage junctions and shaded gullies collect larger or longer-lasting catchments, but they can also hide unstable access.
Green vegetation and rock depressions are weak clues because moisture may remain underground or disappear after rain. Tanks, taps, troughs, and pipes need current confirmation because infrastructure can be empty, broken, locked, seasonal, or reserved.
You should stay on the legal durable route while investigating. Do not descend an unstable gully, cross a closure, damage a spring, or lose the trail to chase greener vegetation.
Animal tracks can converge near water, but they also lead to food, bedding, and travel corridors. Use them only as weak context and never follow wildlife into unsafe terrain.
What makes one visible source preferable to another?
Choose among the sources you can legally reach, then treat the selected water with a method suitable for the actual hazards.
Clear flow is easier to collect and process than shallow silty water, but appearance cannot establish safety.
You should reject water with a chemical sheen, strong fuel or sewage odour, harmful algal bloom, industrial discharge, or another hazard your carried treatment cannot address. Boiling or filtering does not make every contaminant safe.
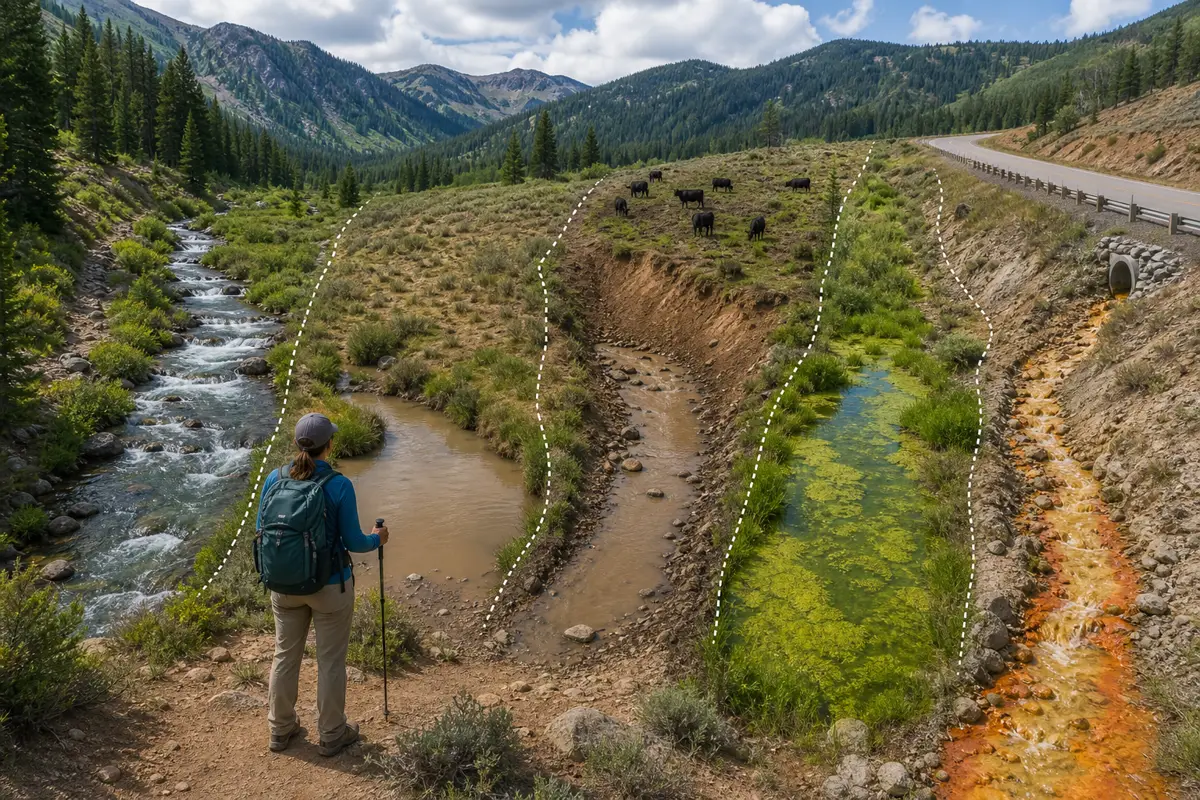
Never taste water to decide whether it is safe. You should also avoid promising that moving water is clean merely because it looks cold and clear.
Before collecting, scan the upstream catchment for camps, livestock, roads, mines, farms, fire damage, and algae. Prefer enough flow for collection without emptying a fragile pool, a stable durable bank, and sediment levels your equipment can handle.
Leave scarce wildlife water available and match treatment to the identified hazard, temperature, and contact time. Ordinary filters may not remove fuel, mining waste, salt, pesticides, or algal toxins.
How do you collect water without damaging the source?
Approach on durable ground and keep feet, soap, food, and dirty equipment out of the source.
Collect from a stable location that does not collapse a bank or stir the only usable pool.
- Inspect above and belowIdentify contamination, wildlife access, current, depth, and a stable retreat
- Prepare a durable contact pointOpen equipment away from the edge, then approach on rock, gravel, or an established access
- Collect without stirringWork upstream of disturbance and use a scoop when shallow water would otherwise be clouded
- Leave wildlife accessMove away promptly and never drain a scarce natural basin
- Treat in the controlled zoneComplete the required process away from slips and splashes at the bank
- Check the areaRemove caps, wrappers, drops, and equipment before returning to the trail
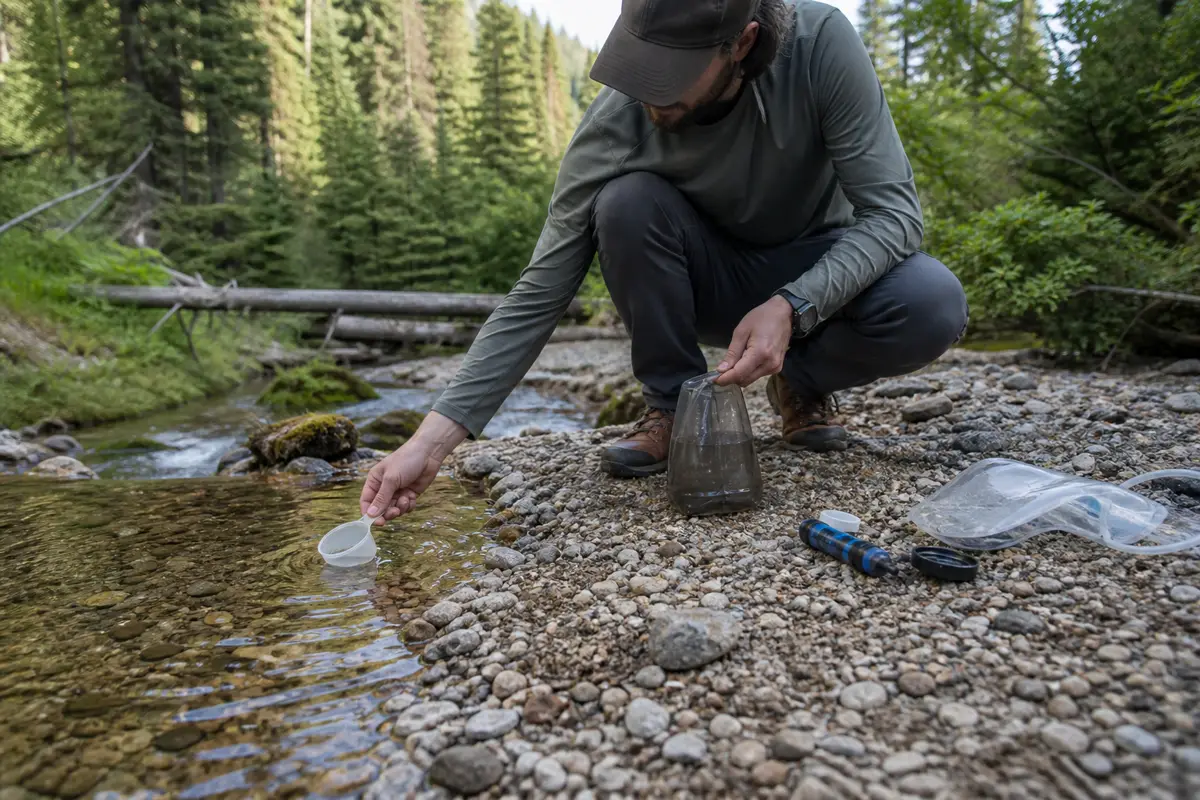
When the water is too shallow, muddy, or exposed to a dangerous bank, count it as unavailable unless a safer approved method exists. You should not trade a fall or damaged spring for one partial bottle.
Let suspended sediment settle when time and container capacity allow, then prefilter if the treatment instructions permit it. Settling improves handling but does not disinfect the water.
Should every natural source be treated?
Treat natural backcountry water unless the responsible authority explicitly identifies a potable supply and you can confirm that status. Animals, people, runoff, and failures upstream can contaminate water that appears pristine.
You should carry a backup that addresses the likely failure of the primary method. A filter can clog or freeze, a chemical can expire, a battery can fail, and turbid water can require extra preparation.
Keep dirty and treated containers distinguishable by touch and position. Cross-contamination at caps, hands, hoses, or scoop surfaces can undo the treatment after the difficult source search is over.
Where should you wait, camp, or move after finding water?
Do not camp on the source edge or block the approach used by wildlife and other travellers. Follow the local setback for sleeping, cooking, washing, and waste while carrying collected water to the activity area.
You should separate “water found” from “water ready to drink.” Collection, settling, treatment, cooling, storage, and the next dry leg all consume time and container capacity.
At a scarce spring or desert pool, collect efficiently and leave the approach open for animals. At a popular source, keep packs and kitchen equipment away from the only durable access.
Reject a swift-river bank without a controlled exit.
Confirm that snow collection is legal and budget fuel plus treatment. Follow posted rules at tanks and troughs without touching floats, valves, or livestock equipment.
Leave before darkness or weather makes the return route uncertain. A source is not useful when the approach traps the group in a canyon, flood path, steep bank, or navigation problem.
What do you do when the expected source is dry?
Stop at the planned decision point instead of searching until the reserve disappears. You should confirm the exact source location without scattering the group or losing the route, then compare remaining water, daylight, weather, distance, climb, and confidence in the alternatives.
- At the mapped pointVerify identityCheck the correct drainage, elevation, junction, and source symbol
- After a short bounded searchEnd uncertaintyReturn to the trail and account for every person and container
- Before using reserveRecalculate the routeCompare the known exit and next confirmed source with current pace
- At the decision thresholdTurn or shortenChoose the option that preserves water for delay rather than spending it on hope
- When symptoms or mobility declineEscalateCool or shelter the person and seek outside help under the emergency plan
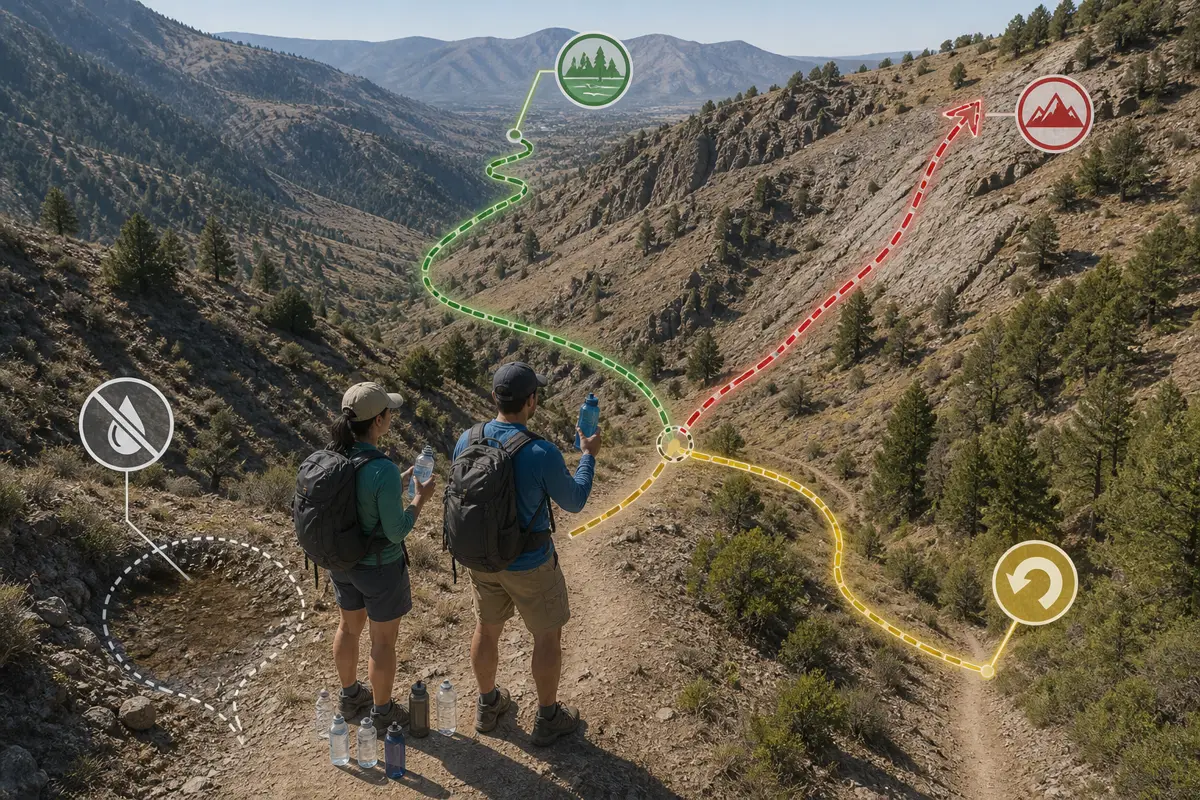
Do not split the group so one person can search faster. The search can create a navigation emergency while the people waiting lose shade, water, and information.
A successful plan may end with a turnaround. You should treat that as the water system working, because the missing source was discovered before it removed the safe exit.
After the trip, report the dry source through the responsible current-information channel so the next dated observation replaces the stale claim.
Sources
The warning against depending on intermittent sources follows the National Park Service discussion of backcountry water sources.
Map research, seasonal source behaviour, and catchment clues are supported by the Mountain House guide to finding water on the trail and Trail Hiking Australia's guide to water-source reliability and safety.
Current reports, maps, maintainers, treatment planning, and alternatives follow the North Country Trail Association's water-planning guidance.
Step by stepPractical steps
- Verify dated reports, weather, access, and departure water
- Map sources, alternatives, dry legs, and the safe exit
- Read the catchment and assess the visible source on arrival
- Collect with low impact and complete the required treatment
- Turn, shorten, or escalate before the water reserve loses the safe outcome