
Is Solo Trekking Safe? Check-Ins, Camps, and Exit Rules
Prove the second morning, set exact check-ins, and choose exits you can reach without partner help.
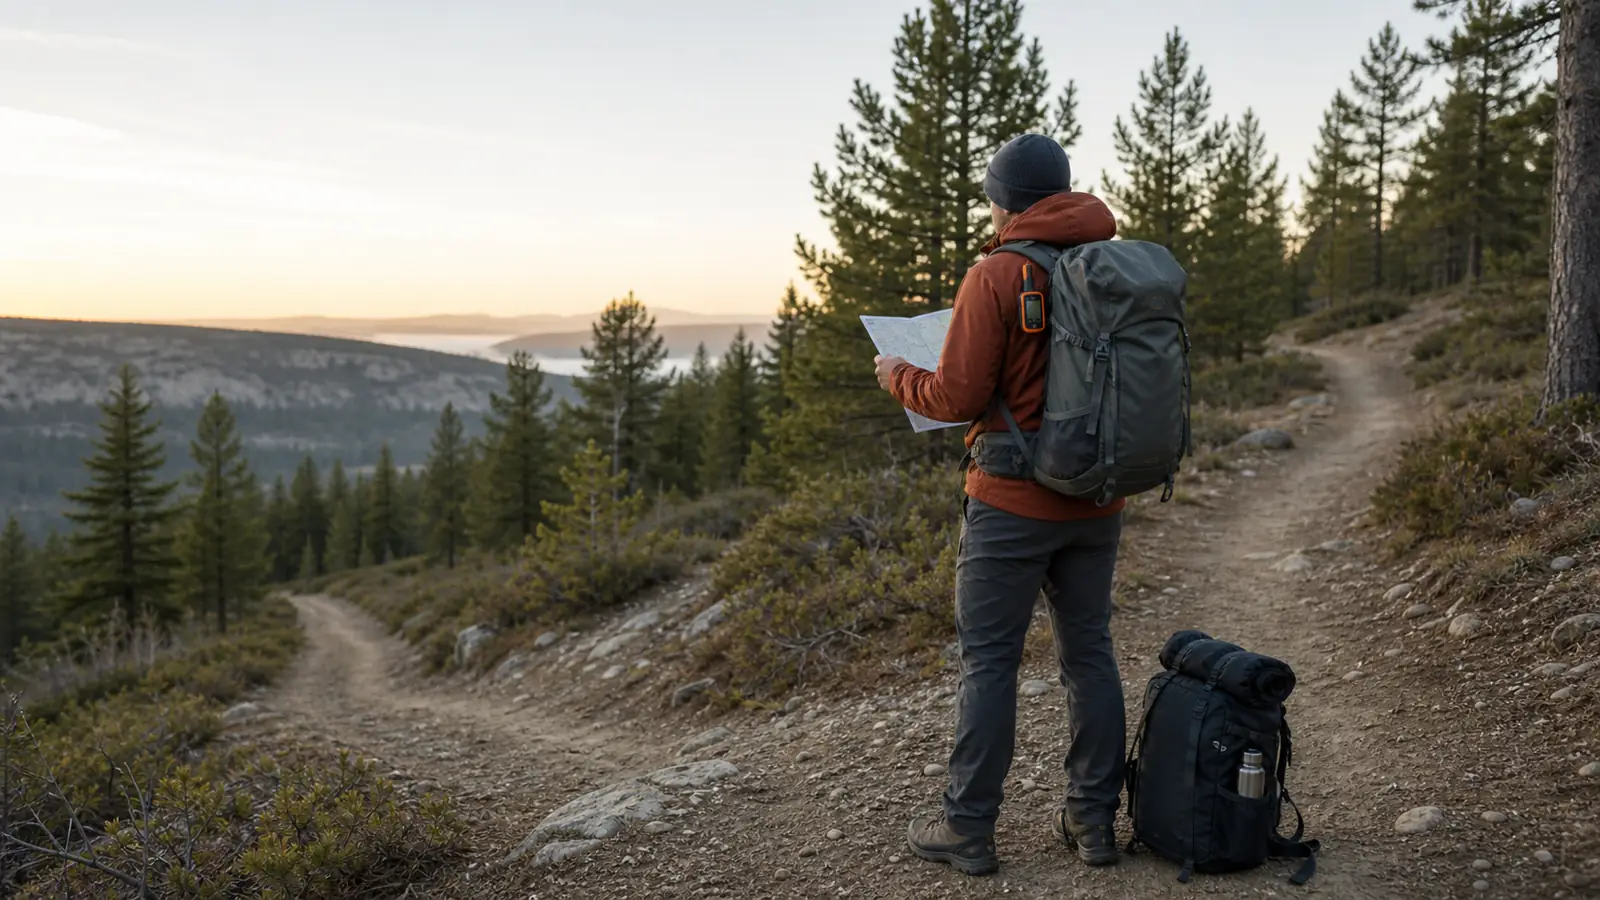
Solo trekking is safe enough to consider only when you can repeat the work after a night out and manage every route, camp, and emergency task yourself. Prove the full system close to an exit, give one trusted person an exact overdue plan, and choose a route whose easiest way out stays usable after a poor night.
How do you prove you are ready for a solo trek?
One strong day alone does not prove readiness for a solo trek. The useful test is whether you can build camp, sleep, wake, check your body and equipment, and walk again without another person sharing decisions or work.
- Pitch and secure shelter without help.
- Collect and treat enough water for dinner, breakfast, and the next segment.
- Store food and scented items under the local rule.
- Navigate from camp back to a known exit without phone signal.
- Wake with normal judgment, steady walking, dry sleep insulation, and working communication gear.
- Carry the complete load without depending on a partner contingency.
Prove the second morning before committing to a remote first night.
Solo overnight rule
Begin with a day route where you already navigate, eat, manage layers, and turn around without prompts. Then complete two walking days in a row with the pack weight you expect to carry.
Move the next test to a legal overnight site close to a road or staffed area. Use the real shelter, stove, water treatment, food storage, sleep system, communication device, and morning routine.
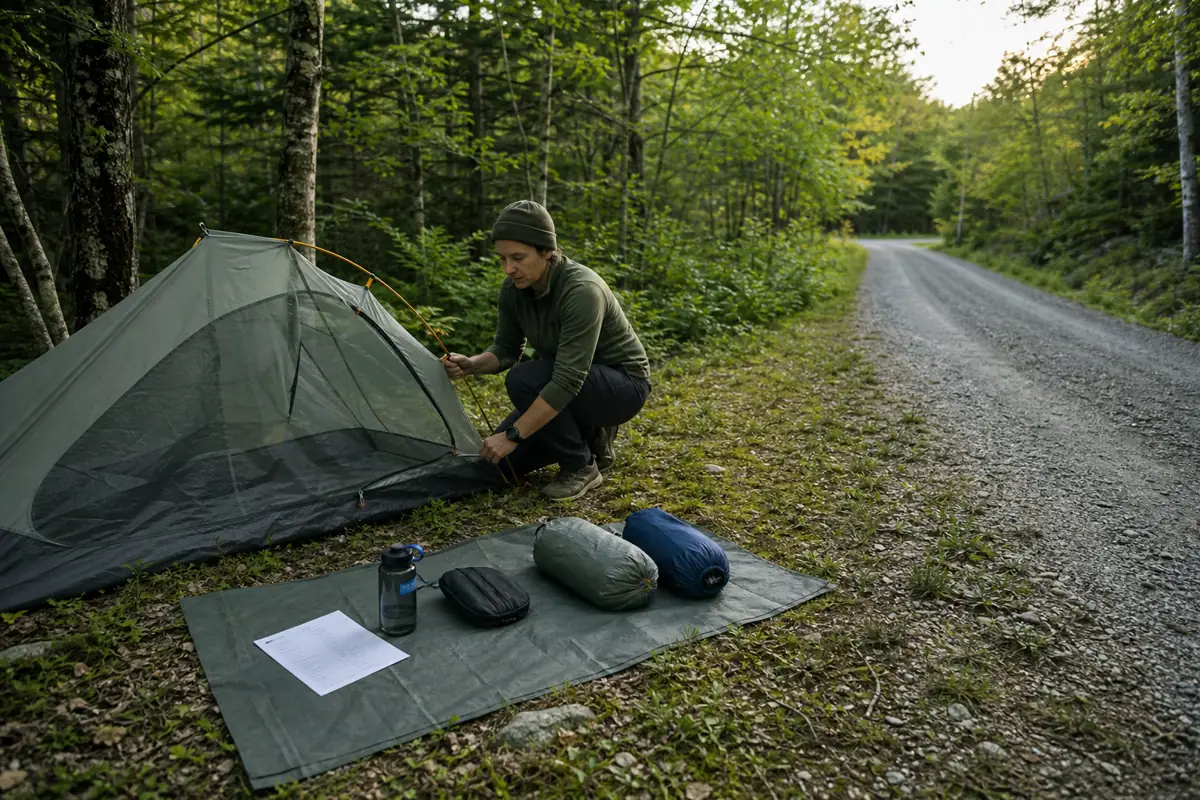
Record how long camp setup and packing take when nobody holds a light, fetches water, or notices a missed step. A task that works at noon may fail when cold fingers, rain, darkness, and hunger arrive together.
The second morning is proof because poor sleep, sore feet, damp equipment, and unfinished chores all appear before the restart. If the practice night consumes your whole reserve, shorten the route or repeat the test.
The trekking beginner foundation explains how food, water, feet, pace, and sleep connect across several days. Solo travel removes the person who might catch a missed part of that system.
The wider trekking skill set must already feel routine before you remove group support. Navigation, pacing, water, shelter, and recovery all arrive in the same trip.
What should a solo trekking check-in plan include?
A trusted contact needs a written plan that tells them what happened when a check-in does not arrive. “Back Sunday” leaves too much room for waiting, while a time, route, vehicle, alternate plan, and escalation sequence create an actionable alarm.
Give the contact your start point, camps, daily checkpoints, planned exit, vehicle details, communication methods, and the number for the managing agency. Include the names and phone numbers of any shuttle or lodging provider who can confirm whether you passed through.
Set one check-in window you can realistically meet after camp is secure.
A message promised at 6 p.m. can become a false alarm when the normal day includes a late pass, a long water carry, or a place where the device cannot see the sky.
| Trigger | What the contact should do | Why it matters |
|---|---|---|
| Check-in window opens | Wait for the full agreed window | Messages can queue while the device finds a connection |
| Window closes | Try both planned communication methods | One network or device service may be delayed |
| First overdue threshold | Check the alternate itinerary and known service contacts | A planned route change may explain the delay |
| Alarm time arrives | Contact the named agency or emergency service with the full trip plan | Search teams need the route, timing, equipment, and last known point |
| Cancellation arrives | Confirm the trekker is safely out, then close the plan | A device message alone may not show the person's condition |
Tell the contact what not to do. They should not drive remote roads, walk into the route, or change the agreed alarm time because they assume you are merely slow.
Test the process during the practice overnight. Send the message, confirm the contact received it, and verify that your location or preset text means what both of you think it means.
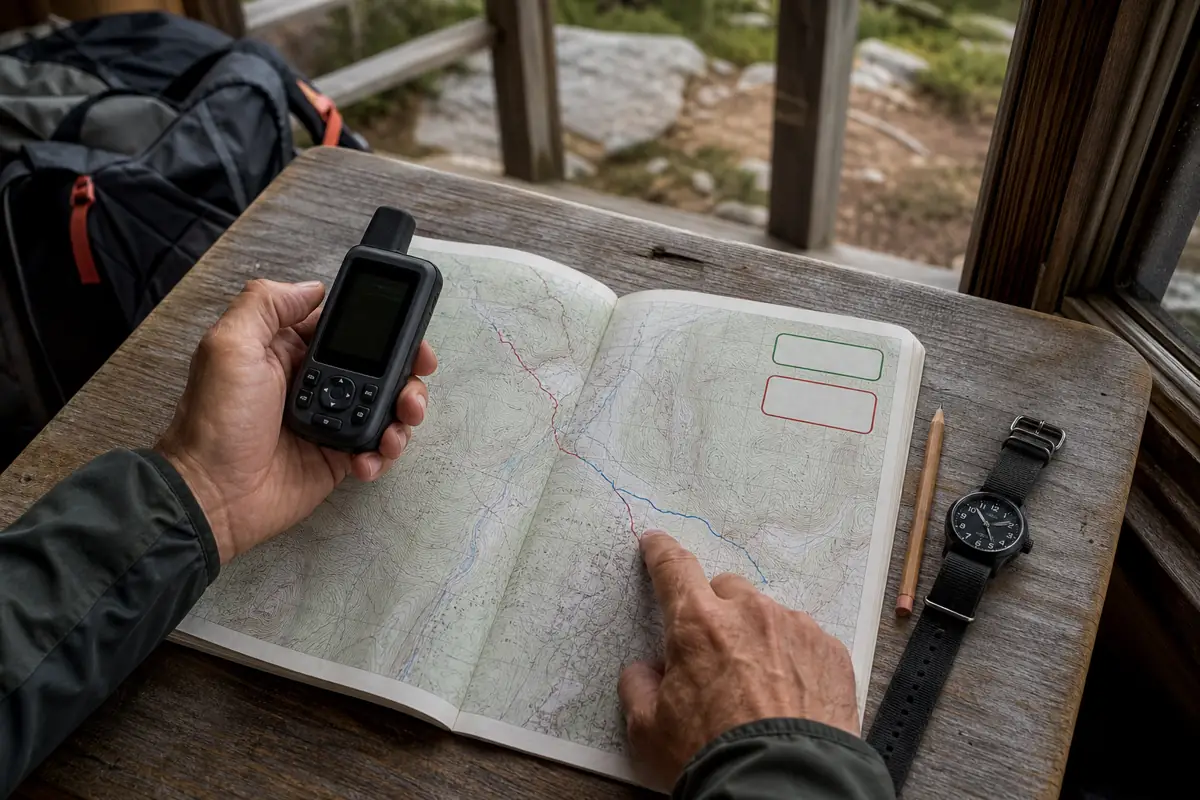
Carry the plan on paper as well as on your phone. The person at home should have the same version, including the alternate route and the point after which you will not change plans without sending an update.
The alarm time is a promise. It protects you only when you send changes before the old plan becomes wrong.
The first trekking trip plan helps divide distance, water, camps, and effort. Add the check-in window and overdue actions after those daily segments are realistic.
Which exits still work after a bad night?
The first solo route should not require your best performance to leave it. Choose marked ground with conservative daily distance, legal camps, dependable water information, and an exit after each night.
Study every exit from the camp outward. Note the distance, climb, river crossing, road access, seasonal gate, transport option, and terrain that must still be crossed when tired or injured.
Useful first exit
A marked path descends or stays level to a road, staffed site, or reliable pickup point.
Weak first exit
The line is shorter but crosses the highest pass, exposed ridge, or difficult ford.
Weather exit
The route leaves exposed terrain before the forecast hazard arrives.
Injury exit
The distance can be covered slowly without technical moves or a forced water crossing.
Reject an itinerary when the easiest evacuation still crosses the hardest section. A loop can look elegant on a map while removing the option to retreat the way you came.
Use distance between exits as the planning number, not total mileage alone. A 25-mile trek with road access after each camp can offer more control than a 15-mile traverse with one remote midpoint.
Plan from the exit inward. Camps and daily goals should fit the ways out, rather than forcing an exit to fit an ambitious itinerary.
Rain, snow, and cold can close a line that looked simple in dry weather. The wet-weather trekking system helps protect shelter and sleep gear when the first night may decide whether the next exit remains usable.
Frozen water, short daylight, and slow equipment changes require an even larger exit margin. The winter trekking limits should shrink a solo plan before cold makes every correction slower.
Which two navigation methods should you carry?
Solo navigation needs an independent backup because nobody else carries a second memory of the last junction. Use an offline digital map for position and a paper map with compass for the route, exits, and major terrain.
Practice both before the trek. A paper map that stays folded in the pack is not a backup if you cannot orient it, identify the last known point, and choose a safe handrail such as a road, ridge, or stream.
- Download the correct offline map and verify it opens in airplane mode.
- Mark camps, water, junctions, exits, and no-go terrain on paper.
- Carry a compass away from magnets and metal equipment.
- Protect the phone, map, and spare power from water.
- Record the time at major junctions so delay is visible early.
- Stop at the last confirmed point when map, signs, and ground disagree.
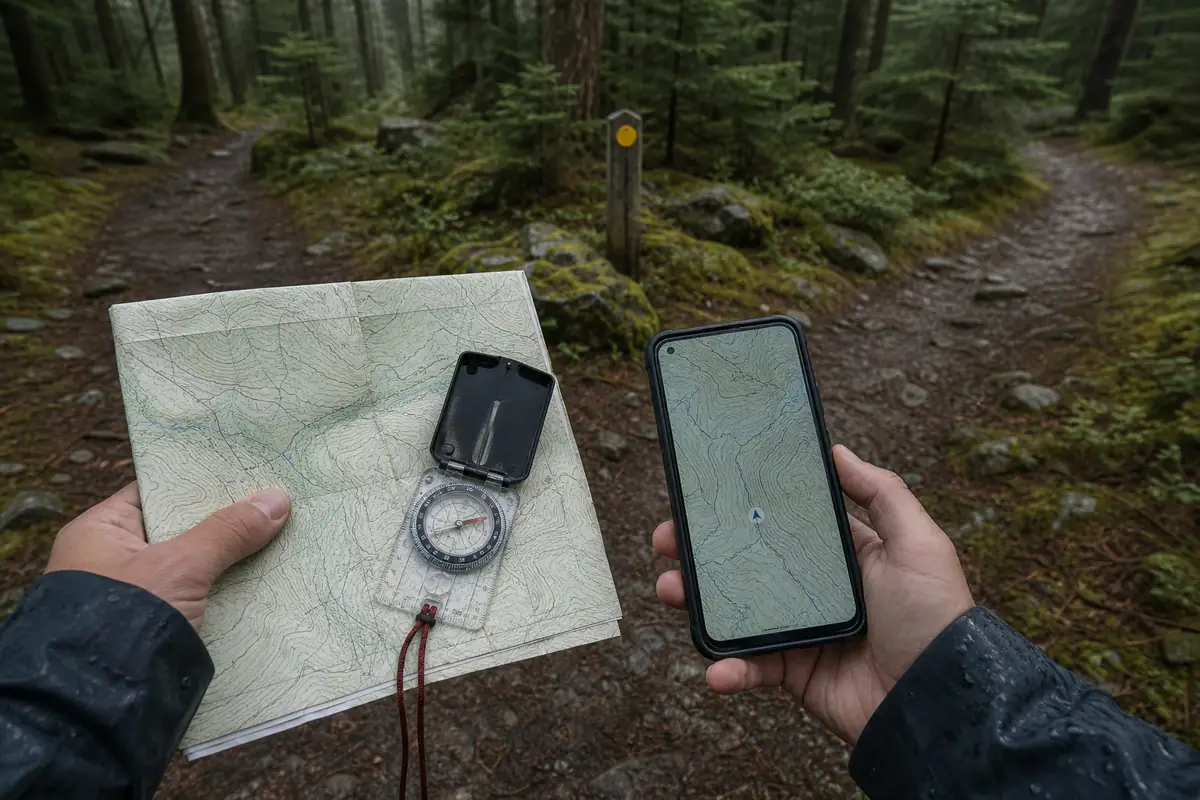
Keep the phone available for navigation rather than draining it on continuous recording and entertainment. A separate power bank belongs inside a dry bag, not loose beside cold or wet gear.
Known points stop drift. Name the last confirmed location before following a bearing or backtracking.
Basic compass and map work should feel routine before a solo route depends on it. Remote terrain is a poor place to learn which arrow points toward travel.
Which hazards should you remove from a solo route?
A first solo trek should remove problems that normally depend on a second person. Unbridged fast water, exposed scrambling, avalanche terrain, technical snow, unstable off-trail travel, and routes with no simple retreat create consequences that one careful decision may not control.
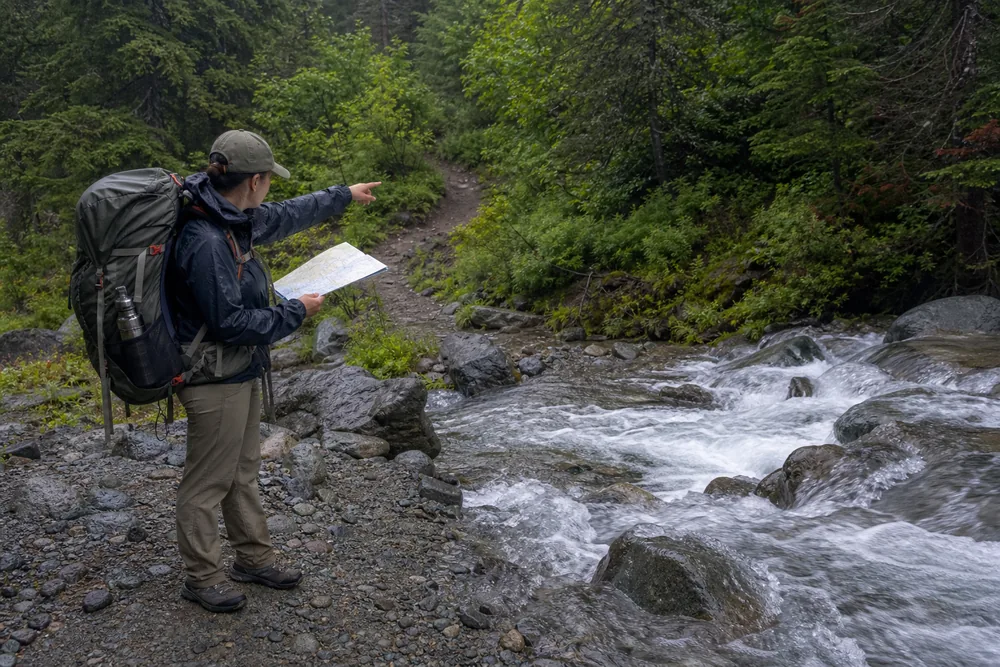
Start by asking what a partner would do if you slipped, lost a glove, dropped a pack, damaged the shelter, or became confused. If the honest answer is that the partner would stabilize you, retrieve equipment, confirm the route, or call for help, the solo plan needs another margin.
Choose terrain where a minor fall stays minor. A stumble on a broad marked trail is different from the same stumble beside a steep drop, fast creek, or loose gully.
Do not use a remote solo trip to attempt a movement skill you have only practiced with support. River judgment, snow travel, scrambling, and off-trail navigation need controlled practice before they become the only line between camps.
Weather can turn ordinary terrain into partner-dependent terrain. Rain can raise the crossing needed for retreat, snow can cover the trail, and wind can make a simple shelter repair require more hands than you have.
Set a lower limit before departure. Name the water level, snow cover, wind effect, visibility loss, or exposed move that makes you use the alternate instead of testing the obstacle alone.
Keep the turnaround reversible. If you cannot return over the last section with one sore leg, a wet glove, reduced daylight, or a damaged pole, you have already spent too much of the solo margin.
The same rule applies to camp. A shelter that requires perfect anchors, a water source reached by a risky bank, or food storage you cannot operate alone is a poor first-night system.
Tell the trusted contact about these no-go limits. A location message beyond a named boundary then carries useful meaning, while a message from an unplanned technical detour does not.
Solo skill includes subtraction. Removing one high-consequence crossing or exposed section protects more options than adding another emergency gadget to a route that still requires help.
Finish camp work while your attention is still clear
Set a camp-arrival cutoff that leaves enough daylight and attention for water, shelter, food storage, communication, feet, and tomorrow's route. Solo camp takes longer because every task waits for the same pair of hands.
Stop first at a legal durable site that is safe from falling branches, flooding, cliffs, and exposed storm ground. Confirm local rules before moving equipment out of the pack.
- Secure the sitePut the pack and loose gear where wind, slope, or water cannot carry them away.
- Build dry shelterPitch before rain or darkness can reach the sleep system.
- Make water safeTreat enough for the evening, breakfast, and the next known source.
- Protect foodCook and store every attractant under the current local rule.
- Check body and gearClean feet, cover hot spots, change damp layers, and isolate wet items.
- Send the check-inReport only after camp and your condition are stable enough to describe accurately.
- Stage the morningPlace navigation, water, food, layers, and communication gear in a fixed order.
Keep one dry layer and sleeping insulation protected until shelter is sound. A small leak or dropped stuff sack matters more when there is no second sleep system to share.
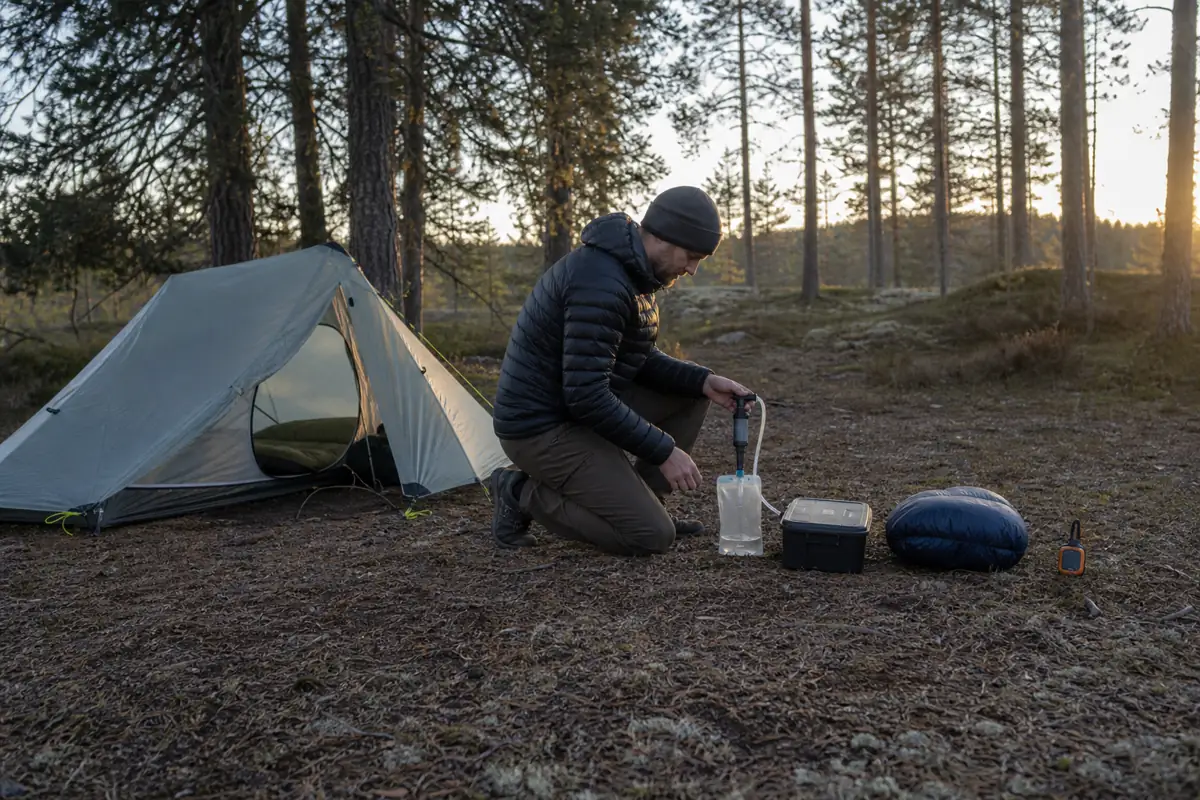
Eat before concentration falls, but do not rush a stove inside a closed shelter. Follow the stove maker's ventilation rules and all fire restrictions.
Review the next day's weather, water, exit, and first checkpoint while there is still time to change the plan. Write the change down and notify the trusted contact before leaving the agreed itinerary.
Solo travel does not make a shared campsite private. The trekking etiquette rules still apply to occupied sites, water access, shelter space, food odors, and quiet hours.
Camp is a decision window, not merely a sleep stop. The route remains flexible while you are warm, fed, oriented, and able to send a clear message.
The trekking pack system should keep shelter, water treatment, navigation, food, and warmth reachable in the order you use them. A tidy list matters less than access when rain starts at arrival.
Which hard stops should you write before departure?
Choose measurable stop rules at home because isolation makes it easy to reinterpret slow progress as determination. A hard stop turns a warning into a route change before fatigue argues for the original goal.
Use thresholds you can observe. Time, remaining water, weather arrival, foot function, navigation certainty, and the ability to complete camp tasks are stronger than a vague feeling that conditions are getting bad.
| Signal | Required change | Reason |
|---|---|---|
| Checkpoint after cutoff | Use the shorter line or nearest safe camp | Speed cannot safely recover lost daylight |
| Half the usable water gone before halfway to the next source | Turn back or use the verified alternate source | The remaining margin no longer covers delay |
| Thunder heard near exposed ground | Leave ridges and open high points immediately | A tent does not make exposed terrain safe from lightning |
| Foot pain changes gait | Stop, treat the cause, and shorten the day | Compensation can create a second injury |
| Location cannot be confirmed | Return to the last known point | More movement enlarges the search area |
| Essential camp task cannot be completed | Use the exit or emergency plan | Shelter, water, warmth, and food cannot be deferred overnight |
Do not create so many rules that none are memorable. Put the controlling thresholds on the front of the paper route notes and review them at breakfast and every major junction.
Those thresholds belong beside the rest of the trip planning process, including weather, transport, permits, water, and alternate camps. A stop rule cannot work when the alternate was never arranged.
A hard stop saves options. It should activate while you can still walk, navigate, communicate, and build shelter normally.
The common trekking mistakes often compound after a group protects its schedule. Alone, you must supply the dissenting voice before the first small miss becomes the next day's problem.
When does a problem require rescue?
Minor blisters, a loose strap, a brief wrong turn caught at the last junction, or a short rain delay may be manageable with time and equipment. Trouble moves beyond self-care when it removes walking, thinking, breathing, bleeding control, warmth, or the ability to shelter.
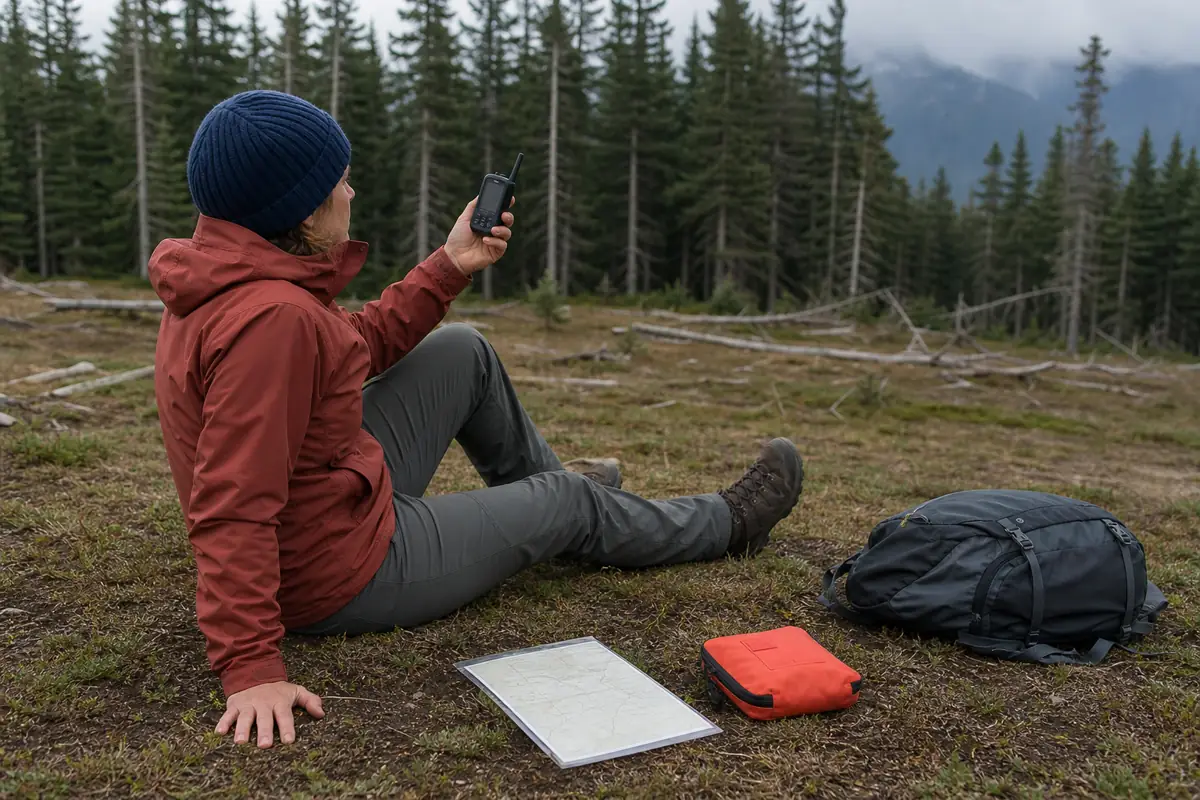
A phone is useful where coverage exists, but do not base remote communication on it alone. A satellite messenger or personal locator beacon can send from places without cellular service, yet it still needs battery, a view of the sky, correct registration, and a person able to operate it.
| Condition | Better first action | Escalation point |
|---|---|---|
| Small hot spot or blister | Stop, dry, protect, and change the pressure | Gait remains altered or pain worsens |
| Brief route uncertainty | Return to the last confirmed point | You cannot regain a known location safely |
| Cold and wet but alert | Shelter, replace wet layers, insulate, and eat | Thinking, movement, or shivering worsens |
| Bleeding | Apply firm direct pressure | Bleeding is severe or will not stop |
| Breathing trouble, collapse, or confusion | Send for emergency help and protect the person from further harm | Immediate |
| Vomiting with falling function | Stop travel, shelter, and replace fluids only when safe | The person cannot keep fluids down or grows confused |
| Navigation cannot be restored | Return to the last confirmed point and stop adding distance | No safe known point can be regained |
Send for help before reduced judgment prevents a clear message. Include your location, problem, time, equipment, weather, and whether you can move to a safer nearby place.
Do not activate an emergency device for convenience, and do not delay because you fear embarrassment. The right question is whether you can still keep yourself safe with the resources and exits already available.
Rescue starts before helplessness when a serious condition is worsening. Early, accurate information gives responders more useful options.
Cold can change coordination and decisions before it feels dramatic. The hypothermia warning signs describe when shelter and dry layers are no longer enough and outside help is needed.
What should you check during the first ten minutes of day two?
Do not pack on autopilot after a poor night. Stand, walk, drink, eat, check your feet and hands, inspect shelter moisture, confirm the weather, and power on both navigation and communication systems.
Continue
Normal gait, clear thinking, dry insulation, expected weather, working navigation, and a confirmed water plan.
Shorten
Poor sleep, a tender foot, delayed start, damp gear, or a forecast change has reduced reserve.
Wait briefly
A reversible issue needs food, drying, repair, or a clearer weather observation before movement.
Use the exit
Pain changes gait, thinking is slow, essential gear has failed, or the safe weather window is gone.
Send any route change before leaving service or a clear satellite view. The new message should name the exit, expected arrival, and next alarm time.
Close the plan when you reach the final exit. Contact the trusted person directly, because an automatic location point or parked vehicle does not prove you are safe.
The morning earns the miles. Finishing the first day creates no obligation to start the second on the original schedule.
Training with consecutive loaded days makes this decision easier to read. The trekking training plan should test feet, pace, camp recovery, and clear thinking under the real pack.
Sources
The National Park Service recommends a trip plan, backup plan, trusted contact, emergency plan, and communication method that does not rely only on cellular service: NPS Trip Planning Guide. Its detailed trip-plan guidance explains why route changes and inaccurate details can hinder a search: NPS Trip Plan.
The NPS advises solo travelers to take extra measures and to plan how they will call for help: NPS Hike Smart. Its backcountry planning guidance also recommends daily and alternate itineraries, check-ins, and awareness of communication dead zones: Gates of the Arctic Backcountry Trip Plan.
The National Weather Service advises leaving exposed terrain when thunderstorms threaten and notes that a tent does not provide lightning protection: Lightning Safety Outdoors. Local rules come first for permits, camps, fires, food storage, water, closures, and emergency contacts on the chosen trek.
Step by stepPractical steps
- Prove a full overnight and second-day walk close to an exit.
- Give one trusted contact the exact route, check-in window, alarm time, and escalation actions.
- Choose camps and exits that remain usable after poor sleep, weather, or a minor injury.
- Carry independent navigation and remote communication appropriate to the route.
- Apply written hard stops and close the plan when safely out.
AnswersQuestions readers ask
Is solo trekking safe for a beginner?
A beginner should first build independent day-hiking, navigation, camp, weather, and emergency skills. The first solo overnight should be controlled and close to an exit before any remote multi-day route.
What should I tell someone before a solo trek?
Share the exact route, camps, alternate plan, vehicle, equipment, communication methods, check-in window, final alarm time, and which agency or emergency service they should contact when that time passes.
Do I need a satellite messenger for solo trekking?
It depends on cellular coverage and route remoteness. Where phone service is unreliable, carry a suitable registered satellite device or personal locator beacon and practice using it before departure.
How hard should my first solo trek be?
Choose less distance and easier terrain than you have already completed with the same load. Use marked trails, conservative camps, dependable water information, and an exit after each night.
When should I end a solo trek early?
Use the planned exit when pain changes your gait, you cannot confirm your location, water use outruns the plan, essential gear fails, the weather window closes, or you cannot complete shelter, warmth, food, and communication tasks normally.