
Winter Trekking Depends on Recovery Across Cold Days
Plan a winter trek around slower snow travel, short daylight, dry sleep insulation, protected camp routines, and exits that still work after a cold night.
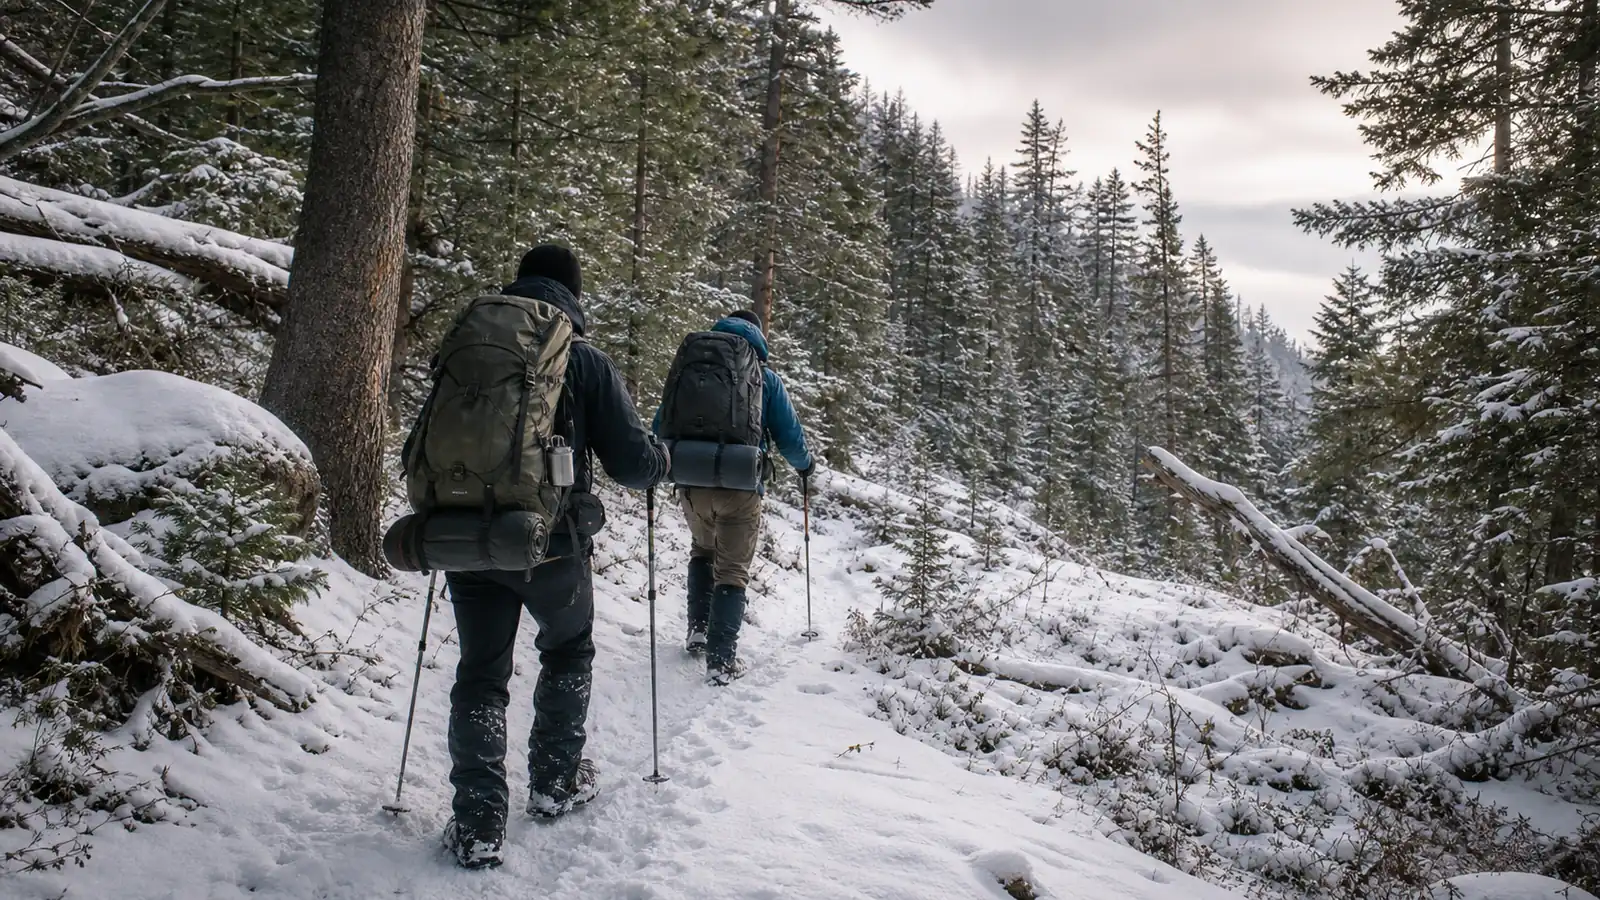
Trekking in winter is reasonable only when every day can end with dry insulation, usable water, a protected camp, and enough spare time to shorten the next segment. Snow and cold turn one small delay into a problem that can follow the group through the night.
How much should winter shorten each trekking day?
A winter trek should cover less ground than the same group would plan in mild, dry conditions.
Snow travel, short daylight, cold stops, and camp setup all consume time before distance does. The itinerary needs to work even when one section takes longer than expected.
| Winter constraint | What it changes | Planning response |
|---|---|---|
| Short daylight | Less time for slow miles and camp setup | Finish the planned segment with a wide light buffer |
| Snow depth | Pace and energy cost change from one slope to the next | Cut daily distance before adding a second night |
| Ice | Short sections can take careful footwork | Carry suitable traction and use it before the exposed section |
| Cold stops | Breaks cool the group quickly | Keep stops short and add insulation before chilling |
| Frozen equipment | Water, filters, buckles, and footwear may need extra handling | Add morning setup time and keep an easy exit |
| Winter access | Roads, gates, and parking can consume daylight | Recalculate the first segment at the trailhead |
| Camp labor | Shelter, water, food, and dry layers take longer with cold hands | Reach camp while light and coordination remain |
The right starting point is a short marked route with a practical exit after each night. A first winter itinerary should not depend on perfect snow, a fast group, or a camp reached at the last edge of daylight.
Think about the whole day, not only walking hours. Melting or collecting water, building shelter, changing into dry layers, cooking, checking feet, and preparing for the morning all happen while the body is no longer producing as much heat through movement.
Winter access is part of the first segment.
Snowed roads, closed gates, slow parking, and a longer approach can spend the daylight buffer before anyone reaches the planned trail. Check the official access source before departure, then keep a lower trailhead or shorter first camp as the backup.
Recalculate the day at the trailhead. If travel or parking used an hour, remove that hour from the walking plan instead of borrowing it from camp setup.
A late start that would be minor in summer can force water, shelter, and dry clothing tasks into colder darkness.
Break each day at natural decision points.
A pass, road crossing, hut, signed junction, or lower camp should arrive before the hardest ground. This makes a slow pace useful information while a change is still easy.
Lower the daily ceiling before winter lowers it for you. The first trekking plan can organize segments and exits, but winter needs more time attached to every camp task.
Before that night, a winter day-hike practice should confirm traction, layers, and pace.
Then begin with one controlled night close to an exit. The broader trekking basics still apply, while the route, pack, and recovery margin must be stricter than they are in fair weather.
The practical hiking and trekking difference matters here. A winter day hike can retreat to a vehicle, while a winter trek must protect the sleep and recovery systems that make another morning possible.
How does snow hide a familiar route?
Snow can hide tread, drainage cuts, small junctions, and the contrast that makes a path easy to follow in summer. A familiar hillside may become a wide white surface with several convincing directions.
Other tracks are not proof of the route. They may belong to a skier, wildlife, a group heading somewhere else, or a person who already corrected a mistake out of sight.
Tracks are observations, not instructions.
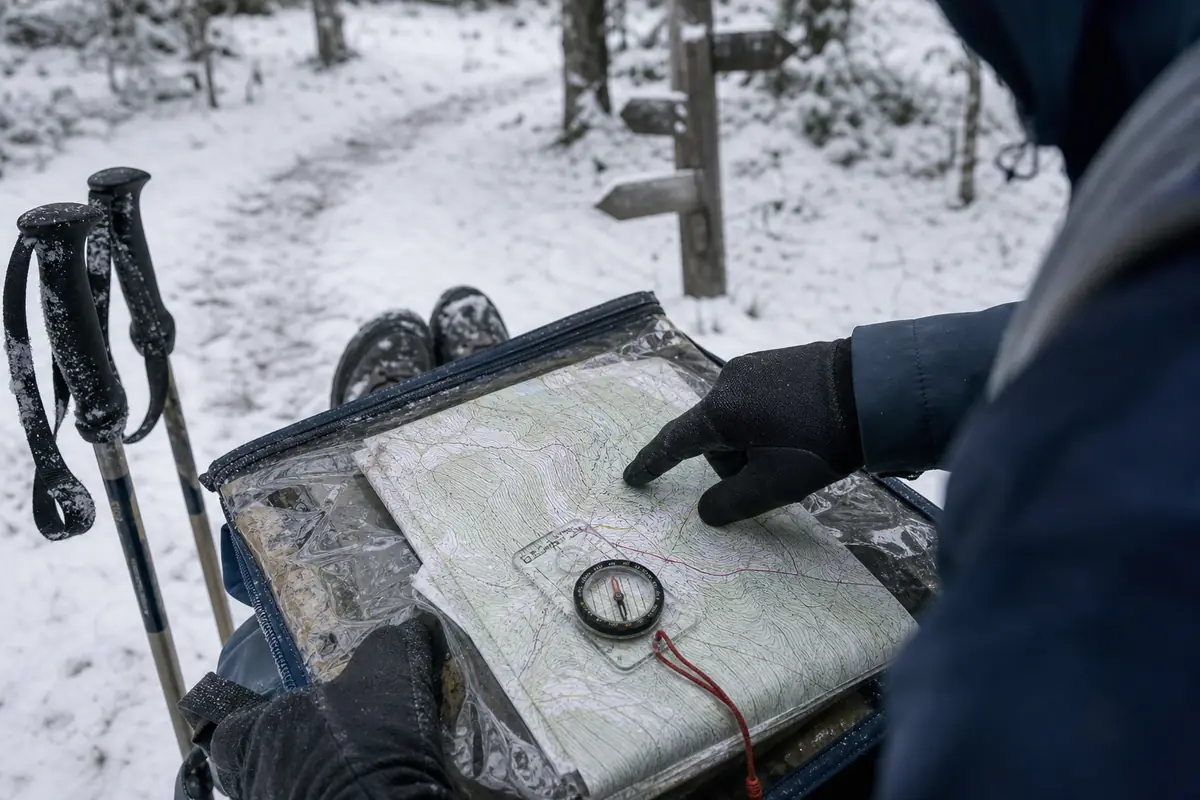
Mark the next reliable landmark before leaving shelter or a clear junction.
Note broad features such as a ridge, drainage, road, forest edge, or signed pass. Small trail details may disappear after fresh snow or wind.
The paper map should stay protected, while the phone or GPS belongs where cold will not drain the battery as quickly. Save the map offline, reduce unnecessary screen use, and keep a separate light source.
Electronics can support a decision, but they should not be the only place the route exists.
Frozen lakes and snow-covered streams are poor shortcuts.
Ice thickness can vary near current, inlets, outlets, rocks, and changing temperatures. Stay on the planned land route unless the group has current local knowledge and the specific training to evaluate frozen water.
Before departure
Mark camps, exits, exposed slopes, water options, and the last clear turnaround point.
At each junction
Direction needs confirmation while the previous landmark is still visible or easy to regain.
When visibility falls
Shorten the navigation step and stop before uncertainty becomes distance.
When tracks split
The map and terrain decide the route, not the most popular-looking line.
Snow erases familiar cues. Practice compass direction checks before the trek so cold hands and poor visibility are not your first lesson.
If the planned route crosses avalanche terrain, steep snow, glaciers, or corniced ridges, a general trekking article is not enough preparation. Choose a lower non-avalanche route unless the group has the training, current forecast, and equipment required for that terrain.
Keep sleep insulation inside the dry core
Your dry sleep system is the trip's recovery reserve. Once a sleeping bag, quilt, or camp insulation becomes wet, the problem can follow the group through every remaining night.
Divide the pack into two systems.
The wet travel zone holds the shell, damp shelter, gaiters, and walking layers. The dry core holds sleep insulation, dry base layers, dry socks, and any item that must stay usable when the group stops.
- Dry core
- Sleep insulation, camp base layers, dry socks, and protected electronics
- Wet zone
- Shell, damp shelter, gaiters, traction, and walking layers
- Access rule
- Rain shell and warm stop layer must be reachable without opening the dry core
- Camp rule
- Open dry bags only after shelter is ready
- Failure signal
- Moisture has reached the sleep system or the only dry clothing
Sweat belongs in the wet system too. Vent a shell, remove a hat, or slow the pace before the base layer becomes soaked on a climb.
Dry snow outside the jacket does not help if warm effort has already wet the clothing inside it.
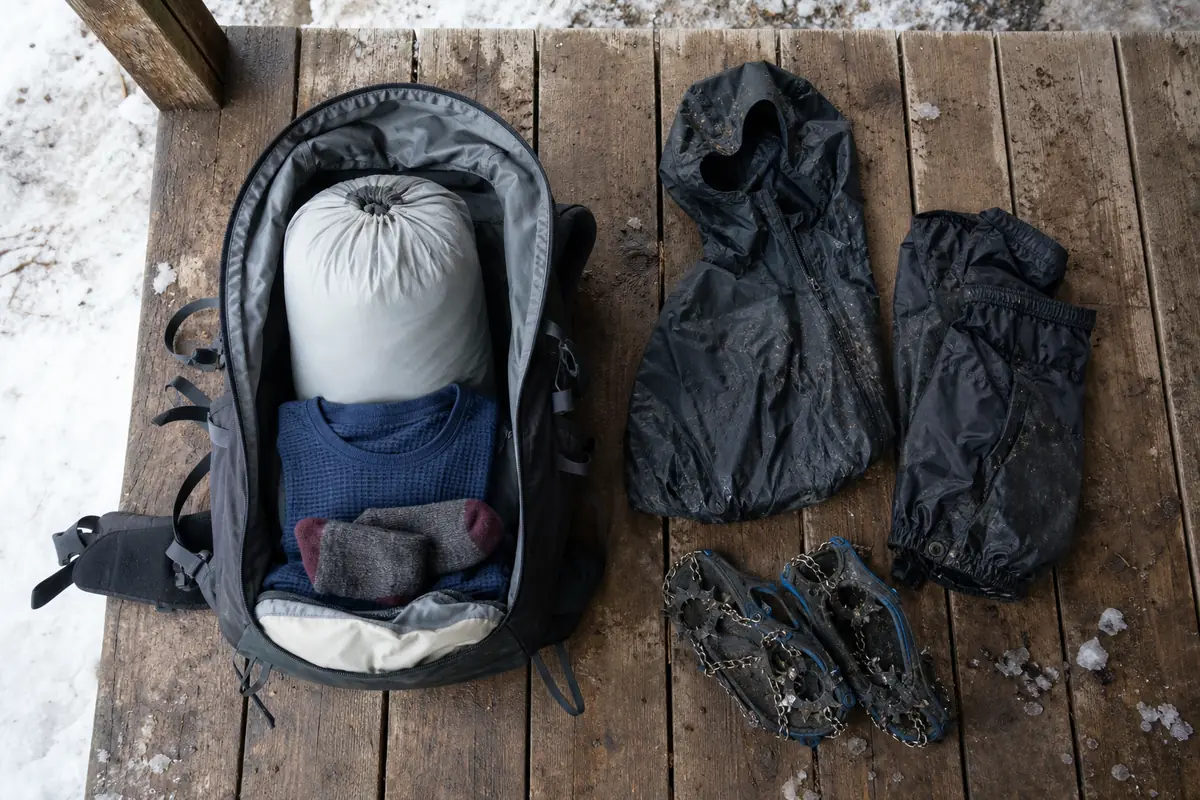
Dry sleep gear is the reserve. The trekking packing system covers the full multi-day load, while winter requires independent waterproofing around the items that restore warmth at camp.
Liquid rain can reach the same dry core through pack seams, a wet shelter, and damp outer layers. The rainy trekking system covers that wet-to-dry transfer before the group reaches camp.
What order keeps a winter camp warm and dry?
The group is warmest when it reaches camp.
That is also when people are tired, hungry, and tempted to scatter gear while deciding what to do. A winter camp needs an agreed order before anyone stops moving.
A legal site should sit away from obvious wind exposure, falling branches, water channels, and unsupported snow features. Check local rules and current conditions before the trip because winter access and camping limits can change.
- Build weather protection firstEstablish the tent, tarp, hut space, or other legal shelter before opening dry insulation.
- Add a warm layer earlyPut on dry or protected insulation while the body is still warm from walking.
- Separate wet equipmentKeep shells, gaiters, traction, and damp shelter parts away from sleep gear.
- Make water usablePrepare the amount needed for dinner, the night, and the morning before everyone settles.
- Set the sleep systemKeep the bag or quilt compressed until the protected sleeping area is ready.
- Stage the morningPlace footwear, gloves, light, and navigation tools where frost and darkness will not turn them into a search.
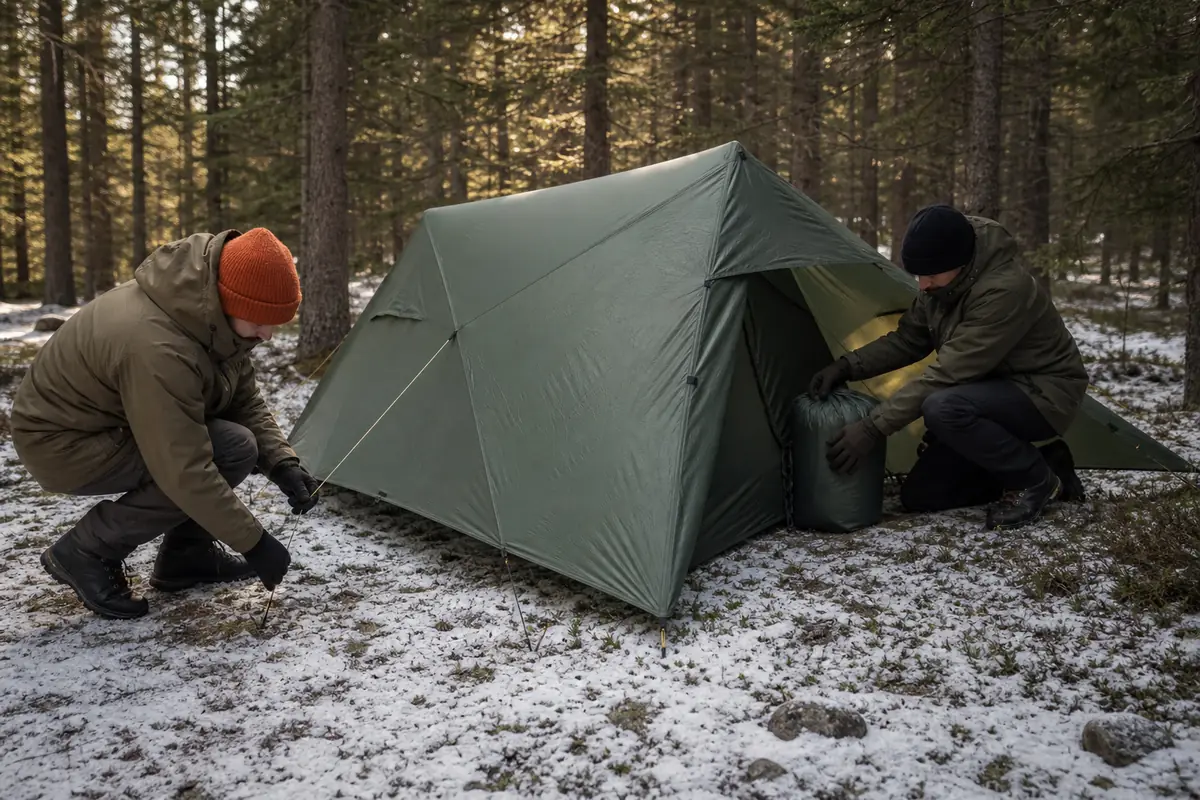
One person can establish shelter while another handles warm layers and water. The split should never leave a cold or inexperienced person standing still without a clear task or insulation.
Warm arrival preserves heat. A group that waits until shivering starts has already spent part of the heat it needed for food, water, and a calm sleep setup.
The order should also support the morning.
Frozen laces, buried gloves, and a missing headlamp can turn a simple departure into a cold delay. The common trekking errors become harder to repair when every buckle and layer is cold.
How do you keep food and water usable below freezing?
Cold can turn hydration and food into equipment problems. A bottle may freeze near the opening, a filter can be damaged by ice inside it, and a hard snack may become difficult to eat with gloves.
Water should stay close enough to inspect and drink.
Do not wait until camp to discover that the only container has frozen shut. If you use a filter, follow its manufacturer's freezing instructions because some filter elements can be damaged after water inside them freezes.
Snow is not ready-to-drink water. It needs to be melted, and water from natural sources still needs the treatment appropriate for that source.
Melting also takes fuel and time, so a route with no practical liquid-water option may need a larger fuel and water margin than the same distance in summer.
Do not make every calorie depend on the stove.
Food should remain edible if the burner, fuel, windscreen, or cold hands make cooking slow. A warm meal can help the evening, but the group still needs energy when the cooking system does not cooperate.
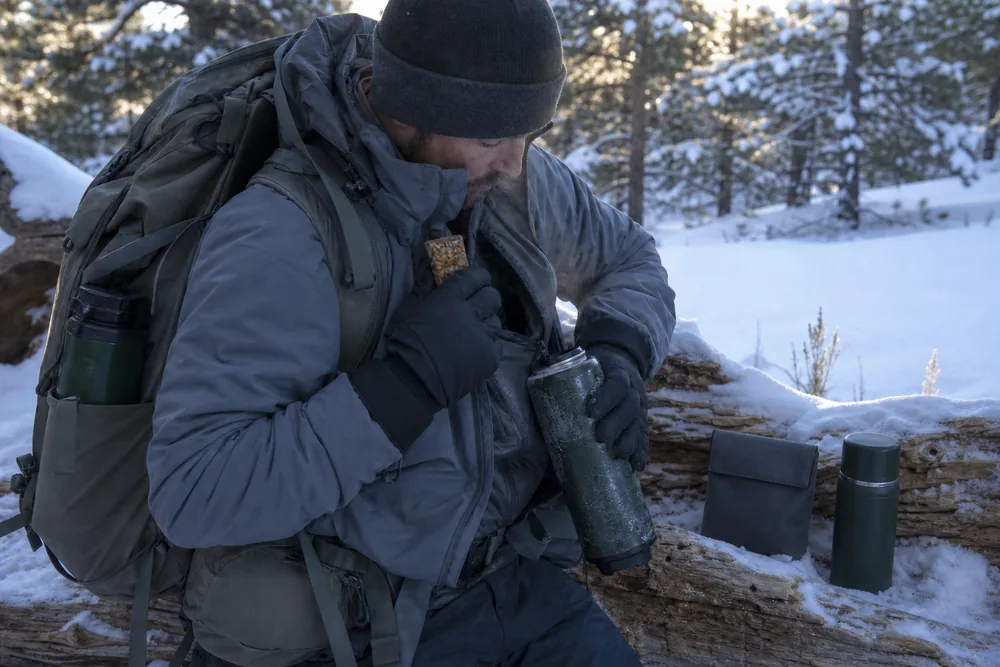
- Carry water where you can reach and inspect it during the day.
- Protect the bottle opening from freezing and check it at every longer stop.
- Follow the filter maker's cold-storage directions exactly.
- Choose trail food that can be eaten without a stove or long glove-free handling.
- Keep a small ready-to-eat reserve in case cooking becomes slow or impossible.
- Prepare morning water before the group settles into sleep systems.
Usable beats packed. Food and water count only when the group can consume them.
Apply the water carry calculation to each winter segment, then add the handling time and uncertainty that freezing conditions create.
Training walks should include the real winter pack, footwear, food, and water setup. The trekking training plan is useful because cold should not be the first time your stride, shoulders, or hands work with the full load.
Manage frost before the second night
Moisture that looks minor on the first morning can reduce loft and comfort on the second night. Breath, damp clothing, tracked snow, cooking vapor, and a wet shelter all add water that the cold may preserve instead of drying.
The shelter's designed ventilation should remain open even when closing it feels warmer. Keep vents clear of drifting snow and avoid breathing deep inside the sleeping bag, where moisture can collect in insulation.
Brush snow from clothing, boots, and packs before they enter the protected sleeping area. Snow carried inside melts from body heat and can wet the floor, bed edge, or dry camp layers.
Damp shells, gaiters, and footwear belong in the shelter area intended for wet equipment. They should not touch the sleeping bag or enter the dry core.
In the morning, remove loose frost outside when conditions allow. Shake or brush the shelter and sleep-system surfaces gently, while protecting every item from wind, new snowfall, and wet ground.
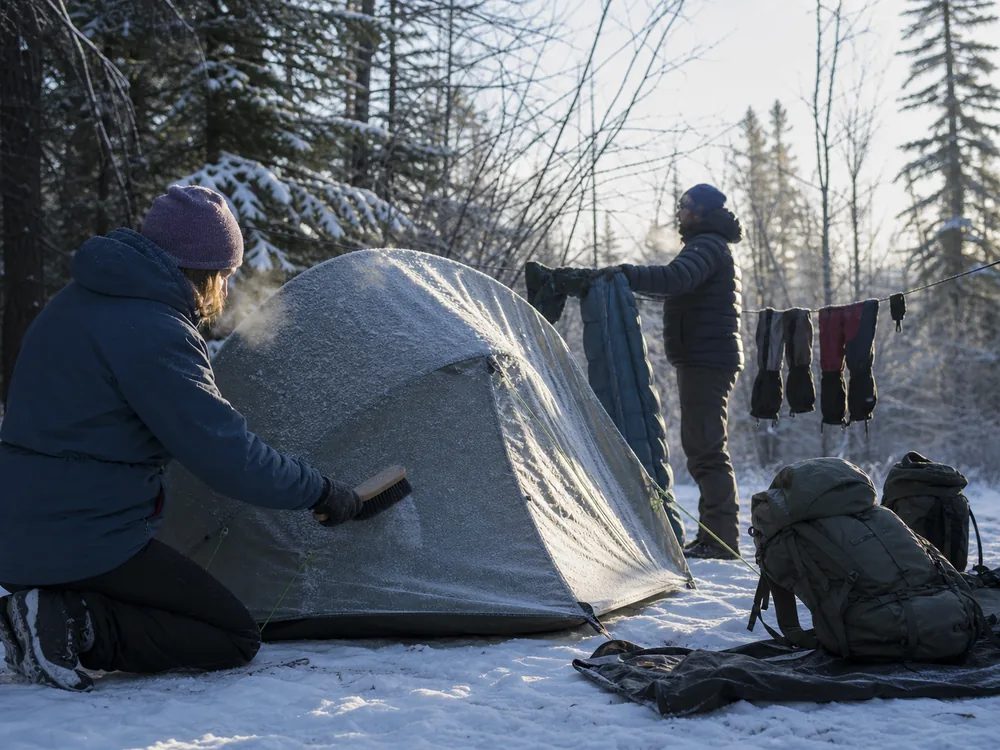
A safe sun or wind window lets the group air damp items while someone watches them. A short drying chance during breakfast may protect more loft than carrying the moisture sealed until evening.
Do not place insulation against a stove, flame, or very hot surface. Fire, melting fabric, and dangerous fumes can turn a moisture problem into an emergency, and cooking inside a tent can add both combustion risk and more vapor.
The damp shelter belongs apart from the dry core. Check the bag or quilt for declining loft, wet patches, and frost that cannot be removed before committing to another remote camp.
If critical insulation grows wetter and the route offers no credible drying period, shorten the trek or use the exit. Another cold night is not a neutral repeat when the recovery system has already lost performance.
Have two people inspect the protected gear before it is packed. One person may miss damp fabric or reduced loft while trying to finish breakfast and warm hands.
Frost on a cold shelter does not automatically end the trek. The important evidence is whether the group can remove it without wetting the sleep area and whether insulation returns to usable loft before the next camp.
Track the direction of change. A little less dry clothing, a little more damp insulation, and a shorter drying window can combine into a poor second night even when no single item looks soaked.
Morning protects night two while the moisture is still visible and manageable.
What should you check on the second morning?
The first winter night produces better evidence than the original itinerary. Before walking deeper into the route, inspect what the cold did to sleep, hands, feet, insulation, water, equipment, and group pace.
A person who slept poorly may still sound enthusiastic at breakfast.
Practical function is the test. Can everyone manage boots and buckles, eat, drink, pack, and explain the next segment clearly?
The morning needs comparison with the plan. If footwear, water, frost, and pack-up take much longer than expected, that delay belongs to the next segment.
Do not assume the group will recover the time by walking faster on snow.
Inspect the dry core before closing the pack.
A small damp patch on insulation, a wet camp layer, or frost inside the shelter is easier to manage while an exit is close. After another night, the same moisture may have less time and warmth available to dry.
This is a pressure check, not a grade. Wet insulation, numbness, repeated fumbling, no appetite, unusable water, or a much slower pack-up are reasons to shorten the day or take the exit.
Morning function decides commitment. The point of the check is to act before the next remote section removes an easy choice.
A child or less experienced trekker needs an even lower threshold for change. The family trekking plan puts adult reserve capacity and next-morning behavior ahead of a fixed itinerary.
When should a winter problem change the whole itinerary?
A winter turnaround is not based only on the present mile. Ask what the current problem does to the remaining daylight, the next camp, the next night, and the nearest reliable exit.
Two small warnings are enough to change the plan. Slow snow pace plus wet gloves, a frozen water problem plus poor appetite, or navigation doubt plus falling visibility can remove choices faster than any one issue suggests.
The CDC notes that hypothermia can occur in cool conditions when rain, sweat, or cold water chills a person. Learn the early hypothermia warning signs before winter travel so changed behavior is not dismissed as ordinary fatigue.
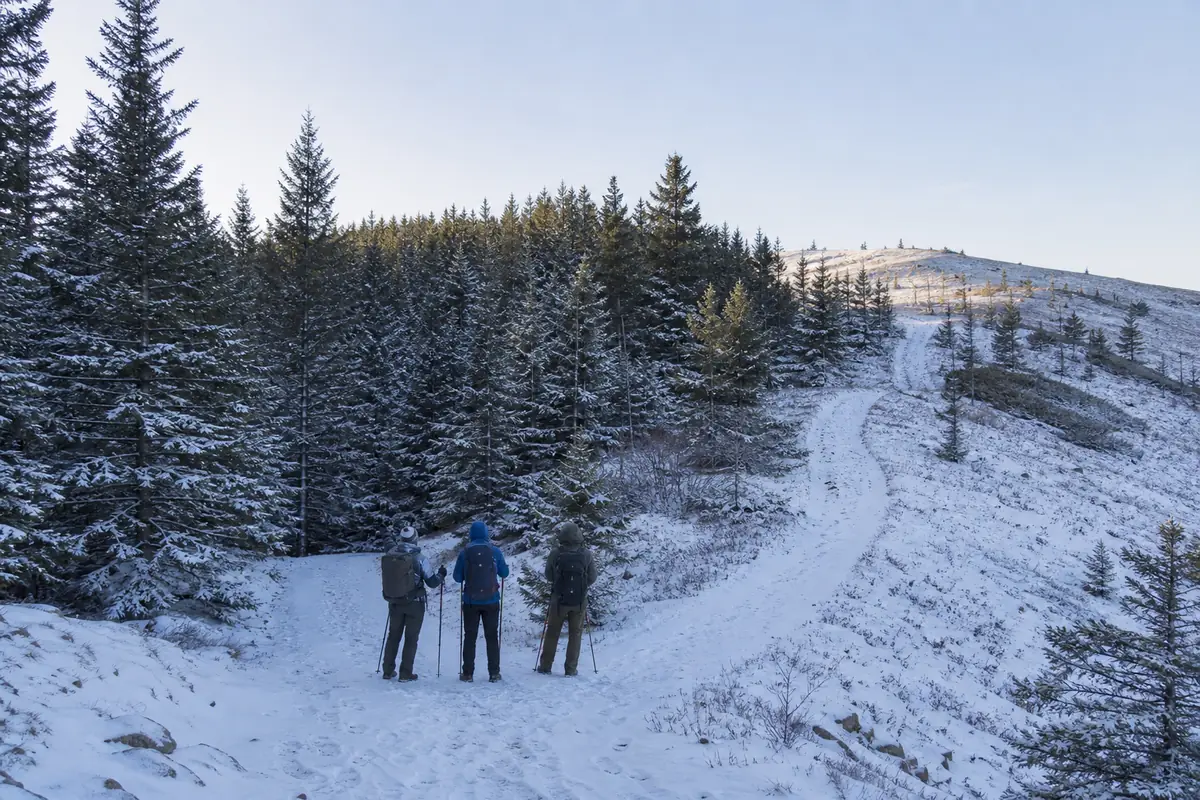
A simple exit is the deadline. Wet sleep gear, worsening visibility, missing traction, repeated falls, or a group that cannot warm during breaks can end the trek even when the planned destination is close.
What should a first winter trek prove?
Repeat a controlled winter overnight before adding distance, elevation, or a second remote night. Change one variable at a time so the group can tell what made the trip harder.
After the exit, ask plain questions. Did the sleep system stay dry?
Was morning water usable?
Did everyone eat? How long did camp setup take?
Did the group leave with warm hands and clear attention?
Repeat before adding commitment. A trek is ready to grow only after the overnight recovery system works.
Sources
The National Park Service covers winter route-finding, traction, layers, water, changing conditions, and the need to turn around: NPS winter hiking tips. The CDC explains that hypothermia can occur after exposure to cold, rain, sweat, or cold water and lists serious warning signs: CDC hypothermia prevention.
Step by stepPractical steps
- Choose a short marked winter route with an exit after each night.
- Reduce daily distance for snow travel, short daylight, and camp setup.
- Seal sleep insulation and dry camp clothing away from wet travel gear.
- Set shelter, warmth, water, and sleep gear in a fixed camp order.
- Shorten or end the trek when cold, moisture, navigation, or equipment reduces the next day's choices.
AnswersQuestions readers ask
Is winter trekking safe for beginners?
A beginner can start with one short night on a marked low-commitment route close to an exit. Deep snow, avalanche terrain, exposed ridges, or remote camps require skills beyond a first winter trek.
How much shorter should a winter trekking day be?
There is no universal percentage. Reduce distance until the plan still leaves time for slow snow travel, navigation checks, water handling, shelter setup, food, and an early camp arrival.
How do I keep a sleeping bag dry on a winter trek?
Seal it independently inside the pack, keep wet shelter and walking layers in a separate zone, and open the sleep system only after protected shelter is ready.
Can a water filter freeze on a winter trek?
Some filters can be damaged when trapped water freezes. Follow the manufacturer's cold-weather storage directions and carry a treatment backup appropriate for the route.
When should I end a winter trek?
Use the exit when sleep insulation gets wet, water becomes unusable, visibility removes route certainty, the group cannot stay warm, or anyone shows confusion, fumbling, slurred speech, or unusual drowsiness.