
Which Multi-Day Route Fits a Beginner's First Trek?
Start trekking with a shorter multi-day route, realistic pack weight, steady pacing, and a plan for food, water, weather, and exit options.
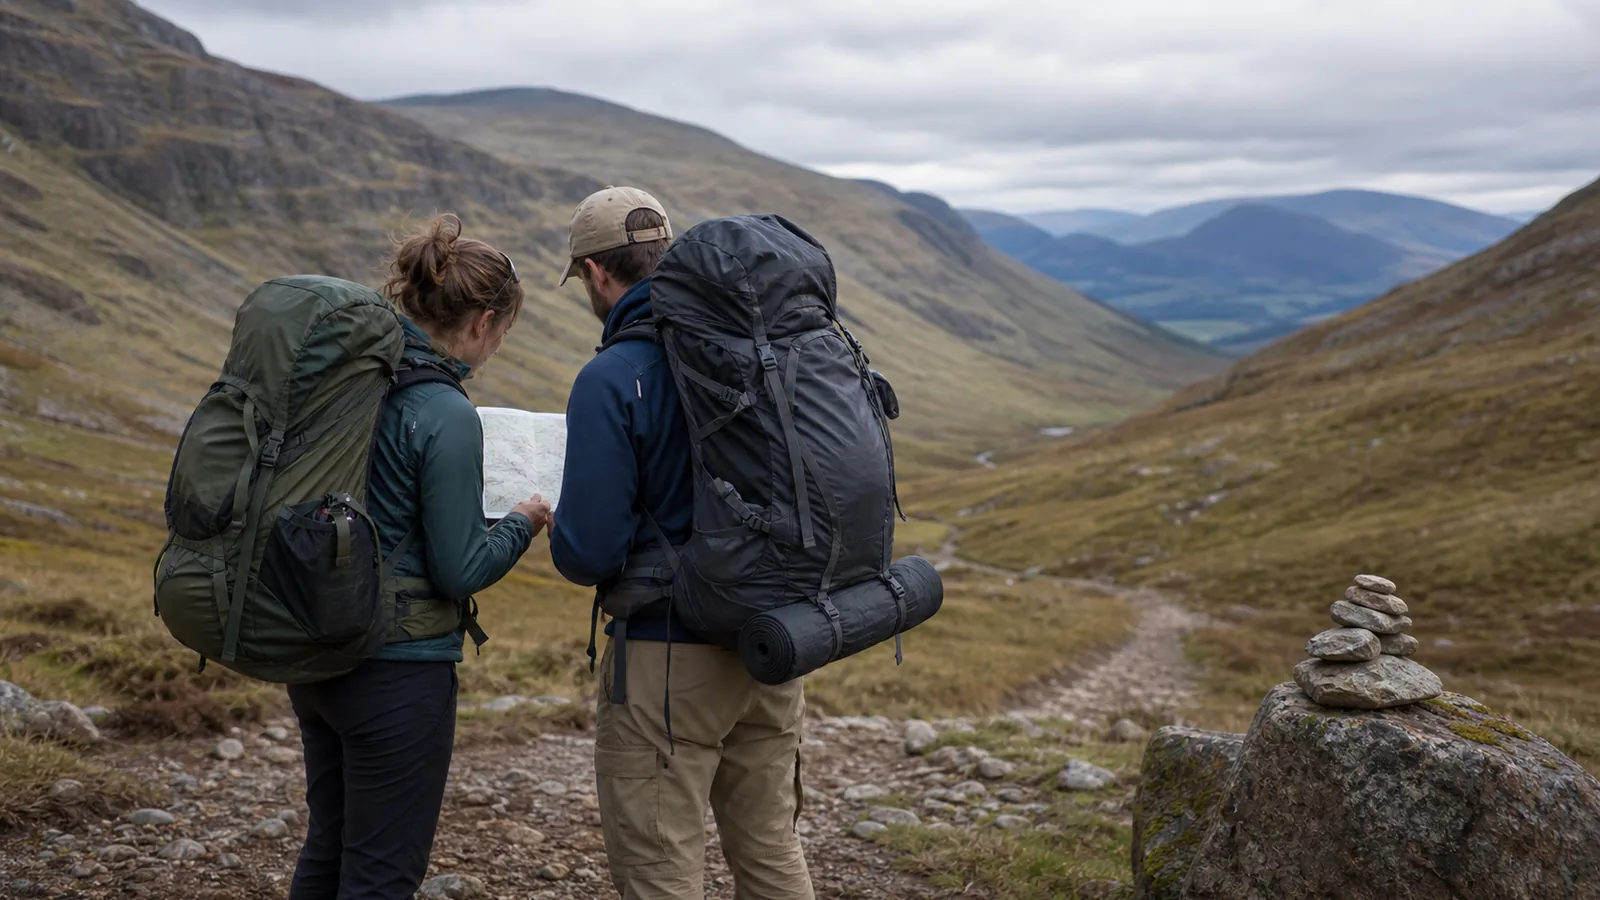
Trekking for beginners starts with one honest shift: you are no longer planning only a good walking day. You are planning several days of movement, recovery, food, water, weather, and decisions while carrying more weight.
Trekking differs from a long day hike in ways that matter
Trekking is walking across multiple days, often with more distance from easy help than a day hike. That changes the pack, pace, food, water, weather margin, and how quickly small mistakes add up.
Think in nights, not only miles. A beginner trek asks whether you can sleep, eat, pack up, and walk again while the body is already carrying yesterday.
The planning shifts from "can I reach the end?" to "can I wake up tomorrow and make good decisions again?"
Multi-day margin matters more than one strong first day. Managing several days of consequences is a different skill from walking one long distance well.
If the plan is only a long day without overnight logistics, compare hiking versus trekking first. The difference is practical: trekking asks you to manage several days of consequences, not just one.
Which route works for a first trek?
The best first trek is short, supported, and easy to leave. Look for marked trails, known camps or lodging, reliable water information, simple navigation, and a way to leave early if feet, weather, or pace go wrong.
Avoid routes where the hardest day is last, where altitude jumps quickly, or where one missed resupply creates a serious problem. Routes that place a long, remote, or technical section early in the itinerary leave little recovery room when something goes wrong.
Study the end of each day before you choose the start. A beautiful route is a poor first trek if the only camp or lodging option forces a long final climb after dark, or sits far above a bailout road with no shortcut.
Choose recoverable mistakes for the first trek.
Days
Keep the first trek to two or three. Longer commitments leave less margin for a slow or hard day and make early exits more difficult.
Navigation
Choose a marked trail with a clear map. Faint trails or cross-country sections add navigation load to an already full pack.
Water
Know where the reliable sources fall on each segment. Long dry carries are better saved for later routes.
Exits
Pick a route with a road, village, or ranger station that lets you leave early without completing the full route.
Support
A route with a known lodge or camp each night reduces the decisions you have to carry in your head.
Legal sleep
Confirm every campsite, hut, or lodging stop before mileage locks the group into an illegal option.
Transport
Use a start, finish, and bailout plan that still works when one segment runs late.
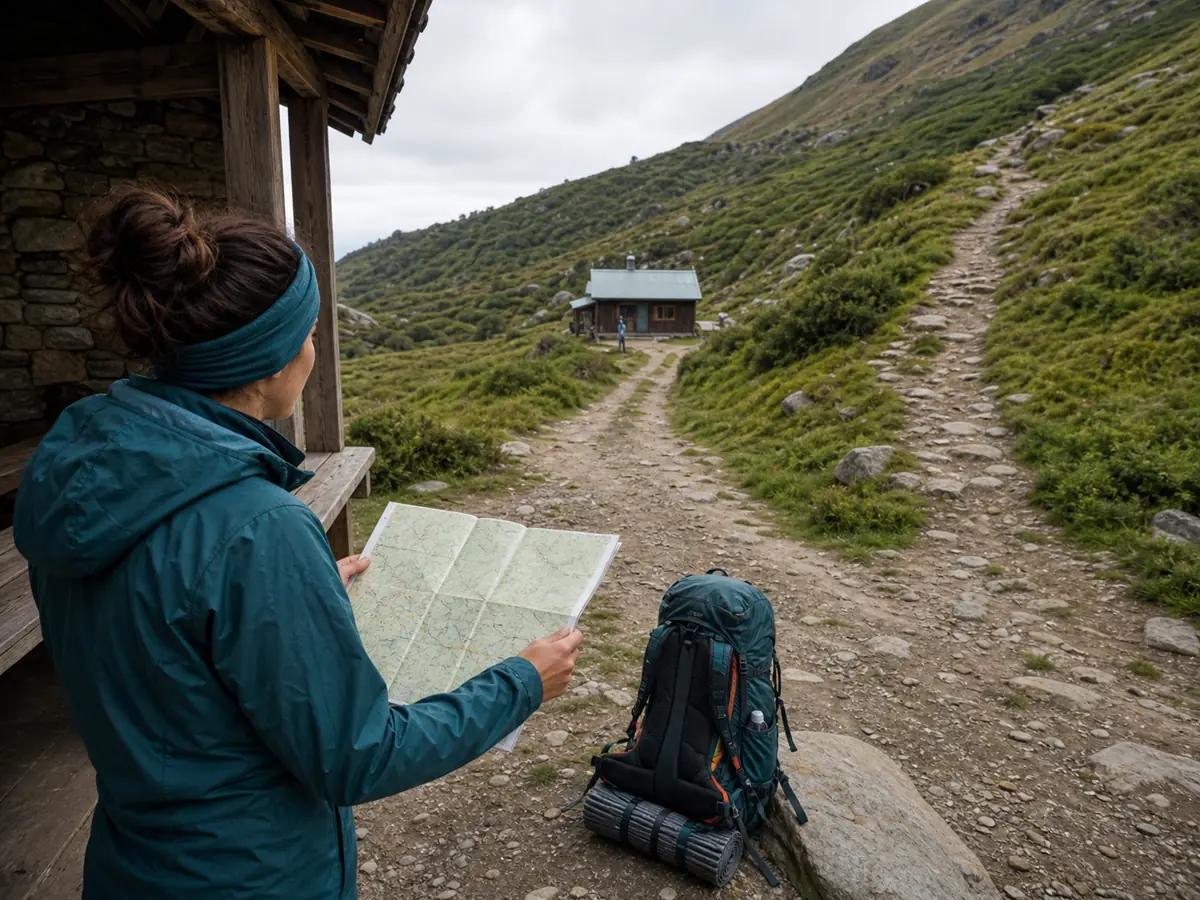
Activity-specific trekking planning has to hold across several days, not just one, which is what separates it from day-walk advice.
Should your first trek use huts or camping?
Huts can reduce shelter and cooking weight, but they do not automatically make a route easy. A fixed booking can remove timing flexibility when a slow group, sore feet, or poor weather makes a shorter day the better choice.
Check what the hut actually provides. Some offer staffed meals and bedding, while others provide only a roof and bunks.
Water, fuel, sleeping gear, food, payment, check-in times, and reservation rules can all change what you still need to carry.
Camping gives you more choice over where a day ends only when legal sites and suitable ground exist. It also adds shelter setup, water collection, food storage, and a dry sleep system to the work that must happen before dark.
Choose huts when the booking schedule matches a conservative daily pace and every overnight requirement is confirmed. Choose camping when the group has already pitched the shelter, cooked, treated water, and protected sleeping gear in conditions similar to the route.
A mixed plan can work, but it creates two systems to understand. Confirm which nights require a tent, which require reservations, and whether an early exit changes either booking or transport.
Run the full evening and morning routine before departure. Time the shelter or check-in process, meal, water treatment, foot care, repacking, and departure so the first real overnight does not reveal a missing skill.
Pick the tested sleep system. Lower pack weight helps only when the overnight plan still leaves enough time and flexibility to handle a slower day.
How long should each trekking day take?
Plan the daily trekking stage from the overnight stop backward. A trekking day includes packing camp, collecting or treating water, route checks, food stops, foot care, unexpected slow ground, and setting up for the night.
Six hours available between breakfast and camp does not mean six hours of uninterrupted walking.
Use distance and elevation as a first estimate, then add time for the actual surface.
Grand Teton National Park tells backcountry travelers to expect no more than about 2 miles per hour and to add an hour for every 1,000 feet of elevation gain. That is a local planning rule, not a promise for every trail.
Mud, loose rock, river crossings, altitude, a loaded pack, and a mixed group can make the day slower.
For a worked example, an 8-mile segment with 2,000 feet of climbing begins at roughly six moving hours under that rule. Water treatment, lunch, navigation checks, and camp setup still sit outside that number.
A beginner who starts at 8 a.m.
should not turn that estimate into a 4 p.m. arrival with no reserve.
A late spring, remote, or unfamiliar route needs a larger buffer than a dry marked trail near a road.
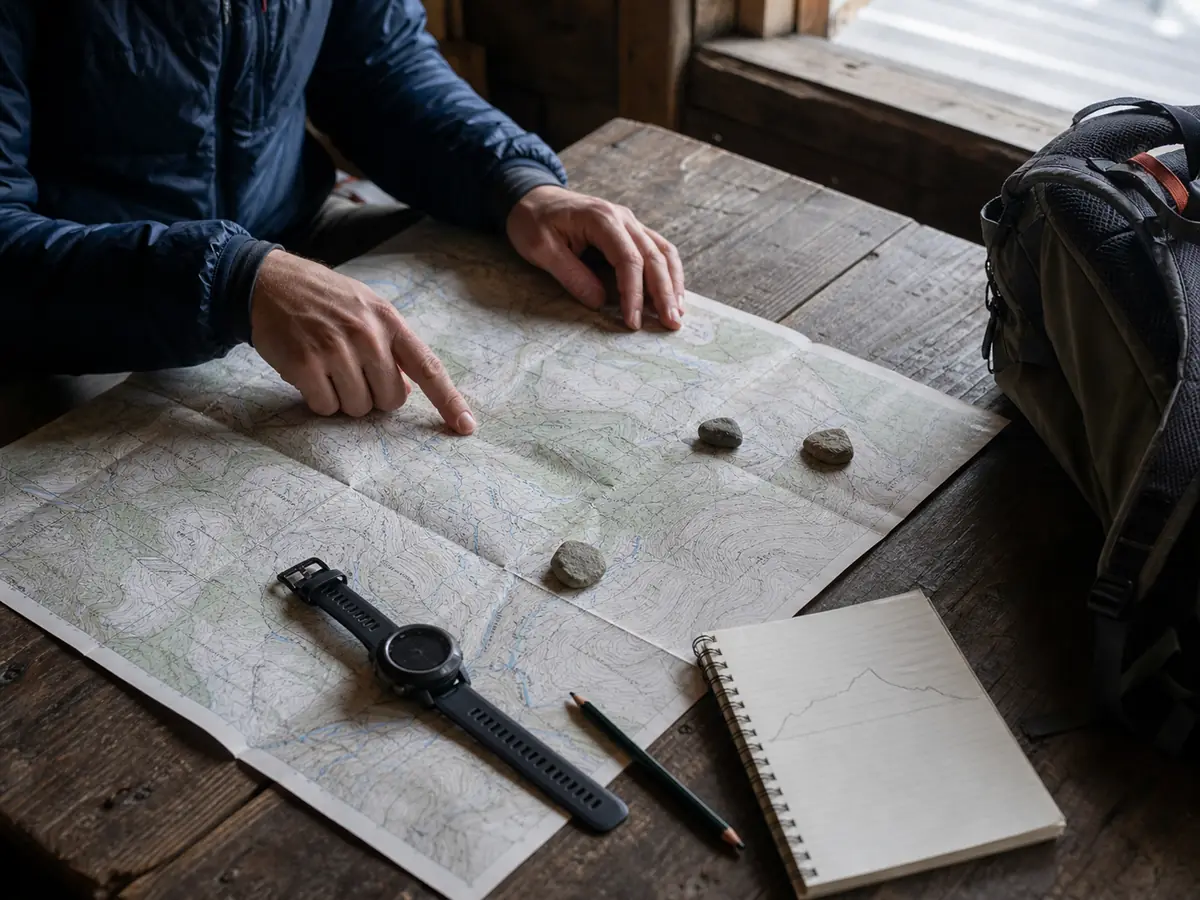
Set a latest arrival time for each camp, hut, or village.
Work out when you would need to leave the planned route for an alternate stop before that cutoff passes. On a point-to-point trek, also check whether the final bus, permit office, lodge desk, or pickup still works if the group arrives an hour late.
Schedule the camp arrival, not only the trail miles. Reaching the night stop with daylight left gives you time to fix wet gear, eat properly, inspect feet, and make the next morning easier.
If the itinerary needs the group's best possible pace every day, it has no room for normal delays.
How do you build fitness for back-to-back days?
You do not need to be fast. You need to walk several hours, repeat that effort the next day, and handle a heavier pack without foot, knee, or shoulder problems taking over.
Practice with the shoes, socks, and pack you will use on the actual trek. New gear can feel fine for one day and become the main problem after repeated miles when the same pressure lands in the same spots.
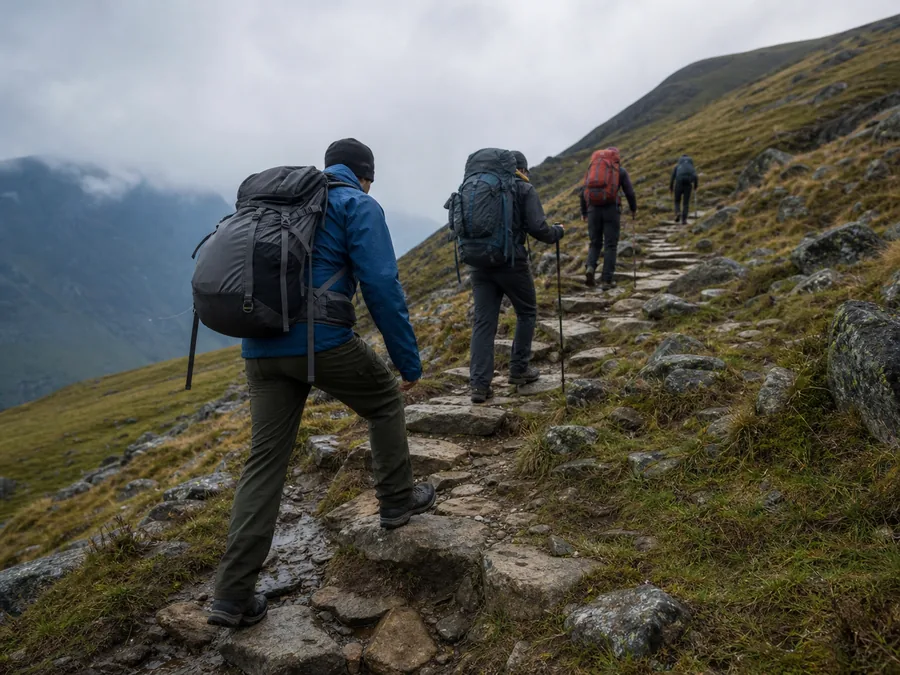
A single hard workout does not show how your feet, appetite, sleep, and mood respond after yesterday's miles. Repeat effort is the test for trekking fitness, and back-to-back walking days are the only way to find out where your weak points are before the trip.
Make the final loaded-pack rehearsal resemble one planned stage without copying the hardest day. Use the real shoes, socks, loaded pack, food, water access, and a similar amount of climbing.
Walk long enough to expose pressure points, then repeat a moderate walk the next morning. The useful result is not a fast time.
It is whether you can eat, sleep, manage your feet, repack, and begin again without pain changing your stride.
Record what failed during that rehearsal.
Shoulder numbness points to pack fit or load placement.
Toenail pressure on descents points to shoe fit or lacing. A headache may come from heat, dehydration, altitude, or another cause, so do not label it as ordinary fatigue without checking the conditions.
Fix one cause at home before adding more distance.
- Walk several times each week before adding pack weight.
- Practice steady climbs and controlled descents on varied terrain.
- Carry the real pack load on training walks, not a lighter practice version.
- Do two moderate back-to-back days to see how your recovery actually feels.
- Taper slightly and arrive rested rather than proving fitness in the final week.
If you are still building a base, hiking fitness training is the safer first step before carrying multi-day weight.
A beginner's pack is shorter than most lists suggest
A beginner trekking pack should cover sleep, shelter or lodging needs, food, water treatment, layers, rain protection, navigation, light, first aid, and repair basics. Pack weight matters because it repeats every hour, on every mile, across every day.
A heavy pack can slow pace, create blisters, and make descents feel harder on tired legs. Carry what works tomorrow, not only what feels fine at the trailhead when the legs are still fresh.
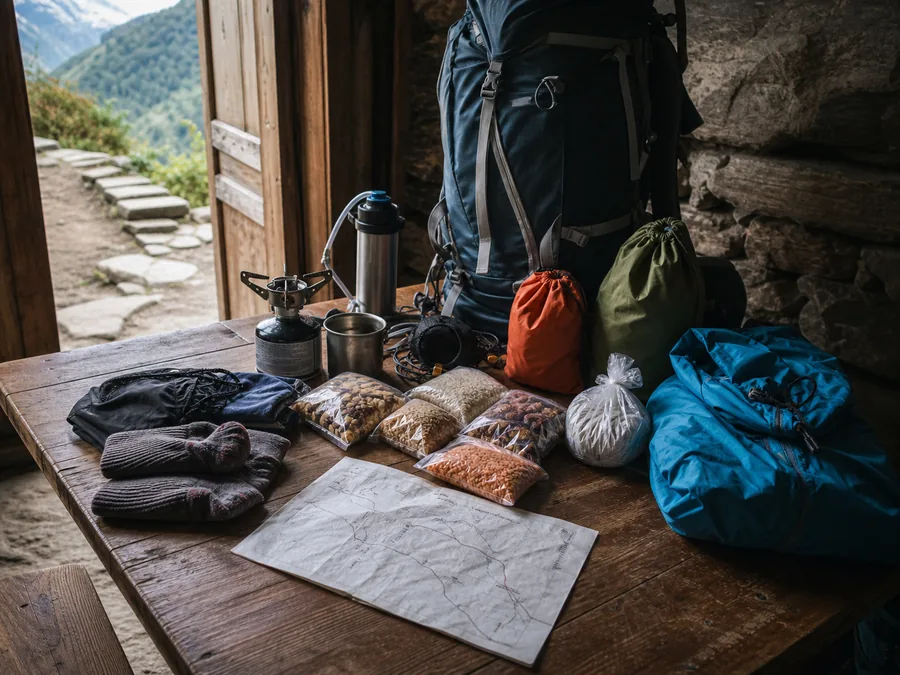
Keep the first trek simple before you make it light. Removing useful rain gear, warmth, water treatment, or first aid to chase a lower number can make the route more fragile under real conditions.
Build the trekking pack layout around the order in which the day happens.
Rain gear, water, snacks, map, and foot-care supplies need to be reachable without emptying the main compartment. Sleep gear and dry camp clothing can sit deeper inside a waterproof liner.
Fuel, sharp items, and anything that can leak need their own secure positions.
Run one complete evening and morning at home or at a nearby legal campsite.
Pitch the shelter, treat water, cook the planned meal, find the headlamp after dark, and pack again with cold or damp hands. This short rehearsal catches missing stakes, incompatible fuel, slow filters, dead batteries, and a pack layout that only works on a clean floor.
- Size and fit the packChoose a volume that fits the trip length, then adjust the hipbelt and shoulder straps until weight rests on your hips rather than your shoulders.
- Build a sleep systemSelect a bag and pad rated for the expected low temperature, not just the average night on the route.
- Add weather layersPack a rain shell and an insulating layer even when the forecast looks clean. Weather on multi-day routes arrives ahead of schedule.
- Plan food by dayCount calories per day with each day as its own calculation, then add a small reserve for a longer segment or a slow, cold day.
- Set up navigationDownload offline maps and mark water sources, camps, exits, and tricky junctions before leaving the trailhead.
Fit the pack before judging your legs. A correct backpack fit moves weight to the hips and keeps shoulder pain from deciding the day.
Food and water need a plan per segment, not per day
Food and water become daily systems on a trek. You need enough calories to keep moving, but the trekking food plan also needs meals you will actually eat when tired, cold, or slightly nauseated after a long day on trail.
Water planning depends on the distance between reliable sources, treatment time, heat, climb, and camp location. Do not assume every blue line or seasonal stream on the map will be usable when you arrive.
Eat before appetite crashes.
Many beginners wait too long because the first hours feel exciting, then reach camp tired, cold, and less willing to cook. Resupply is a decision, not a vague hope you confirm at the last camp.
Pros
- Planning water sources segment by segment prevents dry surprises at mid-day.
- Eating familiar, simple food means you will eat it even when tired or cold.
- A small emergency food margin covers one slow or unexpectedly long day.
- Knowing treatment time helps you pace water stops without rushing the next segment.
Cons
- Counting only total trip calories skips the per-day variation that matters on longer segments.
- Trusting every stream shown on the map adds real risk on dry or warm routes.
- Waiting for hunger or thirst to arrive means you are already behind for the next hour.
A water carry plan works segment by segment, because one dry stretch matters more than the trip total. Long dry sections and hot climbs change the answer by day.
Food, water, exits, and weather timing all belong in trip planning before a multi-day route begins.
How should navigation and weather be handled together?
Navigation needs to be boring on a first trek.
Know the next landmark, the next decision point, and the place where you will stop if the weather changes. Trying to hold the entire route in memory is unnecessary effort that drains the same attention you need for foot placement and pace.
Weather matters more on a trek because you must wake up and continue regardless. Wet socks, a soaked layer, or a windy camp can affect tomorrow's pace, not only today's comfort.
A weather event on day two of three is not just uncomfortable. It is a logistics problem.
Simple navigation preserves energy for the decisions that remain each day.
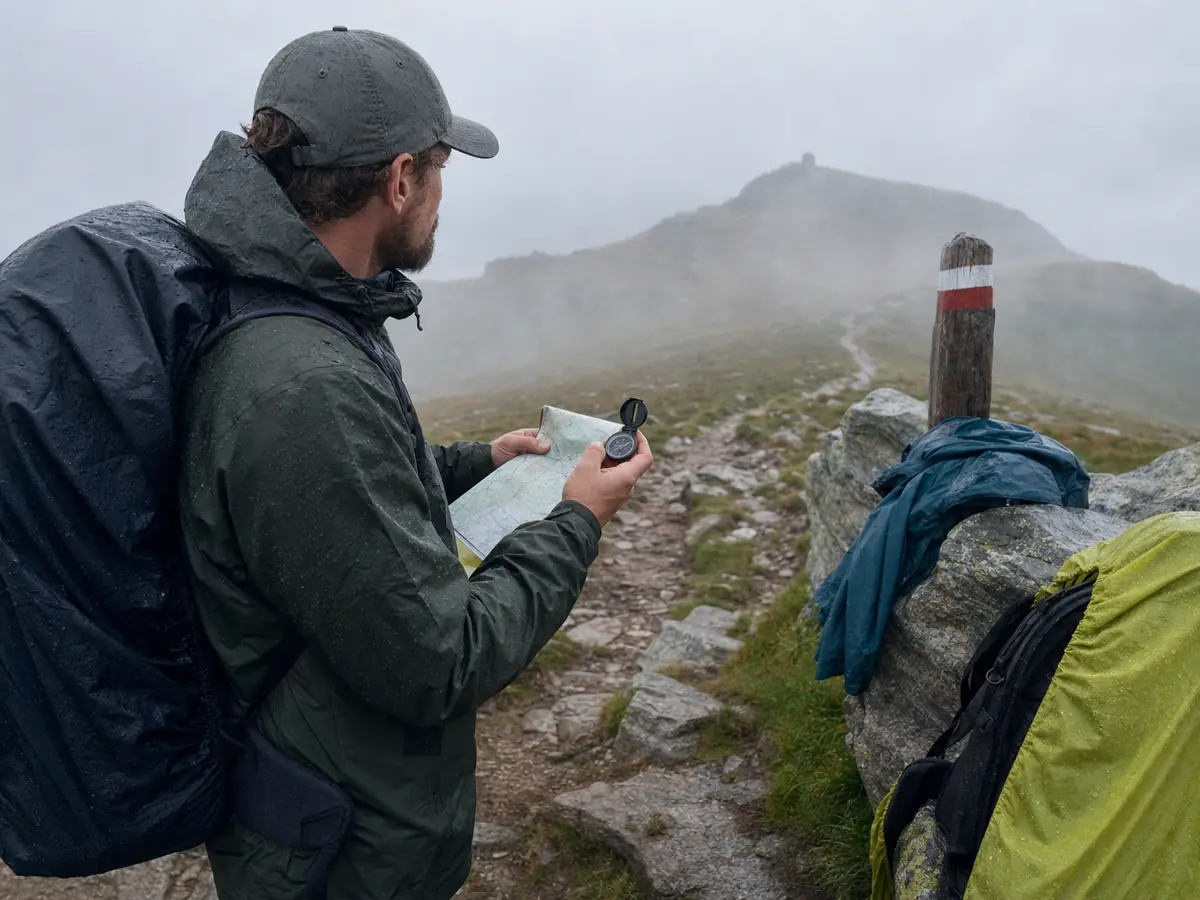
Set a repeating check interval on long, simple stretches, and check at every junction or obvious landmark. If clouds lower, rain begins, or the group slows, shorten the interval because the cost of missing one turn has increased.
| Skill | Before leaving | On trail |
|---|---|---|
| Map work | Mark water, camps, exits, and confusing junctions | Check position at each landmark, not only when unsure |
| Phone | Download offline maps and set a battery-saving mode | Use for key decisions, then put it away to protect charge |
| Compass | Practice the basic direction of travel at home | Carry it for open terrain and low-visibility conditions |
| Weather | Check daily timing for rain, wind, and cold nights | Watch for early arrival and be ready to stop short if needed |
| Exit plan | Identify where to leave without finishing the full route | Update the plan each morning based on overnight conditions |
Basic compass use is enough for many marked treks when practiced before the trip. Cold, wet, or windy conditions also make hypothermia signs worth knowing before any multi-day route.
Does altitude change a beginner trek?
Altitude can turn a familiar walking effort into a slower day with poorer sleep and less appetite.
Fitness does not prevent altitude illness. The main controls are how high you sleep, how quickly you ascend, and whether the route lets you stop ascending or descend when symptoms appear.
The CDC advises travelers to avoid going directly from low elevation to a sleeping altitude around 9,000 feet or 2,750 meters in one day when possible. Above about 9,800 feet or 3,000 meters, its guidance is to limit the increase in sleeping altitude to roughly 1,600 feet or 500 meters per day and add an acclimatization night for each additional 3,300 feet or 1,000 meters gained.
Individual responses vary, so a conservative itinerary may need more time.
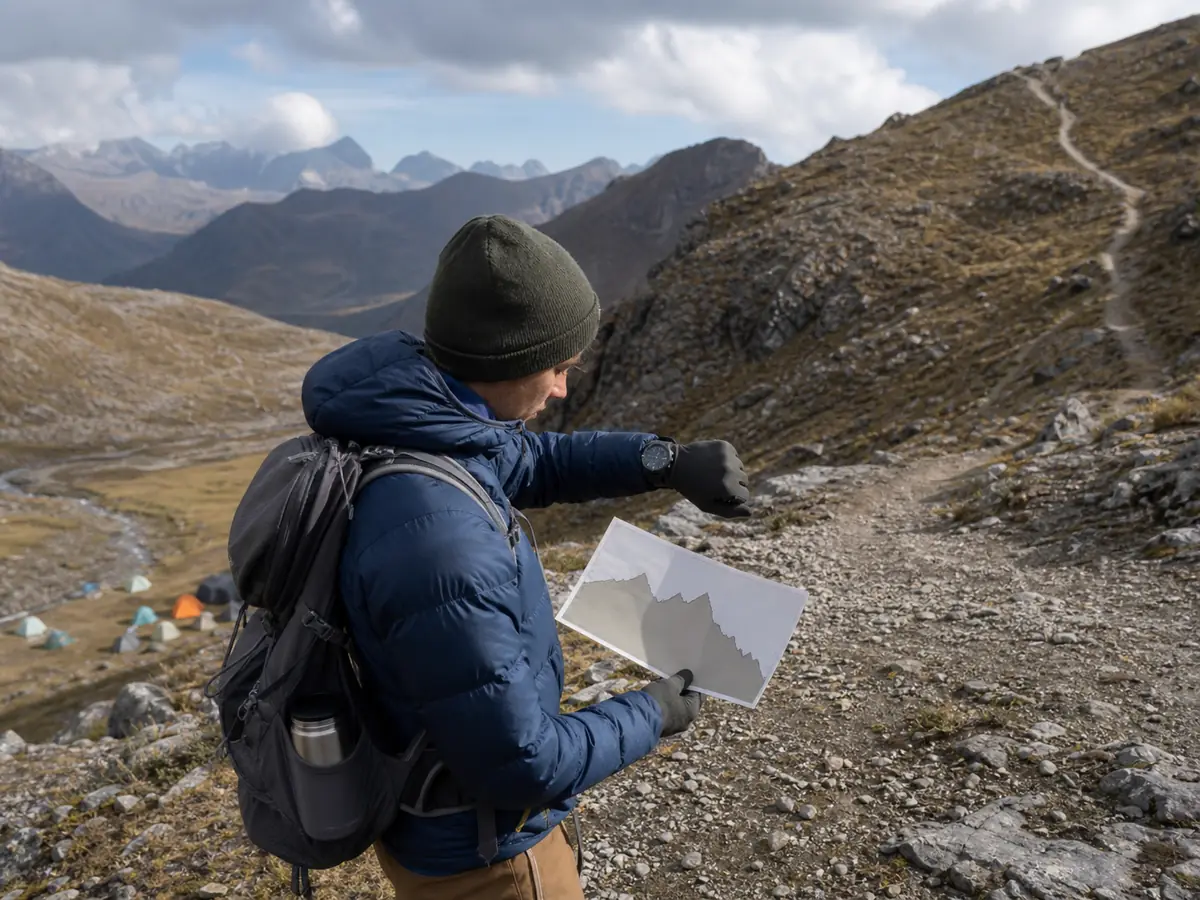
Headache with nausea, dizziness, unusual fatigue, or poor appetite after ascent can indicate acute mountain sickness.
Mild symptoms often begin after arrival or during the first night.
Do not climb to a higher sleeping elevation while symptoms remain. If symptoms worsen while resting at the same elevation, descend and seek appropriate help.
Breathlessness at rest, confusion, trouble walking straight, or a rapid decline calls for urgent descent and emergency action.
Sleeping altitude sets the pace.
A route that climbs high during the day and sleeps lower can be easier to tolerate than one that gains the same height and stays there overnight. Mark the sleeping elevation for every night, not only the highest pass, and keep a descent option open before entering terrain where weather or geography could block it.
If you have heart or lung disease, sleep apnea, sickle cell disease or trait, a recent serious illness, or a previous severe altitude reaction, discuss the route with a clinician who understands high-altitude travel. A first trek is a poor place to discover that the itinerary leaves no safe way to pause or go lower.
When should pace slow or the plan change?
Start the first day slower than you think you can go.
Your goal is to arrive with feet intact, appetite working, and enough attention left for camp or lodging decisions. A fast first morning that produces blisters, a late arrival, or a missed water stop costs more than the time it saved.
Breaks should solve a need: water, food, map check, layer change, foot care, or rest. Long random stops make late-day miles feel harder.
End each day with a short reset: dry socks, refill water, eat before you are too tired to want it, and put morning items where you can find them without unpacking everything in the dark.
Protect day two with the choices you make on day one.
Walk the first day in a way that protects the second morning.
First trek field rule
Change the plan when feet, water, weather, pack pain, pace, or sleep starts reducing tomorrow's choices. A hot spot on a foot that is not taped now becomes the main event of the next day.
An uncertain water source that is not replanned creates a dry carry mid-route.
Pack pain that is ignored becomes the reason the last miles are slow. These trekking mistake chains grow across repeated days, so the repair should happen early.
Shorten a day, take a lower route, use a supported exit, or stop before a blister becomes the decision-maker. A conservative change preserves the rest of the trip.
The best beginner decision is often invisible later: nobody remembers the blister that did not form, the storm ridge you skipped, or the water carry that kept camp calm.
Sources
The National Park Service explains the ten essentials for outdoor travel: NPS ten essentials.
Its Grand Teton backcountry planning guidance gives a conservative time estimate for loaded travel: NPS backcountry trip planning. The CDC explains gradual ascent, sleeping-altitude limits, symptoms, and descent decisions: CDC high-altitude travel.
Leave No Trace gives durable guidance for low-impact travel and camping habits: Leave No Trace principles.
Step by stepPractical steps
- Choose a short marked route with clear exits or support.
- Train with back-to-back walking days and the real pack.
- Pack for sleep, food, water treatment, weather, navigation, and repair.
- Plan water and food by segment, not only by total trip length.
- Change the trek early when feet, weather, water, or pace starts reducing tomorrow's choices.
AnswersQuestions readers ask
How many days should a first trek be?
Two to three days is enough for most beginners. It lets you test pack weight, recovery, food, water, and pacing without committing to a long remote route.
Is trekking hard for beginners?
It can be moderate if the route is short, marked, and supported. It becomes hard when pack weight, altitude, weather, or poor exits remove margin.
What is the biggest beginner trekking mistake?
Starting with too much distance, too much pack weight, or too little exit flexibility. A first trek should make mistakes recoverable.
Do I need trekking poles for a first trek?
They can help with rhythm and descents, especially with a heavier pack, but they do not replace fitness, pack fit, or careful foot placement.
How is trekking different from backpacking?
They overlap. Trekking often emphasizes multi-day travel on foot and may use huts, villages, or resupply, while backpacking usually means carrying a self-contained camp.