
Trekking Training That Proves You Can Repeat a Hard Day
Train for trekking by building repeatable walking hours, loaded-pack strength, downhill control, foot durability, and recovery across back-to-back days.
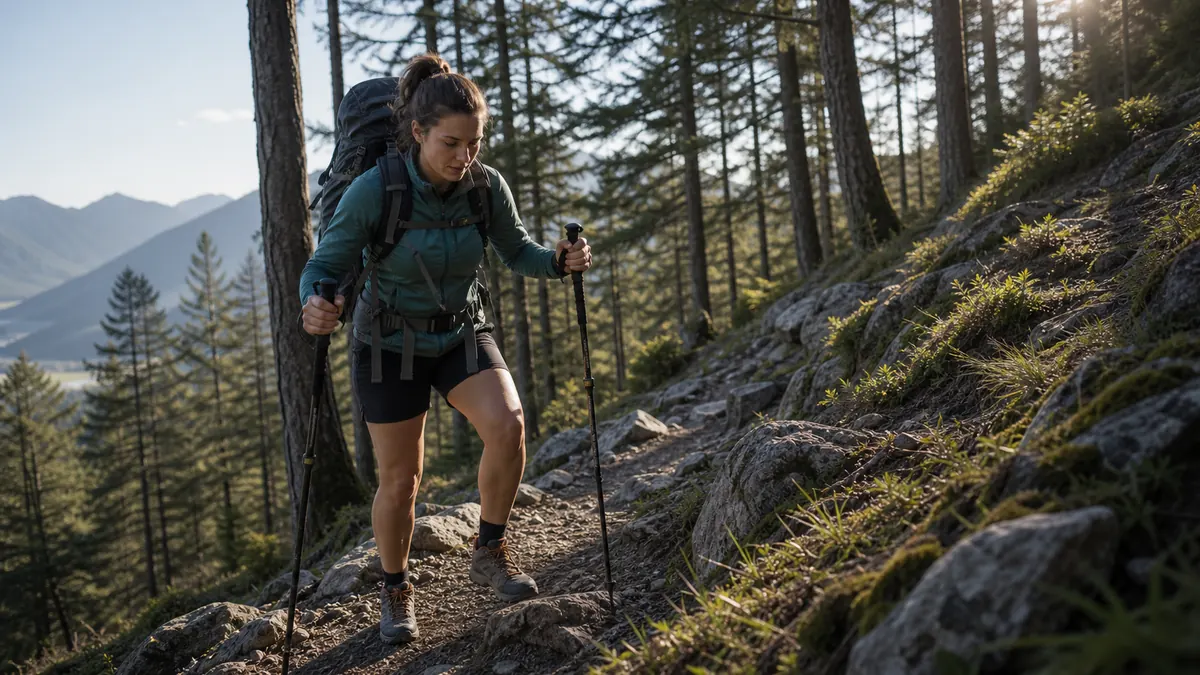
Training for trekking is not about becoming fast for one hard walk. It is about arriving with legs, feet, lungs, and shoulders ready to move for several days while carrying a real pack.
A trekking plan is built backward from the hardest day
Before you copy anyone else's plan, define the specific trek you are preparing for. A two-night lodge trek with light bedding asks for a different body than a five-day route with tent, food, and long climbs on consecutive days.
Write down the longest day, the steepest climb, the roughest descent, the expected trekking pack weight, and whether you must walk again the next morning. Those details determine the training load.
The safest first goal is repeatable effort, not a heroic test day. You should finish key training walks tired but still able to eat, stretch, sleep, and walk again.
- Define the trekWrite down longest day, steepest climb, pack weight, and back-to-back days.
- Build walking volumeWalk three to five times per week before adding hills or weight.
- Add hills and stairsUse steady climbs and careful descents once base walks feel easy.
- Introduce the loaded packStart light and increase weight over several weeks.
- Test back-to-back daysWalk two days in a row to check recovery, feet, and appetite.
- Taper the final weekReduce long efforts and pack sessions so you arrive rested.
Train for the actual load before you judge your fitness. Training targets make more sense once the beginner trekking basics are settled, including trip length, daily distance, and pack weight.
That article covers the multi-day planning decisions that training must support.
How do you build a walking base for trekking?
Start with easy walking volume before adding anything else. If you add hills, pack weight, and long distance at the same time, you will not know which piece caused sore knees, blisters, or fatigue.
Walk three to five times each week. Keep most walks comfortable and use one longer day-hike training walk each week to stretch time on feet.
The longer walk does not need to be fast or steep during the early weeks.
After two weeks of steady walking, add hills or stairs.
Save loaded-pack work until normal walking and climbing no longer leave you sore for several days. Rushing this phase is the most common reason training falls apart before the trip begins.
The CDC recommendation of at least 150 minutes of moderate aerobic activity each week plus muscle-strengthening work on two days is a useful health baseline. It does not prove trek readiness.
A trek also asks for specific time on feet, climbing, descending, pack comfort, and the ability to repeat the effort the next morning.
The base phase looks similar to hiking fitness training, but trekking adds the next-day test and a heavier pack over more days. That distinction matters more as the trek gets longer and the terrain gets rougher.
Base first, weight second keeps training problems easy to read. Each bar above represents approximate weekly training intensity across a standard eight-week build.
Adjust the ramp to match your starting fitness, not the calendar.
How should you structure a trekking training week?
A good week has easy walks, one hill or stair session, one strength session, and one longer walk. You do not need a complicated gym plan unless the trek is unusually steep, high, or long.
Keep one full rest day each week. Trekking training fails when every walk is medium-hard and the body never fully adapts.
Move the longest walk to terrain that resembles the trek as the date gets closer. Smooth pavement is useful early, but rocks, roots, mud, and stairs reveal balance and foot issues that pavement hides.
| Week element | Purpose | Keep it honest by |
|---|---|---|
| Easy walk | Build time on feet | Finishing able to talk normally |
| Hill or stair session | Improve climbing and descent control | Using slow, steady repeats |
| Strength session | Support knees, hips, calves, and core | Choosing clean movement over heavy weight |
| Long walk | Test shoes, socks, pacing, and food | Adding time gradually each week |
| Rest day | Let tissue adapt | Taking it before pain forces you to stop |
One training walk should serve as a full systems rehearsal. Pack the same water, trekking food choices, rain layer, warm layer, map, headlamp, and foot care you expect to carry on the trek.
That rehearsal tests access, weight, pacing, and recovery together.
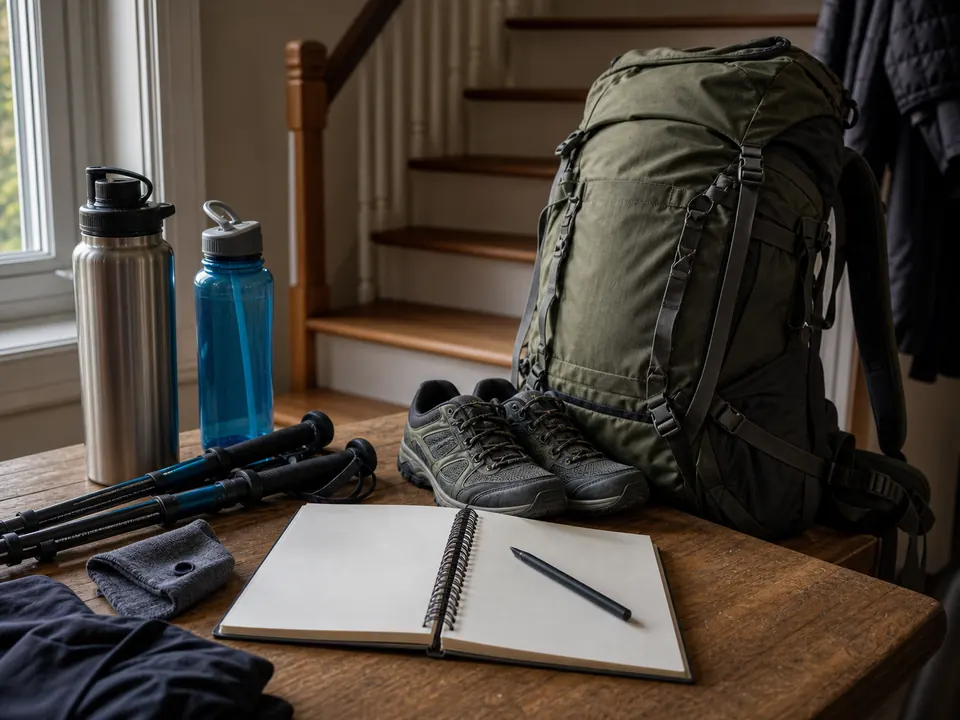
Simple weeks are easier to repeat than perfect ones. If you already hike often, use your hiking fitness as the base and add the loaded back-to-back work described here.
A rehearsal walk before the first overnight can run on day hiking essentials plus the extra weight you plan to carry.
When should you add back-to-back training days?
Add consecutive walking days only after one weekly long walk feels predictable.
Morning recovery controls the increase.
The multi-day exercise load is ready to grow only when your feet, gait, appetite, and normal movement return by the next morning.
Make the first back-to-back test smaller than the trek. If a four-hour walk is already comfortable, one practical test is about three hours on day one followed by 90 minutes to two hours of easy walking on day two.
That is an example, not a universal prescription. Shorten both days when your recent baseline is lower, the terrain is rougher, or the pack is heavier.
Keep the second day easier and use familiar ground with a simple exit. Its purpose is to expose stiff legs, sore feet, low appetite, poor sleep, and pack-contact problems while the consequences remain small.
Use the real shoes, socks, food, and morning routine. Add the full trip pack only after the consecutive schedule works with a lighter load, because a new schedule and a new heavy load create two unknowns at once.
Check the first ten minutes on day two. Normal stiffness that eases with controlled walking differs from pain that changes stride, a blister that reopens, or fatigue that makes foot placement careless.
Repeat the same pair before making either day longer. When recovery stays normal, increase one part of the pair, such as day-one time, day-two time, climb, or pack weight.
Two or more successful rehearsal pairs provide better evidence than one big weekend. They also leave time to fix footwear, food, pacing, and sleep problems before the taper.
The second morning is the test. A training pair succeeds when you can begin again with controlled movement, not when day one ends in exhaustion.
Strength work has to serve a loaded pack
Strength sessions should make the walking more stable, not leave your legs too sore to complete the walking plan. Use movements that train one-leg control, hips, calves, upper back, and the trunk while you can still keep clean form.
Step-ups and split squats prepare each leg to accept body weight separately.
Calf raises support repeated push-off. A hip hinge trains the back of the legs, while rows and loaded carries help the upper back hold a pack without collapsing forward.
Start with body weight or a light load if these movements are new.
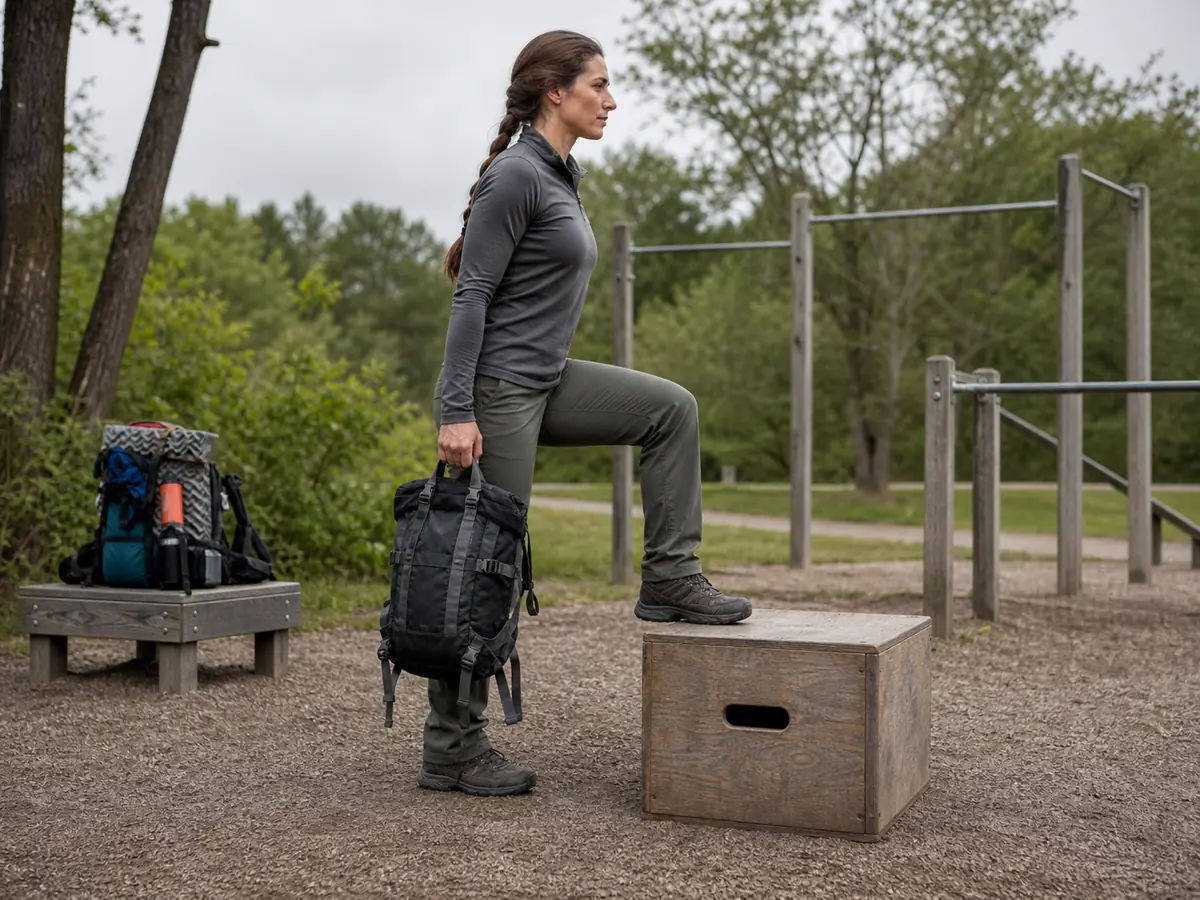
Two short strength sessions can fit early in a training block.
As the long walks and back-to-back days grow, one focused session may be enough. Do not increase exercise load, pack weight, and hiking time in the same week.
Change one load at a time so a new pain has an identifiable cause.
Keep two or three repetitions in reserve instead of lifting to failure. The goal is repeatable force and control under fatigue.
If a movement causes sharp pain, swelling, numbness, or a change in gait, stop that movement and get appropriate clinical advice rather than testing it again under a pack.
When should you add pack weight?
Add pack weight only after easy walking and hill sessions no longer leave you sore for several days. Most beginners start pack training too early, which makes it impossible to tell whether soreness comes from low fitness or from poor gear fit.
Start with a light load, walk normally, and watch for shoulder pressure, hip rub, lower back strain, or foot hotspots. A pack that feels fine for one hour can change your stride after three hours, especially on descents.
Increase weight gradually over several weeks.
The real pack weight does not need to appear until the final two or three long walks. Getting there slowly lets you identify and fix problems while training still has time to correct them.
Use the real pack, shoes, socks, and layers whenever possible. Training in different gear may build fitness, but it will not reveal the problems that shape the actual trek.
- Hip belt carries most of the weight, not the shoulders.
- Shoulder straps guide the pack without pulling hard.
- Shoes have enough room for toe swelling on descents.
- Socks have been tested on walks longer than two hours.
- Trekking poles are adjusted before steep ground begins.
- Snacks and water are reachable without unpacking.
The pack changes your gait, so train with it before the trip.
If the load causes pain early in a walk, fix backpack fit before adding more miles. Poor fit turns training into a pain session rather than useful preparation.
How do you train for trekking descents?
Many beginners worry about climbing and forget the descent entirely. Downhill walking with a loaded pack asks more from knees, calves, quads, toes, and balance than a flat walk at the same distance.
Practice slow descents on stairs, dirt, and uneven trail.
Short steps, quiet foot placement, and controlled breathing protect your legs for the next day. If your toes hit the front of the shoes on descents, adjust lacing, socks, insoles, or shoe size during training rather than waiting for the trek to fix it.
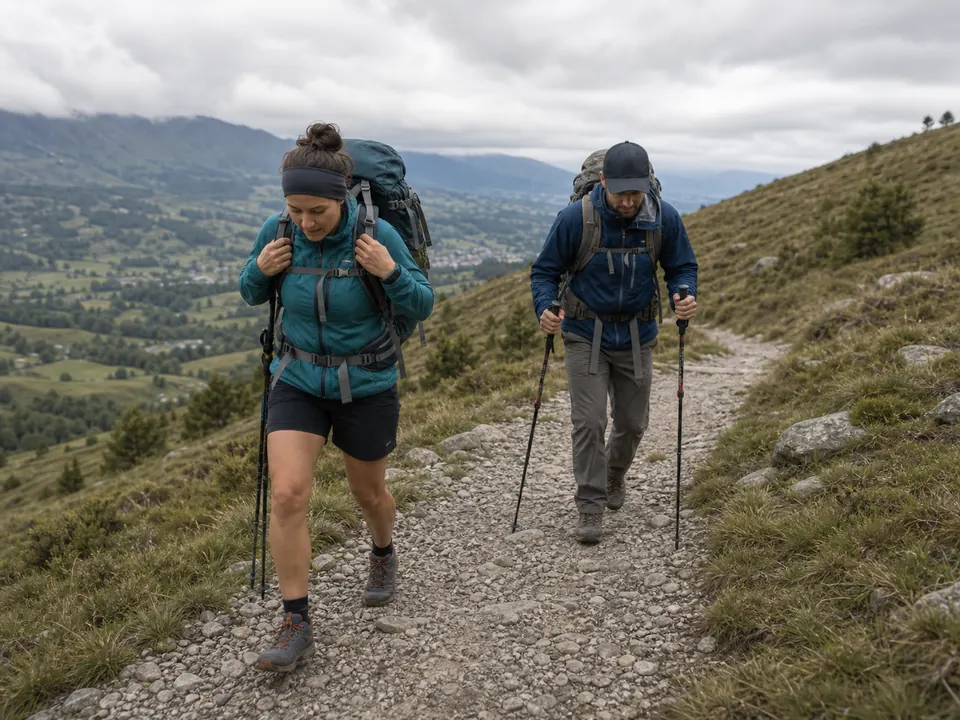
Use descent practice to test poles and pacing. Poles should help rhythm and balance, not pull your shoulders forward or make every step rushed.
If your legs shake by the bottom of a hill, repeat shorter descents before adding more pack weight.
Climbs
Train steady effort without surging.
Descents
Train short steps, balance, and knee control.
Flat miles
Train rhythm and foot durability.
Rough ground
Train attention and ankle strength.
Stairs
Train repeatable climbing when trails are not nearby.
Downhill control saves tomorrow on a multi-day trek.
The how to hike faster guide is useful only after control is solid. Speed is not the first trekking skill.
Training without hills takes a workaround
Flat terrain can build walking volume, foot durability, pack fit, and fueling habits. It cannot copy a long climb or descent by itself, so add elevation work through stairs, stadium steps, a parking ramp, or an inclined treadmill when those options are safe and permitted.
Separate climbing from descending if necessary.
An inclined treadmill trains sustained uphill effort, but stepping off the machine does not train downhill braking. Slow step-downs from a stable low step can build control.
Keep the height low enough that the knee tracks smoothly and the landing stays quiet.
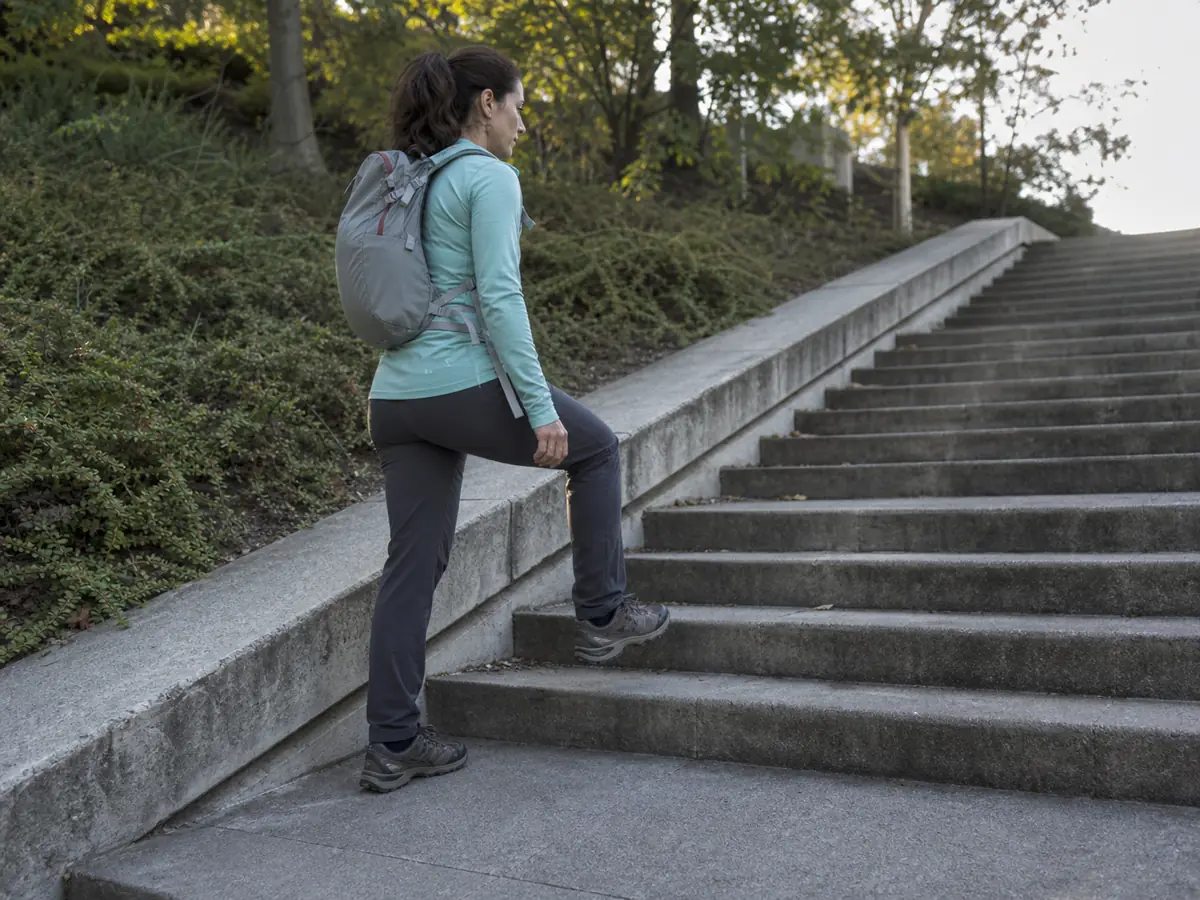
Use time rather than fake mileage to match the trek. A two-hour brisk walk, a separate stair session, and a second easy walk the next day can test more useful variables than racing a flat distance.
Carry the planned pack only after the movement remains smooth without it.
Flat training still needs specificity.
Practice the real shoes, socks, food, water, pole handling, and back-to-back schedule even when the slope is missing. If the trek includes very long descents, arrange at least one safe visit to similar terrain before departure or reduce the planned first days.
Recovery signals tell you whether the plan is working
Training walks are the place to learn when you need food and water. Do not wait for the actual trek to discover that a snack upsets your stomach or that you drink less than expected when moving hard.
Eat and drink on a schedule during long walks, especially when the weather is warm or the route climbs steadily. Fatigue often starts before hunger feels obvious.
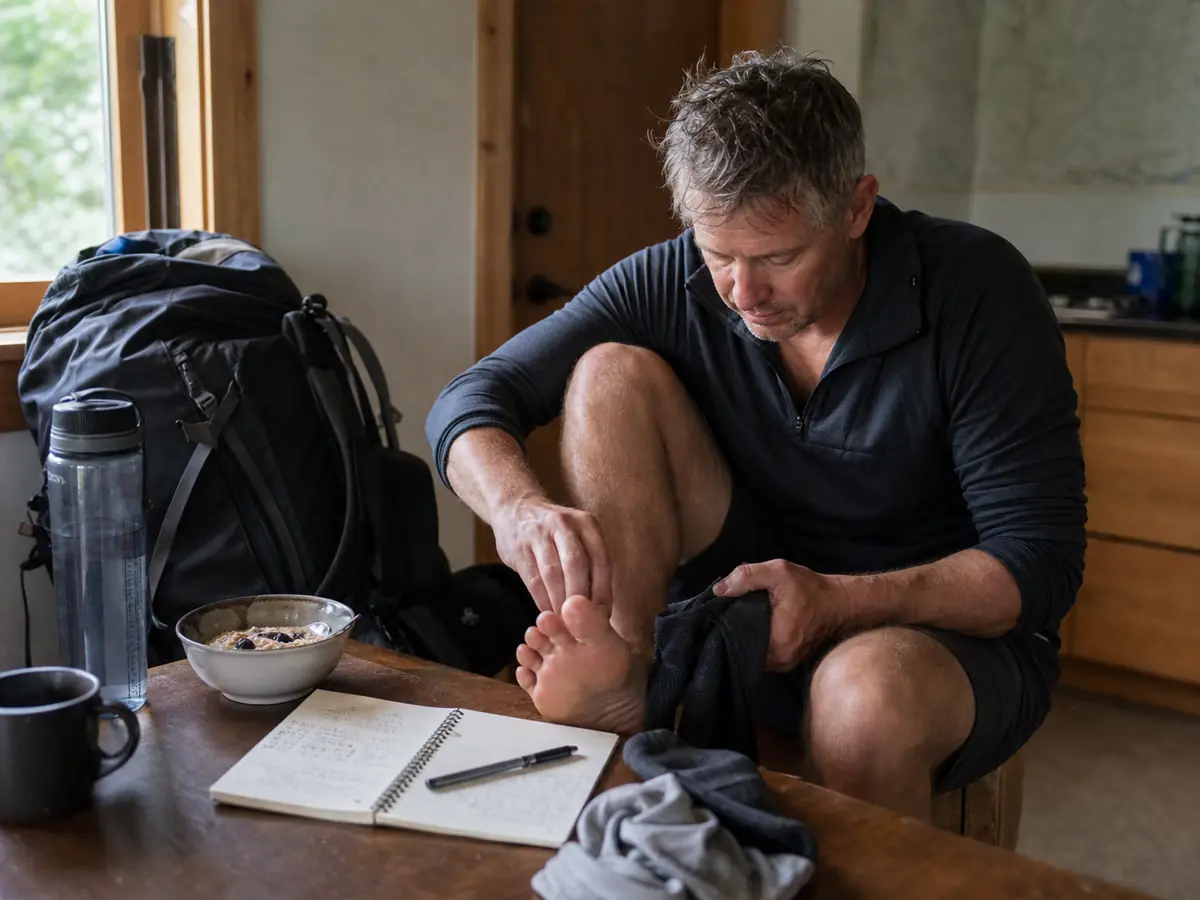
After each long walk, check your feet, calves, shoulders, mood, and sleep quality. Recovery tells you whether the next training step should be longer, heavier, steeper, or easier.
A walk that ends with heavy legs, a sore back, or poor sleep is not a failure. It is useful data about which variable rose too fast.
Ordinary muscle tiredness should ease as you move through the next day. Pain that changes your stride, wakes you at night, causes swelling, or lasts longer after each similar session needs a reduction in load and may need assessment.
Hiding that signal is one of the trekking mistake patterns that can carry into the trip, so do not add more pack weight until the cause is understood.
When the same problem shows up across multiple training sessions, it should change the plan.
One sore day can be normal. The same knee pain, toe bang, or shoulder ache appearing across several walks needs a response before the trek.
| Training signal | What it means | Next move |
|---|---|---|
| Hotspots on feet | Friction is building | Change socks, lacing, or tape early |
| Heavy legs next morning | Load rose too fast | Repeat the week before adding more |
| Low appetite | Effort or food choice may be off | Test simpler snacks on the next walk |
| Shoulder ache | Pack fit or weight balance is off | Repack and adjust the hip belt |
| Thirst late in walk | Drinking lagged behind effort | Use a timed water plan per segment |
Recovery is training data, not a side note. Set your water carry amount on training days too, so the pack weighs what it will weigh on the route.
Long walks are where your real drinking pattern becomes visible.
How do you know you are ready for the trek?
Readiness is not one perfect training day. It is a pattern across several weeks where walking, pack weight, foot care, food, and recovery all behave predictably.
You are close when you can complete a long walk with the planned pack, eat and drink without forcing it, finish descents under control, and wake up the next morning able to walk again. That does not mean you feel fresh.
It means the body is responding normally to the load.
Watch for the problems that repeat. The same knee pain, toe bang, shoulder ache, or appetite crash across multiple walks is information that should change the trek plan, not the training schedule.
Do one final route-specific rehearsal two to three weeks before leaving. Match the pack, shoes, poles, hills, breaks, and food as closely as your local terrain allows.
Then use the result to adjust the route, not your confidence.
- Best training window
- 8 to 12 weeks
- Main goal
- Repeat walking hours across several days
- Pack practice
- Add weight slowly after base walks feel steady
- Key weakness to test
- Downhill control with a loaded pack
- Success sign
- Feet and shoulders recover by the next morning
Repeatable signs beat confidence in the final decision.
If the rehearsal exposes a real limit, make the first trek easier. Choose shorter days, a supported overnight, a lower route, or a plan with more exits.
Training is successful when it gives you enough information to make the trip fit the body you have now.
When should you taper before a trek?
The final week is for arriving fresh. Keep walking, but reduce long efforts and heavy pack sessions.
Your fitness will not disappear in a few easy days.
Check gear, trim toenails, confirm footwear, and sleep well. A tired body at the trailhead makes small pack, weather, and foot issues harder to manage when they appear on day one.
Keep movement easy during the taper. Short walks, light mobility, and normal sleep help more than one last hard climb.
If you feel restless, organize food or check maps rather than adding fatigue.
Arrive rested, not proven.
If the final training walk exposes a serious problem, shorten the trek or choose an easier first day. Good training should make the first day feel controlled, not dramatic.
The first trekking trip planning guide pairs well with this plan because fitness only helps when the route, pack, food, and exit options are realistic.
Sources
The National Park Service explains hiking preparation, limits, trip plans, weather, and emergency planning: NPS Hike Smart.
Its ten essentials article covers navigation, clothing, light, first aid, repair, nutrition, hydration, and shelter: NPS Ten Essentials. The CDC gives the weekly aerobic and strength baseline for adults: CDC adult activity guidelines.
REI describes an eight-week backpacking conditioning structure with walking and strength work: REI backpacking conditioning.
Step by stepPractical steps
- Define the trek by days, climbs, terrain, and likely pack weight.
- Build easy walking volume before adding hills or pack weight.
- Use one hill or stair session and one long walk each week.
- Practice with the real loaded pack, shoes, socks, and poles.
- Taper in the final week so you reach the trail rested.
AnswersQuestions readers ask
How long should I train for trekking?
Most beginners do well with 8 to 12 weeks. The right length depends on current fitness, pack weight, route difficulty, and whether the trek has back-to-back hard days.
Can I train for trekking without mountains?
Yes. Use stairs, hills, bridges, treadmill incline, and longer walks with a pack.
You still need some uneven ground practice before the trip if the trek is rocky or muddy.
How heavy should my training pack be?
Start lighter than the trip load and add weight slowly. The final key walks should use a realistic pack, but not every training walk needs to be heavy.
Should I run to train for trekking?
Running can help general fitness, but it does not replace long walking, loaded-pack practice, descents, foot care, and back-to-back recovery.
What is the biggest trekking training mistake?
Adding distance, hills, and pack weight at the same time. Build one variable at a time so you can spot pain, fatigue, or gear problems early.