
How Do You Protect Recovery While Trekking in the Rain?
Keep a rainy multi-day trek workable by protecting one dry recovery system, moving conservatively on wet ground, and reassessing crossings, feet, and gear each morning.
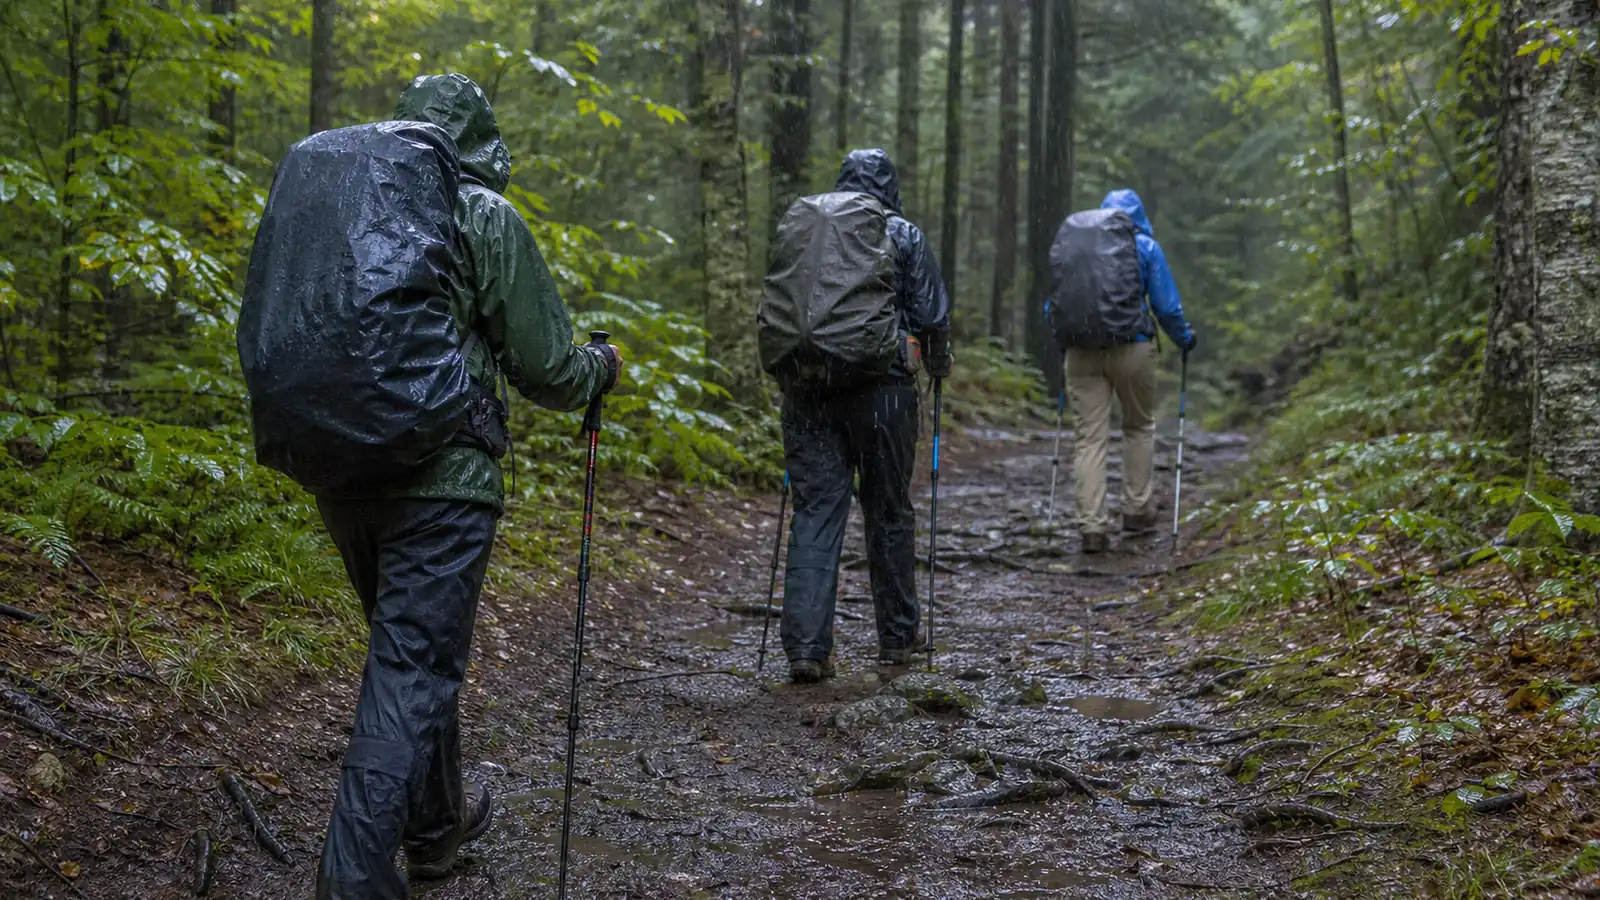
You can keep trekking in the rain only while the group protects dry sleep insulation, refuses flooded crossings, cares for wet feet, and recovers enough to walk safely the next morning. Rain becomes more serious when nothing has time to dry.
Why rain becomes a multi-day systems problem
A rainy trek can be reasonable when the route is simple, the exits are close, the temperatures are mild enough for the group's clothing and shelter, and stream crossings remain conservative. Cold wind, saturated ground, flooded water, or no dry recovery gear should change the plan before the first remote segment.
- Check the timingMatch the heaviest rain window with crossings, exposed ground, camp arrival, and the easiest exit.
- Protect one dry resetSeal sleep insulation and camp clothing before the pack leaves shelter or the vehicle.
- Lower the daily demandShorten distance for slower footing, wet-hand tasks, and earlier camp work.
- Name the refusal pointsFlooded water, failed dry gear, cold behavior changes, or a threatened camp ends the original plan.
- Keep the exit usableRecheck roads, crossings, and alternate camps before each remote segment.
| Rain condition | What changes | Better decision |
|---|---|---|
| Light steady rain | Footing and camp tasks take longer | Shorten the segment and start shelter early |
| Cold rain with wind | Wet clothing removes heat faster | Stay low, keep exits close, and protect dry layers |
| Heavy rain near crossings | Streams can rise and hide footing | Wait, backtrack, or use another route |
| Thunder | Exposed ground loses its margin | Leave high and open terrain before the storm arrives |
| Rain after several wet days | Ground, feet, and gear may not recover | Recheck the whole itinerary before continuing |
| Wet morning restart | Shoes, insulation, and morale begin below normal | Shorten the next segment before leaving shelter |
| Shelter damage or leakage | The dry recovery system is no longer dependable | Repair, use lodging, or take the nearest exit |
A day hike can end with wet gear in a car. A trek carries that water into camp, sleep, breakfast, and another walking day.
The decision therefore depends on what can still reset overnight.
That difference should shape the route before the forecast is checked. The hiking and trekking comparison separates a same-day wet return from a trip that must preserve sleep, food, and recovery through another morning.
You should review the route by drainage, crossings, shelter options, exposure, and exits. A short forested segment with established camps can remain workable while a ridge, canyon, or river-dependent route becomes a poor choice under the same forecast.
You need to check when the rain is expected to be heaviest, then compare that timing with crossings, exposed ground, and camp arrival. A modest total can still be poorly timed if the hardest rain reaches a stream just before the family or group must cross it.
Access can change too. Mud, closed roads, washed approaches, and delayed transport may remove the original start or exit.
You should confirm the current official access information and keep a backup that does not depend on the same vulnerable road or water crossing.
Protect tomorrow's dry start. The first trekking itinerary should mark wet-weather exits and alternate camps before the group commits.
If the rain is part of a cold pattern or may turn to snow, use the tighter winter trekking limits for daylight, warmth, water, and overnight recovery.
What belongs in the dry core?
Rain usually defeats a pack through several small openings rather than one dramatic leak. Water runs down straps, enters around a cover, transfers from a wet shelter, or follows a damp shell into the bag.
Create a sealed dry core inside the pack. Sleep insulation and camp clothing need their own waterproof protection even when the pack fabric or cover claims water resistance.
One failed closure should not expose every dry item.
- Dry core
- Sleep insulation, dry base layers, camp socks, and protected electronics
- Wet zone
- Rain shell, damp shelter, pack cover, gaiters, and wet walking layers
- Fast access
- Shell, warm stop layer, map, snacks, and water
- Transfer rule
- Wet gear never rests against the dry core at camp
- Failure signal
- Moisture reaches the only dry clothing or sleep insulation
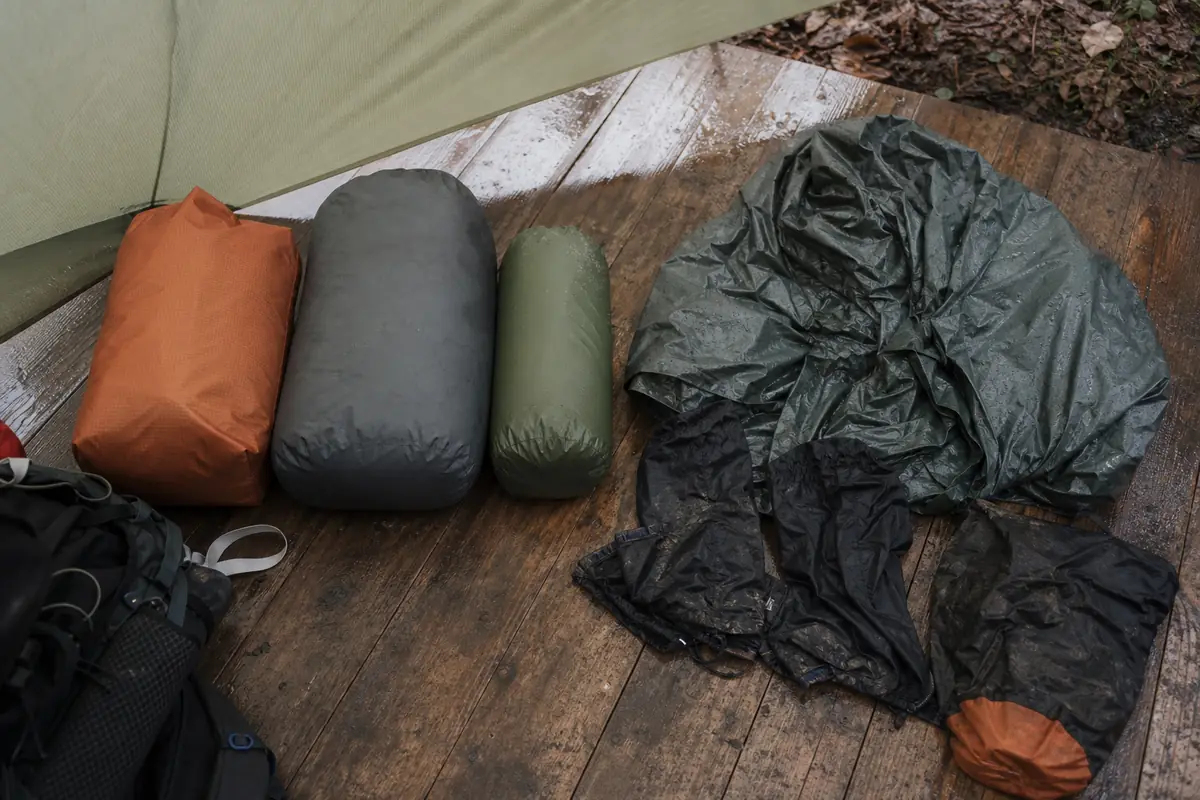
Your shell and pack protection should remain reachable without opening the main bag. If rain begins while the group is exposed, the dry system should not be opened just to find the layer meant to protect it.
The shelter may be packed wet in the morning. Give it a dedicated outer or sealed zone so it does not drain onto food, clothing, or insulation.
A shelter that must share space with dry gear needs another barrier around the dry core.
One dry system must survive. Build the rest of the load with the trekking packing plan, then test every wet-to-dry transfer at home while wearing the actual pack.
How wet ground changes pace and crossing decisions
Rain slows travel before it changes the map distance. Mud stretches each climb, wet roots shorten the step, smooth rock needs deliberate foot placement, and a slippery descent can take longer than the climb that came before it.
You should start with shorter steps and keep your center of balance over the feet.
Space the group so one slip does not knock another person down. Trekking poles can help with balance, but they do not make flooded water or exposed wet rock safe.
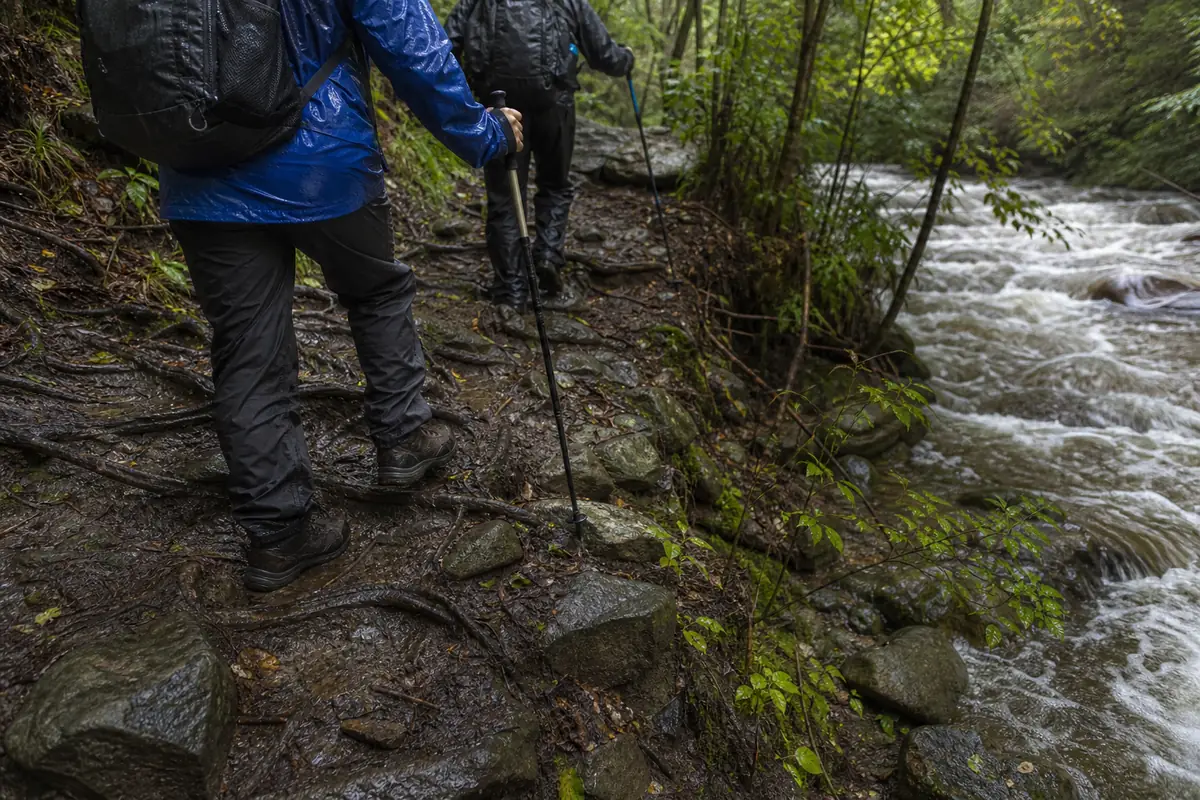
- Slow before the slick sectionAdjust pace while footing is still predictable, not after the first fall.
- Test each placementPut weight on wet rock, roots, or mud gradually instead of lunging onto it.
- Protect group spacingLeave enough room that a slip affects one person, not the whole line.
- Check water from a safe bankLook for rising, cloudy, fast water and hidden entry or exit points.
- Refuse a flooded crossingBacktrack, wait in a safe place, or use the planned alternate route.
Heavy rain can raise a stream after the group has crossed it once. A return route that depends on the same water may be unavailable later, so the decision must include the likely state of the crossing on the way back.
You should look for the consequence of a slip, not only the apparent depth.
Fast water beside strainers, a steep bank, cold conditions, or a poor downstream exit can make a shallow-looking crossing unreasonable. Murky water also hides holes and moving rocks.
Do not separate the group to test a dangerous crossing. If the safest person cannot cross with a conservative margin, the route is blocked for everyone.
You should use the planned alternate, wait from a secure place, or turn back while the previous camp and trail remain reachable.
The National Park Service advises hikers not to cross flooded streams.
Moving water sets the boundary because depth, footing, and force can be hidden. Do not turn a general trekking trip into an improvised river-crossing exercise.
Navigation also takes longer in rain. Keep the next landmark small and confirm direction before visibility falls.
The basic compass method should be familiar before wet maps and cold hands add pressure.
Track the water the group is carrying by accident
Rain adds load even when the packed inventory never changes. One liter of absorbed or trapped water weighs about 1 kilogram or 2.2 pounds, and that weight may sit in a shelter, jacket, shoes, straps, or outer fabric instead of a bottle you can measure.
You should check the pack after the first sustained wet period. Compare how it rides with the morning fit, then tighten only enough to restore control.
Overtightening wet shoulder straps can create pressure while the heavier load still swings on descents.
Shake and drain the shelter before packing when conditions allow. Keep the wet shelter in its dedicated zone, and do not strap a heavy loose bundle where it can swing or catch brush.
Water inside a pack cover also needs an exit. A cover can funnel rain along the back panel or hold a small pool at the bottom, so inspect it instead of assuming the cover kept the whole pack dry.
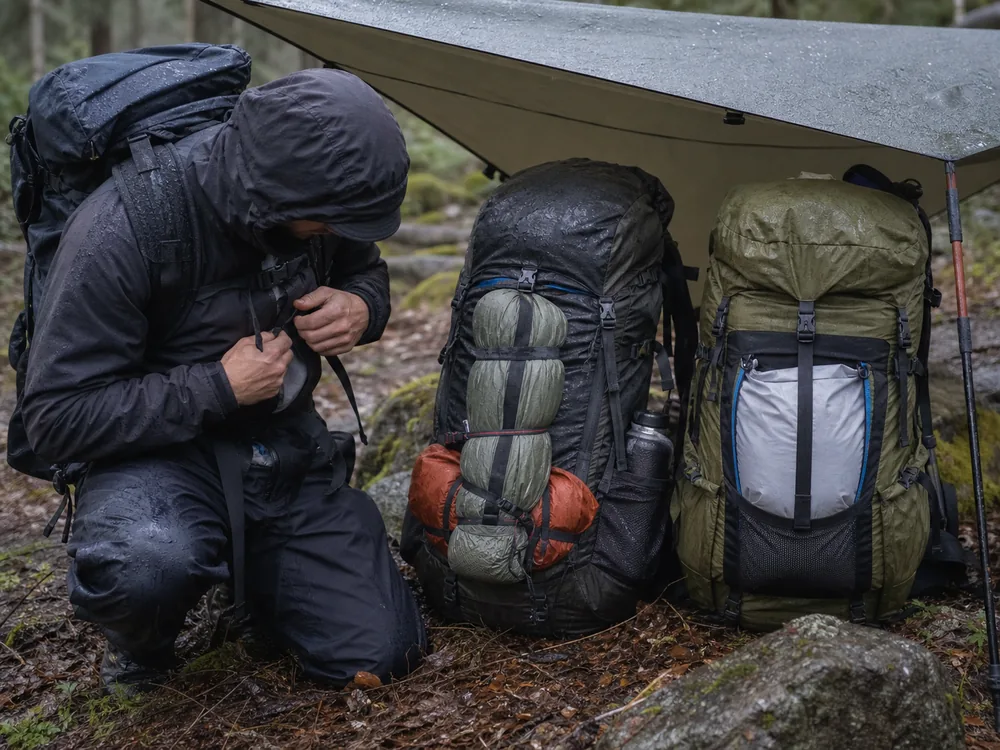
You can use a midday stop to separate three gear states. Gear that is wet but still functional can remain in the wet zone.
Gear that must dry for camp gets protected access under cover. Gear that has soaked the only dry sleep or clothing system changes the itinerary.
The extra load changes pace and balance before it feels dramatic. Shorten steps on descents, widen group spacing, and update the camp arrival time from the slower pace instead of trying to recover minutes on slick ground.
You should compare pack control across the group before the next steep or exposed section. One person may have a saturated shelter while another still carries a dry outer layer, so yesterday's shared-load split may no longer match today's balance.
Redistribute only equipment that can move without contaminating another dry core. A wet tent can shift to a stable outside position, but dry sleep insulation should not be opened beside dripping packs merely to make the scale look even.
You need to watch the person after any transfer. A shorter stride, new shoulder pressure, or more side-to-side movement shows that the adjustment moved the problem instead of solving it.
At camp, do not chase perfect dryness. Drain free water, isolate wet items, vent protected spaces, and preserve the materials that must work overnight.
A damp shell is inconvenient, but damp sleep insulation removes the recovery that makes the next day possible.
You should record which item gained water and how it entered. A loose liner closure, uncovered zipper, wet shelter transfer, or pooled cover needs a specific fix before the next rain period.
Count accidental water as part of the day's load. If the group cannot keep that load controlled while protecting one dry reset, use the closer camp or exit.
Which camp tasks must happen under cover first?
Arrival at camp creates a transfer problem. The group needs shelter, dry clothing, food, and sleep gear, but opening everything at once spreads water across the only items meant to stay dry.
You need to choose a legal site that drains. Avoid depressions, active runoff paths, soft banks, dead branches, and places where rising water can isolate the camp.
Local rules and current site conditions still decide where camping is allowed.
Shelter job
Build cover before the dry core is opened.
Wet gear job
Place shells, packs, and the damp shelter where they can drain without touching sleep gear.
Warmth job
Add the protected layer before the body cools from standing still.
Food job
Eat a ready snack while the longer meal and water are prepared.
Morning job
Pack the dry core first and isolate the wet shelter again.
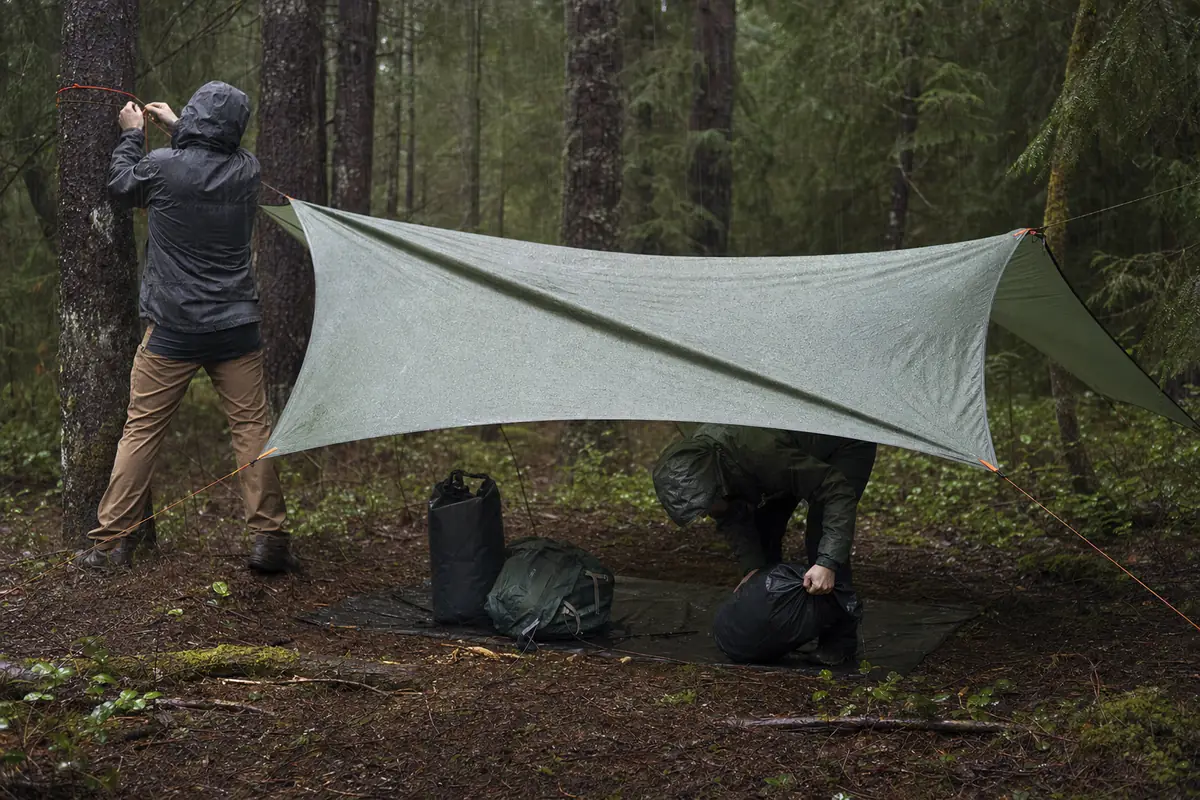
Vent the shelter as conditions allow.
Wet clothing, breath, and cooking moisture can add condensation inside a protected space. Follow shelter and stove safety instructions, and never use a flame where the manufacturer or site rules forbid it.
Create the dry room first. Then move people and equipment through it in a fixed order instead of unpacking the whole trip into wet ground.
Camp problems often begin with rushed packing earlier in the day. The common trekking mistakes explain why wet gear needs separation before it reaches the only dry pocket.
Why wet feet need a daily recovery cycle
Wet skin softens and becomes easier to rub. A shoe that felt fine for one rainy hour can create hot spots after a full day, then press the same area again the next morning.
You should stop when warmth, rubbing, or a sock wrinkle first appears. Dry the foot as well as conditions allow, remove grit, smooth the sock, protect the spot, and check whether lacing or pack weight changed the stride.
- Keep one pair of camp socks sealed inside the dry core.
- Rotate walking socks only when the change gives the foot a cleaner or drier surface.
- Air feet under shelter before sleep and inspect between toes and around hot spots.
- Dry insoles and loosen footwear at camp without exposing them to more rain.
- Treat rubbing before skin breaks and reassess any changed gait.
- Pack wet socks away from sleeping insulation in the morning.
Dry camp socks are recovery equipment, not a spare walking pair. Putting them into saturated footwear may remove the only dry layer available for sleep.
In the morning, inspect whether the skin has recovered enough for another wet day.
Tender pale areas, broken skin, swelling, or a changed gait deserve more than a fresh sock. Shorten the segment, adjust the fit, and use an exit when normal walking does not return.
Shoes may remain wet even after the socks change. Remove insoles under cover, loosen the laces, and give air access without placing footwear near a flame or heat source that can damage materials.
Pack them where they will not wet the dry core again.
Foot care repeats daily. A well-fitted backpack also matters because extra sway and weight can change foot pressure on slick descents.
What keeps food and water simple in rain?
Rain makes every hand task slower. Opening food, filtering water, tying shelter lines, and changing layers compete for the same attention while the group cools.
You should eat a ready snack before camp work consumes the last easy energy. Keep it where it can be reached without opening the dry core, and choose food the group will eat even when hands are cold or appetite is low.
- Refill before everyone reaches the last small amount of water.
- Keep treatment tools away from mud and contaminated runoff.
- Choose a simple meal that needs little cutting, sorting, or exposed packaging.
- Prepare breakfast items while the protected camp is organized.
Reduce wet-hand tasks. A practical water carry plan should account for reliable sources and treatment time, not assume that abundant rain makes every puddle or stream safe to drink.
Practice the full routine with the real load. The trekking training plan can reveal whether the pack stays stable and whether the group can handle stops without losing too much time.
How cold rain changes the stop rule
Rain does not need to freeze to create a cold emergency. The CDC notes that hypothermia can occur in cool conditions when a person is chilled by rain, sweat, or cold water.
You need to watch behavior as closely as clothing. Shivering, exhaustion, confusion, fumbling hands, slurred speech, memory problems, and unusual drowsiness are warning signs that ordinary discomfort has become more serious.
Warmth outranks the itinerary. The dedicated hypothermia response covers the warning signs and immediate priorities that every cold-wet group should know before leaving.
Wet sleep insulation, no dry clothing, or a person who cannot warm during a normal stop can also end the trek. The weather may improve later, but the group must act on the condition it can solve now.
Children need a lower threshold because they may not explain cold, rubbing feet, or fear clearly. The family trekking checks use regular food, layer, foot, and behavior observations instead of waiting for a child to name the problem.
Which morning signs support continuing?
The morning decision begins with evidence, not optimism. Check sleep insulation, dry clothing, feet, shoes, water, crossings, forecast timing, group function, and the distance to the next exit.
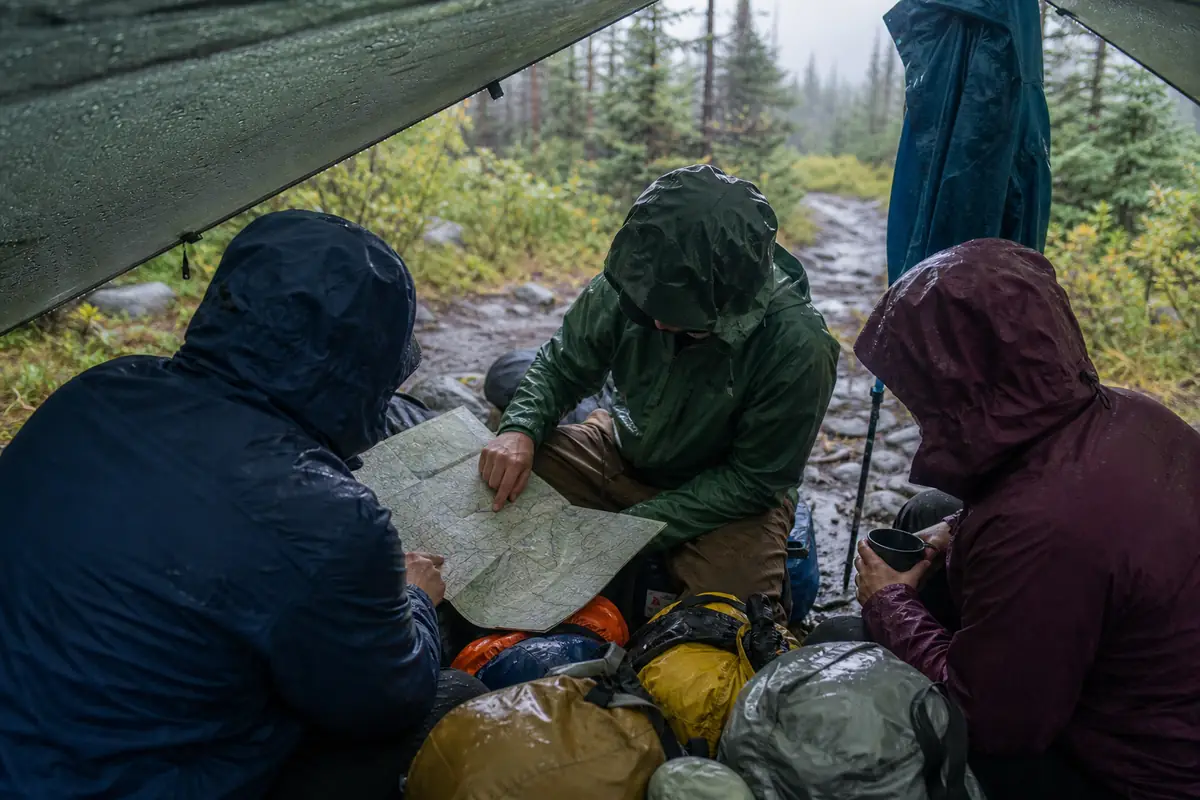
Continue only when the dry core still works, everyone can eat and move normally, critical crossings remain conservative, and the next segment leaves a realistic exit. Shorten the day when drying, foot care, or a slower trail has already spent the time buffer.
Open the route notes and compare them with what actually happened. If yesterday's pace was slower, the crossing changed, or camp took longer to establish, use those numbers for today.
The original itinerary is no longer better evidence than the wet trail the group has just experienced.
You should check the final hour separately. A steep muddy descent, unbridged creek, or exposed traverse at the end of the day may justify using a closer camp even when the morning feels easy.
Waiting can be sensible at a secure legal camp when water is expected to fall and the group has shelter, food, warmth, and a known route forward. Waiting is not useful when the site itself is threatened by runoff, rising water, wind, or cold.
Use the easy exit early. Leave when another remote section would place a wet or tired group farther from a simple solution.
The full trekking foundation explains how repeated days change pace and recovery. Rain adds one test to that foundation: the trip must preserve enough dry function to begin again safely.
Sources
Great Smoky Mountains National Park explains that cool, wet, windy conditions can contribute to hypothermia and advises hikers not to cross flooded streams: NPS hiking safety. The CDC lists rain, sweat, and cold water as hypothermia risks and explains the warning signs: CDC hypothermia prevention.
Step by stepPractical steps
- Choose a rainy route with simple navigation, conservative crossings, and close exits.
- Seal sleep insulation and dry clothing inside an independent dry core.
- Slow down on wet ground and refuse any flooded crossing.
- Build shelter before opening dry gear at camp.
- Recheck feet, crossings, dry gear, and group function before each new day.
AnswersQuestions readers ask
Is it safe to trek in the rain?
It can be reasonable on a simple route with mild conditions, conservative crossings, dry recovery gear, and close exits. Cold wind, flooded water, thunder, or no dry sleep system should change the plan.
How do I keep a sleeping bag dry in heavy rain?
Seal it independently inside the pack, keep the wet shelter and rain gear in another zone, and open the sleep system only after protected shelter is ready.
Should I use a pack cover or a pack liner?
A cover can reduce water on the outside, but critical insulation still needs independent waterproof protection inside the pack. Test the whole system before the trek.
How do I care for wet feet on a multi-day trek?
Stop at early rubbing, clean and dry the skin under shelter, protect hot spots, keep camp socks sealed, and reassess any gait change before walking the next day.
When should I leave a rainy trek?
Leave when crossings are flooded, the dry core fails, feet or gait deteriorate, the group cannot warm, behavior changes, or the next section removes an easy exit.