
How to Plan and Complete a Teahouse Trek in Nepal
Build the trip around the route rules, sleeping altitude, and the services each overnight stop can actually provide.
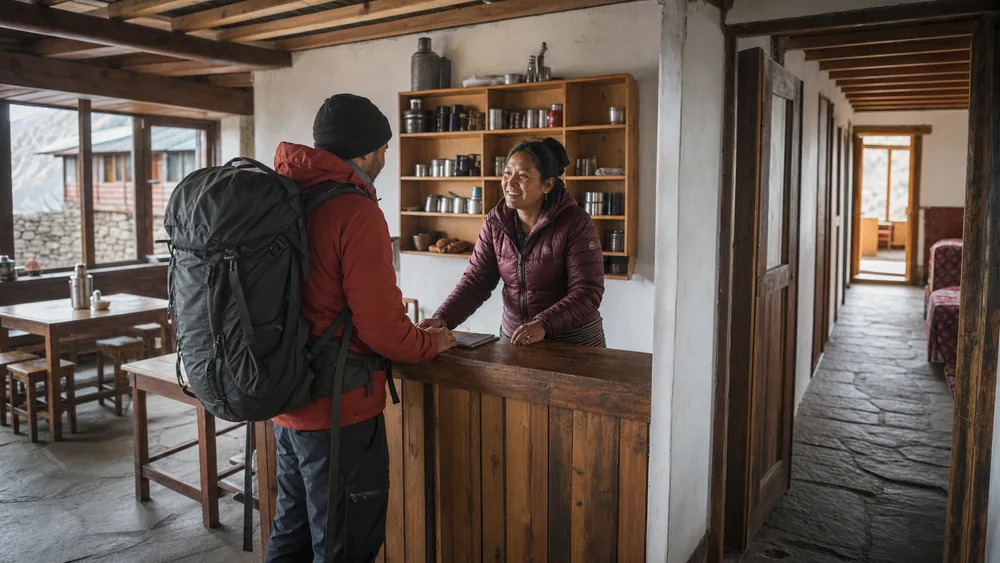
To do a teahouse trek in Nepal, choose a route that fits your experience, verify its current guide and permit rules, then build the itinerary around sleeping altitude rather than daily distance alone. Teahouses reduce the shelter and cooking gear you carry, but they do not remove the need for weather layers, water treatment, cash, navigation, and a delay plan.
Those figures are planning limits, not a promise that every person will adjust at the same rate. Sleeping altitude sets the pace because a short uphill day can still create a large altitude gain.
Your first planning step is to confirm the official route name. Nepal's permit and guide requirements apply by area and route, so a general statement about trekking in the country is not enough.
A teahouse trek removes the tent and adds other problems
A Nepal teahouse trek links village lodges along a walking route. You normally buy a room and meals each night, which removes the need to carry a tent, stove, and most trip food.
The service is less standardized than a hotel chain or a managed European hut network. A stop may have private rooms and charging at one elevation, while the next has thin walls, shared toilets, limited water, and power that depends on solar supply.
That variation changes how you pack. You can reduce shelter weight, but you still need an independent way to stay warm, treat water, navigate, and manage a delayed arrival.
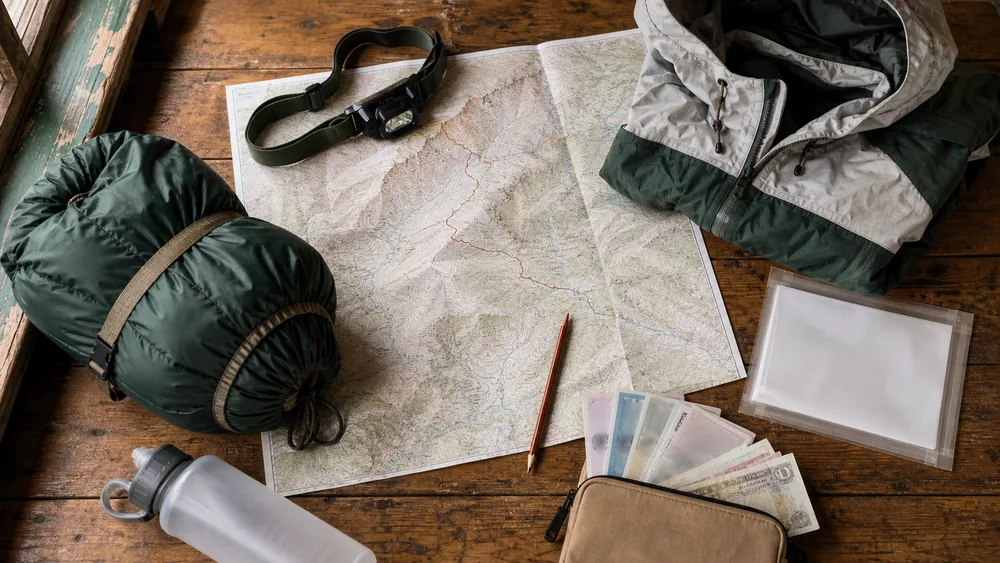
A hut-to-hut trekking plan gives you the basic stage-planning method. Nepal adds country-specific permits, transport uncertainty, and sustained high-altitude exposure.
Lodging changes the load, not the mountain. Treat every day between teahouses as a self-contained mountain stage.
How do you choose a route and season?
You should choose the route by highest sleeping altitude, daily ascent, remoteness, surface, and escape options. Total days alone can hide the hardest parts of the trip.
| Question | Easier first choice | More demanding choice |
|---|---|---|
| Sleeping altitude | Several nights below 3,000 m before higher stops | Rapid arrival followed by large sleeping gains |
| Trail access | Road approach with alternate exits | Flight-dependent or multi-day exit |
| Navigation | Established trail with frequent settlements | Snow-covered passes or sparse junctions |
| Daily load | Moderate ascent with short optional walks | Long ascent and descent on the same day |
| Support | Frequent lodging and communication | Long gaps with limited rooms and weak signal |
Match the season to the exact region. Monsoon timing, winter snow, visibility, and lodge operation can differ between valleys, so use current local information instead of a national month-by-month slogan.
You need to compare the season with the route's critical feature. A lower forest trail may remain walkable when a high pass holds snow, while a flight-dependent approach can lose several mornings to cloud even when the walking weather is acceptable.
You can ask an operator about the usual seasonal pattern and conditions reported this week, but you still need to check the official forecast. A sales answer describes what often happens, while a go or no-go decision needs current wind, precipitation, temperature, and snow information.
Your first trekking itinerary needs at least one flexible day before the most important flight or road connection. A weather delay at the trailhead can consume the same day you expected to use for recovery.
Training should match repeated climbing and descending. Use a multi-day trek preparation plan with the footwear and pack weight you will actually take.
You should compare both route directions because one may spread sleeping-altitude gain across more villages while the reverse creates a sudden jump. The direction with the better altitude profile is usually worth slightly less convenient transport.
Check whether the lower route remains usable if the high stage closes.
Choose by the hardest day. A route is suitable only if you can manage its most exposed, highest, or least-supported stage.
Which permits and guide rules apply?
You should check the Nepal Tourism Board route list before you pay an operator. Its current TIMS page says specified protected-area routes require a licensed trekking guide and a trekking-agency-issued TIMS card.
The same page tells trekkers to ask a government-registered trekking agency when the chosen itinerary appears on that list. Protected-area entry permits or restricted-area permits can be separate requirements.
- Write the official route nameInclude passes, side valleys, and any restricted-area segment.
- Check the current TIMS listMatch the route against Nepal Tourism Board wording rather than a blog summary.
- Identify area permitsConfirm conservation-area, national-park, or restricted-area documents.
- Verify the issuerUse the government office, authorized portal, or registered agency named by the authority.
- Save proof offlineKeep copies of permits, passport details, insurance, and agency contacts.
- Recheck before departureRules, fees, offices, and accepted payment can change.
Do not assume a permit price from an old itinerary. The Nepal Tourism Board currently publishes TIMS charges, but the practical step is to verify the amount and purchase method when you apply.
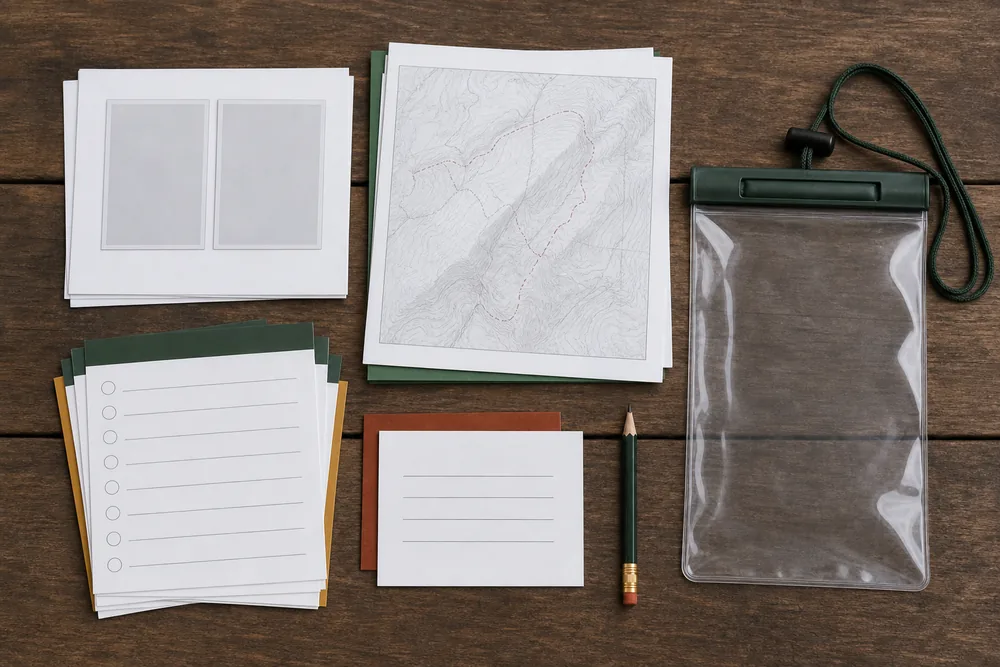
If you hire support, use a written guide or porter screening process before paying a deposit. Ask the agency to name the worker, role, license or training, insurance, equipment, and emergency procedure.
Your exact route controls the paperwork. Similar route names can cross different administrative areas.
How should sleeping altitude shape the itinerary?
Your plan should track the elevation of each night, not only the highest point reached during the day. Going high and returning to a lower teahouse is different from sleeping at the high point.
CDC guidance recommends no more than 500 meters of sleeping-altitude gain per night once you are above 3,000 meters. It also recommends an extra acclimatization night for each 1,000 meters gained.
A route can comply on paper and still be too fast for you. Add time where descent and extra lodging are possible, then use a high-altitude acclimatization plan instead of treating the spare night as sightseeing time.
Before booking, write a small table with each night's village, sleeping elevation, gain from the prior night, highest daytime point, and nearest lower lodging. The table exposes a large jump that a distance-only itinerary hides.
An acclimatization walk may go higher during the day and return to the same bed, but it should stay gentle enough for the group to recover, eat, and sleep. The purpose is controlled exposure, not adding another hard summit to a rest day.
Fitness does not prevent altitude illness. A strong hiker can move too fast, so use a controlled high-altitude trekking pace and keep the group together.
The next bed is optional. Reaching a reservation never outranks the need to stop ascending or descend.
Inside a teahouse, expect less than the photos suggest
You should expect a simple room, a shared dining space, and meals ordered from a local menu. The details still need checking because bedding, toilets, showers, heating, Wi-Fi, charging, and water vary by stop.
Room
Ask whether blankets are supplied and whether a sleeping bag is still expected.
Meals
Check order times, breakfast timing, and any dietary restriction before evening.
Water
Ask whether water is treated, boiled, filtered, or sold, then use your own treatment when uncertain.
Power
Treat charging and Wi-Fi as optional, especially at higher or cloudy stops.
Toilets
Carry paper and hand sanitizer because facilities and supplies vary.
Payment
Carry local cash and small notes rather than relying on a card terminal or signal.
Keep wet boots and shells where the host directs. Pack your morning layer, headlamp, water treatment, and cash before bed so an early departure does not disturb other guests.
Before unpacking, seal food, protect electronics from condensation, and place the sleeping bag where it stays dry. If the stove heats only the dining room, change into dry layers there instead of expecting the bedroom to warm later.
Ask when the host locks doors or turns off lights. A shared toilet may be outside or down dark stairs, so keep footwear and a headlamp beside the bed.
Shared-space habits from trekking etiquette matter in small dining rooms and thin-walled sleeping areas.
Ask at each stop. A service available tonight may be absent tomorrow.
What should you pack when lodging and meals are available?
Your pack must cover the travel between buildings. That means waterproof layers, insulation, navigation, sun protection, first aid, water capacity, treatment, headlamp, and enough food for the walking stage.
- Sleeping bag suited to the expected indoor low
- Waterproof shell and warm layer kept dry
- Offline map, route notes, and backup power
- Water bottles or bladder plus a treatment method
- Headlamp with spare battery or reliable recharge
- First aid, blister care, and personal medication
- Sun hat, warm hat, gloves, and eye protection
- Cash split between two secure places
- Passport copies, permits, insurance, and emergency contacts
- Snacks for the longest stage plus a delay reserve
Use the complete trekking packing list and remove an item only when a confirmed service replaces its function. A blanket does not replace a warm layer on the trail.
Fit and weigh the pack before travel. A well-adjusted trekking backpack helps on long stone steps, but it cannot correct unnecessary weight.
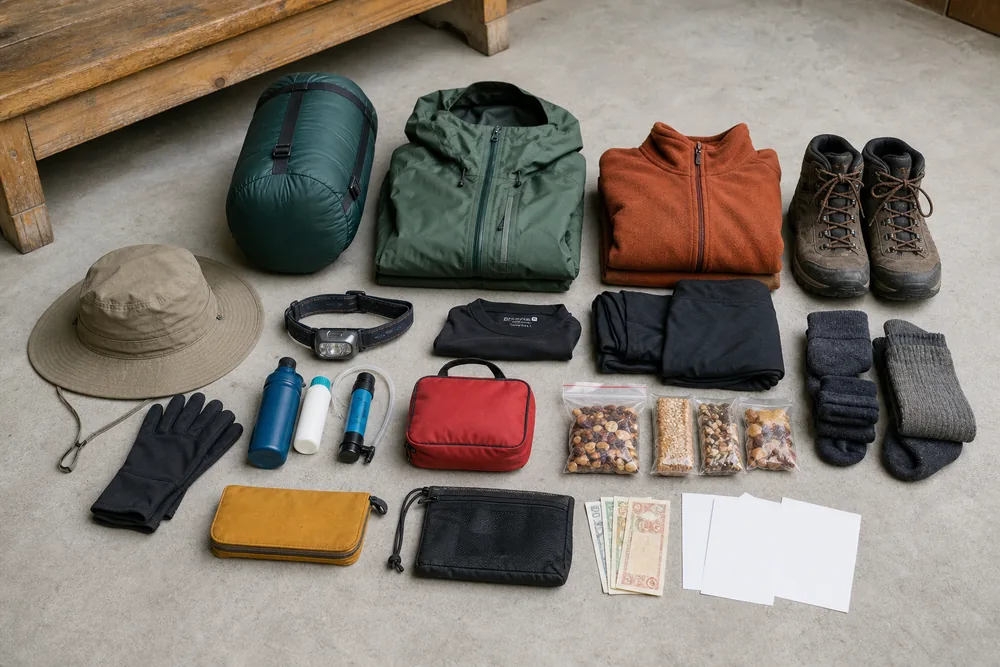
Pack by function. Every critical need should still have an answer if the next lodge loses power or has no room.
How do food, water, cash, and power work?
Order dinner and breakfast early enough for the host to plan. Carry food for the walking stage because meal service at the next stop does not help during a six-hour climb.
You need to ask how drinking water was prepared. Clear water can still contain harmful microorganisms, so you should treat it when the method is unknown.
Calculate water from the longest dry section with the water-carrying planner. Cold weather and altitude can reduce thirst even while you continue losing fluid.
Keep enough cash for several nights, meals, charging, transport changes, and an emergency reserve. Split it so one lost pouch does not end the trip.
Put the phone in airplane mode and keep a paper note with lodge names, contacts, and planned elevations. A power bank is useful, but cold temperatures reduce battery performance.
Buy convenience, keep a backup. Meals and charging make the trek easier only when their absence does not create an emergency.
Every afternoon has a short confirmation list
Before dinner, you should confirm the next lodge, route, forecast, water gap, expected walking time, and sleeping-altitude gain. The host or guide can report recent trail changes, but you still need to compare that information with an official forecast and your map.
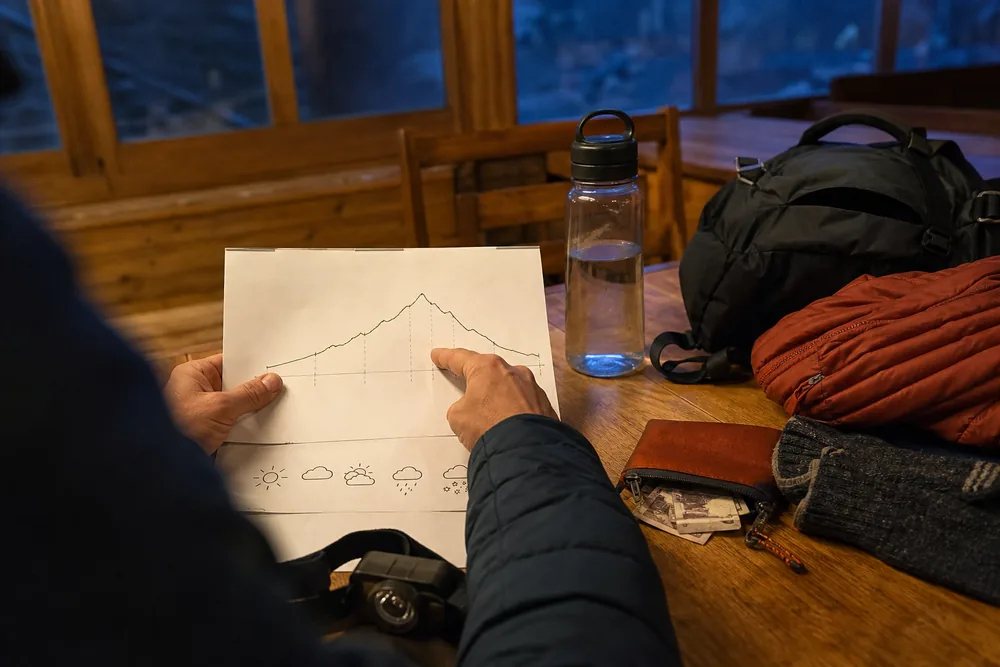
Set a departure time and a point where the group will reassess pace. If rain is expected, apply the footing and dry-layer controls used for trekking in rain.
Decide before breakfast. Morning pressure is lower when the fallback is already named.
What if illness, weather, or transport delays the trip?
Use the flexible day where it protects health or a difficult connection. A planned trek rest day can become an acclimatization hold, a weather wait, or transport recovery.
| Problem | Immediate decision | Practical fallback |
|---|---|---|
| Altitude symptoms | Stop further ascent | Rest at the same elevation or descend as symptoms require |
| Storm or snow | Avoid the exposed stage | Wait, use a lower route, or return to the last safe stop |
| Full lodge | Do not improvise an unsafe night walk | Call ahead, stop earlier, or use the verified alternate |
| Flight cancellation | Protect the international connection | Use the buffer day or a verified road option |
| Injury | Stop before the person deteriorates | Descend, arrange transport, or request appropriate help |
| Lost power or signal | Switch to offline information | Use saved maps, paper contacts, cash, and the agreed check-in |
Give a trusted contact the route, overnight sequence, operator contact, and overdue procedure. The communication discipline used for solo trekking is valuable even when you travel with a group.
Your insurance must match the trekking altitude and planned activities. You should read the evacuation conditions and exclusions rather than assuming the word adventure covers the route.
Protect the exit. A good teahouse itinerary can lose a destination and still get everyone down safely.
Sources
The Nepal Tourism Board TIMS page lists routes covered by the revised guide and TIMS provision and tells trekkers to verify their exact itinerary. The Nepal Tourism Board trekking information explains the permit categories used for trekking areas.
The CDC Yellow Book altitude guidance supports the sleeping-altitude limits and symptom response.
AnswersQuestions readers ask
Do all Nepal teahouse treks require a guide?
No single answer covers every route. Nepal Tourism Board lists specific routes where a licensed guide and agency-issued TIMS card are required, so verify your exact route before booking.
Do teahouses provide blankets?
Many do, but warmth, cleanliness, and availability vary. Confirm bedding and carry a sleeping bag rated for the expected indoor temperature.
Can you pay by card in teahouses?
Do not depend on it. Carry enough Nepalese rupees for lodging, meals, water, charging, transport changes, and a reserve.
How fast can you gain altitude?
Above 3,000 meters, CDC guidance recommends limiting sleeping-altitude gain to no more than 500 meters per night and adding an extra night for each 1,000 meters gained.
Should you reserve every teahouse?
Reserve or confirm busy and limited stops when possible, but keep enough flexibility to stop ascending if symptoms or weather require a change.