
Is Solo Backpacking Safe? Navigation, Check-Ins, and Exit Rules
Choose a forgiving first overnight, navigate without one device, protect essential functions, and give a trusted contact an overdue response they can use.
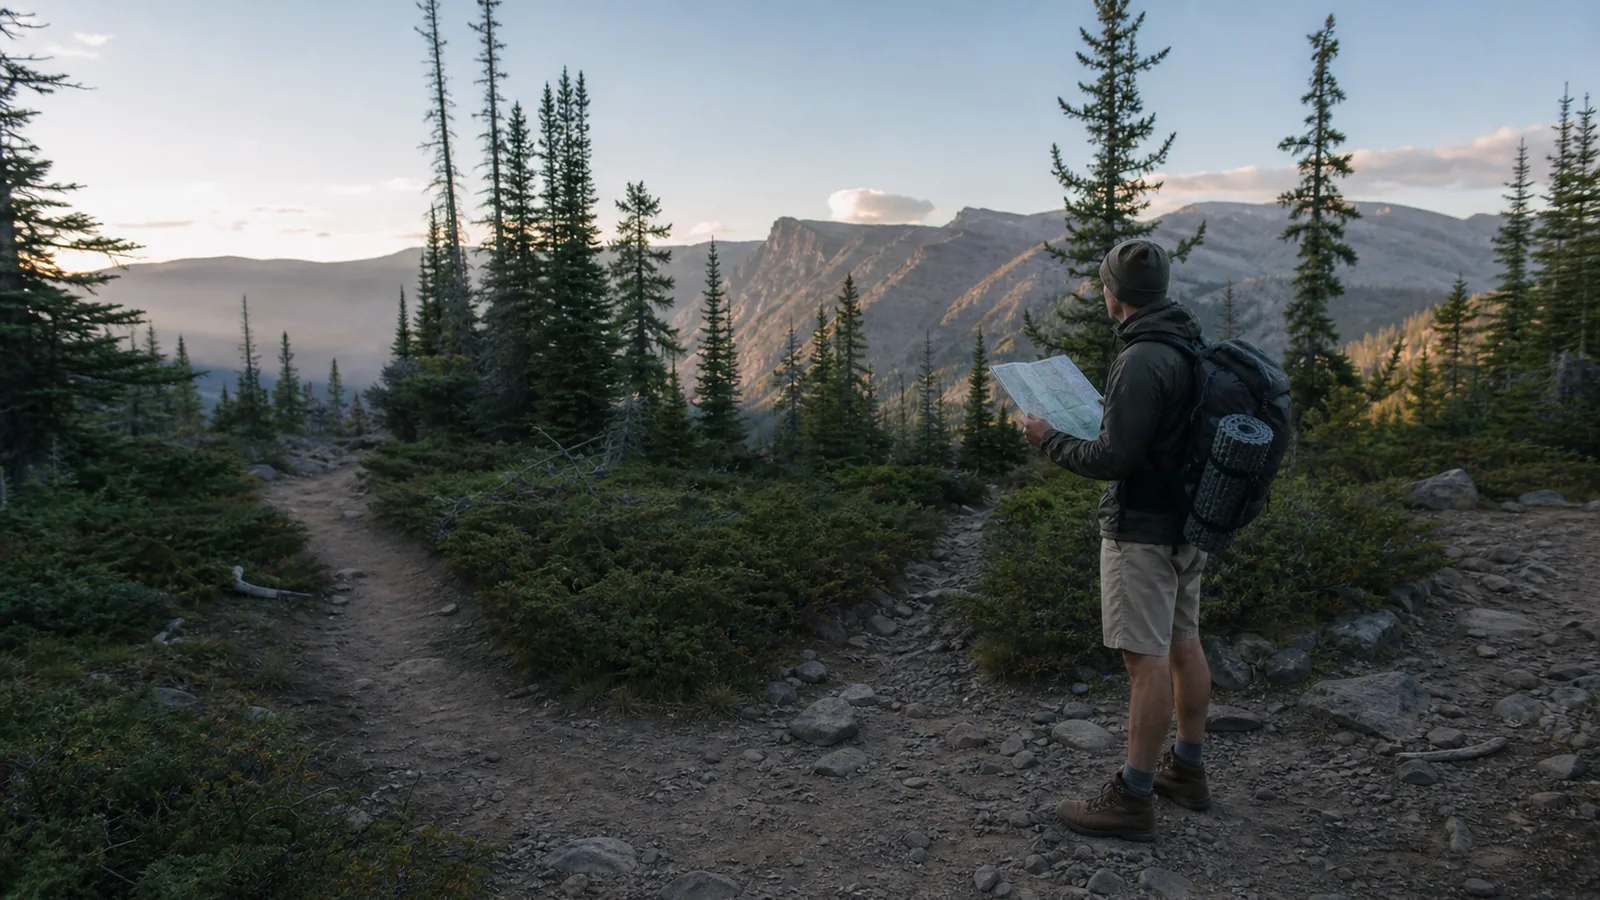
Solo backpacking removes the partner who could notice a bad decision, share a failed system, or go for help. Build the trip around independent navigation, a precise check-in plan, simple camp work, conservative turnarounds, and an overdue response that starts without you.
What changes when you backpack alone?
On a group trip, another person may catch a wrong turn, stabilize an injury, lend insulation, or notice that judgment has changed. Solo backpacking places every one of those jobs on one tired person.
- Navigate the complete route with a map and compass when the phone is unavailable.
- Build shelter and protect the sleep system with cold or wet hands.
- Treat water and prepare safe food without borrowing equipment.
- Recognize when pain, weather, time, or uncertainty requires the direct exit.
- Repair or bypass one likely failure in every essential system.
- Send a precise route and overdue plan to a trusted contact.
- Spend a controlled night alone before committing to a remote route.
The answer is not to carry two of everything. It is to remove fragile dependencies, keep the route within proven ability, and preserve the functions needed to walk out.
The simpler solo hiking progression can test independent pacing, junction habits, and communication before sleep and camp work are added.
Start after the first backpacking systems are familiar. Solo is a poor setting for the first tent pitch, first water treatment, first loaded climb, and first night outside to happen together.
Readiness is visible in a sequence. Complete the trip tasks on a partner outing without being prompted.
Run a solo day hike with the same navigation and check-ins. Then spend one legal night near a quick exit using the actual sleep and camp systems.
The person is ready for the next step when each job is routine enough to leave attention for weather, pain, and location. Repeated missed turns, late camp, poor eating, or unprotected sleep gear means the system needs another controlled attempt.
Confidence alone is weak evidence. A calm decision to shorten a rehearsal shows more solo readiness than finishing it after several margins have disappeared.
Set a personal hold rule before the first remote night. Delay the trip after recent illness, poor sleep, an untested gear change, a forecast outside experience, or any route fact that cannot be verified.
Tell the trusted contact that cancelling is a normal outcome. That removes pressure to continue merely because another person expects an arrival message from camp.
One person owns every recovery. The route must leave enough attention, daylight, warmth, and physical reserve for that person to perform them.
Choose a first solo route with a simple exit
A useful first solo route is easy to explain and hard to misread. Pick one legal campsite, a direct trail, moderate terrain, reliable current access information, and an exit that does not require a fragile transport connection.
Familiar terrain can reduce navigation load, but familiarity must not replace a current route check. Closures, washed crossings, fire restrictions, and water availability can change.
Count decision points as well as miles. Five unsigned junctions, two uncertain crossings, and a late shuttle can make a short route harder to recover than a longer path with one obvious trail.
Avoid an itinerary that requires reaching a specific camp at the edge of daylight. The first solo sleep site should remain accessible after a slow start, minor repair, or longer water stop.
Know the boundary beyond which retreat becomes harder. A river crossing, steep pass, snow slope, exposed ridge, or last transport time may be the real turnaround even when the map shows more daylight.
Put that boundary in the route notes. The hiker should not have to invent a rule while standing at it alone.
Route line
One obvious out-and-back or simple loop with few ambiguous junctions.
Sleep site
Legal, known, and reachable several hours before dark.
Water
Verified sources plus enough carried reserve to skip one failure.
Weather
Moderate conditions within gear already tested alone.
Exit
A direct retreat that avoids technical ground and late transport.
Communication
A start, camp, and exit message that the chosen device can realistically send.
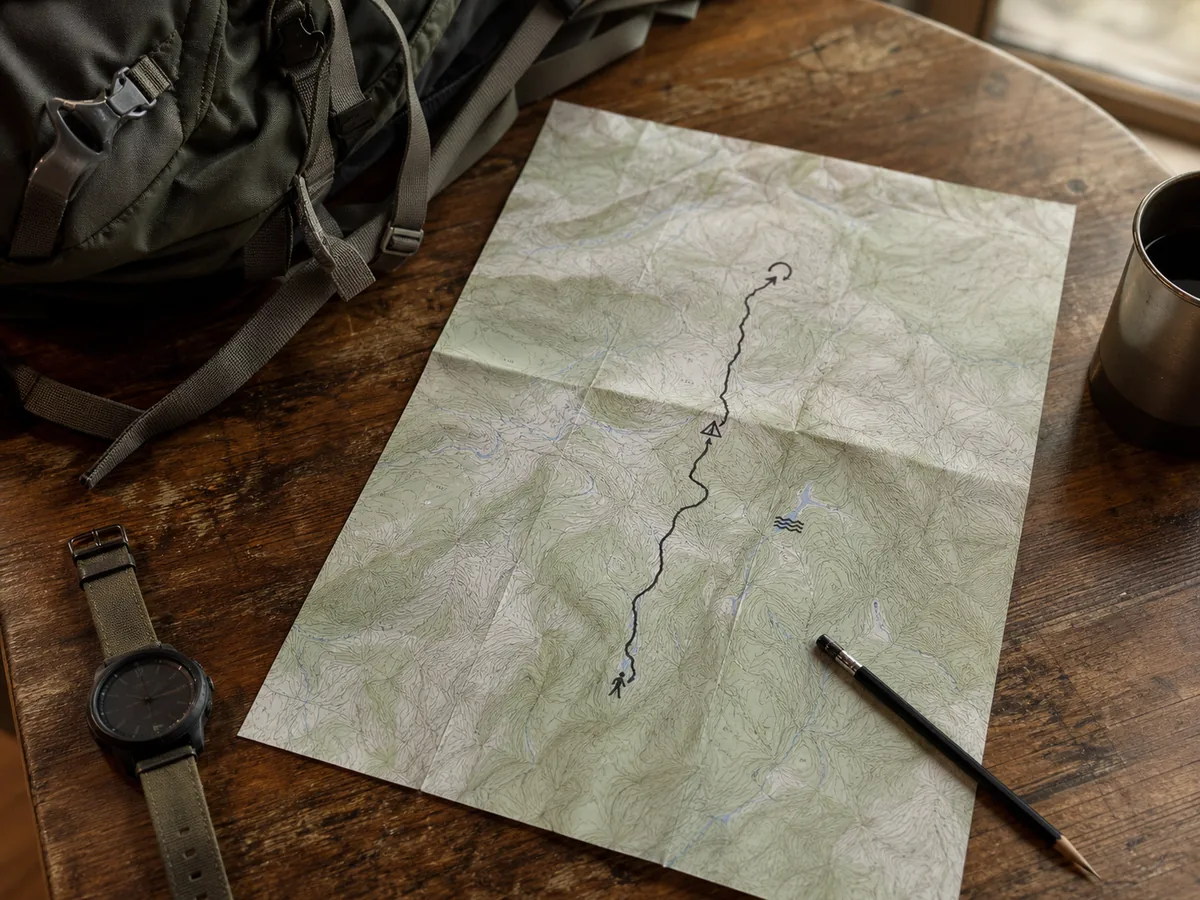
Set a turnaround at a place and time. A clock alone can be misleading when terrain slows travel.
A place alone can keep pulling the hiker forward after the daylight margin has gone.
Alone, the common backpacking mistakes have nobody else to catch them, so run each one as a question before you leave. Late starts, inaccessible layers, optimistic water, and poor food storage all become harder to share or correct alone.
The first-trip route plan covers camp, water, daylight, and transport. For solo travel, lower the consequence of each wrong choice.
Choose the easy retreat. A quiet night close to a clear exit teaches more than a remote objective reached with no reserve.
How do you rehearse before the first solo night?
Test the whole sequence close to help before using it on a remote route. Separate skills are not enough when shelter, water, food, navigation, communication, and warmth all compete for the same daylight and attention.
Start with a loaded day walk on the chosen terrain. Navigate every junction with the same map, carry the planned water and food, use the communication device, and turn around at the rule written in the trip plan.
Next, run the camp routine at home or at a legal site with an easy vehicle exit. Pitch the shelter, protect the sleep system, treat water, prepare the no-cook backup meal, store attractants, send the planned message, and find night essentials without unpacking everything.
The first overnight should add only the experience of sleeping alone. Keep the route short, conditions moderate, forecast stable, and campsite reachable with several hours of daylight left.
Ask what happens when one item fails. Navigate a short leg without the phone, set up with one hand, use the backup light, and eat without the stove. Stop the exercise before a controlled test creates a real exposure problem.
Do not advance when pain changes gait, the shelter cannot be built promptly, the sleep system gets wet, location becomes uncertain, communication fails without a known response, or fear prevents basic decisions. Fix that single weakness and repeat the same level.
Success means you finish the route, close the trip plan, and return with enough energy to explain what worked and what did not. It does not mean staying out after the exit rule has been reached.
Rehearse the complete sequence. Distance and remoteness should increase only after the shorter version works without borrowing help or using the emergency margin.
What should an overdue trip plan tell your contact?
“Back Sunday” does not tell another person where to look or when concern becomes action. Give one trusted contact a route they can follow without knowing your habits.
- Identity
- Full name, vehicle, clothing, pack, medical or mobility details relevant to responders
- Route
- Trailhead, exact path, camp, water points, turnaround, planned exit
- Timing
- Start, expected camp message, exit message, and overdue time
- Transport
- Vehicle plate, shuttle booking, pickup arrangement, and alternate exit
- Communication
- Phone and satellite device details with expected gaps
- Response
- Who to call, what information to provide, and when not to wait longer
- Closure
- The message that confirms the trip is complete
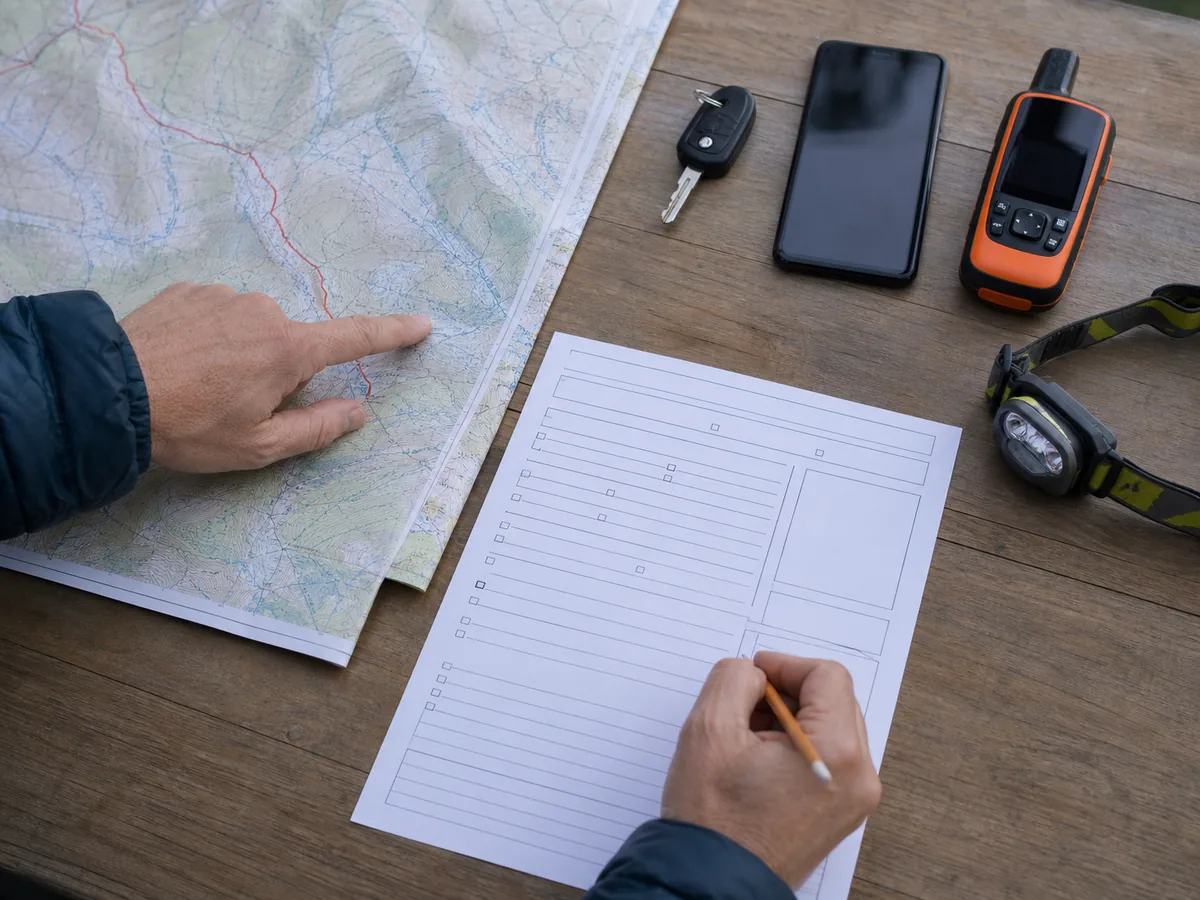
Agree on what silence means. If a camp message is optional because the route has known signal gaps, say so.
If the exit message is mandatory, name the exact overdue time and response.
The trusted contact should know the first call. That may be the land manager, local dispatch, or emergency service for the route.
Include the hiker's legal name, vehicle details, likely location, equipment, medical information relevant to response, and last confirmed message.
Do not ask the contact to monitor every casual update. A simple schedule with one arrival message, one exit message, and one overdue threshold is easier to execute correctly.
Test the handoff by asking the contact to explain the plan back. Correct any place name, trail branch, time zone, or response step that is unclear before leaving.
Send route changes before taking them. A handwritten plan at home cannot help when the hiker quietly switches trailheads.
Confirm the water reserve with the water carry planner and state any uncertain source in the outside plan.
Use the NPS Trip Plan as a starting format. Add local emergency contacts and the exact land unit.
Silence needs a definition. The contact should not have to guess whether to wait, call a ranger, or report an overdue hiker.
Can you navigate after the phone fails?
A downloaded map is useful, but a phone can be dropped, soaked, frozen, or drained. The route still needs a location method after that single failure.
Carry a current paper map in waterproof protection and a compass you can use. Mark the trailhead, camp, junctions, water, hazards, bailouts, and boundaries before leaving.
Track progress against terrain features instead of waiting for the device to announce arrival. A creek, saddle, slope direction, junction count, and elapsed travel time can confirm that the map and ground still agree.
At every major turn, look back. The return view may look unrelated to the approach, especially where several paths enter an open area.
| Navigation moment | Primary action | Independent check |
|---|---|---|
| Trailhead | Orient the map and confirm the first bearing or landmark | Match sign, terrain, and travel direction |
| Junction | Stop before turning and identify the branch | Confirm distance and next terrain feature |
| Water crossing | Verify the correct crossing and downstream consequence | Compare map contour and visible banks |
| Camp approach | Note the exact trail exit and return direction | Record coordinates and a physical landmark |
| Uncertainty | Stop moving, shelter if needed, and rebuild location | Use map, compass, last known point, and terrain |
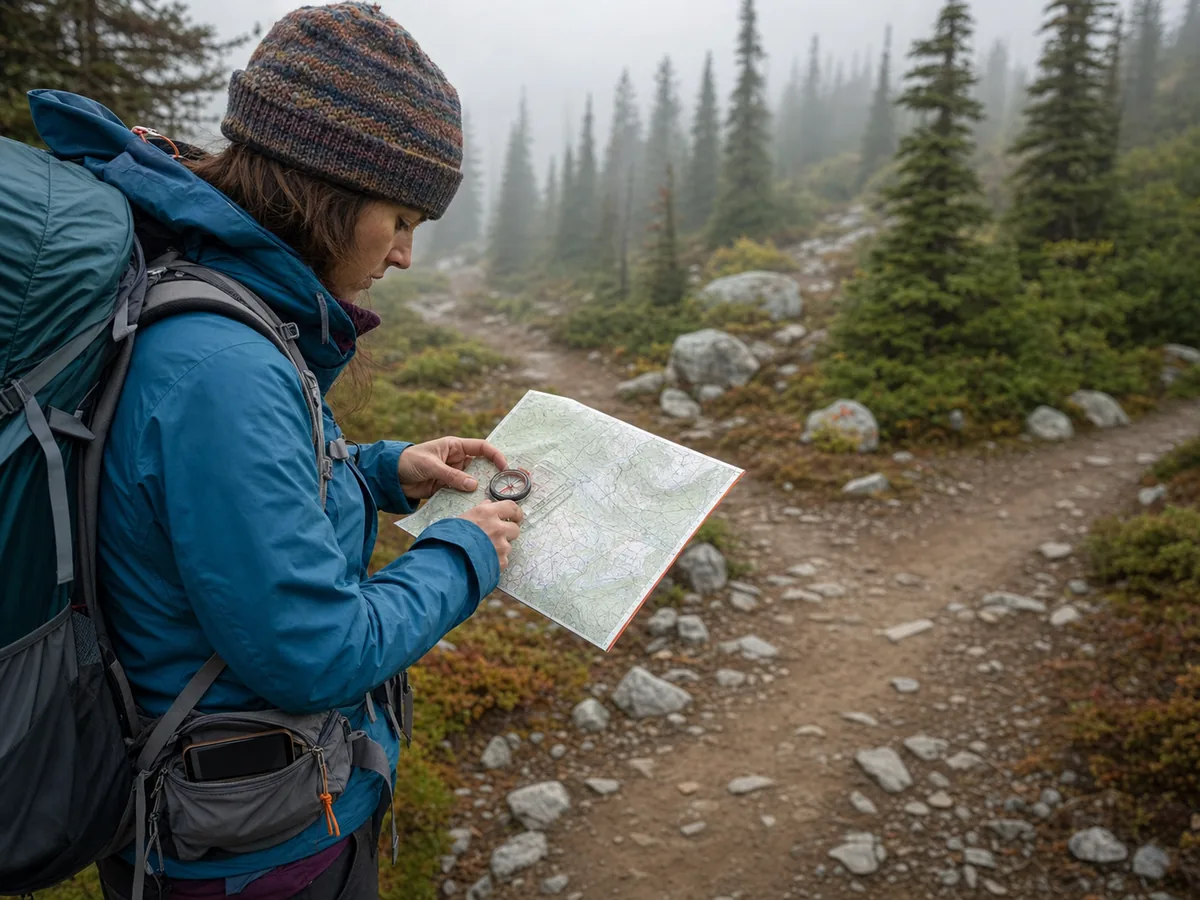
Practice map and compass navigation on familiar ground. A compass carried without route association or field practice is extra weight.
Do not keep walking to solve uncertainty. Movement turns a small location problem into a larger search area.
Stop while you know something. The last confirmed point is valuable only before more unverified movement erases it.
Back up essential functions, not every item
List functions before objects. The critical functions are shelter, dry sleep insulation, warmth, safe water, navigation, light, food access, first aid, and communication.
Pros
- Shelter has a practiced repair or a safe retreat before exposure becomes dangerous.
- Sleep insulation stays dry inside independent waterproof storage.
- Water can be made safe by a second method or skipped with carried reserve.
- Map and compass remain usable after phone failure.
- A small independent light remains available after the main headlamp fails.
Cons
- Both ignition methods share the same wet pocket.
- Phone, map image, light, and communication all depend on one battery.
- The only warm layer and sleeping bag can become wet in the same leak.
- The route requires a stove meal when stove failure removes all edible food.
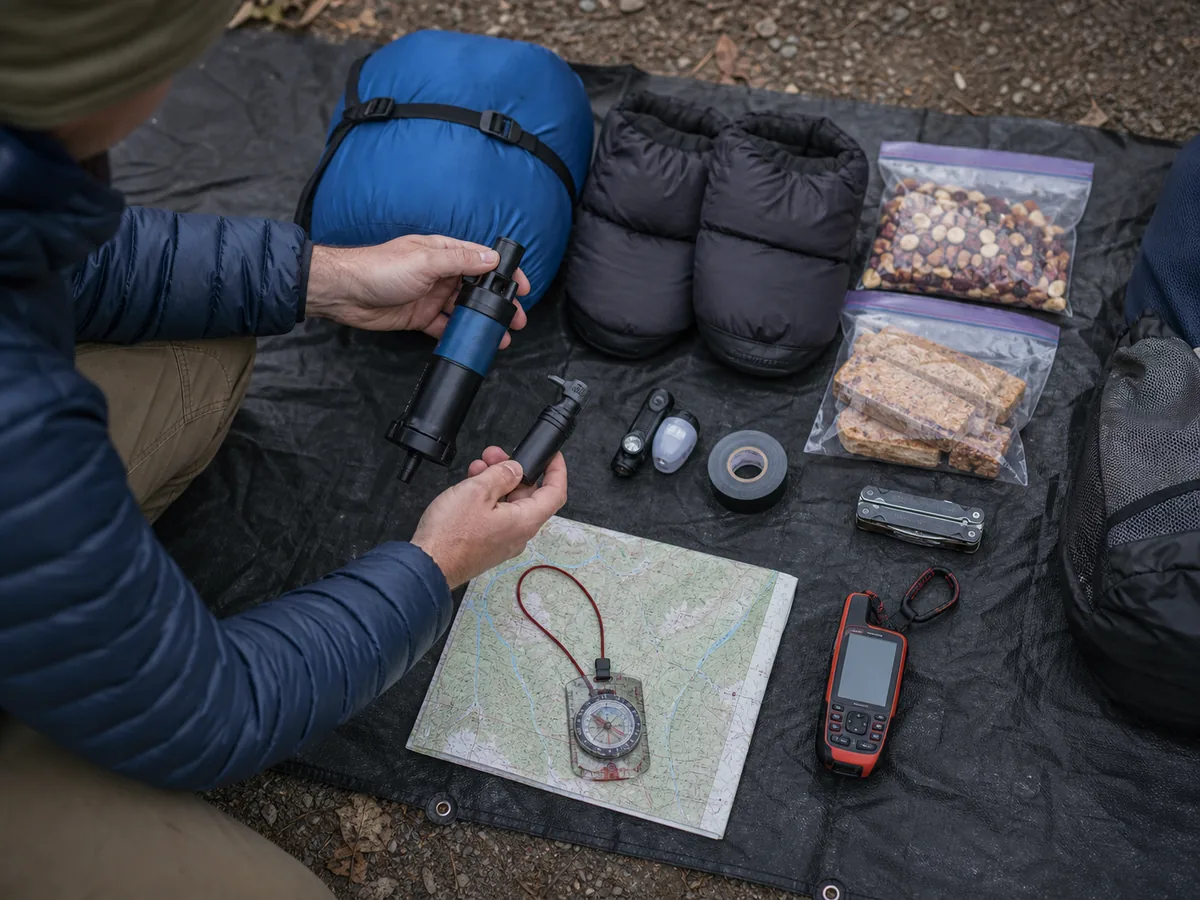
Test the failure, not only the primary item. Pitch shelter with the repair kit, navigate one leg without the phone, eat the no-cook meal, and treat a full bottle with the backup method.
When rain is plausible, rehearse the wet-weather sequence alone so shelter and dry insulation do not depend on a second pair of hands.
The backpacking packing list should remain short enough that essential items stay reachable. Redundancy buried under unused comforts may not help in cold rain.
Run one-handed drills for the failures most likely to involve a hurt arm or hand. Open first aid, add insulation, operate the communicator, reach water, and release the pack without help.
Separate items that can fail together. A backup light stored with the main lamp in a leaking pocket and two fire starters inside one wet bag do not provide independent recovery.
Protect the minimum exit kit during camp. Map, compass, insulation, light, first aid, communication, and water should not become scattered across a dark site.
Back up the function. Two gadgets with one battery, one dry bag, or one skill are still one failure point.
Finish the critical camp tasks before dark
Solo camp can feel peaceful after arrival, which makes delay easy. Use the remaining daylight for the jobs that become harder when cold, dark, hungry, or uncertain.
- Confirm the exact siteCheck legality, hazards, drainage, wind exposure, widowmakers, and the route back to the trail.
- Send the planned arrival messageInclude any route change while the facts are fresh.
- Build shelter firstProtect the sleep system before weather or darkness removes options.
- Secure waterTreat enough for evening and morning while the source is easy to reach.
- Change and insulatePut on dry layers before cooling during inactive work.
- Prepare food safelyKeep one no-cook option and follow current fire and storage rules.
- Store attractantsSecure food, trash, toiletries, and cookware under the local rule.
- Set the night exitPlace shoes, light, map, insulation, and communication device where one hand can find them.
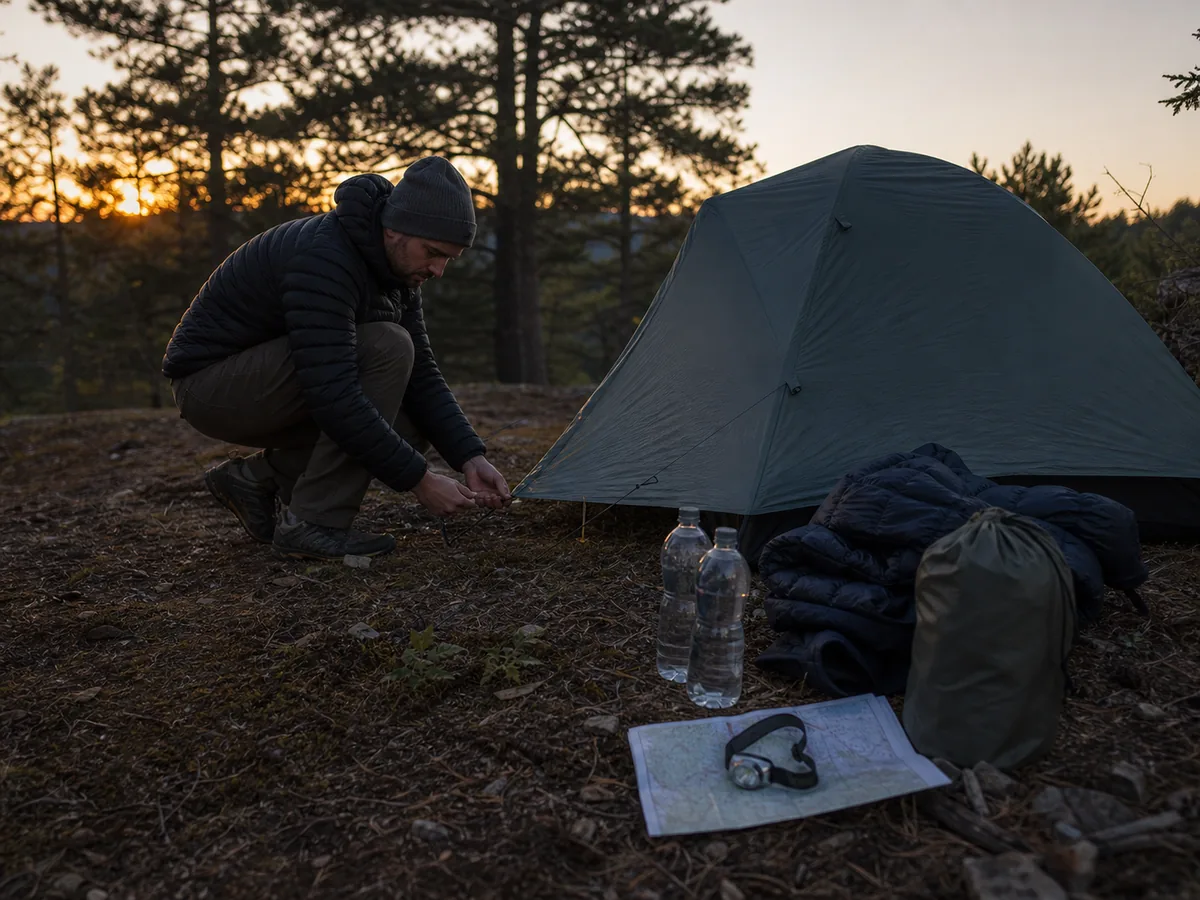
Keep the stove on stable ground away from the shelter. Solo travel does not make a vestibule safer for cooking.
Choose food that remains edible without the stove. An easy cold meal prevents a fuel leak, ignition failure, fire restriction, or exhausted cook from becoming a nutrition problem.
Finish tomorrow's water before darkness when the source approach is rough. A morning plan that requires a solo descent to a slippery bank before the hiker is warm and alert adds avoidable risk.
Cold conditions lower the margin further. Cold-season trips add winter backpacking systems that should each work on a controlled trip before you take them out alone.
The camp setup sequence should be practiced until it survives wind and low energy. Finish the mandatory jobs before reading, photography, or exploring around camp.
At a shared site, backpacking etiquette keeps the solo kitchen, tent, water access, and food storage inside a small durable footprint.
Daylight is working capacity. Spend it on shelter, water, warmth, and storage before optional camp time.
How should you respond to a noise outside the tent?
Darkness removes visual context. A branch, mouse, wind-shifted line, or large animal can begin with the same small sound.
Pause and listen before leaving shelter. Locate shoes, light, insulation, map, and communication.
Check whether food and attractants were stored correctly.
Name the likely sound sources during daylight. Note loose branches, water, nearby camps, food-storage hardware, tent panels, and animal paths so the night assessment begins with real context.
Keep shoes closed enough to put on quickly, yet dry and protected from small animals. A headlamp should be reachable from the sleeping position without searching through the pack.
Known weather noise
Stay sheltered, monitor the structure, and correct a line only when exposure is safer than waiting.
Small animal near camp
Keep food secured and avoid chasing it into darkness.
Unidentified repeated movement
Make a calm assessment from shelter and follow the local wildlife instruction.
Large animal evidence
Use the species-specific response from the land manager and request help when the situation crosses that threshold.
Human approach
Speak clearly, keep light and communication reachable, and leave only when the route is safe.
Medical or shelter problem
Restore warmth and function, then activate the planned exit or emergency response.
Study current wildlife guidance for the chosen place. Generic noise-making advice can conflict with the correct response for a species or encounter.
Fear after dark is real information. If repeated panic prevents sleep or sound decisions, a closer controlled route is the next training step.
Know the early hypothermia signs and response because nobody else will notice a change in speech, coordination, or judgment.
Identify before acting. A prepared pause preserves more options than an impulsive search outside the shelter.
When should a solo backpacker call for help?
Solo hikers should communicate early when a problem can worsen faster than self-rescue. Waiting for certainty can consume daylight, warmth, battery, and the ability to describe location.
Pressing SOS does not end self-care. Follow dispatcher instructions, protect shelter and warmth, conserve battery, make the site visible when advised, and avoid unreported movement.
Carry a field first-aid system you can reach and use one-handed. The heat hiking framework shows how timing, shade, water, and turnaround decisions change when no partner can observe the decline.
For a manageable problem, send an update before changing route. The hiking safety basics help separate conservative self-rescue, urgent assistance, and immediate emergency action.
Include a concise situation report. Give exact location, what happened, the person's current condition, immediate hazards, shelter and clothing available, and whether movement is possible.
After sending, keep the device warm and conserve power. Move only when directed or when remaining creates a greater immediate danger, then report the new location as soon as possible.
Use ordinary messaging before an emergency channel when the situation remains controlled and the device supports it. A route update can prevent the trusted contact from initiating a search at the original camp.
Never let the availability of SOS justify harder terrain or thinner weather margin. Communication may shorten the time before help starts, but terrain and conditions still determine when help can arrive.
Communicate before capacity falls. A clear early message is more useful than a late signal from a colder, more confused hiker.
Let morning conditions choose the exit
Before packing, check the person who has to solve every remaining problem. Eat, drink, warm up, and observe gait and thinking before adding the pack.
Compare the actual sky, wind, temperature, and visibility with the forecast saved before departure. The morning decision uses observed conditions when they disagree.
Pack in the order needed for the exit. Keep rain protection, map, insulation, food, water, and communication reachable instead of burying them beneath camp items.
| Morning evidence | Planned exit | Shortest exit | Request help |
|---|---|---|---|
| Location | Camp and return route confirmed | Uncertain route resolved before movement | Location cannot be rebuilt safely |
| Body | Normal movement and clear thinking | Pain, poor sleep, or cold reduces reserve | Serious symptoms or inability to walk safely |
| Gear | Shelter and insulation remain functional | One function is degraded but exit is controlled | Shelter or warmth cannot be maintained |
| Weather | Forecast and observations preserve margin | Window is narrowing | Conditions block safe self-evacuation |
| Communication | Devices working with planned reserve | Send early route update | Use emergency channel at threshold |
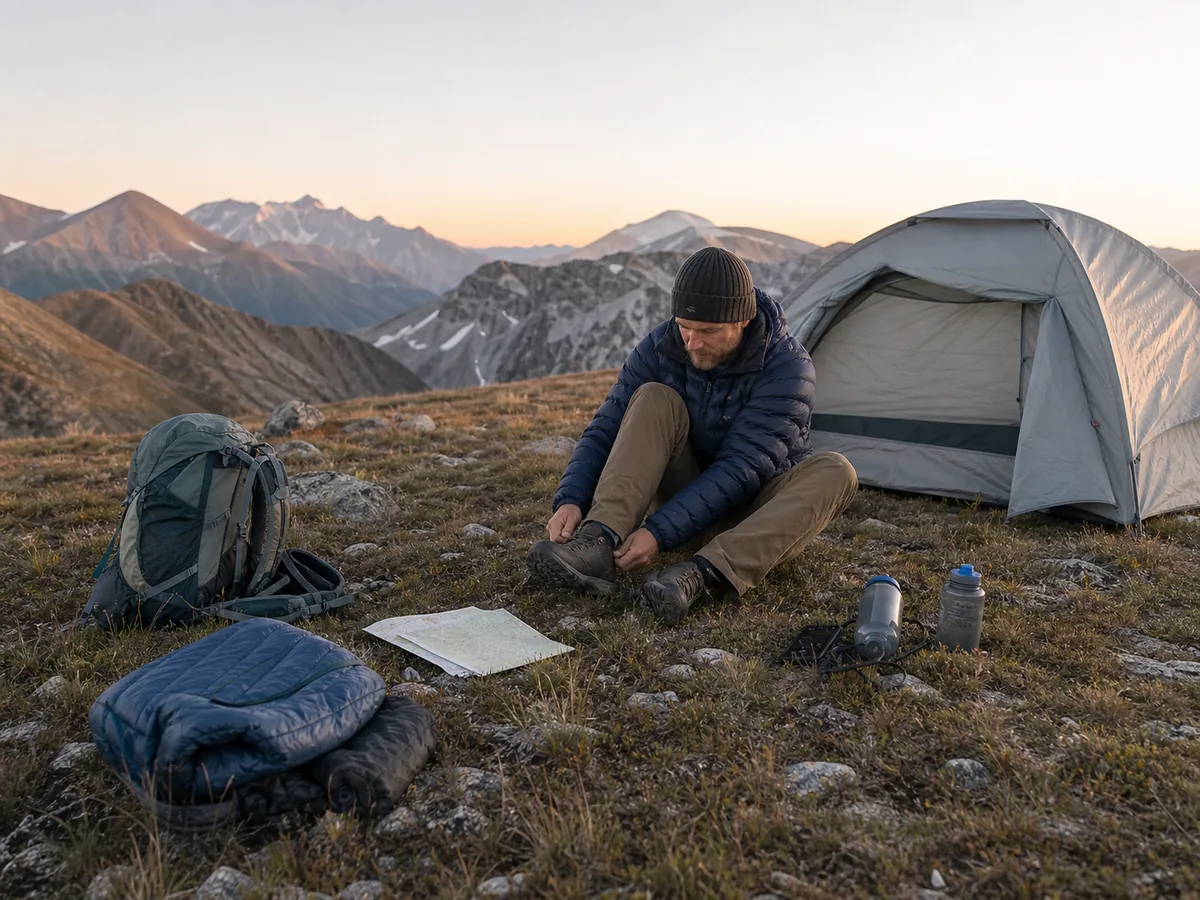
Close the trip with the trusted contact after reaching the exit. A message sent from the parking area prevents an unnecessary overdue response.
Record one failure and one excess. Adjust the next route or system instead of adding distance automatically.
Useful backpacking training repeats the contingency load and terrain rather than chasing distance alone.
Return with reserve. Solo skill grows from repeated controlled decisions, not from using every margin on the first night.
Sources
The National Park Service Trip Planning Guide recommends researching the route, preparing for hazards, leaving a plan, and carrying essential equipment: NPS Trip Planning Guide. Its printable form provides fields for route, vehicle, equipment, communication, timing, and overdue action: NPS Trip Plan.
NPS Hike Smart guidance covers route research, water, food, essentials, weather, a trip plan, and turning back before conditions become an emergency: Hike Smart.
Current route facts come first. Verify permits, access, water, weather, fire rules, closures, wildlife guidance, transport, and emergency contacts with the responsible land manager.
Step by stepPractical steps
- Choose one short legal overnight with a simple route, early camp, reliable information, and a direct nontechnical exit.
- Give a trusted contact the exact route, vehicle, communication plan, check-ins, overdue time, and response.
- Navigate with paper map and compass while the phone still works, then test one device failure.
- Protect shelter, dry sleep insulation, water, warmth, light, food access, and communication with independent backups.
- Use morning location, body, gear, weather, and communication evidence to choose the planned or shortest exit.
AnswersQuestions readers ask
Is solo backpacking safe for beginners?
Learn shelter, water, navigation, food storage, loaded walking, and camp routines first. Then use a short controlled solo overnight with moderate weather, a direct exit, and a trusted contact who has an overdue response.
What should a solo backpacking trip plan include?
Include the exact route, camp, water, turnaround, vehicle, clothing, equipment, communication devices, expected messages, exit time, overdue time, local contacts, and the action the trusted person should take.
Do solo backpackers need a satellite communicator?
It can provide useful communication outside phone coverage, but it does not replace route judgment, paper navigation, shelter, first aid, or a trip plan. Verify coverage and practice the device before departure.
How do you manage fear while solo backpacking?
Start close to a direct exit, rehearse the camp alone, organize night essentials, learn local wildlife guidance, identify sounds before acting, and leave when fear repeatedly prevents sleep or sound decisions.
When should a solo backpacker call for help?
Communicate early for a serious injury, inability to stay warm or sheltered, severe symptoms, dangerous wildlife situation, lost location that cannot be safely rebuilt, or when safe self-evacuation is no longer possible.