
Planning Your First Trekking Trip Around Daily Recovery
Plan your first trekking trip by choosing a short recoverable route, checking daily effort, water, sleep, weather, exits, packing, and communication.

Your first trekking trip should be planned so the normal beginner mistakes stay small. Choose a route where a slow day, sore feet, rain, or a bad night of sleep can be handled without forcing a serious decision.
Why does a first trek need a clear daily shape?
Most first trekking trips fail not on the mountain but in the planning phase, when people treat the trip as a single big decision instead of six connected ones. Route, days, food, water, weather, and exits are each their own category of risk, and each one has to be solved before the trail starts.
A short multi-day route where exits are clear and one slow morning does not force a hard choice is a better first target than anything ambitious. Two or three days is the right length unless you already have strong hiking, camping, and pack experience.
More days multiply food, weather, foot, and decision problems at the same time.
The planning grid below shows how the six dimensions connect. A long day raises water demand.
A dry camp changes food.
A weather window shifts the exposed climb. A slow pace changes the exit.
Plan them together, not as six separate boxes.
The first trek is not where you test your limits. It is where you build a planning habit that keeps limits from testing you.
Make mistakes recoverable on the first trekking trip.
Route
A short marked path with known night stops. Exit options matter more than scenic ratings.
Days
Two to three for most first trekkers. Add days only after testing pack weight and recovery.
Food
Simple, familiar, pre-divided by day. Tired people do not cook complicated meals.
Water
Confirmed sources, carry plan, and treatment method. Never assume a map source is still flowing.
Weather
A timing plan that avoids exposed ground in bad-weather windows. Keep a lower option ready.
Exits
Know how to leave early from each section. A good exit is part of the plan, not an afterthought.
The line between hiking and trekking comes down to nights out, pack weight, and how far you are from help. Multi-day walking also changes what counts as enough food, water, and sleep gear, which is where beginner trekking basics start.
Those two pages define the category and set the baseline expectations.
Which route is best for a first trek?
Choosing the right first route is more specific than picking something labeled easy.
Easy on paper does not mean forgiving in practice. A route with a clearly marked trail, legal and simple night stops, confirmed water, and at least one point where you can leave early is a better starting frame than any star rating.
Trail clarity matters because navigation errors on a first trek consume time, energy, and confidence that you need for everything else. A well-marked trail with offline map coverage lets you focus on the physical and logistical challenges rather than route-finding problems.
Known night stops reduce planning uncertainty.
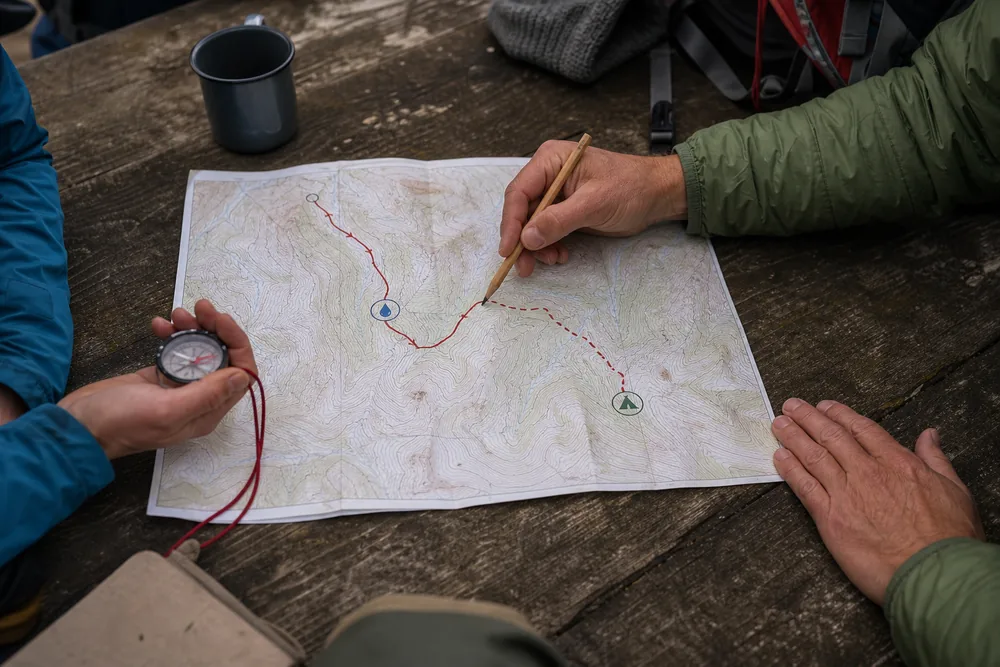
A known, legal, simple camp or lodging site at the end of each day removes a whole category of stress. You can manage gear earlier, sleep better, and start the next morning without the cost of an unplanned bivouac.
Exit points should appear at least once per day on your route. If you can only leave the route at the start and finish, every problem in the middle becomes harder to manage.
The ability to shorten a day or leave early is the single most underrated feature of a good first route.
The best first route has room to slow down.
| Route factor | Why it matters | First-trip minimum |
|---|---|---|
| Trail clarity | Saves navigation time and energy | Marked path with offline map coverage |
| Night stops | Supports recovery | At least one legal, known stop per day section |
| Water reliability | Controls carry weight and decisions | Confirmed sources with a treatment method |
| Exit options | Protects against bad days | At least one viable exit per day section |
| Permit clarity | Avoids access and legal problems | Confirmed with the land manager before leaving |
| Transport | Controls the real start and finish windows | Confirmed ride, shuttle, or vehicle fallback |
| Seasonal exposure | Changes pace, warmth, and route options | Conditions the group has already practiced |
The basics of choosing a hiking trail still apply here, with overnight and multi-day checks added on top.
How should you divide the route into daily effort?
Do not plan by total distance first.
Break the trip into daily chunks and ask what each day demands after yesterday's effort. Total mileage is a summary, not a plan.
For each day, note distance, climb, descent, rough ground, water refill points, exposed sections, and the place where you will sleep. A short day with a long steep climb and rough descent can be physically harder than a longer smooth day, and it will arrive at camp with more fatigue than the numbers suggest.
Put the hardest day early enough that you still have real choices.
A brutal final day after poor sleep and sore feet is one of the most common first-trip traps. It is easy to avoid at the planning stage by looking at the day sequence as a chain of mornings, not a distance total.
Add a slow-time estimate for each day. Beginners plan from moving time and forget breaks, photos, filtering water, foot care, layer changes, and small navigation checks.
A day that looks short on paper can still arrive at camp in the dark if every stop runs longer than expected.
Daily effort beats total mileage as a planning unit. When you look at a day and ask what it demands of yesterday's body, you are planning the trek correctly.
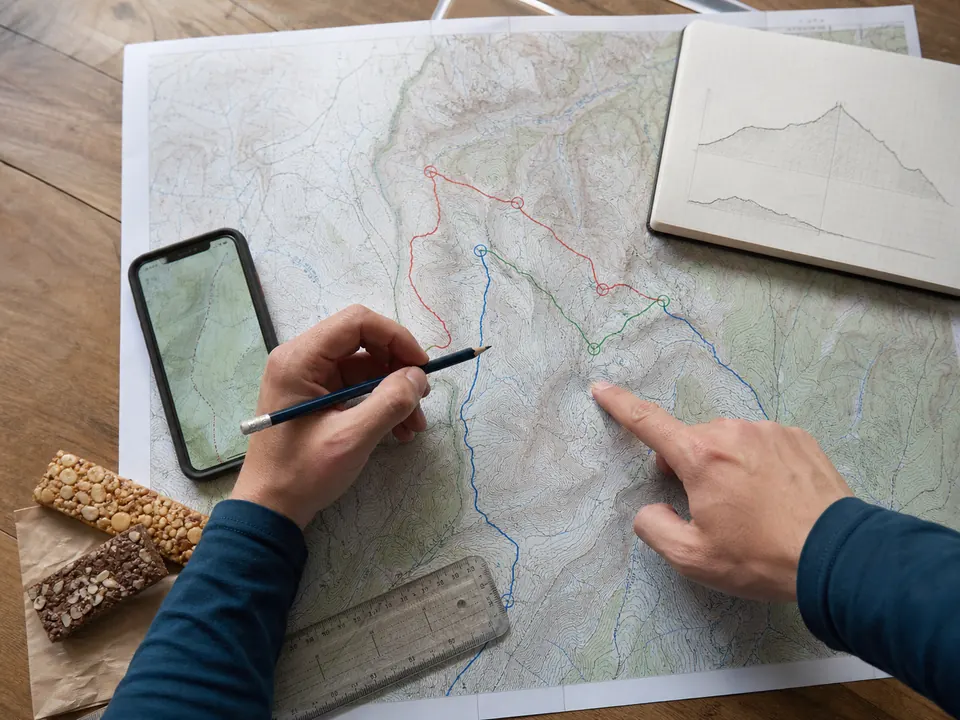
Plan the first day to be intentionally modest. A calm first day reveals pack fit and rhythm, plus food habits, without spending the group's reserve.
The second day can be more demanding once everyone knows how the system actually works on the ground.
How do you turn route distance into a daily schedule?
Start with the group's slowest recent pace on similar ground, not a speed copied from a route listing. Use moving time as the base, then add every stop the day requires.
An eight-mile day at two miles per hour begins with four hours of movement. If water treatment, lunch, foot care, navigation checks, and short rests add 90 minutes, the working total is already five and a half hours.
Camp setup also needs daylight and attention. Add time for the shelter, water, food storage, wet clothing, and the first body check instead of treating arrival as the end of the day's work.
Work backward from the time you want camp tasks underway. If camp setup should begin by 5 in the afternoon and the working day needs six and a half hours, the group should be moving by 10:30 in the morning at the latest.
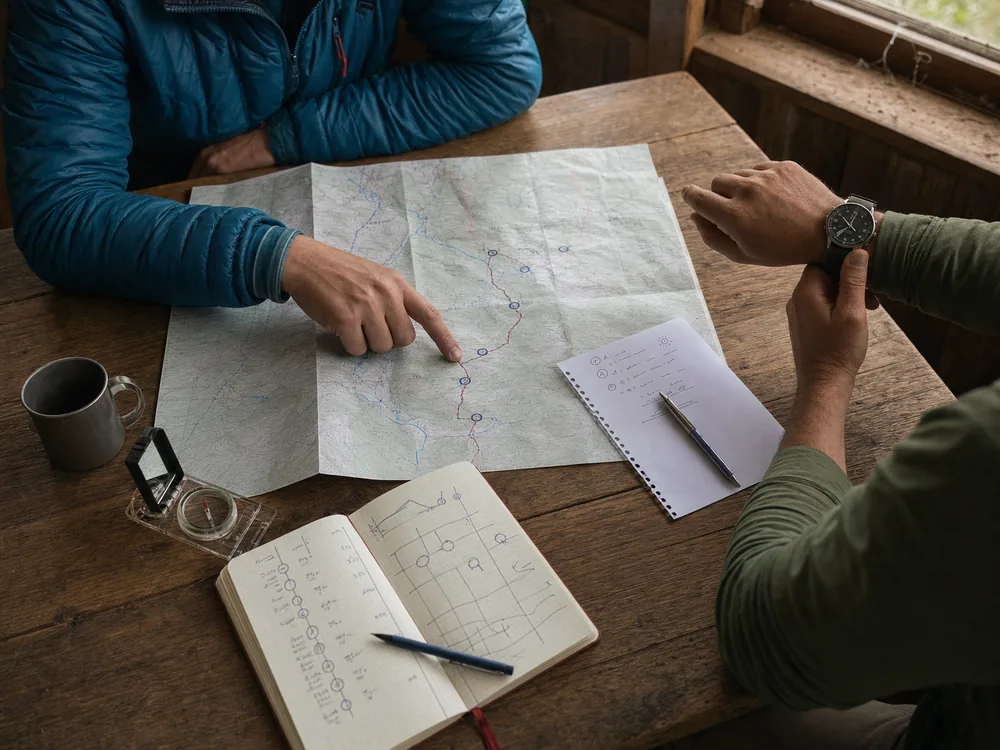
Then add a start margin for a slow breakfast, transport delay, or one early navigation correction. A first-day departure that only works when every person is ready on the minute is too fragile.
Mark two checks on the route. The first confirms that actual pace matches the schedule before the main commitment point.
The second decides whether the group continues to the planned night stop or uses the shorter option. Tie each check to a location and clock time so the choice does not depend on optimism.
Recalculate after the first day with the group's real moving pace and stop time. Do not copy day one's speed into day two if sore feet, poor sleep, heat, or a heavier water carry changes the work.
Stopped time is trip time. A useful itinerary includes the minutes spent staying fed, found, dry, and ready for the next morning.
How should you plan water, food, and sleep?
Water, food, and sleep are not logistics afterthoughts.
They are the physical conditions that determine whether the next day starts usable. Plan them before you commit to daily mileage, not after.
Water means confirmed sources, a carry plan from each source to the next, and a treatment method that works in your expected conditions. Confirm the source date and carry enough to reach the next verified option.
Check recent trip reports or contact the land manager. A dry camp you planned for is manageable.
A dry camp that arrives as a surprise after a long day is a serious problem.
Food should be simple, familiar, and divided by day before you leave home.
Tired bodies do not cook complicated meals, and stressed minds lose the motivation to eat dense unfamiliar food. High-energy snacks you will actually eat outperform optimized calorie plans you ignore because exhaustion has flattened your appetite.
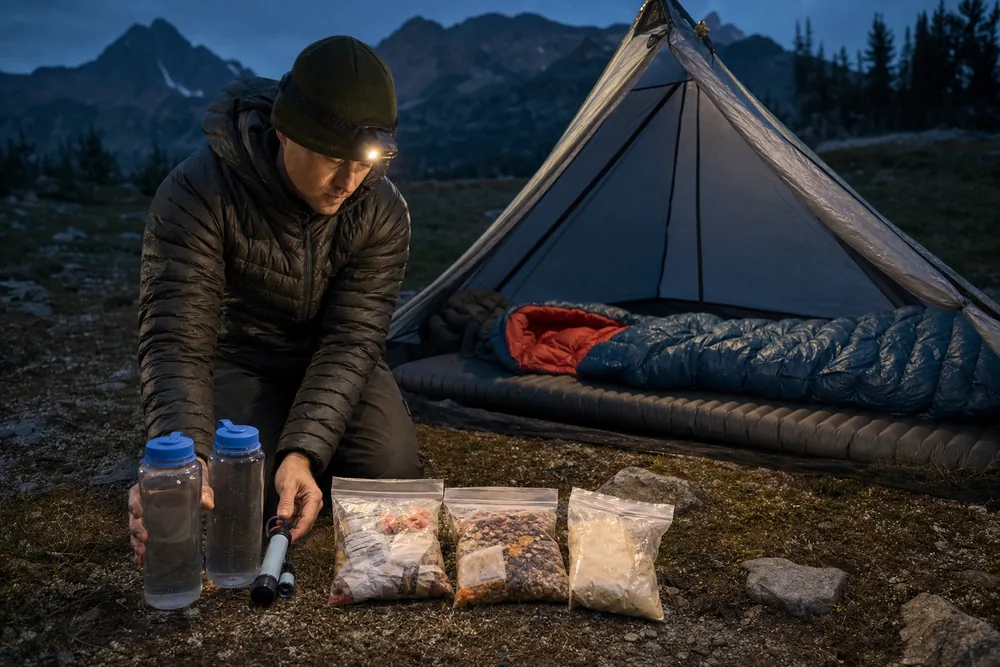
Sleep is where recovery happens. The quality of the next morning depends heavily on how well the previous night went.
A known, sheltered, legal sleeping location makes recovery more likely than a late arrival at an uncertain spot.
Plan the first evening in more detail than any other.
The first camp or lodging stop is where beginners discover what they packed poorly, what they cannot find, and what takes longer than expected. A simple first night gives the rest of the trek a stronger foundation.
The next morning starts the night before.
A water carry plan converts the map into bottles, refill points, and decisions by segment. Use it at the route planning stage, not the morning of departure.
How much pack weight can the plan support?
Do not plan the route and pack as separate problems. A route that looks easy with a day pack may feel very different with sleep gear, food, water, and layers added.
The weight you carry changes your daily distance, your recovery time, your knee stress on descents, and your comfort at camp.
Make a draft packing list early, load the pack, and walk with it before the trip. A two to three hour test walk with the loaded pack will reveal fit problems, weight distribution issues, and gear choices you will regret.
That test can change route length, overnight style, footwear, or food selection before any of it costs you on the trail.
If the loaded pack makes the first training walk clumsy or painful, make the trek shorter or choose a more supported overnight style. Do not add more training to compensate for a poor fit or an overloaded bag.
The pack is part of the route.
| Planning question | What to test | Better first-trip choice |
|---|---|---|
| Can I carry the load? | Two to three hour walk with pack | Shorter days if form breaks down |
| Can I descend well? | Stairs or hill with full pack | Avoid long steep final descents |
| Can I reach essentials? | Rain shell, water, map, headlamp | Repack before leaving home |
| Can I sleep enough? | Sleep system or lodging plan | Use a simpler, known night stop |
| Can I eat enough? | Trail snacks and dinner on a tired day | Choose familiar food over optimized food |
Testing the pack before the trip is not extra preparation. It is the step that makes all the other planning honest.
- Best first length
- 2 to 3 days
- Best trail style
- Marked path with known night stops
- Best safety feature
- Clear exit options at each day section
- Biggest planning risk
- A daily schedule that only works when everything goes right
- Best success measure
- You finish with feet, energy, and judgment intact
Training with the real load is the only honest test, which is why a trekking fitness plan should use the pack you will actually carry. What goes into that pack follows from trekking gear choices about sleep style, water, and weather, not from a fixed list.
Those two checks turn the itinerary into something your body and your pack can actually support.
When should you set decision points and turnarounds?
Decision points are the mechanism that keeps the plan real when the day does not go as expected. Set them before the trip, not during.
A decision point is a specific location, time, or condition that triggers a preset choice: shorten the day, use the alternate route, refill water here, or turn back.
On the route, decision points can be water sources, junctions, passes, camps, road crossings, or time checks.
Each one should have a clear trigger and a clear option. A useful trigger states that if the group is not past this junction by 2 p.m., it will camp at the lower site.
"We will see how it goes" is not.
Tell a reliable person where you are going, who is with you, where you plan to sleep each night, and when to expect contact.
Include the exact point when they should act if you do not check in. That person is part of your decision structure, not an administrative detail.
Decide before pressure rises.
- Choose a short routePick a marked path with known night stops and at least one exit per day section.
- Break it into daily effortNote distance, climb, descent, water, and sleep location for each day.
- Test pack weight before leavingA two-hour loaded walk reveals fit problems before the trail does.
- Check weather timingBuild a lower or shorter backup option for exposed sections or bad-weather days.
- Share the planGive a reliable contact your route, sleep points, check-in schedule, and the call-to-act threshold.
- Set decision pointsPre-decide where to shorten, wait, refill, or turn back before any pressure exists.
Going alone means solo hiking margins apply at every step, from turnaround time to how much spare food you carry. No partner means fewer chances for someone else to notice fatigue, confusion, or a missed turn.
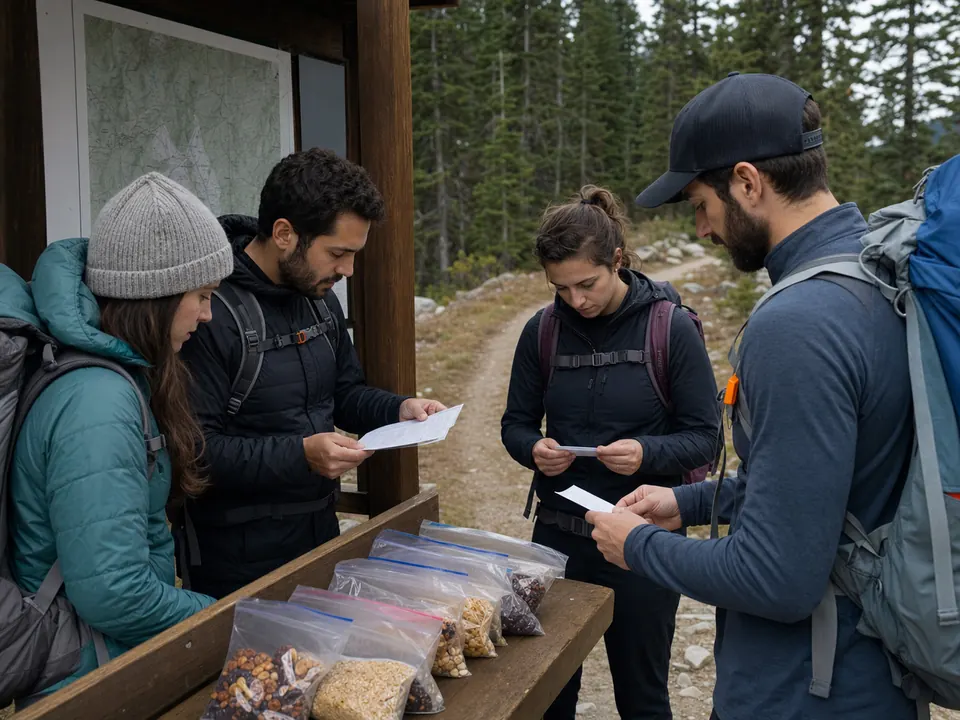
Keep the first solo trek shorter than the route you think you can finish. The margin you leave is not wasted distance.
It is the buffer that keeps a first mistake from becoming a serious one.
What must the group confirm before the trek starts?
A first trek can be well planned on the map and still fail at the edges. Permits, parking, shuttles, lodging check-in, camp rules, trailhead access, and group responsibilities all shape whether the first morning starts smoothly or with a problem that drains time and confidence before the first step.
Check rules from the official land manager or lodging operator before you leave. Do not rely only on an old blog post or a social media comment for permit timing, water rules, fires, dogs, camping zones, or seasonal closures.
Rules change, and the consequences of a wrong assumption on permits or camp zones are serious on a first trip.
Transport needs the same attention as trail miles.
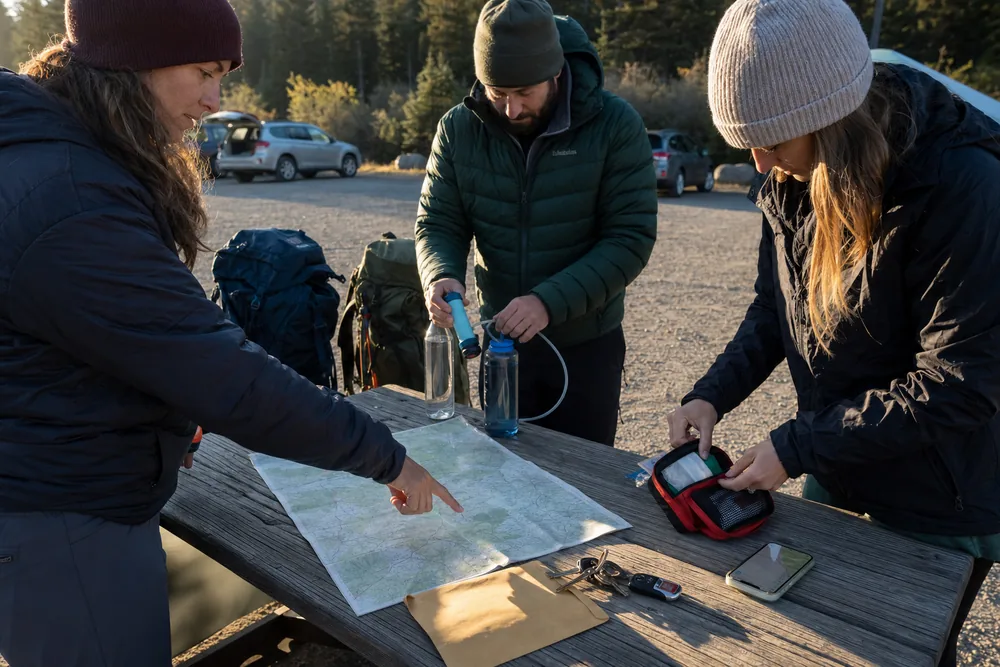
If the route is point-to-point, confirm how you will reach the start and leave the finish before committing to the dates. If you drive, know whether the parking area fills, requires a pass, or has gate hours.
The trip starts before the trail.
| Edge detail | Why it matters | First-trip check |
|---|---|---|
| Permit | May control legal access and entry point | Confirm date, name, entry point, and all rules |
| Trailhead | Can add unexpected time or stress | Check road, parking, and gate hours in advance |
| Transport | Affects finish time and bailout options | Confirm pickup or shuttle before leaving home |
| Lodging or camp | Shapes recovery and next-day start | Verify location, rules, and arrival window |
| Group roles | Prevents confusion on shared decisions | Assign navigation, water, first aid, and check-in |
| Communication | Makes delays and separation actionable | Share device plan, check-in windows, and overdue response |
| Current conditions | Can invalidate the planned timing | Recheck access, water, weather, and fire restrictions |
Roles within the group do not need to be formal.
One person tracks the map, one watches timing, one checks water, and one carries the shared first-aid or repair items. The roles just need to be assigned before anyone steps onto the trail.
Navigator
Stops at junctions before the group spreads out. Carries the route decision.
Water lead
Checks refill points before bottles run low. Knows the next confirmed source.
Timekeeper
Compares actual pace with daylight and the weather window. Calls the early stop.
First-aid lead
Carries the kit and knows what is in it. Treats hotspots before they become blisters.
Check-in contact
Updates the outside contact if the plan changes and signal exists.
If plans change during the trek, update the outside contact when signal is available. A changed camp, delayed finish, or different exit is normal on a first trek, but the contact needs the latest information to make the right call at the right time.
Why can changing the plan protect the trip?
Changing the plan is not failure.
It is how a first trek stays useful when feet, weather, water, pace, or sleep do not match the plan. The trip is well-managed when you still have choices at the end of the day.
Shorten the day when blisters start, water is less certain than expected, weather arrives early on an exposed section, or the group is moving too slowly to reach the night stop in daylight. Each of those signals is information, not embarrassment.
A plan that cannot absorb them is not a plan.
The first trek teaches more when you protect your judgment.
Finishing every mile while ignoring clear warning signs is not discipline. It is the habit that makes second treks harder because it teaches the wrong lesson about what the body and the plan can handle together.
The hiking in the rain and hiking in winter guides cover specific condition adjustments for wet and cold environments. The same early-adjustment habit applies in those conditions, and the window to act shrinks faster.
Adjust early, finish smarter.
- Turn around or shorten the day if water is behind plan.
- Stop and treat hotspots before they become blisters.
- Use a lower option when weather reaches exposed ground early.
- Repack when shoulder or hip pain changes your stride.
- Change the next day if sleep and appetite were both poor.
- Contact your check-in person if the plan changes and signal exists.
Protecting judgment on the first trek is the skill that carries into every trek after it. The group that adjusts early, treats feet quickly, and leaves an exposed section before the storm arrives learns more than the group that pushed through.
A good first trek leaves enough time and energy to shorten the next day before a small problem compounds.
First trek planning rule
Route, gear, and communication all sit inside broader trip planning habits that carry over to any multi-day walk.
Sources
The National Park Service Hike Smart article covers limits, trip plans, emergency planning, communication, weather, and backup plans: NPS Hike Smart. The NPS ten essentials article covers the core items that help with delays, weather changes, injuries, hydration, navigation, and emergency shelter: NPS Ten Essentials.
Step by stepPractical steps
- Choose a short marked trek with known night stops and clear exit options.
- Break the route into daily distance, climb, water, sleep, and decision points.
- Confirm food, water, sleep, and weather before committing to mileage.
- Test the loaded pack and adjust the route if the load changes your pace.
- Share the plan and change it early when feet, water, weather, or pace reduce choices.
AnswersQuestions readers ask
How many days should my first trekking trip be?
Two to three days is usually enough. It tests packing, pacing, food, water, sleep, and recovery without committing you to a long remote plan.
How far should I trek each day as a beginner?
Use terrain and pack weight instead of a fixed number. Keep daily distance modest, avoid stacking hard climbs, and leave enough daylight to solve problems.
What should I check before choosing a first trek?
Check trail clarity, legal night stops, water reliability, weather timing, exit options, required permits, pack weight, and whether the hardest day is recoverable.
Should I plan a backup route?
Yes. A shorter, lower, or more supported option is part of good first-trip planning, especially when weather, water, feet, or pace changes.
What is the biggest first trekking trip mistake?
Planning only for total distance and ignoring daily recovery. A trek is a chain of mornings, evenings, water stops, foot checks, and decisions.