
How to Acclimatize on a High-Altitude Trek
Control sleeping-elevation gains, add acclimatization time, check symptoms, and keep a lower exit open.
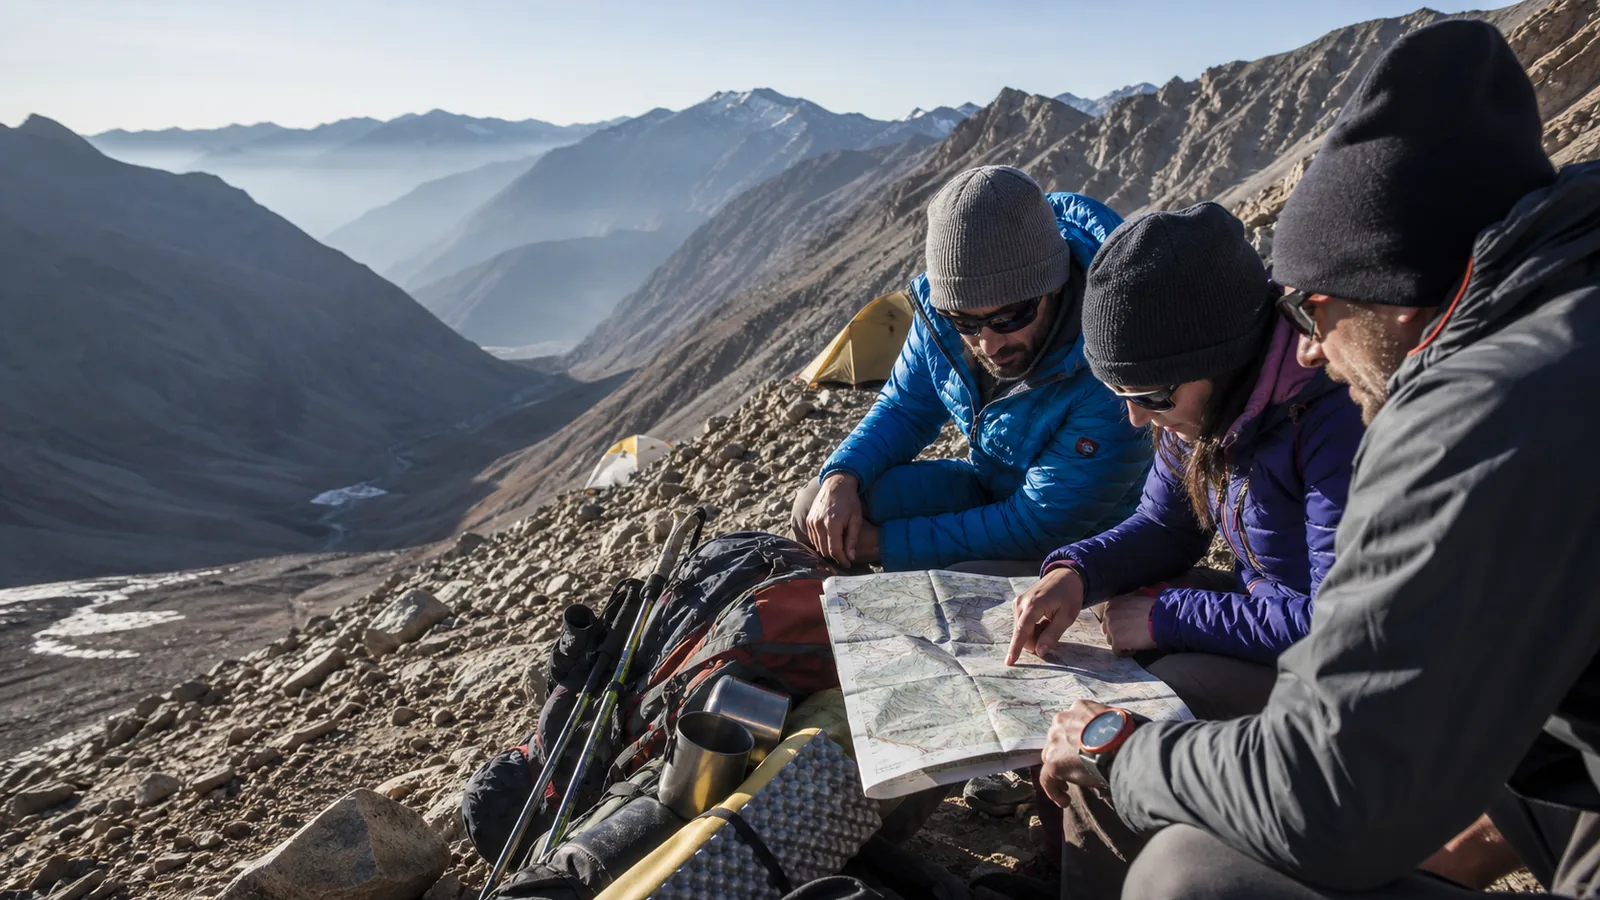
To acclimatize on a high-altitude trek, plan around sleeping elevation. Above about 10,000 feet, limit each new sleeping gain to roughly 1,650 feet, add an extra day for each 3,300 feet gained, and never ascend with altitude symptoms.
Acclimatization starts with the itinerary, not with a pill or a fitness score. Once you sleep above about 10,000 feet, limit each new sleeping elevation to roughly 1,650 feet per day and add an extra acclimatization day for every 3,300 feet gained.
Those are conservative planning limits, not guarantees. Some people become ill lower or on a slower schedule. Never ascend to sleep higher when altitude symptoms are present.
| Decision | Planning rule | Action |
|---|---|---|
| Sleeping gain above 10000 ft | About 1650 ft or less per day | Split a larger gain |
| Total gain | Extra day for each 3300 ft | Place the day before the highest exposure |
| First 48 hours | Keep effort light and avoid alcohol | Protect arrival and recovery time |
| Altitude symptoms | Do not sleep higher | Hold elevation or descend |
| Emergency warning signs | Descent cannot wait | Go lower and seek urgent medical help |
Sleeping altitude controls the schedule.
Use sleeping altitude to control the ascent
Write the elevation of every place where you plan to sleep. Daily mileage and the highest pass are useful, but they do not show how quickly your overnight exposure rises.
The Centers for Disease Control and Prevention advises that above 3,000 meters, or about 9,800 feet, sleeping elevation should generally rise no more than 500 meters, or about 1,650 feet, per day. Add an extra acclimatization day for every 1,000 meters, or about 3,300 feet, gained.
| Itinerary question | Safer planning response | Why it matters |
|---|---|---|
| How high is the first night | Keep it as low as practical | First-night altitude strongly affects risk |
| How much higher is the next bed | Compare the gain with 1650 feet | Overnight exposure drives the schedule |
| Where is the extra day | Place it after about 3300 feet gained | Adaptation needs time |
| What happens after symptoms | Hold altitude or descend | Symptoms rule out sleeping higher |
| How can someone leave | Confirm route transport staff and communication | A descent must be usable |
Do not average several days. A tiny gain tomorrow does not cancel a 3,000-foot sleeping gain tonight. Each jump has its own effect.
Build flexibility before permits, flights, and transfers lock the schedule. The first trekking trip plan should show every camp and recovery day. Add altitude beside each one so the physiological demand is visible.
The first high night deserves special attention. Flying or driving straight to a high trailhead exposes the body faster than a gradual approach. If possible, spend a lower night on the way.
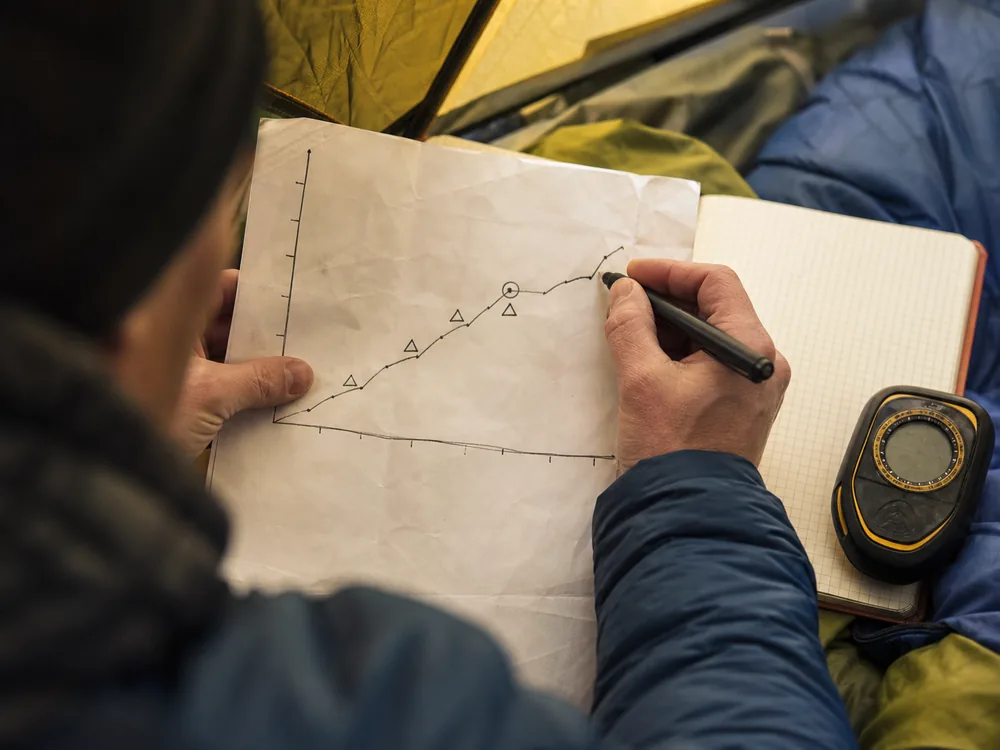
One fast night can break a slow average.
Know what acclimatization can and cannot do
At altitude, lower air pressure means each breath provides less oxygen. The body responds over hours and days by increasing breathing and changing how it moves oxygen. That adaptation helps, but it does not restore sea-level performance.
Acclimatization improves submaximal endurance. You may walk more comfortably at the same elevation after several days. Maximum performance remains reduced, so a pace that feels ordinary at home can still be too hard.
Fitness does not prevent altitude illness. A strong runner can become sick while a less fit partner remains well. Previous trips offer clues, but the same person can respond differently at another speed, elevation, or state of health.
The multi-day trek preparation should build enough fitness for repeated walking. Keep that goal separate from acclimatization. Training improves the work you can do. Time at elevation changes how the body handles reduced oxygen.
Fitness helps the trek but does not grant immunity.
Prepare before the trek without chasing shortcuts
Recent time at moderate altitude may help. The CDC notes that spending at least two nights above 9,000 feet within the month before a high trip can be useful.
That does not let you erase all acclimatization days. The benefit depends on how high you went, how long you stayed, how recently you returned, and how your body responded.
Choose an approach that gains height gradually when practical. A road approach with a lower overnight stop may be kinder than flying directly to a high town and starting a hard stage that afternoon.
Train for the pack, climbs, descents, and consecutive days before departure. The trekking training plan helps with those demands. It cannot reproduce the oxygen pressure of a high camp.
Do not rely on unverified supplements, breathing gadgets, or a single hard workout as protection. If you are considering prescription prevention, discuss your itinerary, medical history, and current medicines with a qualified clinician before travel.
Compare every proposed schedule with a slower version before booking. Moving a transfer one day earlier can create a lower arrival night. Splitting one long ascent into two camps can keep each sleeping gain within the plan. A spare day placed before the highest camp is more useful than a spare day after the summit because the group can use it before the greatest exposure.
Also check what the calendar does after the trek. A fixed pickup, flight, or work deadline can pressure the group to use the buffer for travel rather than acclimatization. Protect the day in both the trekking plan and the return plan.
Prior exposure is a head start, not a pass.
Use climb high, sleep lower carefully
A daytime walk to a higher point can provide exposure while you return to a lower sleeping elevation. This is often called “climb high, sleep low.”
The phrase does not mean you must make every rest day hard. An easy walk above camp can be enough. The goal is exposure without exhausting the person who needs to recover.
| Day | Highest point | Sleeping point | Main purpose |
|---|---|---|---|
| Arrival | 8200 ft | 8200 ft | Settle with light activity |
| Day walk | 9300 ft | 8200 ft | Brief higher exposure with lower sleep |
| Move camp | 10200 ft | 9800 ft | Keep the new bed near the planned gain |
| Acclimatization day | 10600 ft | 9800 ft | Easy outing then recovery |
| Next stage | 11600 ft | 11100 ft | Resume a controlled sleeping gain |
This is a generic example, not a route prescription. Terrain, weather, transport, health, and local guidance can make a different sequence necessary.
Do not use a lower sleeping camp to justify an extreme summit push. A person who returns with headache, nausea, dizziness, or unusual fatigue should not ascend the next morning.
The effort checks used for a high-altitude day hike remain useful during the outing. A trekking itinerary adds a second decision. You must judge whether the person is fit to sleep higher the next day.
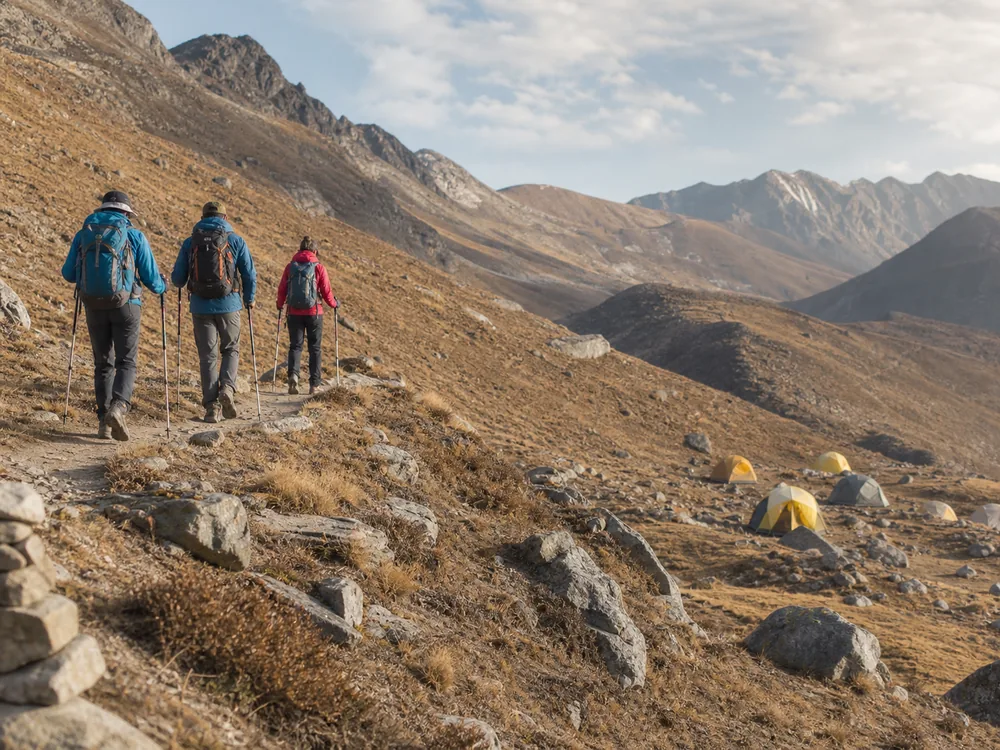
Higher exposure does not require a hard day.
Make the first 48 hours deliberately easy
After arriving above about 8,000 feet, keep the first two days light. The CDC advises avoiding heavy exercise and alcohol during the first 48 hours.
- Walk at an easy conversational effort
- Skip hard training or a fast summit attempt
- Avoid alcohol
- Eat familiar meals at regular times
- Protect sleep time
- Note headache appetite nausea dizziness fatigue and coordination
Light walking can be reasonable when you have no symptoms. A hard arrival-day hike is different. It adds exertion at the point when the body has had the least time to adjust.
Sleep may be restless at first. Do not use that single symptom to diagnose yourself, but record it with the rest of the picture. A headache plus nausea, dizziness, unusual fatigue, or poor sleep after ascent can fit acute mountain sickness.
Eat even if appetite is lower than normal. Familiar, simple foods can be easier to manage. The trek food plan should make small meals and snacks accessible without treating food as a cure.
Drink normally and replace what you use. Forced overhydration does not prevent altitude illness and can cause its own problems.
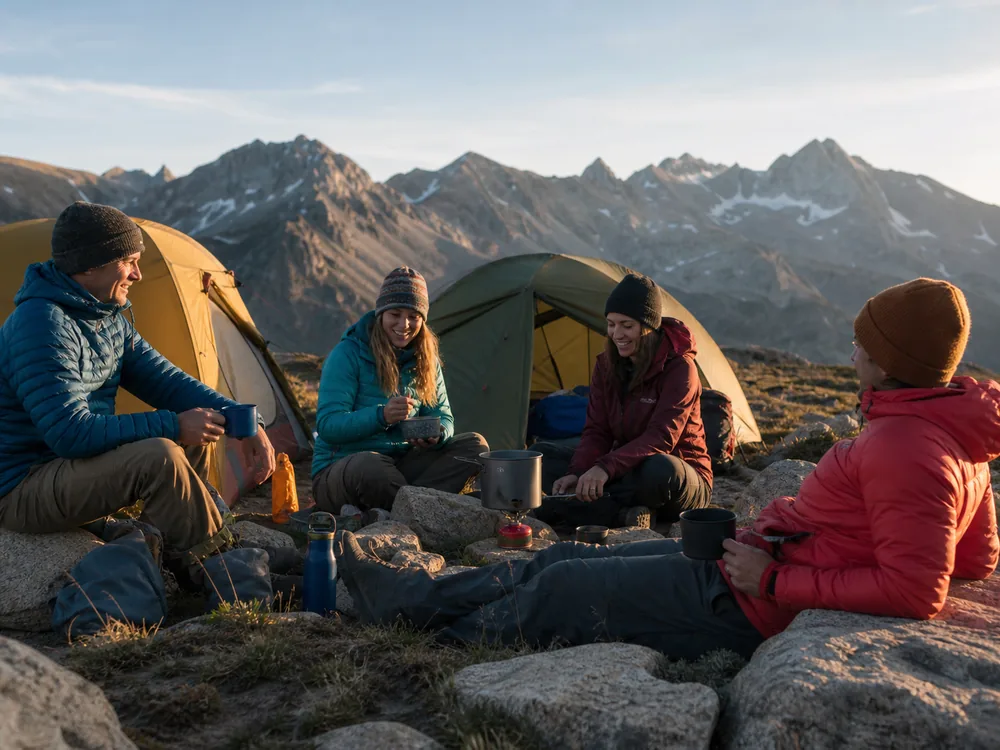
Use the route-based water estimate for normal needs, then verify which high-camp sources are reliable. Carrying more water does not justify ignoring altitude symptoms.
Arrival is part of acclimatization, not a spare day for extra mileage.
Check symptoms before every ascent
Acute mountain sickness usually begins 2 to 12 hours after arrival at a higher elevation. That means the morning check may reveal a problem that was absent at the pass.
Ask each person about headache, nausea, appetite, dizziness, unusual fatigue, and sleep. Compare their walk, speech, and coordination with normal behavior. People should answer separately before group pressure shapes the response.
- New headache after ascent
- Nausea vomiting or loss of appetite
- Dizziness or lightheadedness
- Unusual fatigue that does not match the effort
- Marked sleep disturbance with other symptoms
- Breathlessness while resting
- Confusion severe drowsiness or inability to walk straight
A headache alone has several possible causes. At altitude, headache plus another typical symptom after ascent should be treated seriously. Do not prove that it is harmless by walking higher.
Record symptoms in the evening and at breakfast. Also record sleeping elevation and any medicine taken. That small log helps the group see whether the person is improving, unchanged, or worse.
The trekking safety routine should name who can stop the group. On an altitude itinerary, every member must be able to report symptoms without losing status or being blamed for a delay.
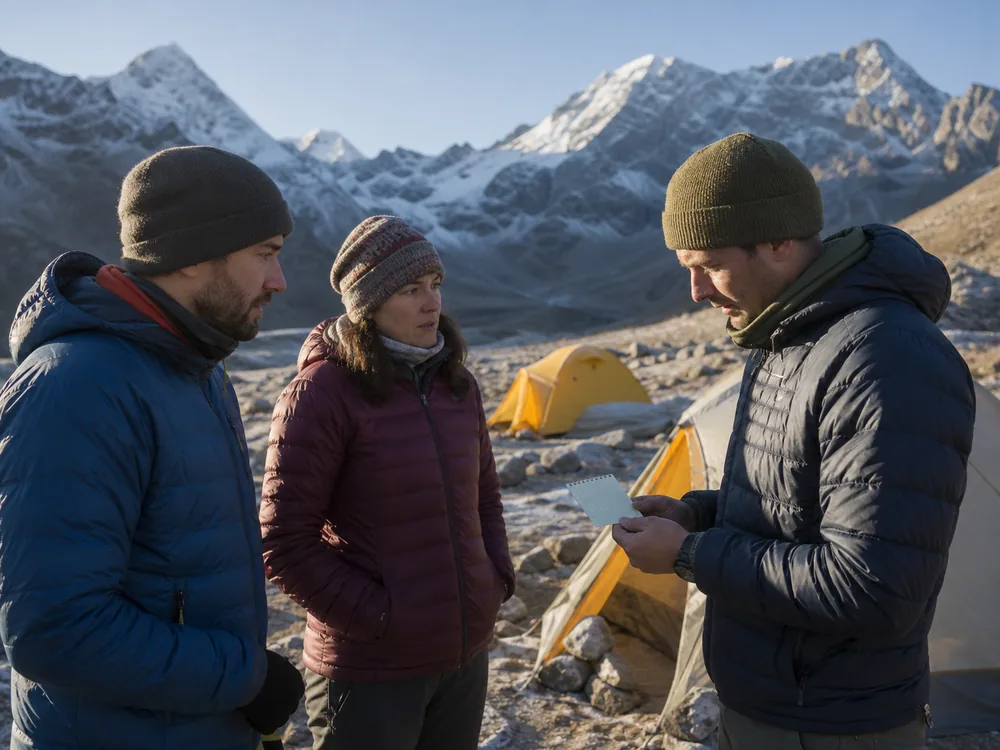
No symptoms is a requirement for ascent, not proof that illness cannot appear later.
Respond to mild symptoms without bargaining
When a person develops a headache with nausea, dizziness, unusual fatigue, or poor sleep after gaining elevation, stop the ascent. Remain at the same sleeping elevation and monitor closely.
Reduce exertion. Keep the person with a capable partner. Make sure the group can communicate and leave. Improvement at the same elevation can support a cautious hold, but the person should be symptom-free before sleeping higher.
Worsening headache, repeated vomiting, increasing weakness, or a new change in coordination means the situation is no longer a schedule problem. Descend and seek medical help.
Do not let pain medicine hide the decision. A clinician may advise medication for prevention or treatment in specific circumstances. Medication does not make continued ascent safe when symptoms are worsening.
A buffer day protects this choice. The common trekking mistakes often begin with a schedule that has no room for weather, fatigue, or illness.
A hold day is useful only when the group is willing to use it.
Descend for emergency warning signs
Confusion, severe drowsiness, unusual behavior, or inability to walk a straight line can indicate high-altitude cerebral edema. Breathlessness at rest, cough, chest tightness, or a sharp fall in walking ability can indicate high-altitude pulmonary edema.
Brain warning signs
Confusion loss of coordination severe drowsiness or altered behavior require immediate descent.
Lung warning signs
Breathlessness at rest cough chest tightness or a large decline in ability require immediate descent.
Shared action
Descend now seek urgent medical help and do not leave the person alone.
Do not wait until morning. Do not send the person down alone. Use oxygen or other emergency equipment only according to training and the trip's medical plan while descent is arranged.
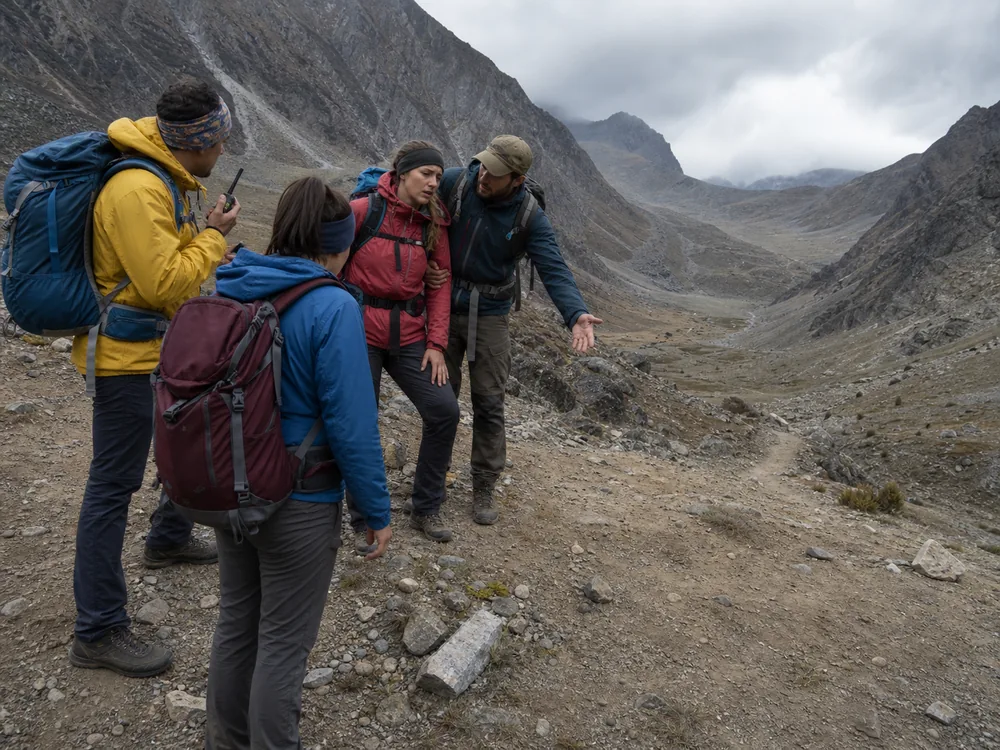
Even a modest descent can improve oxygen pressure, but the correct destination depends on terrain, weather, access, and severity. Continue toward appropriate medical care rather than stopping simply because one symptom eased.
The pack and route work described in solo trekking cannot create a partner during a medical emergency. High routes deserve a communication method and exit plan that match their remoteness.
Emergency signs override permits, summits, and schedules.
Build flexibility into permits, guides, and transport
Ask for the sleeping elevation of every night before booking. A route marketed as “gradual” should still show the numbers.
- Sleeping elevations
- Reveal the actual overnight gains
- Acclimatization days
- Show where recovery time exists
- Symptom policy
- Explains who decides to hold or descend
- Exit routes
- Identify lower camps roads staff and transport
- Group support
- Shows whether one person can descend with a companion
- Return buffer
- Protects the decision from a fixed flight or transfer
Ask an operator what happens when one member should not ascend. Does a guide descend with that person? Is a lower lodge available? Who carries the shared equipment? What costs or transport must the traveler arrange?
Keep at least one flexible day after the scheduled trek when possible. A same-night flight or fixed international connection creates pressure to ignore a hold day.
The beginner trekking route should be adjustable for ordinary recovery. A high-altitude trek needs the same flexibility plus an explicit response to symptoms.
No guide can promise that a schedule will acclimatize every client. A responsible itinerary reduces risk and supports a safe response. It does not remove individual uncertainty.
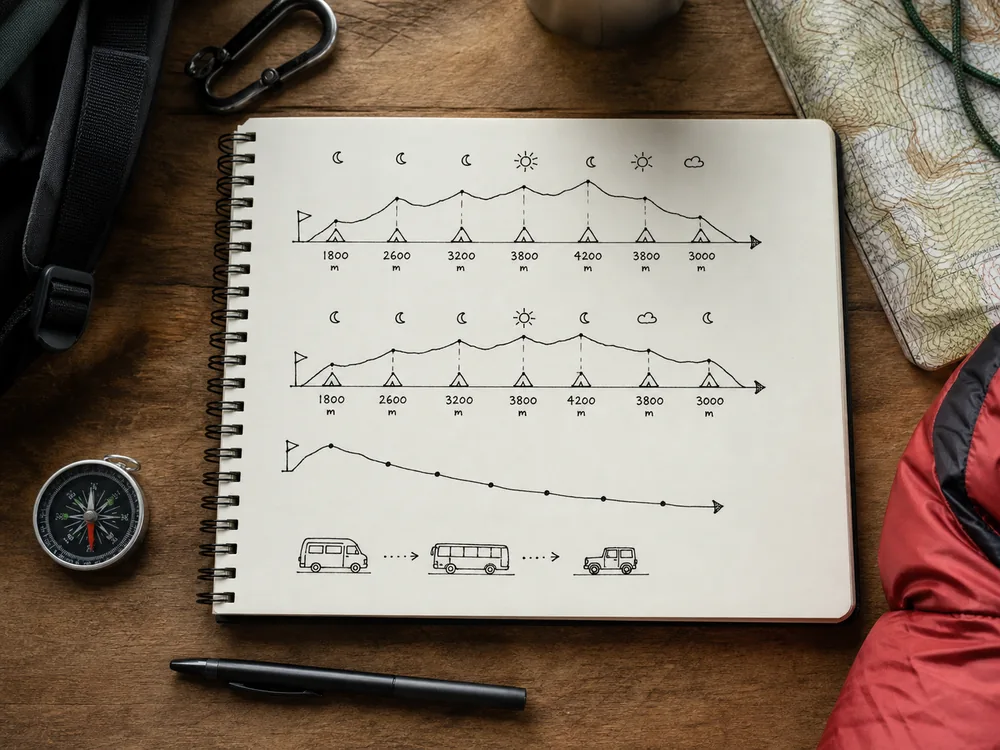
Cold or wet weather can consume a planned recovery day. The recovery systems used for winter trekking help protect food, sleep, dry insulation, and the energy needed to reassess the next ascent.
Flexibility is safety capacity.
Use a daily acclimatization routine
At breakfast, compare each person with the evening before. Check symptoms, coordination, appetite, and the planned sleeping gain.
Walk at a pace that leaves enough energy to eat, settle camp, and answer clearly. The pack list for repeated trekking days should keep warm layers, water, food, light, and communication accessible during delays.
- Check the morning baselineAsk about symptoms and observe coordination before packs move.
- Confirm the next sleeping gainCompare the new bed with the current elevation.
- Keep the stage recoverableWalk easily enough to eat rest and assess at camp.
- Log the evening responseRecord symptoms appetite sleep and actual sleeping elevation.
- Choose tomorrow earlyDecide whether the next day is an ascent hold or descent before schedule pressure builds.
The person adapting most slowly sets the safe ascent. Splitting the group may be possible only when staffing, equipment, communication, and exits support both groups.
Do not measure success by reaching every planned camp. A successful acclimatization plan gives the body time, identifies symptoms early, and makes descent possible before an emergency.
Each day earns the next sleeping elevation.
Sources
The CDC Yellow Book explains risk elevations, sleeping-gain limits, acclimatization days, symptom timing, reduced performance, and emergency illness: High-Altitude Travel and Altitude Illness.
CDC travel guidance advises light activity, no heavy exercise or alcohol for the first 48 hours, no ascent with symptoms, and immediate descent for HACE or HAPE signs: Travel to High Altitudes.
Hong Kong's official Travel Health Service explains gradual ascent, sleeping-altitude gains, climb high and sleep low, group pacing, and descent: High Altitude.
Bryce Canyon National Park describes common high-altitude effects and recommends acclimatization, hydration, rest, and reduced exertion: Hiking at High Altitudes.
Time at altitude is the essential input.
Step by stepPractical steps
- Mark the sleeping elevation of every camp or lodge.
- Limit sleeping gains above about 10,000 feet to roughly 1,650 feet per day.
- Add an acclimatization day for every 3,300 feet gained.
- Keep the first 48 hours at altitude light and avoid alcohol.
- Check every person for symptoms in the evening and before the next ascent.
- Hold altitude or descend when symptoms appear, and descend immediately for emergency warning signs.
AnswersQuestions readers ask
How many days does it take to acclimatize for a high-altitude trek?
There is no fixed number for every person or route. Build the schedule from sleeping elevation. Above about 10,000 feet, keep new sleeping gains near or below 1,650 feet per day and add an extra day for each 3,300 feet gained.
What is the best way to acclimatize before a trek?
A gradual approach and recent nights at moderate altitude can help. The CDC notes that two or more nights above 9,000 feet within the previous month may be useful, but prior exposure does not remove the need for a conservative itinerary.
Does being fit prevent altitude sickness?
No. Fitness helps you perform the work of trekking, but it does not protect you from altitude illness. Strong athletes can still become sick after a rapid ascent.
Should I climb high and sleep low?
A gentle daytime walk above camp followed by sleep at a lower elevation can add exposure without increasing the sleeping gain. It should not become a hard summit push or excuse a rushed itinerary.
What should I do if altitude symptoms begin?
Do not ascend to sleep higher. Rest at the same elevation and monitor closely. If symptoms worsen, descend. Confusion, loss of coordination, or breathlessness at rest requires immediate descent and urgent medical help.