
What Should Your Backpacking Checklist Prove Before You Leave?
Turn route conditions into shelter, sleep, water, food, clothing, navigation, repair, and legal requirements, then verify that every chosen item is packed and tested.
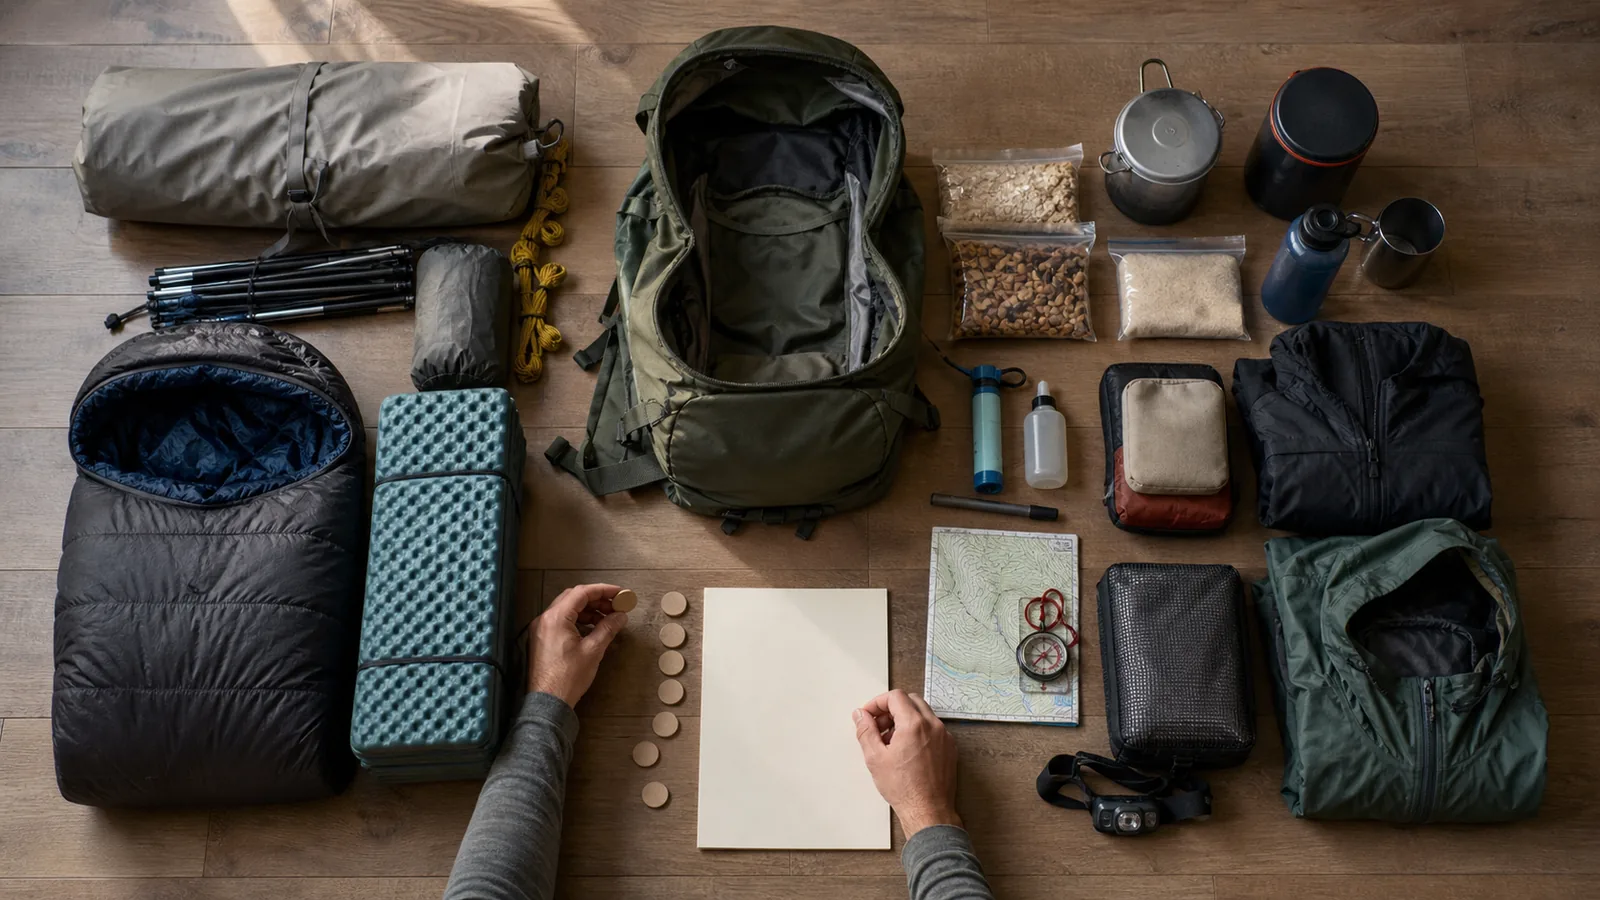
Build a backpacking checklist from the actual route, weather, water gaps, group, camps, and current land-manager rules. Cover every essential function and mark each item as chosen, packed, and tested, because a generic list cannot prove capacity, compatibility, or readiness.
Route, season, and water sources decide the whole list
Two one-night trips can need different loads. A mild forest route with reliable water and a direct exit does not ask the same questions as an exposed dry route with a required food canister and cold overnight low.
The route writes the requirements. Your equipment closet only supplies possible answers.
Checklist rule
Your route notes should record duration, distance, climbing, surface, daylight, forecast range, lowest expected temperature, water gaps, camp type, exit options, group needs, and transport. Then verify permits, closures, food storage, fire, waste, dog, and group-size rules with the responsible land manager.
- Trip duration
- Sets food fuel medication battery and delay capacity
- Longest dry segment
- Sets water capacity before treatment method matters
- Lowest conditions
- Sets shelter sleep insulation and clothing jobs
- Hardest exit
- Sets the reserve needed after a delay or injury
- Land rules
- Set permits storage fire waste camp and animal requirements
- Group limit
- Sets pace shared gear care and possible load transfer
People change the list too.
Allergies, medication, mobility, age, experience, pregnancy, children, and animals can add equipment or lower the route ceiling. Do not hide those needs inside a generic personal-items line.
If this is your first overnight, the beginner backpacking foundation helps choose a forgiving route before the list becomes expensive. The first-trip planning process turns transport, camps, water, daylight, and exits into a usable itinerary.
Start with requirements. An item earns a checkmark only after the trip gives it a job.
Shelter and sleep gear are one system, not two line items
Pitch the shelter before packing. Confirm the body, fly or tarp, poles, stakes, guylines, ground protection, repair method, and any inner or bug protection required by the conditions.
Match the sleeping bag or quilt, pad, dry sleep clothing, and shelter to the expected low, ground temperature, moisture, wind, and the sleeper. A temperature label on one item does not guarantee comfort or safety for every person.
- Backpack with enough volume and a verified fit
- Shelter body fly or tarp with all poles stakes and guylines
- Ground protection when the shelter or surface requires it
- Sleeping bag or quilt suited to the tested conditions
- Sleeping pad with appropriate ground insulation and repair method
- Protected dry sleep clothing
- Pack liner or internal waterproof barrier
- Shelter and pad repair materials matched to the actual equipment
- Camp footwear only when surface use and weight justify it
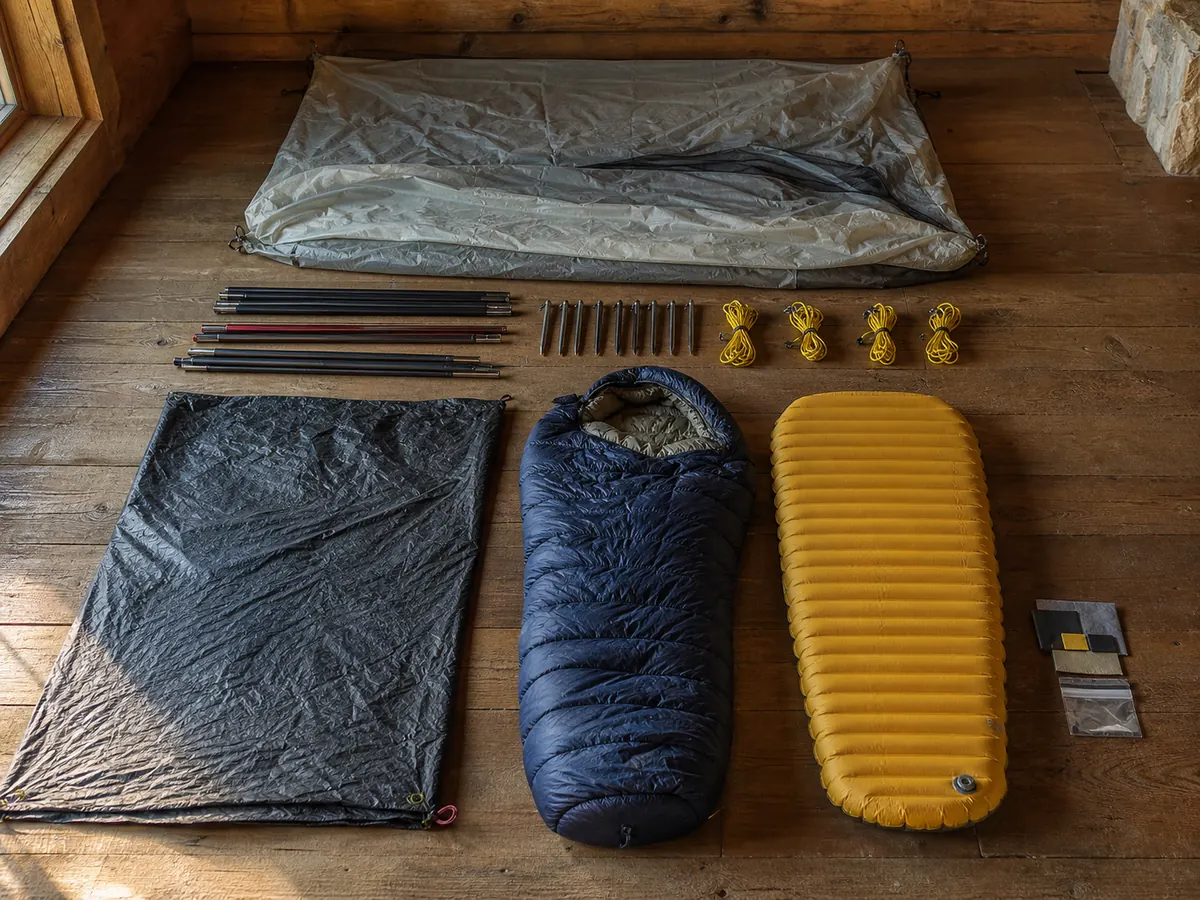
You should protect sleep insulation inside the pack. The backpack dry-core method keeps wet shelter fabric and trail layers from reaching the gear needed for overnight recovery.
Test entry, ventilation, nighttime water, headlamp access, and the morning pack-up. A shelter that works only on a bright lawn with unlimited time is not fully tested.
The winter backpacking controls require a larger cold and liquid-water margin. The rain backpacking sequence keeps one wet setup from consuming the only dry sleep system.
Test the whole night system. Shelter, ground insulation, sleep insulation, and dry clothing share one job.
How should water, food, and cooking capacity fit the route?
Mark every credible water source and the longest distance between them. A source symbol does not prove current flow or access, so check official conditions and recent reliable information.
Carry containers for that gap plus a realistic delay. Choose treatment for the organisms and water quality expected, follow the product instructions, and keep a backup that fails differently.
| Need | Primary answer | Backup or margin | Verification |
|---|---|---|---|
| Water capacity | Bottles reservoir or collapsible container | Reserve for delay or failed source | Fill all containers and test for leaks |
| Water treatment | Filter boil chemical or UV method suited to risk | Independent method and required fuel or contact time | Treat water during a rehearsal |
| Moving food | Reachable tested portions | One option that still works with low appetite | Eat it during a loaded walk |
| Camp meals | Familiar shelf-stable food | Low-effort or no-cook meal | Cook with the actual pot stove water and fuel |
| Fuel | Amount measured from the real menu | Margin for wind cold or delay | Run a complete meal and breakfast test |
| Food storage | Current approved method for all attractants | Enough capacity for trash and toiletries | Pack every scented item at home |
| Delay reserve | Separate food with little or no preparation | Protected from normal eating | Label it by the delay it covers |
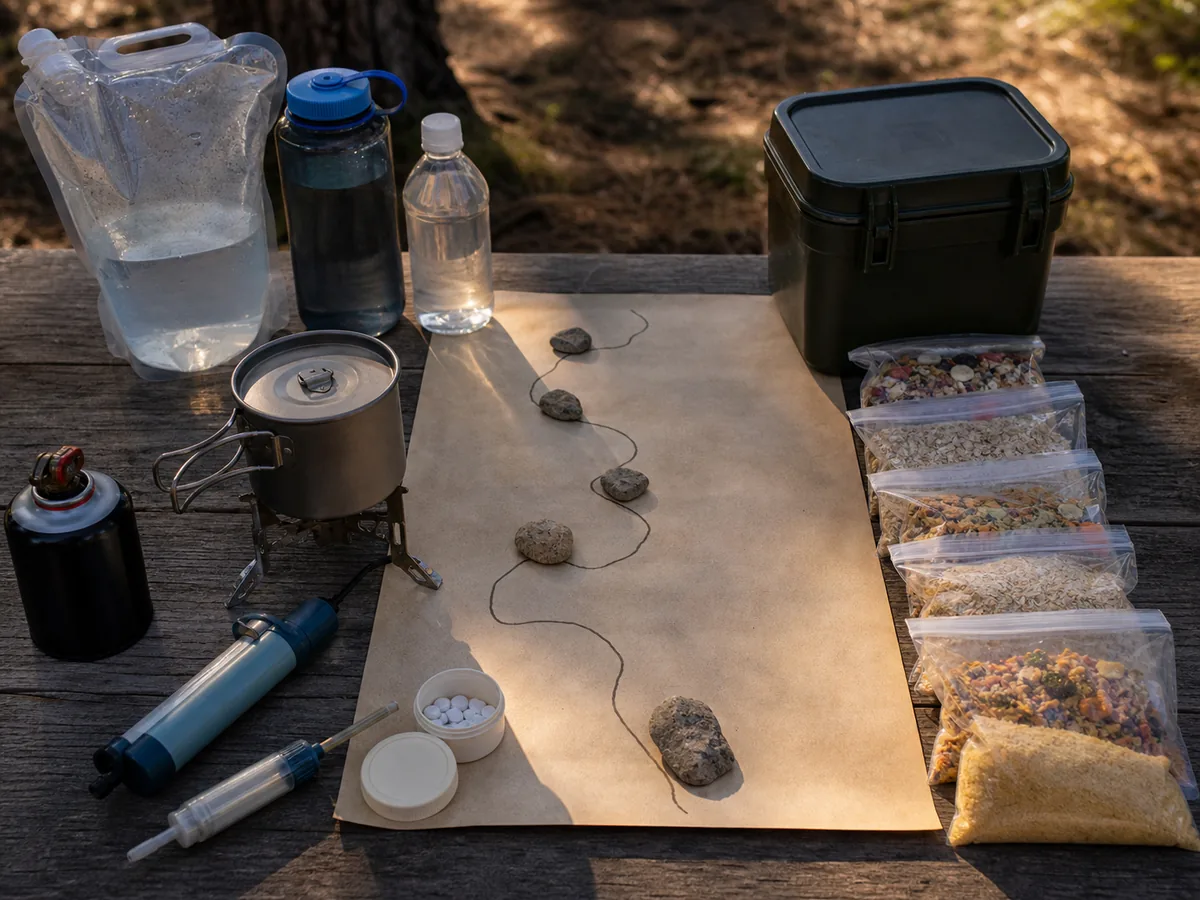
The CDC notes that clear mountain water can still carry germs and that treatment methods have different limits. The backpacking safety controls explain treatment failure and clean-side handling.
A route-based water amount should use heat, effort, refill certainty, and the group's needs.
Do not count cooking water twice. Meals, drinks, brushing teeth, and treatment cleaning can use water beyond ordinary sipping.
Prove capacity and method. Writing filter on the list does not show that the group can treat enough water after it breaks.
Which clothing belongs to movement, stops, and sleep?
Separate what you wear while moving from what you add during weather, what keeps you warm during stops, and what stays dry for sleep. One thick outfit rarely handles all four jobs well.
- Trail clothing suited to expected heat sun brush and insects
- Rain shell and rain pants when the conditions require both
- Wind protection when the rain layer is too warm or unsuitable
- Insulating layer sized for long stops and camp
- Dry sleep base layer protected inside the pack
- Extra socks based on duration moisture and foot needs
- Hat sun hat gloves or other hand and head protection
- Footwear tested with the real load and surface
- Gaiters traction or specialized surface equipment only when conditions require them
Avoid cotton in conditions where wet fabric can remain against the skin and reduce warmth. Test the actual layers while climbing and while standing still because sweat management and stop warmth pull in different directions.
Keep the first weather response accessible. A shell buried below camp gear is present but not usable during a sudden squall.
The lighter backpacking audit can remove duplicated clothing after each layer has a separate job. It should not remove the dry or weather function that the route still requires.
Dress by phase. Movement, exposure, camp, and sleep create separate clothing decisions.
A backup only counts if it fails for a different reason
Download current route information, but also carry a method that survives a failed phone or empty battery when the route demands it. Paper map and compass are independent only when someone can use them.
| Function | Primary method | Shared failure to avoid | Test |
|---|---|---|---|
| Route reference | Offline phone map or dedicated GPS | No signal or corrupt download | Use in airplane mode before departure |
| Independent map | Waterproof or protected paper map | Stored with the only failed device | Orient it at known points |
| Direction | Compass | Carried without practiced skill | Follow a simple bearing on familiar ground |
| Light | Headlamp for each person | All spare power in one pack | Run and inspect each light |
| Communication | Phone or satellite device suited to coverage | Untested account battery or message plan | Send a check-in from a realistic location |
| Outside response | Written trip plan with trusted contact | Vague return time | Confirm overdue action and agency contact |
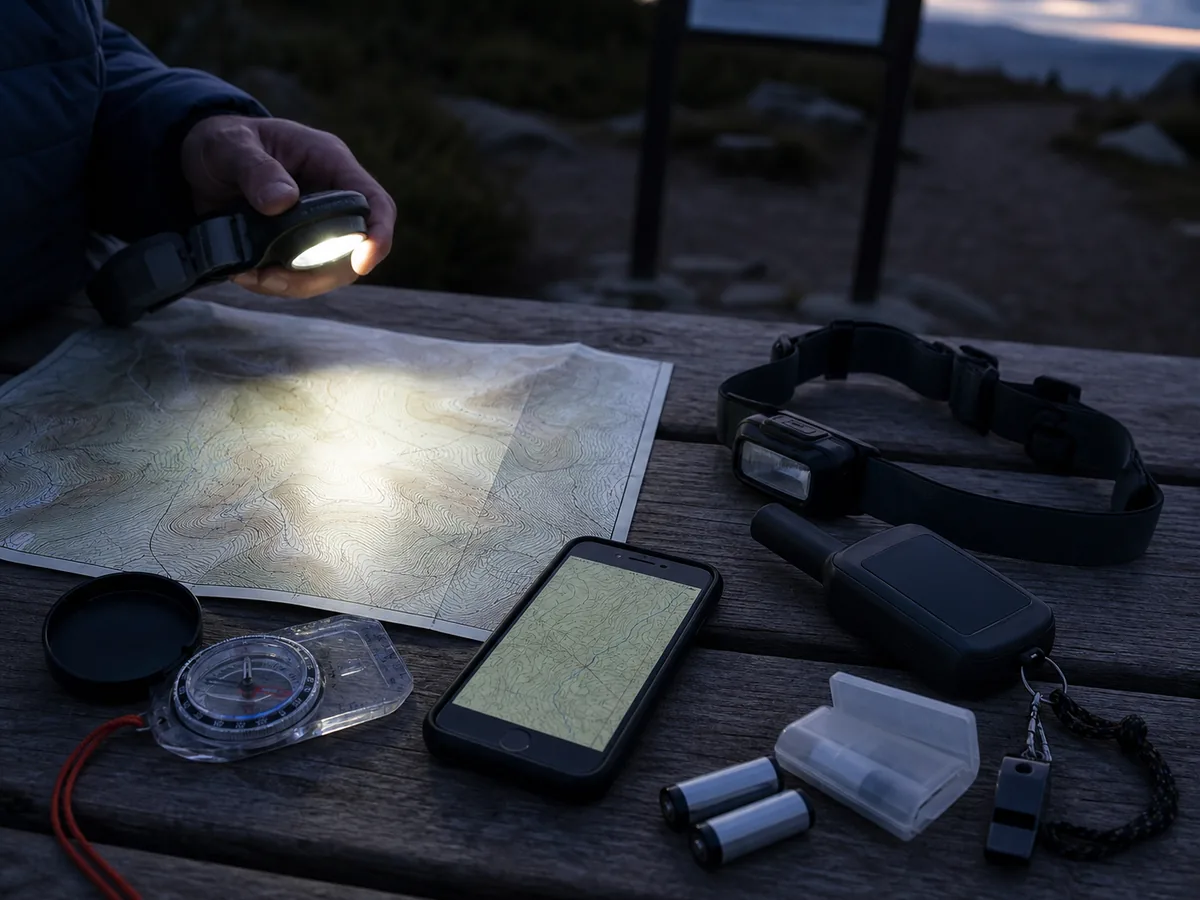
Carry the map for the full route and exits, not only a screenshot of the destination. Mark junctions, camps, water, difficult crossings, alternate routes, and the last simple return.
Practice using a compass before it becomes the backup. The solo backpacking plan needs stricter communication and navigation because one person holds every decision and device.
Keep a small written card with emergency numbers, vehicle details, relevant medical information, and the outside contact. A locked or dead phone should not hide every useful fact.
Backups must fail differently. Two apps on one phone are one powered system.
What belongs in first aid, repair, hygiene, and waste kits?
Build first aid around the group, training, route, and time from help. Include personal medication separately and in sufficient quantity for the planned duration and a reasonable delay.
Repair materials should match what is carried.
A generic tape roll does not repair every pad valve, stove, shelter pole, buckle, zipper, or water filter. Know which failures can be field-repaired and which force an exit.
First aid
Personal protection wound care blister care and trained response for likely problems.
Medication
Each person's required medicines access instructions and delay supply.
Repair
Patches sleeves cord tape tool and spare parts matched to critical equipment.
Hygiene
Hand cleaning dental care menstrual supplies and skin care sized for the trip.
Waste
Trowel paper bags or approved carry-out system required by the exact place.
Insects and sun
Repellent netting sunscreen lip protection and eye protection based on exposure.
Include hand cleaning that works before food handling and after toilet use. Keep the waste kit separated from food and water equipment.
The backpacking etiquette practices cover shared water, food storage, waste, camps, and noise. The common backpacking mistakes show how a tiny missing repair or hygiene step can damage the next day.
Small kits need named jobs. Do not carry a mystery pouch and assume it covers people, equipment, and sanitation.
Which permits and current rules must be carried?
A permit, required canister, parking pass, fire restriction, camp reservation, or waste container can change the trip as completely as a missing tent pole.
- Current permit and reservation with names dates camps and entry details
- Trailhead parking pass transport ticket key and backup transport contact
- Official map current closures and emergency contact information
- Approved food-storage method and proof when required
- Current fire and stove rule with the allowed equipment
- Current waste method for the surface and land unit
- Identification payment method and any required physical document
- Trip plan sent to the trusted contact
- Download or print of critical information needed outside coverage
Do not rely on memory from a previous season. Rules, closures, water, fire conditions, transport, and approved storage lists change.
Store documents where rain and a dead phone cannot remove them. Clip vehicle keys inside a secure pocket rather than dropping them into the same pouch used throughout the day.
Information has a carry method. A confirmed permit on a lost email is not available at the trailhead.
How do you check gear as chosen, packed, and tested?
A single checkmark hides different states. You may own a filter, intend to carry it, and still discover that it leaks or does not fit the clean bottle.
- Choose the answerMatch each requirement to a specific item capacity skill or action.
- Lay out by systemGroup shelter sleep water food clothing navigation response and legal items.
- Test the functionPitch inflate cook treat light communicate and repair with the real equipment.
- Pack the itemPut it in its final bag or pocket and mark the location.
- Load consumablesAdd first-day food water fuel and required storage.
- Walk the packTest balance fit access turns climbs and careful step-downs.
- Sign off togetherLet every person confirm personal items shared carriers and stop conditions.
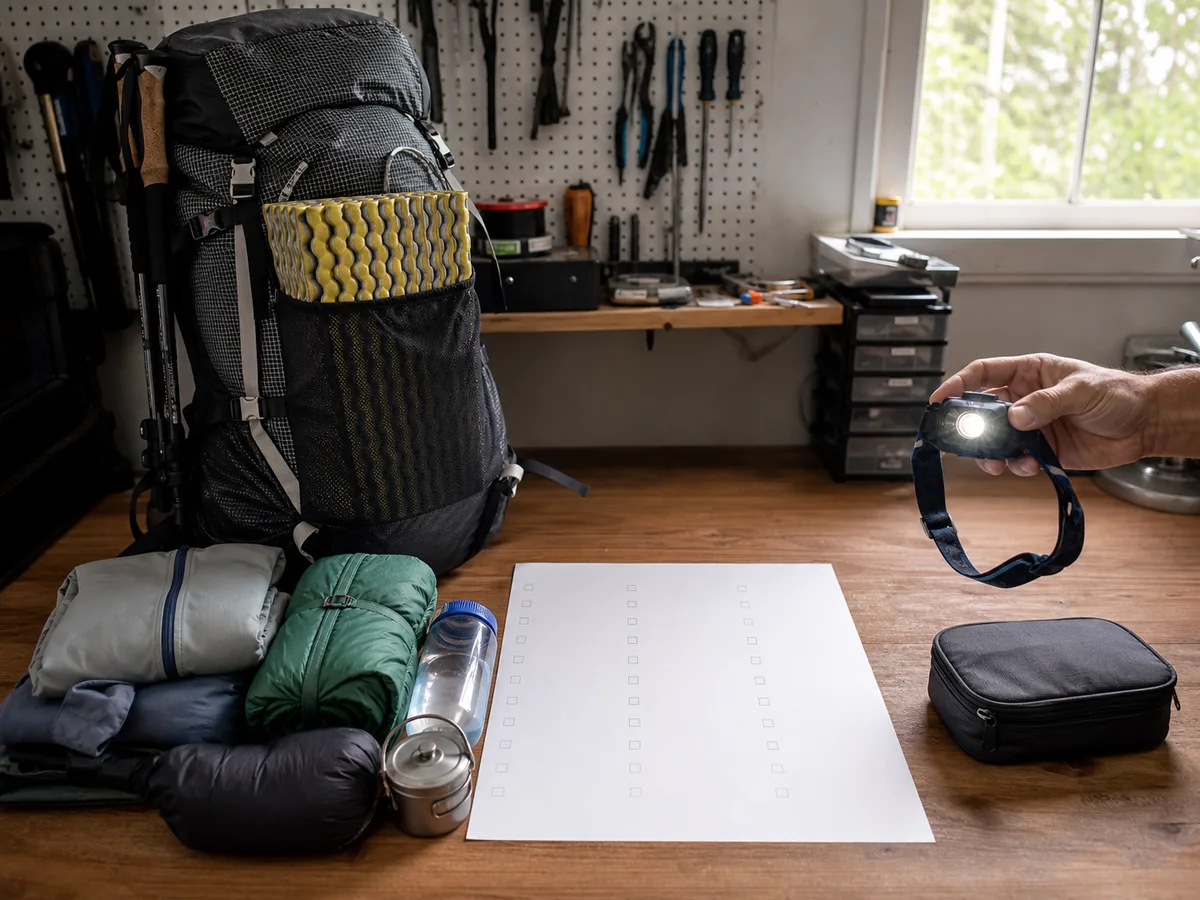
Pack several days early. That leaves time to dry a shelter, replace a battery, repair a pad, obtain a permit, change food volume, or select a shorter route.
Use the backpack loading zones after the item set is stable. Then carry the pack during the backpacking training process rather than discovering total mass at the start.
The final list should name shared carriers. If one person has the shelter and another has the poles, both people need to know the separation consequence.
A checkmark needs evidence. Chosen, packed, and tested are three different facts.
How do you count consumables by day and route segment?
Count food, fuel, water capacity, medication, batteries, and hygiene supplies by the part of the trip that uses them. A three-day total can look complete while the first dry climb or final cold breakfast still lacks enough capacity.
Build food around meals, moving snacks, camp drinks, and a separate delay reserve. Put the first day's accessible food outside the main storage only when local rules allow it, then prove that every scented item still fits the required container at camp.
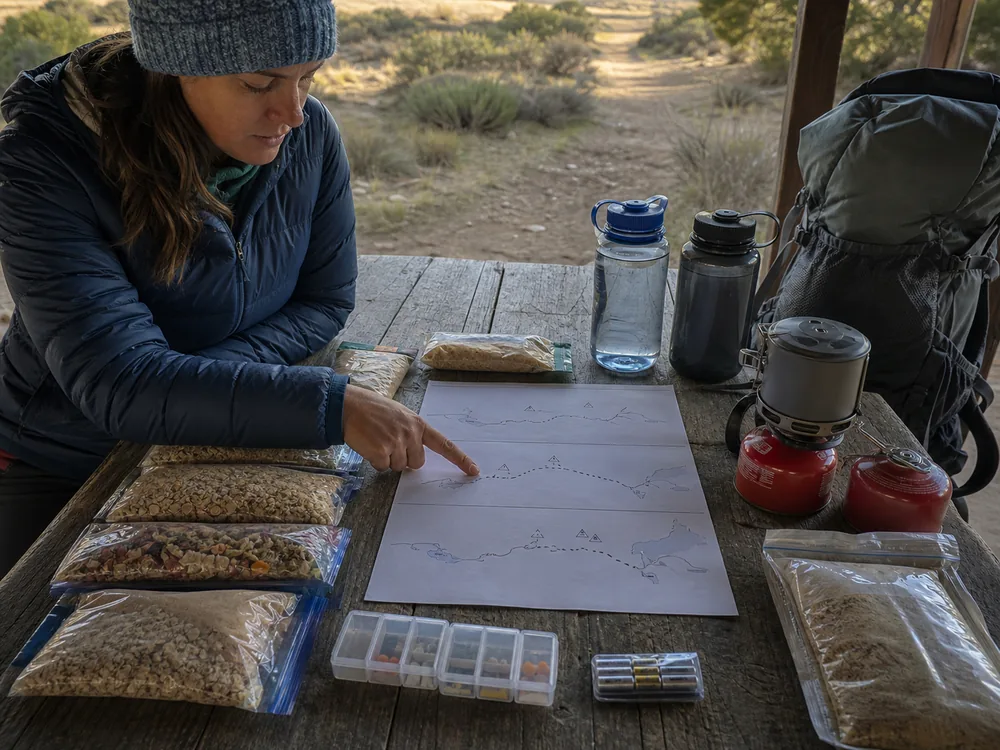
Count use moments. One fuel canister or battery icon does not show how many boils, messages, hours of light, or device charges it can support.
Test the real stove and menu in conditions close to the trip. Wind, cold, large water volumes, and unfamiliar meals can increase fuel use or cooking time.
Keep a low-effort meal that works when arrival is late or appetite is poor.
Medication needs planned doses plus a reasonable delay supply according to the prescription and storage instructions. Keep required medicine with its user or a named responsible carrier, not buried inside a shared first-aid pouch.
For each dry route segment, write starting water, the next credible source, expected use, and protected reserve. The total container volume must cover the longest segment even when other parts of the trip have frequent water.
Which Backpacking Supplies Need an Expiration Check?
Inspect anything that can expire, discharge, clog, crack, leak, or lose approval. A line on the checklist is incomplete when the item has not been opened since the last trip.
- Confirm medication dates quantity labels and storage needs.
- Run every headlamp and communication device long enough to reveal weak power.
- Inspect filter parts bags seals and the manufacturer's storage condition.
- Inflate the sleeping pad and leave it long enough to expose a slow leak.
- Check stove connections fuel containers and allowed-use rules.
- Open the first-aid kit and replace damaged wet or expired contents.
- Inspect shelter seams poles stakes cords zippers and repair parts.
- Confirm permits reservations maps and downloaded information match this trip.
Do not treat an unverified spare as a backup. Two old batteries from the same drawer, two filters stored wet through a freeze, or two maps missing the same exit share one failure.
Condition proves readiness.
The item name shows what you intended to bring. Inspection and testing show whether it can still do the job.
Record the check date for equipment that is easy to forget. That note keeps you from repeating a full inspection the night before every trip while still revealing when months or storage conditions have changed.
Pair the inspection with one small repair rehearsal. Patch the actual pad material, join the shelter pole sleeve, clean the filter as instructed, and light the stove with the carried ignition method.
A repair part earns space only when it matches the equipment and someone can use it without an internet connection.
Check replacement access as well.
If a broken buckle, lost stake, torn strap, or failed valve cannot be repaired, decide whether the remaining system can still reach a safe exit. That consequence tells you whether to carry a spare, change the route, or replace the worn item before departure.
Who carries shared gear and backups?
Give every shared item a named carrier and a separation plan. Tent body, poles, stakes, water treatment, stove, fuel, first aid, repair tools, and communication equipment can be split, but the group needs to know what fails if people become separated.
Do not place every critical function in one pack. If the strongest hiker carries the only shelter, treatment method, map, and first-aid kit, a simple pace split removes all four from the slower group.
Shared does not mean ownerless. Write the carrier beside each item and confirm its final pocket or compartment.
| Shared item | Primary carrier | Separation consequence | Better backup |
|---|---|---|---|
| Shelter | Named person with body | Others lose overnight protection | Keep poles or emergency shelter with another adult |
| Water treatment | Named person near the group | Others cannot use a refill safely | Carry a second method in another pack |
| Navigation | More than one competent person | One wrong turn removes the map | Duplicate route information and practiced compass use |
| First aid | Person trained to use it | Supplies leave an injured subgroup | Split small personal and group response items |
| Communication | Person managing check-ins | A separated group cannot report | Keep independent charged communication where practical |
Reassign weight before departure if illness, pain, or a slower pace changes who can carry safely. Record the change so the group still knows where shelter, treatment, medication, and communication are located.
The finished load has to match day one, not the whole trip
Weigh the closed pack with first-day food, water, fuel, and required storage inside. A gear list weighed without consumables can hide several kilograms that appear at the trailhead.
Water is especially easy to underestimate. One liter weighs about one kilogram, or 2.2 pounds, before the bottle.
A four-liter dry segment therefore adds about 8.8 pounds plus the container and treatment equipment.
Test the starting load. The first climb carries the largest food supply and often the most water.
Walk for at least 20 to 30 minutes with the finished load.
Include stairs, a slope, turns, and careful step-downs. Check hip-belt slip, shoulder pressure, foot comfort, breathing, balance, and whether water, layers, map, food, and toilet supplies remain reachable.
If the load changes your stride, creates numbness, or cannot be controlled on a step-down, fix the pack, reduce optional weight, transfer shared items, or choose a smaller trip. Do not remove water, insulation, required storage, medication, navigation, or another route requirement just to improve the scale number.
Repeat the check after the load is redistributed. The checklist is complete only when the items fit, the carriers accept their share, and the group can walk the starting load without hiding pain or losing essential access.
What should you recheck at the trailhead?
The trailhead is not the place to repeat the full inventory. It is the place to compare current access, weather, water, people, equipment, and timing with the plan made at home.
- Confirm the trailhead route and legal access are open.
- Check the latest official weather fire and hazard information.
- Confirm permits storage and waste requirements are physically available.
- Ask every person about health sleep pain food water and required medication.
- Verify first water capacity and the next credible refill.
- Confirm map direction headlamps and communication power.
- Set the turnaround and latest camp-arrival times.
- Update the trusted contact when route vehicle or timing changes.
- Choose the smaller route or cancel when a hard requirement is missing.
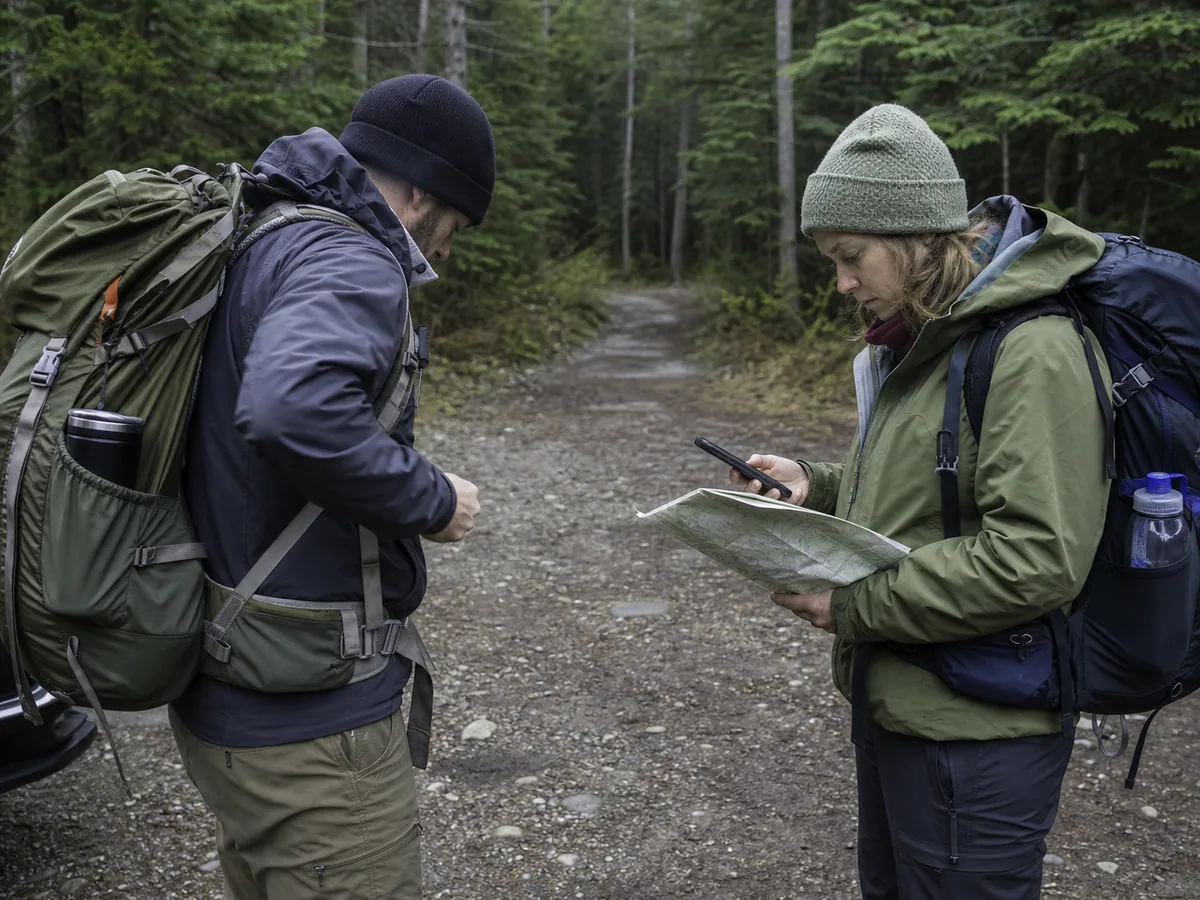
A child on the trip changes adult positions and warmth as much as it changes the food, sleep, and load transfer plan. A dog adds paw care and restraint to the same load, along with fitness, water, food, camp control, and a tested carry-out.
Close the outside trip plan after the exit. At home, mark unused items, shortages, repairs, wet gear, remaining food, water used, fuel used, and any item that was hard to reach.
Those notes write a better list for the next trip.
Current facts make the decision. A complete home checklist cannot overrule a closure, sick participant, failed water plan, or unsafe forecast.
Sources
The National Park Service identifies ten functional essentials and explains that actual items should fit the trip: Ten Essentials. Its Trip Planning Guide covers current conditions, permits, weather, route fit, trip plans, emergency planning, and additional equipment.
The CDC explains why uncertain backcountry water should be treated and why boiling, filters, disinfectants, and UV methods have different limits: Water Treatment While Hiking and Camping.
Leave No Trace provides the planning, durable-surface, waste, fire, wildlife, and consideration framework that should be adapted to local rules: The 7 Principles.
Verify before every trip. Current land-manager instructions are the final authority for access, permits, camps, fire, food storage, waste, water, dogs, and closures.
Step by stepPractical steps
- Record route, conditions, water gaps, camps, rules, group needs, and exit options.
- Choose complete shelter, sleep, water, food, clothing, navigation, response, repair, hygiene, and legal systems.
- Mark each item separately as chosen, packed, and tested.
- Add first-day consumables and walk with the finished load.
- Run a short current-conditions check at the trailhead and change the trip when a hard requirement is missing.
- Record use, shortages, damage, water, food, and access after the trip.
AnswersQuestions readers ask
What should be on a backpacking checklist?
Cover shelter, sleep, water capacity and treatment, food, fuel, clothing, navigation, light, communication, first aid, medication, repair, hygiene, waste, sun and insect protection, permits, storage rules, documents, and an outside trip plan.
How do I customize a backpacking checklist?
Start with trip duration, weather range, water gaps, terrain, daylight, camps, exits, group needs, and current land-manager rules. Those facts determine capacities, required equipment, and backups.
When should I pack for a backpacking trip?
Lay out and test equipment several days before departure. That leaves time to repair a pad, replace power, obtain permits, test meals, change pack volume, or choose a smaller route.
What are the three backpacking checklist passes?
Mark each requirement as chosen, packed, and tested. An item you own may still be missing from the pack, incompatible with another part, broken, or unpracticed.
What should I check at the trailhead?
Confirm current access, weather, fire and hazard information, permits, water, group condition, navigation, lights, communication, turnaround time, and outside contact. Cancel or reduce the trip when a hard requirement is missing.