
How to Hike on Scree and Loose Rock Without Sliding Out
Hike loose rock by testing each step, spacing the group, using poles for balance, and turning around before the slope controls your speed.
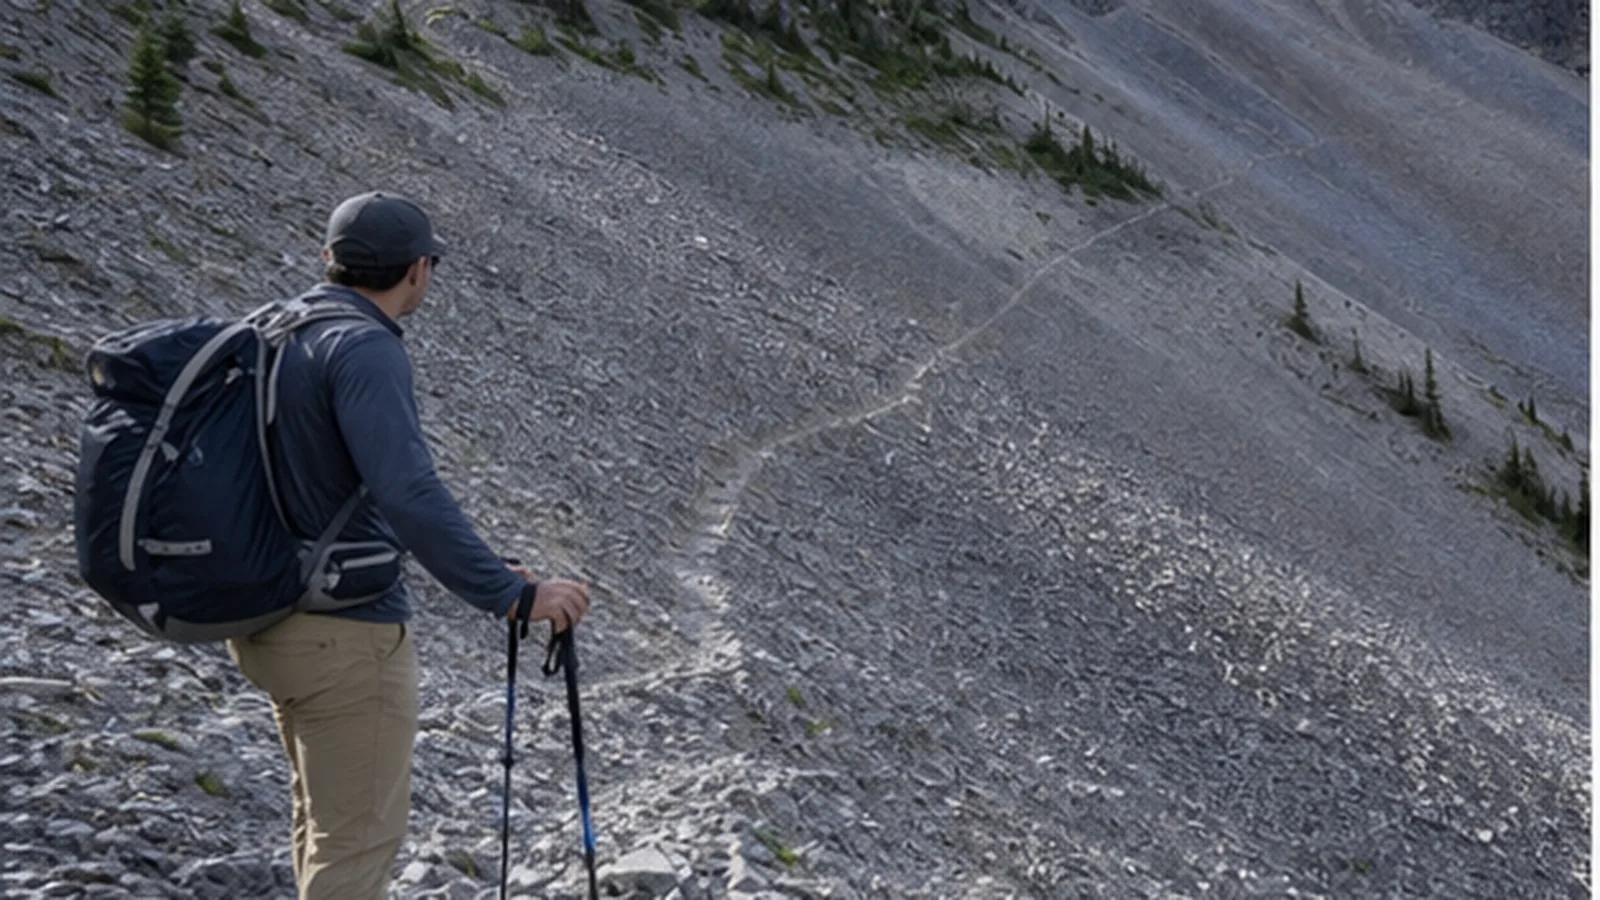
Loose rock changes stride length, group spacing, pole use, and turnaround timing on a day hike.
Loose rock changes hiking from stride length to risk.
Your goal is not to move fast. Your goal is to keep each step quiet, tested, and recoverable before the slope starts moving under you.
- Best body position
- Short steps, soft knees, weight over feet, eyes scanning two steps ahead
- Pole use
- Plant lightly for balance, not as brakes that snag between rocks
- Group spacing
- One person on the loose section at a time when rocks can roll downhill
- Turnaround sign
- You cannot stop a slide within one step or the slope ends in exposure
- Best pace
- Slow enough that every foot placement is a choice, not a reaction
A scree slope is made of small loose rock.
Talus is usually larger, blockier rock. Both can roll, shift, and steal traction.
If the slope includes hands-and-feet moves, treat it as a separate rocky scrambling decision instead of ordinary trail hiking.
Quiet feet first. If your steps send rock sliding with every move, the terrain is giving you feedback before it becomes a fall.
How should you read a loose slope before stepping on it?
Stop before the loose section and look for the lowest-consequence line. A good line uses larger embedded rocks, shallow ribs, old boot tracks, or firm dirt islands.
A bad line drops straight down fine gravel, crosses under another hiker, or ends above exposure.
Loose rock is safer when the runout is forgiving.
A short slide into flat gravel is different from a slide above a creek, road, or cliff. If you cannot see where a slip would stop, the question is consequence as much as traction.
Use your eyes before your poles. Look for fresh rockfall, wet patches, ball-bearing gravel over hard dirt, and piles of small stone sitting on smooth slabs.
Those surfaces often move all at once.
Do not follow a social shortcut down loose rock just because tracks exist.
Many bad lines get popular because they are direct, not because they are stable. If the slope is part of a bigger objective, the day-hike fitness limit matters before fatigue makes footwork worse.
If the line crosses a hot open slope, treat balance and heat as the same problem. A hot-weather hiking plan lowers the objective before sweaty hands, tired calves, and glare make the loose section harder than it looked from below.
Why do short steps work better on scree?
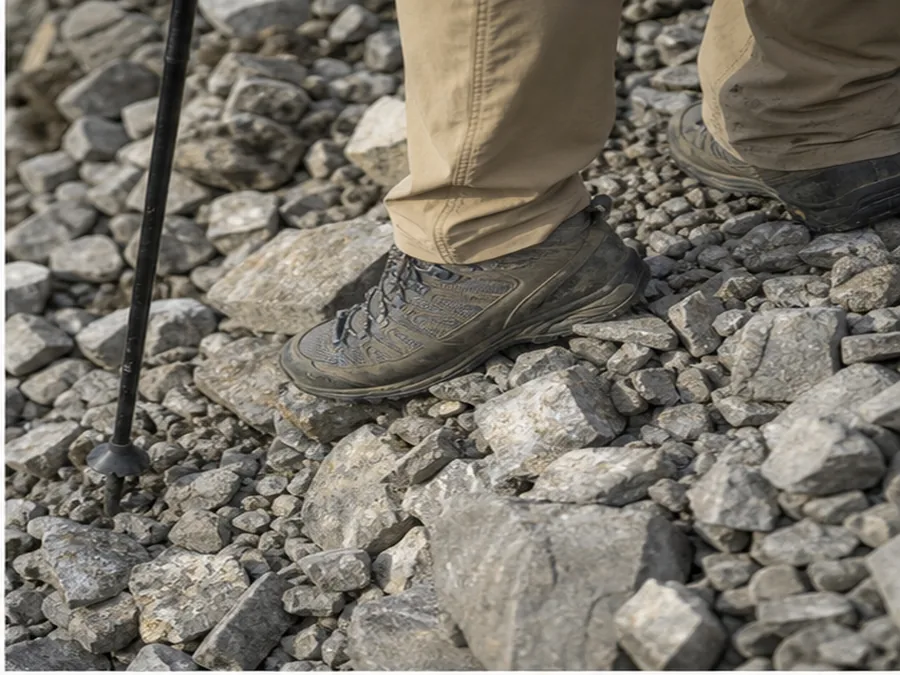
The safest stride on scree is usually shorter than feels efficient.
Place the foot, let the rock settle, then move the body over it. If the step rolls, you should still have the other foot and at least one pole ready to catch balance.
- Shorten the strideKeep each step small enough that you can stop without lunging.
- Test before loadingPress the boot lightly and feel whether the rocks grind, roll, or hold.
- Keep knees softA locked knee makes a sliding rock turn into a full-body slip.
- Move weight over the footDo not reach far downhill while your hips stay uphill.
- Reset oftenPause on firmer stones so breathing and balance catch up.
Poles help when they add balance. They hurt when you stab them between rocks and lean hard on them.
Plant the tips lightly and wide enough to steady your torso.
Boot tread matters, but it is not magic.
Lugs grip better when the foot is flat enough to contact the surface. If your footwear is already overloaded by pack weight, rethink the heavy daypack problem before loose terrain.
Small steps buy control because each one gives you a chance to stop the next mistake.
Short steps also protect skin and clothing. A sliding stride can rub heels, toes, and thighs on a long descent, so a long-hike chafing plan belongs in the same preparation when the loose section is late in the day.
How do you climb up loose scree?
Climb loose scree with short uphill steps and your weight centered over your feet. Long lunges push the lower foot backward and waste energy because the rock slides before your body rises.
Choose compacted tread, firm dirt ribs, or larger embedded stones when they lead in the right direction.
Avoid the deepest chute when every step sends a fan of rock downhill. A slightly longer line on firmer ground often takes less effort.
Place the whole forefoot, test it, and move your hips above it before lifting the lower foot. Keep your knees soft and your chest upright.
Leaning far into the hill can make your feet push away from the slope instead of down into it.
Use a gentle zigzag when the slope is wide enough and the surface supports it.
Each turn should happen on a stable patch. Do not make a sharp pivot on one loaded foot because the twisting motion can release the stones beneath it.
Poles can steady the transition, but the uphill pole is not a handrail. Plant both tips where you can see them.
If a tip sinks between stones, release the wrist strap or grip before the pole pulls your shoulder backward.
Keep every person out of the fall line.
On a broad slope, travel offset from one another. In a narrow gully, let one person reach a protected pocket before the next person enters, even when that makes the crossing slower.
If each uphill step slides most of the way back, the surface is controlling the pace. Stop on firm ground and choose another line.
Repeated sliding also means the descent may be worse after fatigue builds.
Gain height on firm islands. The most direct strip of scree is rarely the most efficient ascent.
How should you descend loose scree?
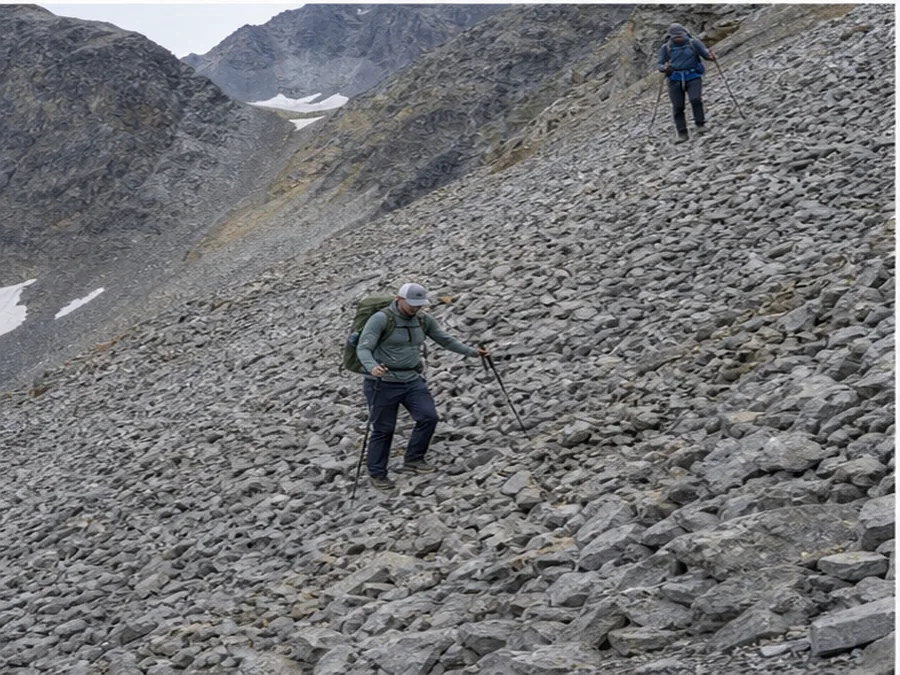
Going straight down scree is tempting because it looks direct. It also lets speed build fast.
A diagonal descent reduces the fall line, gives each foot a flatter landing, and keeps your hips from chasing your boots downhill.
| Situation | Better move | Why it helps |
|---|---|---|
| Fine gravel over hard dirt | Angle across the slope | Reduces sliding force and keeps steps smaller |
| Larger talus blocks | Step on stable edges | Avoids loose gaps that can twist an ankle |
| Short steep chute | One person moves at a time | Keeps rolling rocks away from partners |
| Tired legs | Stop on firm islands | Prevents rushed downhill steps |
| Wet loose rock | Turn around or wait | Wet grit can slide like ball bearings |
If you are with a group, never stack people directly below each other.
Rockfall moves downhill faster than a warning shout. Let one person cross the loose patch, stop in a safe pocket, then send the next person.
A controlled descent is slower than the slide-step style some people use on harmless gravel. Save that for short slopes with a flat, clear runout and no one below.
On a real trail, quiet and boring is better than fast and loose.
Descending diagonally takes patience, especially in a mixed-speed group. A group pace rule set before the slope keeps faster hikers waiting in safe pockets instead of drifting below moving rock.
If the loose slope sits below a switchback, protect the trail as well as your ankles. Cutting straight down sends rock onto the tread below and makes the same section worse for the next hiker.
How do you cross large talus without trapping a foot?
Large talus needs a different stride from fine scree. The main hazards are rocking blocks, ankle-turning edges, and deep gaps that can catch a foot or leg.
Look for broad top surfaces that sit against several neighboring rocks. Avoid a block balanced on one point, a fresh pale fracture, or a stone with an open gap beneath most of its weight.
None of these signs proves movement, but each deserves a test before you commit.
Tap the near edge with the sole while the other foot stays secure.
Add pressure slowly. If the block shifts, sounds hollow, or moves a neighbor, step back and choose a different surface.
Step near the center of a stable block instead of reaching for its far edge. Keep the stride short enough that your trailing foot can take your weight back.
Jumping between blocks removes that recovery option and multiplies the force on landing.
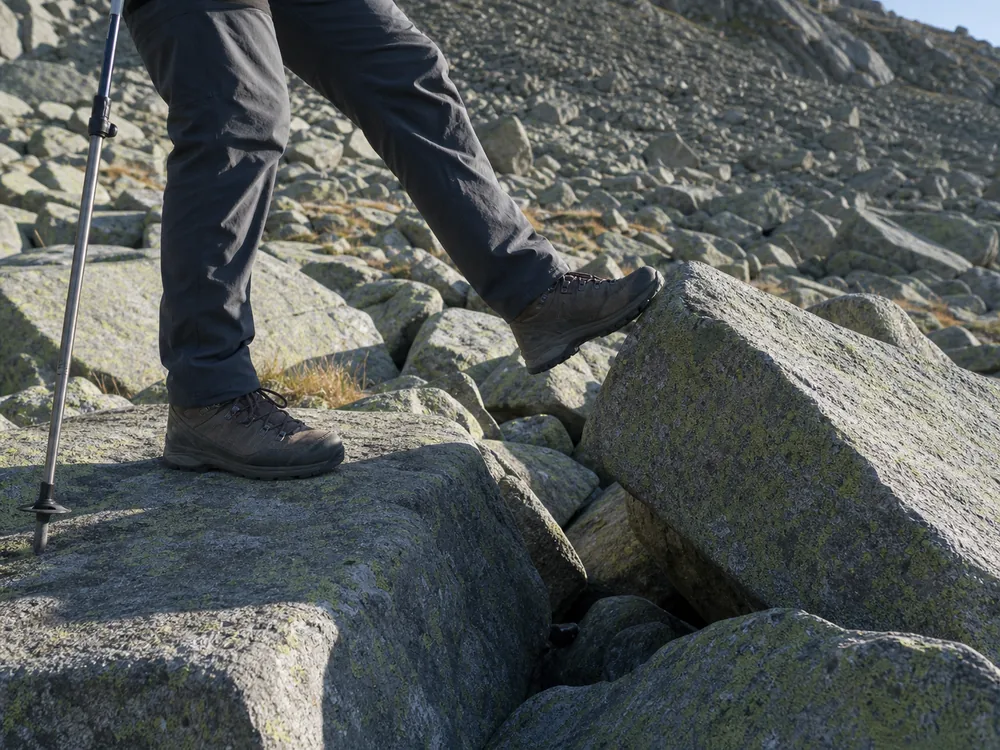
Do not put a foot into a dark gap when you cannot see the bottom.
A boot can wedge while the rest of the body keeps moving. If a gap must be crossed, use a stable surface that lets the whole sole land in view.
Hands used only for a light balance touch do not always make the ground technical. But repeated hand support, high steps, exposed gaps, or moves that cannot be reversed mean the line has become scrambling.
Backtrack before the easiest return disappears.
Move one block at a time and pause often.
Fast boulder hopping may look smooth, but it depends on every landing being solid. Hiking pace should leave time to reject the next rock.
A visible landing is a safer landing. If you cannot see where the sole and ankle will go, choose another block.
When does loose-rock hiking become scrambling?
Loose-rock hiking becomes scrambling when your hands are needed for upward or downward progress, not just balance.
That shift changes the decision. You now need stable handholds, three points of contact, a pack that does not pull you backward, and a clean way to reverse the move.
Treat every loose or wobbly block as untrusted until it proves otherwise. Even a low hiking scramble can start a fall or rockslide before the move looks dramatic.
If the loose section sits high on the hike, thin air can make balance feel worse. A day-hike altitude plan should lower the pace before the trail reaches unstable ground.
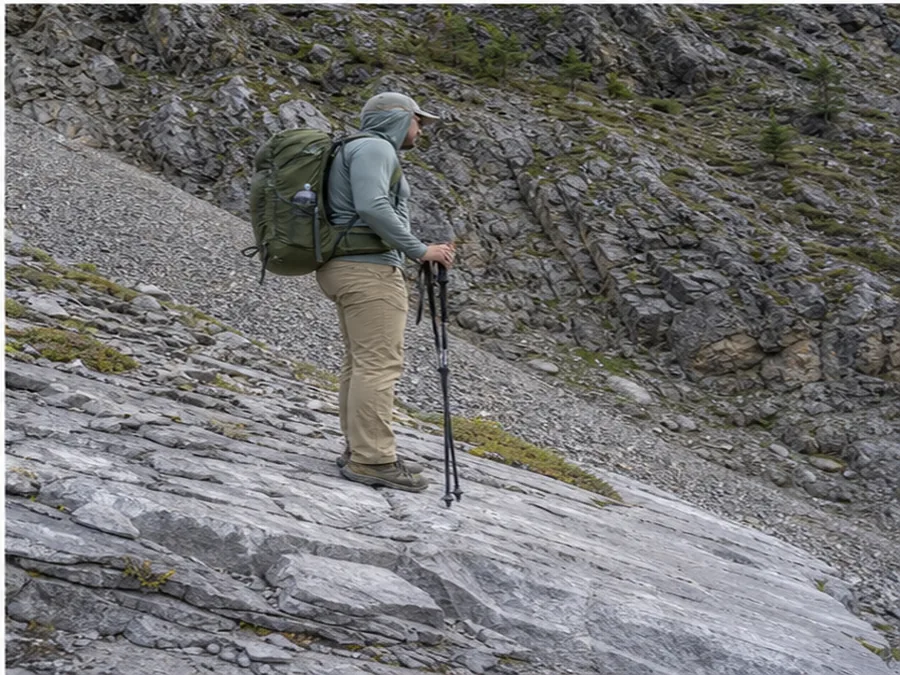
Do not let summit pressure decide for you. If the terrain turns into exposed scrambling, switch to a controlled switchback descent or retreat.
What should you do when a step starts sliding?
When one foot moves, keep your knees soft and lower your center of gravity. Hold weight on the more stable foot while the sliding foot takes one short recovery step.
A sudden leap can land on rock that is even looser.
Use poles to steady the torso only when their tips are secure.
Let go of a pole that is trapped between rocks. Protecting the pole is not worth twisting a wrist or pulling your balance downhill.
If both feet keep accelerating, aim for the nearest firm patch with small controlled steps. Do not sit down on sharp moving rock unless staying upright is causing a worse fall.
The correct response depends on the runout, which is why you inspect it before entering the slope.
A slip that cannot be stopped within one or two steps is new route information.
Return to a stable spot and reassess the angle, surface, footwear, fatigue, and exposure. Do not repeat the same line at a faster pace.
Shout rock immediately when you dislodge anything that can reach another person. People below should move out of the fall line when they have a clear escape, then protect the head and neck.
Looking uphill for the rock can expose the face and cost the second needed to move.
After a rock reaches the group, stop all movement above.
Check the person who was struck before continuing. Pain, swelling, dizziness, confusion, bleeding, or difficulty bearing weight can turn the day into an evacuation.
Regroup only in a pocket protected from more rockfall. Do not gather at the bottom of the chute where every loose stone travels.
Decide whether the original line is still acceptable before another hiker enters it.
A small recovered slide still counts as a warning. If tired legs, wet grit, a heavy pack, or poor light caused it, correct that factor or retreat while the group still has control.
One slide changes the plan. Recovery is evidence to reassess, not permission to rush the next step.
How do you protect ankles and knees on the way out?
Loose descents often feel hardest late in the day.
Ankles are tired, knees are absorbing more force, and people start looking at the parking lot instead of their feet. That is when small slides turn into twisted ankles.
- Retie loose laces before the descent so the heel does not lift inside the shoe.
- Shorten poles slightly for downhill balance if that feels natural.
- Keep snacks and water reachable so shaky legs are not blamed on the terrain alone.
- Step on larger fixed rocks when they are truly stable, not on tilted plates.
- Stop before photos, layer changes, or map checks.
Fuel and hydration matter because loose terrain asks for constant correction. If your steps get sloppy, pause for a small snack and water rather than trying to finish the hard section in one push.
A simple day-hike fueling plan keeps that pause from becoming an emergency fix.
Heat makes loose-rock hiking worse because balance drops as effort rises. Hot, dry days can also bring smoke, fire restrictions, or closures, so check current wildfire season conditions before committing to an exposed slope.
Tired feet make loud rock. When your steps start scraping and sliding, slow down before the terrain makes the choice.
The safest loose-rock day often starts with a route choice, not a footwork trick. Choose a route whose descent does not arrive after your legs are already done.
For dawn starts or late exits, loose rock needs light before scenery. A low-light hike plan should keep the unstable section out of dim light unless every hiker has a headlamp and knows the line.
Where should you practice walking on loose rock?
Practice on a low-consequence patch before the trail forces the skill. A short gravel bank, a dry wash edge, or a harmless talus apron can teach how your shoes, poles, and balance react without adding exposure.
Use the practice patch to learn the sound of a good step.
A stable step feels dull and quiet. A bad step chatters, skates, or keeps moving after your boot lands.
That feedback helps you slow down before the real slope.
| Practice cue | What to notice | Trail decision |
|---|---|---|
| Rock keeps moving | Step is too long or surface is too loose | Shorten stride or choose another line |
| Pole tip catches | Pole is planted too hard or too narrow | Plant lighter and wider |
| Heel lifts in shoe | Lacing is loose for descent | Retie before steeper ground |
| Partner sends rock down | Group is stacked too close | Move one at a time |
This practice also separates real limits from nerves.
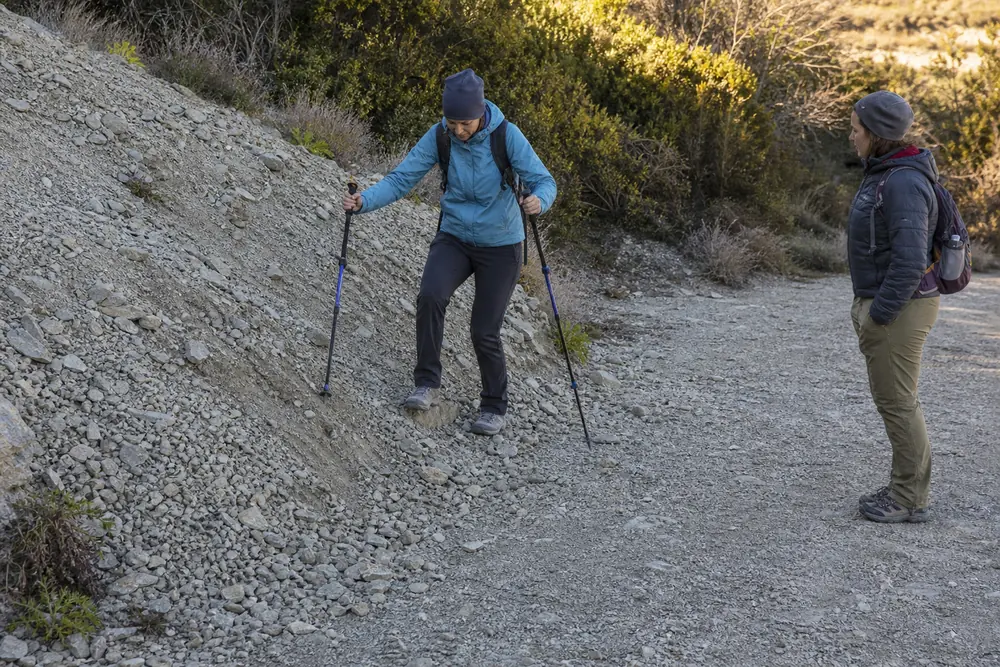
If the low patch already feels uncontrolled, the steeper slope will not become easier because the view is better. Choose a lower-angle line or turn around while the decision is simple.
If the loose-rock section comes late in the day, plan food and water before it. Weak legs make sliding steps louder.
Choose hiking clothing layers that let your knees move freely and protect skin if you brush against sharp rock.
For a group, the practice patch sets shared language. Words like loose, rolling, one at a time, and stop here should mean the same thing before the harder section starts.
Practice where a slip is cheap so the real slope does not become the first lesson.
Sources
The National Park Service scrambling guidance for Joshua Tree supports testing rock stability and maintaining three points of contact.
The National Park Service Canyonlands hiking information notes that some strenuous hikes require steep slopes of loose rock. The National Park Service Backpacking in Alaska terrain guidance identifies steep scree slopes with loose, sharp rocks as slow, difficult terrain.
The Mountaineers loose-rock guidance supports established paths, offset group positions, one-at-a-time movement through narrow gullies, and an immediate rockfall warning.
Step by stepPractical steps
- Stop before the loose section and choose the lowest-consequence line.
- Shorten your stride and test each step before loading it.
- Use poles for balance, not as hard brakes.
- Descend diagonally when straight down builds speed.
- Move one person at a time when rocks can roll downhill.
- Turn around if a slip would not stop quickly or the terrain becomes exposed scrambling.
AnswersQuestions readers ask
What is the safest way to hike on scree?
Use short steps, test each foot before full weight, keep knees soft, use poles lightly for balance, and choose a line with firm islands or larger embedded rocks.
Is it better to go straight down scree or across it?
A diagonal line is usually safer when the slope is steep or the rock is fine and loose because it reduces downhill force and keeps each step smaller.
Should hikers use trekking poles on loose rock?
Poles can help balance, but do not lean hard on them or jam them between rocks. Plant them lightly and release a caught pole before it pulls you off balance.
How far apart should hikers be on loose rock?
Space out so no one is directly below another person on a rockfall line. On narrow loose sections, let one person cross before the next person moves.
When should you turn around on loose rock?
Turn around if the slope has exposure, wet ball-bearing gravel, unstable blocks, a bad runout, people below you, or moves you cannot reverse calmly.